Table of Contents
Ever dreamt of a chic bob but fear the salon scissors? What if I told you there's a way to achieve a stylish bob at home, using just four humble ponytails? Yes, you heard right! The "4 ponytail haircut bob" method is a game-changer for DIY hair enthusiasts and anyone looking for an easy, low-risk way to try a new look. This article will guide you through the process, breaking down each step, from understanding the technique to mastering the cut, and even offering tips on how to maintain and style your freshly cut bob. We will show you how this simple method can help you get a super stylish haircut, even if you're not a professional. Forget complicated techniques, we're keeping it simple and fun. Ready to grab your hair ties and scissors? Let's get started on your journey to the perfect 4 ponytail haircut bob!
Understanding the 4 Ponytail Bob Haircut Technique
Understanding the 4 Ponytail Bob Haircut Technique
The Magic Behind the Method
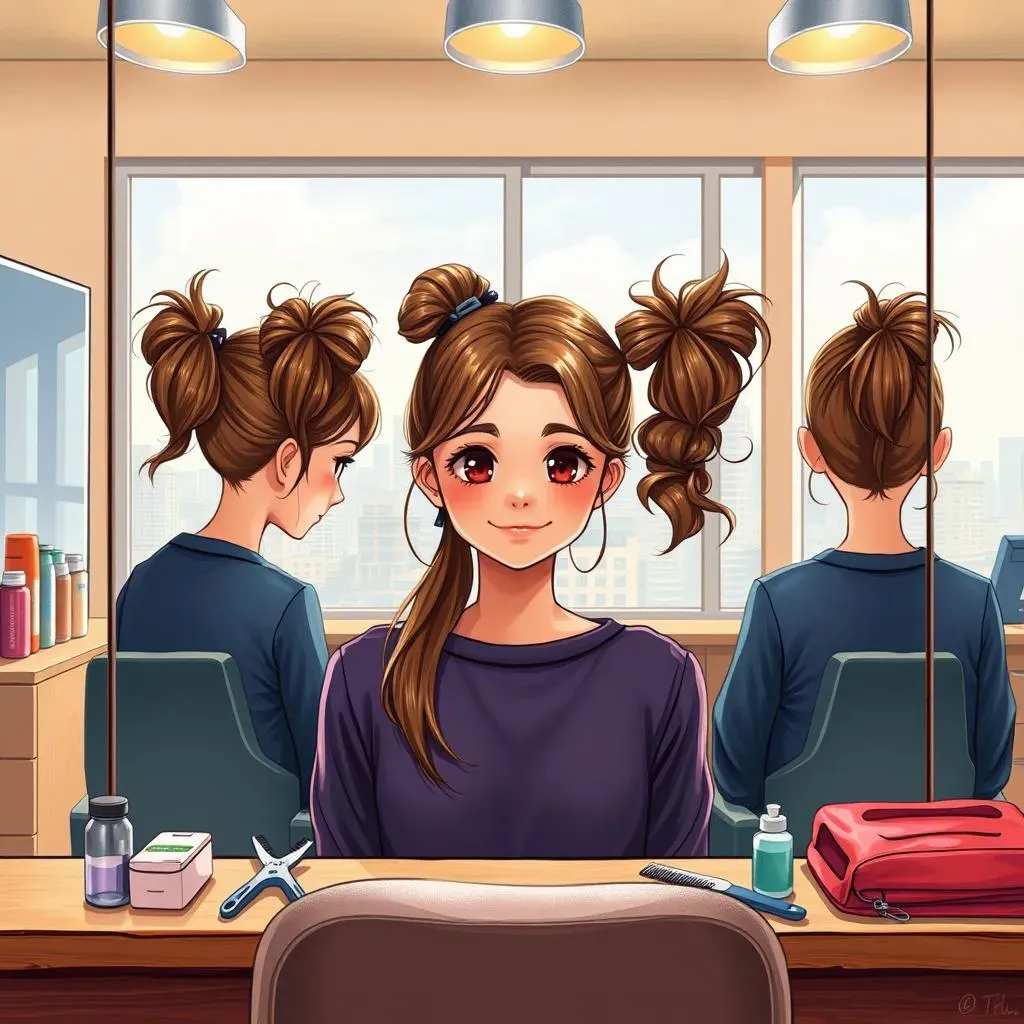
so the four ponytail method might sound a little strange, but trust me, it's genius. Instead of trying to cut a straight line across the back of your head (which, let’s be honest, is a recipe for disaster), you're dividing your hair into four sections. Each section is tied into a ponytail, and then you cut each ponytail to your desired length. This technique helps to create a guide, making it easier to achieve an even, balanced bob. The ponytails act like little anchors, keeping your hair in place while you snip away. It’s like having four mini-hairdressers all working together to create your perfect bob.
Think of it like this: you're not just hacking away blindly. You're working with a plan! Each ponytail is a section of your hair, neatly separated, so you can focus on one part at a time. This is especially useful if you're not a hair-cutting pro (like most of us!). It’s a far cry from trying to eyeball everything and hoping for the best. The four-ponytail approach gives you a level of control and precision that's hard to achieve with other DIY methods. It's like building with LEGOs; each piece (or ponytail) fits together to create a solid, stylish final product.
Why This Method Works
Here's a quick rundown of why this method is so popular:
- Simplicity: It's easy to understand and execute.
- Accuracy: The ponytails act as guides for even cuts.
- Control: You have more control over the length and shape.
- Safety: It's less risky than other DIY methods.
StepbyStep Guide: Cutting a Bob with Four Ponytails
StepbyStep Guide: Cutting a Bob with Four Ponytails
Getting Ready: The Prep Work
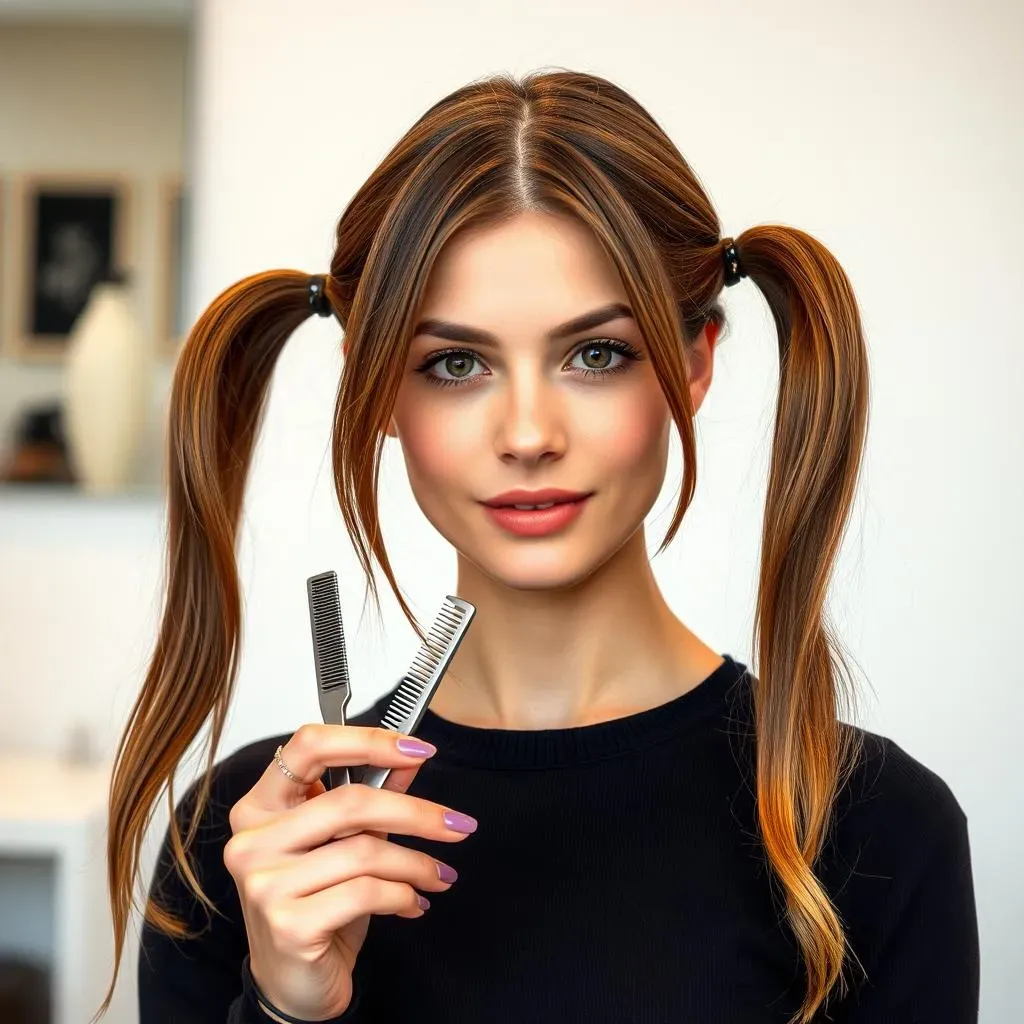
Alright, let's get down to business! First things first, you'll need to gather your supplies. You’ll want a good pair of sharp hair scissors (not the ones you use for paper!), some hair ties, a comb, and a mirror. Make sure your hair is clean, dry, and detangled. This makes cutting so much easier! I like to do this after I've had a shower and let my hair dry naturally. Now, part your hair down the middle, from your forehead to the nape of your neck. Then, part it again from ear to ear, creating four distinct sections. You're basically making a cross on your head with your hair. Each of these sections will become a ponytail. It might seem a little odd, but trust the process; it's about to get awesome.
Now, secure each section into a ponytail. Make sure the ponytails are all at the same height; this is super important for keeping the bob even. Think of it like building a house—you need a solid foundation! I usually double-check the height of my ponytails by looking at myself in the mirror from different angles. Once you’re happy with the placement and height, you're ready for the next stage. This is where the real magic happens, so keep your focus. And remember, if you're feeling nervous, take a deep breath! It's just hair, and it grows back. Now, let's get snipping!
The Big Snip: Cutting the Ponytails
this is the exciting part! Take one of your ponytails, and decide how long you want your bob to be. I usually start a bit longer than I want it to be. You can always cut more, but you can’t put it back! Once you've decided on the length, take your sharp scissors and cut straight across the ponytail. Try to keep your cut as even as possible. Don’t worry if it’s not perfect, we’ll fix that later. Remember, each ponytail acts as a guide for the next one. Once you’ve made your first cut, move on to the next ponytail, and cut it to the same length as the first. Repeat this until all four ponytails are snipped.
Once all four ponytails are cut, it’s time for a little cleanup! Take your comb and brush out your hair. Now, take a look in the mirror. You might see some uneven bits, and that's perfectly normal. Use your scissors to trim any stray hairs. I like to work in small sections, checking my progress in the mirror. Don’t try to make it perfect in one go; take your time and be gentle. This is where you can really personalize your bob. If you want a sharper angle, trim the sides a little shorter. If you want it more blunt, keep the sides the same length. It's all up to you! And there you have it: a freshly cut bob, done by you, with the help of four very useful ponytails!
Step | Action | Tips |
|---|---|---|
1 | Gather Supplies | Sharp scissors, hair ties, comb, mirror |
2 | Part Hair | Middle and ear-to-ear |
3 | Create Ponytails | Ensure even height |
4 | Cut Ponytails | Start longer, cut straight |
5 | Clean Up | Trim uneven bits, personalize |
Tips for a Perfect 4 Ponytail Bob Haircut
Tips for a Perfect 4 Ponytail Bob Haircut
Get Sharp Scissors
let’s talk tools! Using dull scissors is like trying to cut a steak with a butter knife - it just won’t work well. Invest in a good pair of sharp hair-cutting scissors. They don’t have to be super expensive, but they should be designed for hair, not paper. Sharp scissors will give you a clean cut and prevent split ends, which is key for a healthy-looking bob. Trust me, your hair will thank you. It makes a world of difference, and you’ll get a much cleaner, more professional-looking finish. Also, make sure you don't use those hair scissors for anything else. Keep them sacred for your hair, or else you might find yourself with a very dull pair of hair scissors.
Another little tip: when you're cutting, try to cut with the middle part of the scissors, not the tips. It gives you a more even cut. Think of it like a chef using the whole length of the knife for a slice, not just the tip. And don't be afraid to take your time. Rushing is where mistakes happen. It’s better to go slowly and deliberately than to try to speed through it and end up with a wonky bob. Patience is key to getting that perfect cut. And remember, practice makes perfect. So, if the first time isn’t exactly what you were hoping for, don’t give up! You’ll get there.
Double Check Your Ponytails
Before you even think about picking up those scissors, take a moment to double-check your ponytails. Are they all at the same height? Are they secure? Uneven ponytails will lead to an uneven bob, so this step is crucial. I like to use a mirror to check from all angles. Sometimes, what looks even from one direction can be totally off from another. It’s like making sure your picture frame is straight on the wall, you gotta check from all sides. It might seem like a small detail, but it makes a huge difference in the end result.
Also, make sure the hair ties are snug but not too tight. You don’t want them to be slipping down as you’re cutting. If you’re using regular hair ties, you might want to double them up for extra security. This is one of those things that you just have to take the time to do right. It’s like measuring twice before you cut. A little extra care at this stage will save you a lot of frustration later. So, grab your mirror, take a deep breath, and make sure those ponytails are looking perfect before you move on.
Tip | Description |
|---|---|
Sharp Scissors | Use proper hair-cutting scissors |
Double Check Ponytails | Ensure even height and secure ties |
Start Longer, Go Shorter
This is a golden rule for any DIY haircut: start longer than you think you want it. You can always cut more off, but you can't add it back. I like to start by cutting a little bit longer than my desired length. Once all four ponytails are cut, I check it in the mirror. If I want it shorter, I cut a little bit more. It's like testing the water before jumping in; you want to make sure it's just right. This approach gives you more control and reduces the chance of ending up with a bob that's way shorter than you intended.
Remember, it’s much easier to fine-tune the length than it is to fix a bob that’s too short. So, start with caution, and don’t be afraid to take it slow. It's better to do a few small cuts and gradually get to the length you want than to go all in and regret it. Think of it as sculpting a statue; you start with a larger block and slowly shape it to perfection. And if you’re ever in doubt, take a break and come back to it later with fresh eyes. Sometimes, a little break can make all the difference.
Trim in Small Sections
When you are trimming any uneven bits, work in small sections. Don’t try to fix everything at once. It’s like painting a wall; you work in sections, not all at once. I like to take a small section of hair, comb it out, and then trim any stray hairs. This allows you to see clearly what you're doing and helps you avoid cutting too much. You can use the comb as a guide, too, for a straight line. This way you can make those little adjustments for a sharp finish. It might take a little longer, but it’s worth it for a clean, polished look.
Also, don’t be afraid to check your work often in the mirror. Step back, look at it from different angles, and see if there are any areas that need more attention. It’s like proofreading your essay before you submit it; you want to catch all the errors. And remember, it's okay if it's not perfect. The goal is to get a bob that you're happy with, not one that’s magazine-perfect. So, take your time, be patient, and enjoy the process. You're doing great!
- Use sharp scissors.
- Double-check your ponytails.
- Start longer, then go shorter.
- Trim in small sections.
Maintaining and Styling Your New 4 Ponytail Bob

Maintaining and Styling Your New 4 Ponytail Bob
Keeping It Fresh: Maintenance Tips
so you've got your awesome new bob, congrats! But the journey doesn't end there. Just like a plant needs water, your bob needs a bit of care to keep it looking its best. Regular trims are key. Depending on how fast your hair grows, you might need a trim every 6-8 weeks to maintain the shape. You don't have to do the full four ponytail cut every time; you can just trim the ends to keep it looking sharp. Think of it like getting a touch-up on a painting; you just want to keep it fresh. Also, use a good quality shampoo and conditioner that suits your hair type. This will keep your bob looking healthy and shiny. It's like giving your hair a spa day, and you deserve it!
Another thing to consider is how you dry your hair. Try not to rub it too harshly with a towel; this can cause frizz and breakage. Instead, gently pat it dry or use a microfiber towel. If you use heat styling tools, always use a heat protectant spray. These sprays create a barrier between your hair and the heat, minimizing damage. It’s like putting on sunscreen before going to the beach; it's all about protecting your hair from the elements. And remember, a little bit of care goes a long way. So, take the time to pamper your bob, and it will continue to look fabulous.
Styling Your Bob: Endless Possibilities
Now for the fun part: styling! The great thing about a bob is that it’s so versatile. You can wear it straight and sleek, wavy and textured, or even curled. For a sleek look, use a flat iron and a bit of smoothing serum. If you're going for a wavy look, try using a curling wand or even braiding your hair when it’s damp and letting it air dry. The possibilities are endless! You can also experiment with different parts – a side part, a middle part, even a zig-zag part can completely change the vibe of your bob. It’s like having a blank canvas; you can create whatever look you want.
Don't be afraid to play around with different products, either. A texturizing spray can add volume and definition, while a hair wax or pomade can help create a more edgy, styled look. I love using dry shampoo to add volume at the roots and give my bob a bit of lift. It's like adding an extra layer of oomph to your look. And remember, the best style is one that you feel confident in. So, have fun experimenting, and don't be afraid to try new things. Your bob is your playground, so go wild!
Maintenance | Tips |
|---|---|
Regular Trims | Every 6-8 weeks |
Gentle Drying | Pat dry or use microfiber towel |
Heat Protection | Always use heat protectant spray |
- Straight and sleek
- Wavy and textured
- Curled
- Different parts
Wrapping Up Your 4 Ponytail Bob Journey
So, there you have it, the 4 ponytail haircut bob demystified! It's a pretty cool technique, right? From understanding the basic idea to actually snipping away, you've now got the know-how to create a stylish bob at home. Remember, practice makes perfect, and don't be afraid to experiment a little to find the style that best suits you. Whether you're aiming for a sharp, sleek look or a more textured, playful vibe, this method gives you a solid base. With a bit of care and some styling flair, you can keep your new bob looking fresh and fabulous. Now, go forth and rock that awesome haircut you made yourself! You've got this!