Dreaming of a chic, stylish bob but dreading the salon price tag? You're not alone! The classic bob is a timeless hairstyle, but maintaining it can be costly with frequent salon visits. What if you could achieve a stunning bob hair cut at home? It's more achievable than you think! This guide will walk you through the entire process, from gathering the right tools to customizing the cut for your face shape and mastering the art of at-home maintenance. We'll break down each step with clear instructions and helpful tips, empowering you to confidently create your perfect bob. We'll start with the essential tools you'll need, then dive into a detailed, step-by-step guide to cutting your own bob. Next, we'll explore how to tailor the bob to complement your unique features, ensuring a flattering and personalized look. Finally, we'll cover essential aftercare and styling techniques to keep your DIY bob looking fresh and fabulous. Get ready to unleash your inner stylist and rock a gorgeous bob, all from the comfort of your own home!
Gather Your Arsenal: Essential Tools for a Flawless Bob Hair Cut at Home
Gather Your Arsenal: Essential Tools for a Flawless Bob Hair Cut at Home
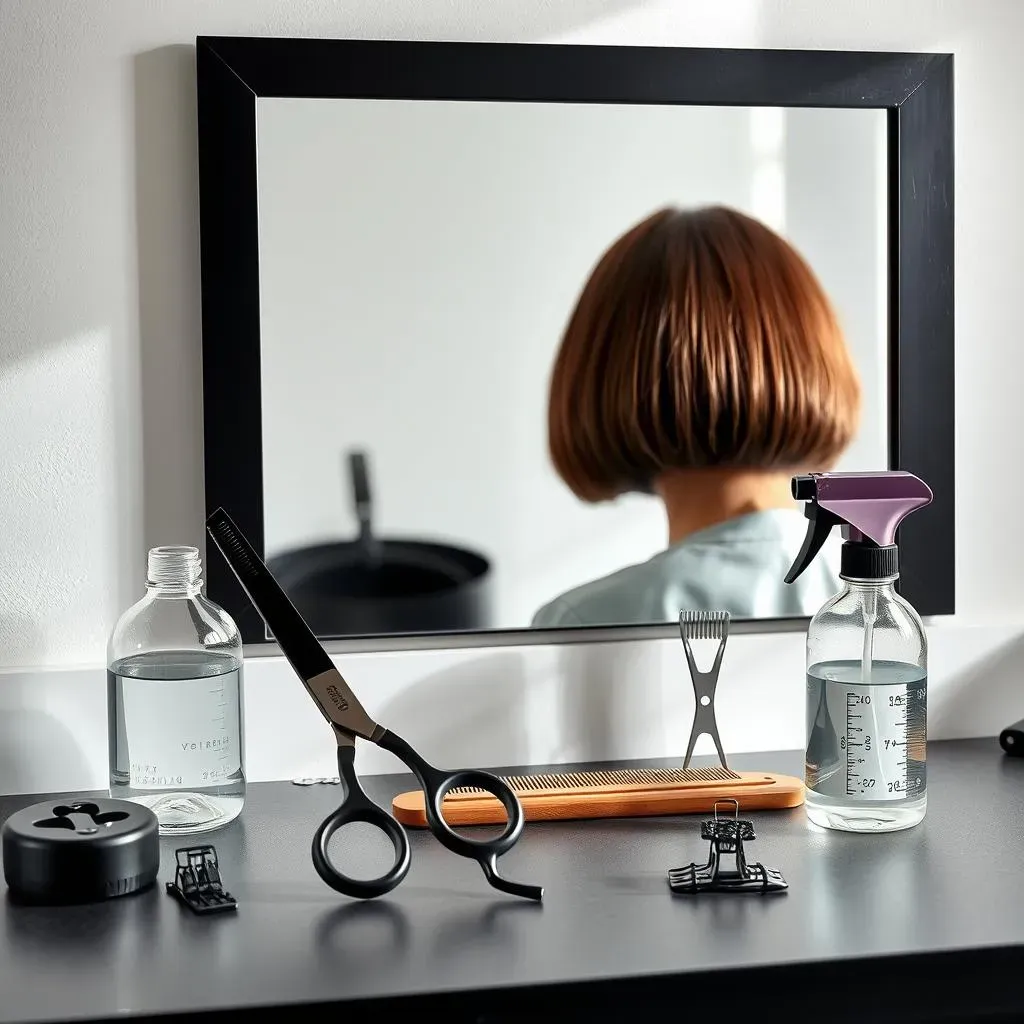
Alright, so you're ready to take the plunge and gather your arsenal for a DIY bob! First things first, ditch those kitchen scissors – we're going for a salon-worthy cut, not a crafting project gone wrong. Investing in a good pair of sharp, professional-grade hair cutting shears is crucial. Think of it as an investment in your hair's future! Next up, you'll need a comb – not just any comb, but a fine-tooth comb for precise sectioning. Hair clips are your best friends for keeping those sections neatly out of the way. And don't forget a spray bottle filled with water; damp hair is much easier to manage and cut evenly. Finally, grab a large mirror so you can see what you're doing, and maybe even set up a second mirror behind you for a 360-degree view. Trust me, you'll thank me later!
StepbyStep: Achieve a ProfessionalLooking Bob Hair Cut at Home
StepbyStep: Achieve a ProfessionalLooking Bob Hair Cut at Home
Preparation is Key: Sectioning and Dampening
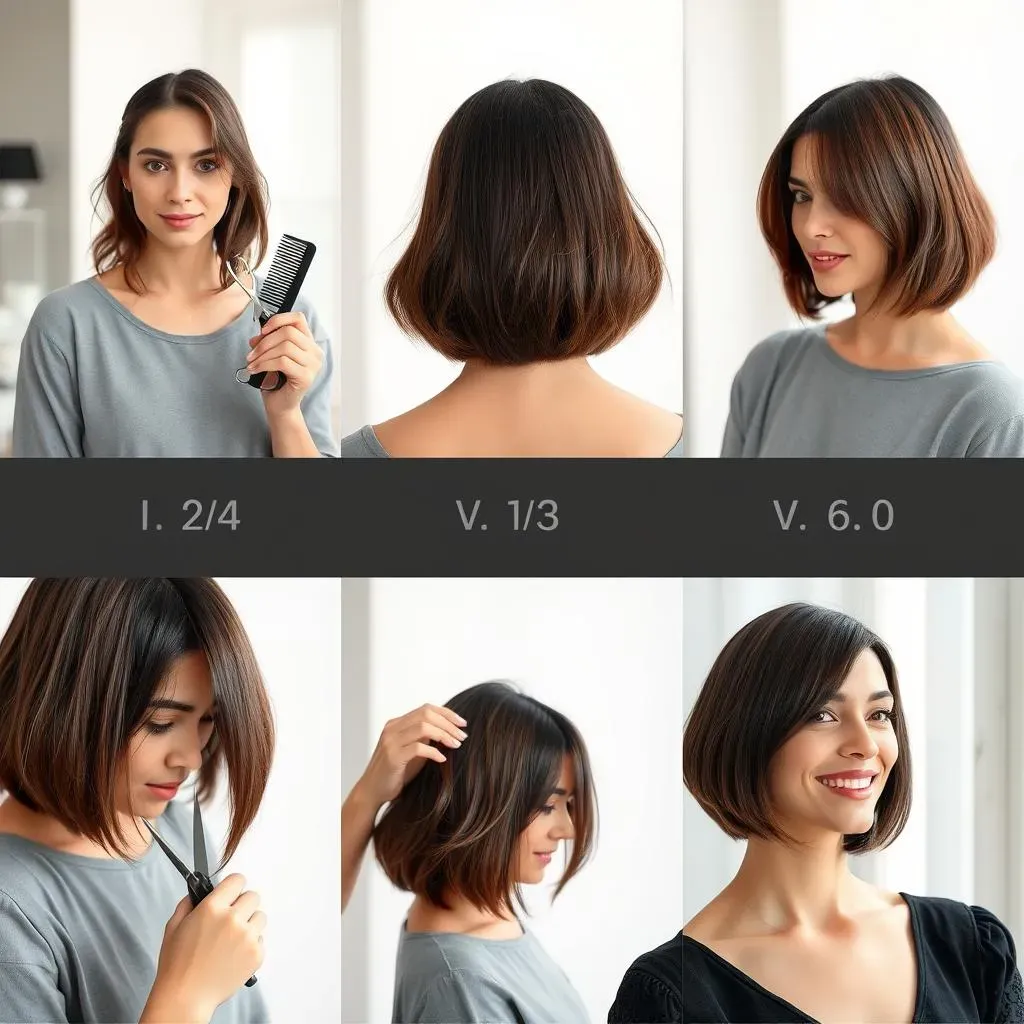
Alright, let's get down to business! Before you even think about picking up those shears, proper preparation is key. Start by thoroughly dampening your hair. This is crucial for even cutting and prevents those dreaded uneven snips. Next, section your hair into manageable quadrants. Imagine drawing a line from the center of your forehead straight back to the nape of your neck, dividing your hair into two halves. Then, divide each half horizontally, from ear to ear. This gives you four clean sections to work with. Secure each section with those trusty hair clips we talked about. Trust me, taking the time to section properly will make the entire process so much smoother.
The First Cut: Establishing Your Baseline
Now for the exciting part – the first cut! Start with the bottom section at the back of your head. Decide on your desired bob length. Remember, you can always cut more off, but you can't put it back! It's always better to start a little longer than you think. Using your fine-tooth comb, pull a small, even section of hair straight down and carefully snip across, creating a clean, horizontal line. Use this first cut as your guide for the rest of the bottom section. Work your way across, taking small sections at a time and ensuring each cut is level with the previous one. Patience is your friend here; resist the urge to rush!
Refining and Blending: Achieving a Polished Finish
Once you've established the baseline for the bottom section, it's time to move on to the side sections. Release one of the side sections and comb it down. Using the bottom section as your guide, carefully trim the side section to match the length. You can either cut it straight across for a blunt bob or angle it slightly forward for a more A-line effect. Repeat on the other side. Now, for the top sections, release them and comb them down. Gently blend the top sections into the side sections, softening any harsh lines. A great trick is to hold the shears vertically and lightly "point cut" into the ends, removing small bits of hair to create a softer, more textured finish. Finally, double-check your work in the mirror, looking for any uneven spots or stray hairs. Make any necessary adjustments, and voila! You've just cut your own bob!
Bob Hair Cut at Home: Customizing Your Bob to Flatter Your Face Shape

Bob Hair Cut at Home: Customizing Your Bob to Flatter Your Face Shape
Finding Your Perfect Bob Length
so you've got the basic bob down, but now it's time to make it *yours*. The key to a truly stunning bob hair cut at home lies in tailoring it to your unique face shape. First things first, let's talk length. The length of your bob can dramatically alter your face's appearance. For round faces, a bob that falls just below the chin can create the illusion of length and slimness. Avoid bobs that end right at the chin, as they can accentuate roundness. On the other hand, if you have a longer, more oval face, you can rock a shorter bob, even one that hits at the cheekbones. This adds width and prevents your face from appearing too elongated. Square faces benefit from bobs that soften the jawline, so consider a slightly longer, layered bob that falls below the jaw.
And what about those with heart-shaped faces? You're in luck! Most bob lengths will work for you, but a chin-length bob with some face-framing layers is particularly flattering. It helps to balance out a wider forehead and a narrower chin. Remember, these are just guidelines, not strict rules. Experiment and see what makes you feel most confident! Grab a measuring tape and play around in front of the mirror, holding your hair at different lengths to get a sense of what works best for you. You can even use a photo editing app to virtually try on different bob lengths before you commit to the cut. It's all about finding that sweet spot that enhances your natural features.
Adding Layers and Texture
Beyond length, layers and texture are your secret weapons for customizing your bob hair cut at home. Layers can add volume, movement, and dimension to your hair, while texture can create a more modern, effortless look. If you have fine, thin hair, layers can be a game-changer. They create the illusion of fullness and prevent your bob from looking flat and lifeless. Ask your stylist (or, if you're feeling brave, try it yourself!) to add some subtle layers throughout the cut, focusing on the crown area. For those with thick hair, layers can help to remove weight and bulk, making your bob more manageable and less triangular. Longer layers that blend seamlessly into the overall shape are ideal.
As for texture, there are several ways to achieve it. Point cutting, which we discussed earlier, is a great way to soften the ends of your hair and create a more piece-y, textured look. You can also use texturizing shears to remove small sections of hair, creating subtle variation in length. Another option is to use styling products, such as sea salt spray or texturizing cream, to enhance your natural waves or curls. Experiment with different techniques and products to find what works best for your hair type and desired style. Remember, a little texture can go a long way in transforming a basic bob into a chic and personalized statement.
Face Shape | Recommended Bob Length | Layering Tips |
|---|---|---|
Round | Below the chin | Avoid too much volume at the sides |
Oval | Versatile, any length works | Experiment with different styles |
Square | Below the jawline | Soft layers to soften the jaw |
Heart | Chin-length | Face-framing layers to balance features |
Maintaining Your Masterpiece: Bob Hair Cut at Home Aftercare and Styling Tips
Maintaining Your Masterpiece: Bob Hair Cut at Home Aftercare and Styling Tips
The Importance of Regular Trims
you've nailed the bob hair cut at home, congrats! But don't think the work stops there. Just like a fine wine, a bob needs regular attention to stay at its best. We're talking trims, people! Regular trims are essential for maintaining the shape and preventing split ends. Depending on how fast your hair grows, you'll want to trim your bob every 4-6 weeks. Yes, I know, it sounds like a lot, but trust me, it's worth it. A quick trim can make all the difference between a chic bob and a shapeless mess. If you're feeling confident, you can even do these trims yourself! Just follow the same steps you used for the initial cut, focusing on removing any split ends and maintaining the overall shape. If you're not comfortable trimming it yourself, then book a visit at your salon!
But what about those days when you just don't have time for a full-blown styling session? That's where quick and easy styling tricks come in handy. A simple side part can instantly add volume and sophistication. Or, try using a texturizing spray to create a tousled, beachy wave look. A sleek, straight bob is always a classic choice, and can be achieved with a flat iron and some smoothing serum. And don't underestimate the power of accessories! A stylish headband or barrette can instantly elevate your bob and add a touch of personality. The key is to have a few go-to styles that you can whip up in minutes, so you always look polished and put-together, no matter how busy you are.
Product Power: Choosing the Right Allies
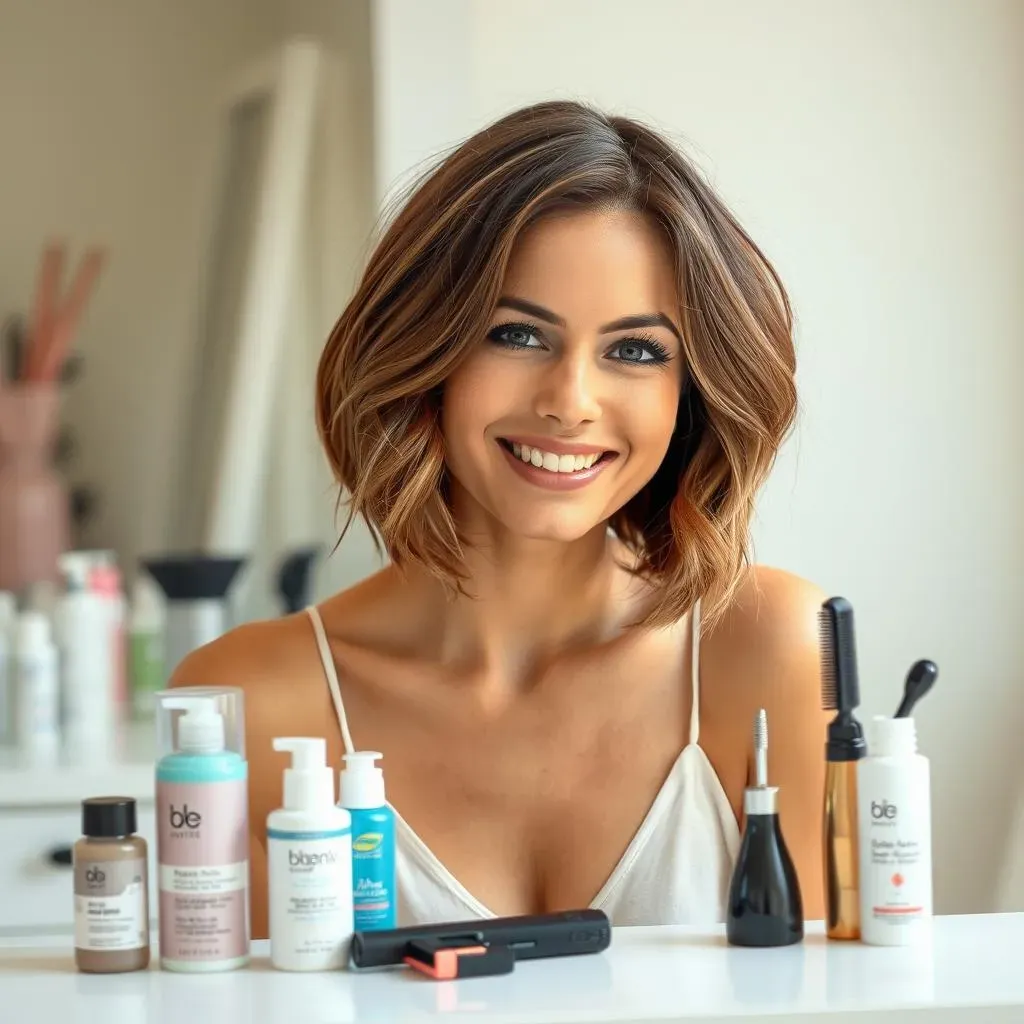
Let's talk products, because let's face it, even the best bob hair cut at home needs a little help to look its absolute best. The right products can enhance your bob's texture, add volume, and protect it from damage. But with so many options on the market, it can be overwhelming to know where to start. First, consider your hair type. If you have fine hair, look for lightweight volumizing products that won't weigh your hair down. Mousse, root lifters, and texturizing sprays are all great choices. For thick hair, opt for smoothing serums, creams, and oils to tame frizz and add shine. If you have curly or wavy hair, embrace your natural texture with curl-enhancing products like gels, creams, and mousses.
Heat protectant is non-negotiable, especially if you use heat styling tools like flat irons or curling wands. Apply it to damp hair before blow-drying or styling to shield your strands from damage. And don't forget about hairspray! A light-hold hairspray can help to keep your bob in place without making it stiff or crunchy. Look for alcohol-free formulas to prevent dryness. Finally, invest in a good quality shampoo and conditioner that are specifically formulated for your hair type. Avoid sulfates, which can strip your hair of its natural oils. With the right products in your arsenal, you can keep your bob looking healthy, shiny, and styled to perfection.
Product Type | Benefits | Recommended for |
|---|---|---|
Volumizing Mousse | Adds volume and lift | Fine hair |
Smoothing Serum | Tames frizz and adds shine | Thick hair |
Curl Enhancing Cream | Defines curls and waves | Curly/wavy hair |
Heat Protectant | Protects hair from heat damage | All hair types |
Embrace Your Inner Stylist: Mastering the Bob Hair Cut at Home
So, you've reached the end of our DIY bob haircut journey! By now, you should feel empowered with the knowledge and confidence to maintain a stylish bob, all without breaking the bank at the salon. Remember, practice makes perfect, and don't be afraid to experiment with different lengths and styling techniques to find what works best for you. With a little patience and our guidance, you can confidently rock a perfectly chic bob, showcasing your personal style and saving money along the way. Now go forth and conquer the world, one fabulous bob at a time!