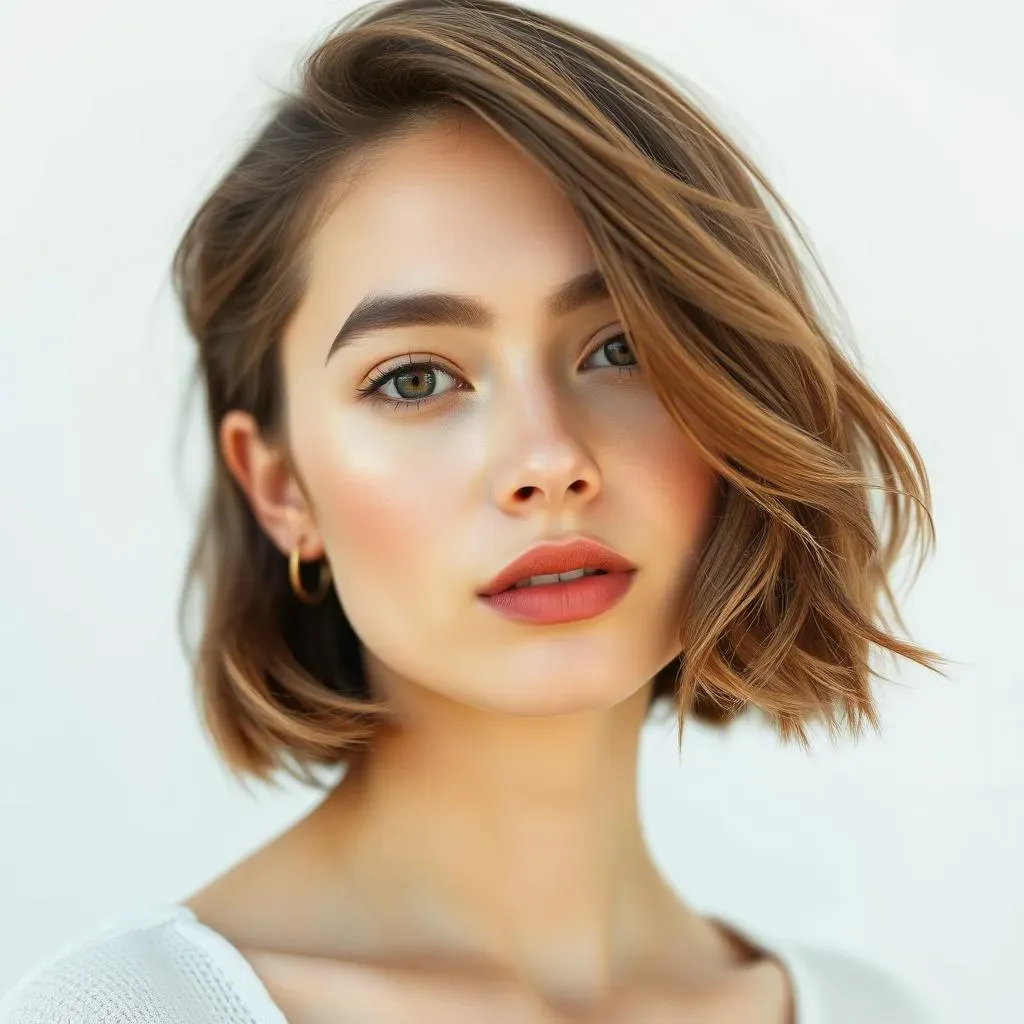
Thinking about a fresh new look? The classic bob is always a stylish choice. If you're feeling brave (and maybe a little broke), you might be wondering about a bob hair cut how to do it yourself. While a salon visit is always a great option, learning to trim your own bob can save you time and money. This guide breaks down the process into manageable steps, whether you're maintaining an existing bob or going for a whole new chop.
Prep Like a Pro: Tools and Hair Prep for Your Bob Hair Cut

Prep Like a Pro: Tools and Hair Prep for Your Bob Hair Cut
Gather Your Arsenal: Essential Tools for a DIY Bob
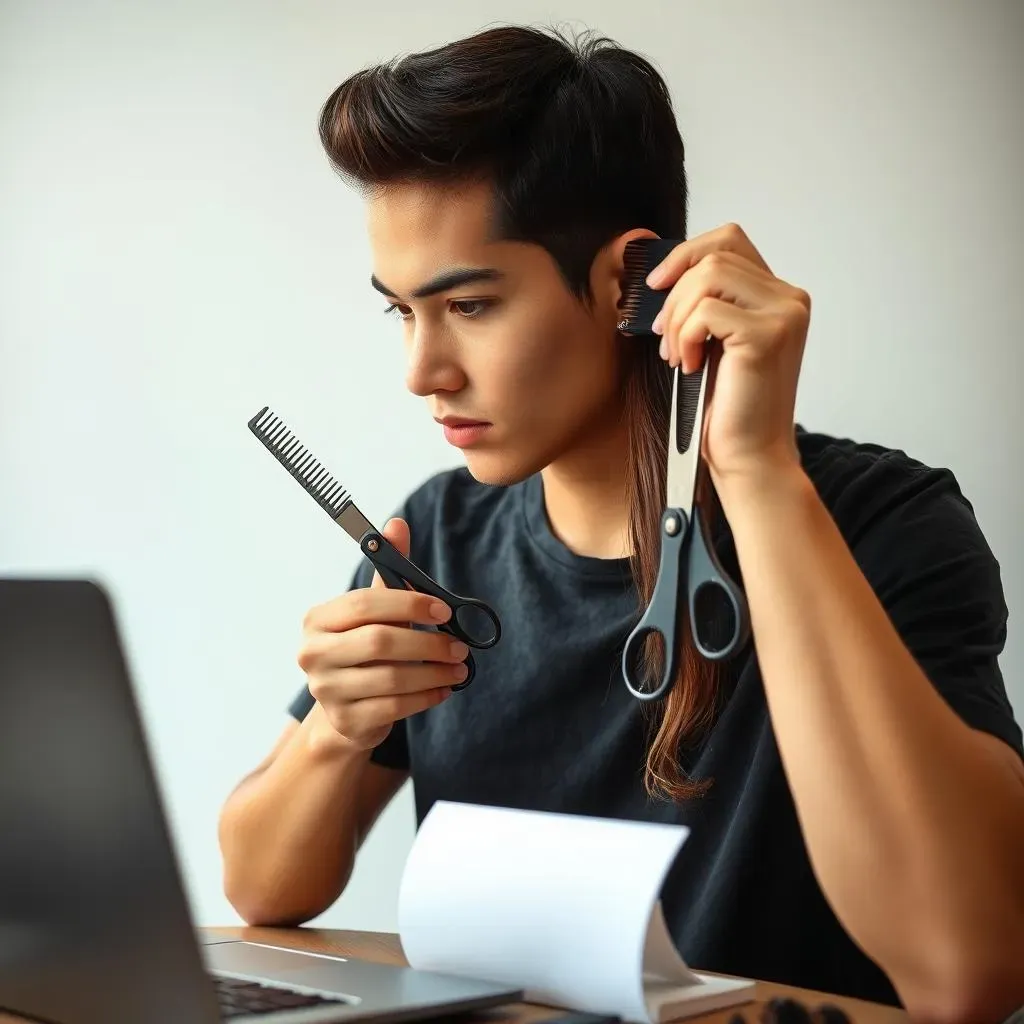
Alright, future bob-stars, before you even THINK about picking up those scissors, let's talk tools. Having the right equipment is half the battle, trust me. You wouldn't try to paint a masterpiece with a house brush, would you? Same goes for hair. Here's what you'll need:
- Sharp Hair Cutting Shears: This is non-negotiable. Dull scissors will tear your hair, leading to split ends and a jagged cut. Invest in a good pair – they'll pay for themselves in saved salon visits.
- Hair Clippers (Optional): If you're planning a more textured bob or have thick hair, clippers can be a lifesaver for creating clean lines and removing bulk.
- Hair Razor (Optional): For adding soft layers and texture, a hair razor can be your best friend. But be warned – it takes practice to master!
- Two Mirrors: You'll need one to see the front and one to see the back of your head. A handheld mirror and a wall-mounted mirror work perfectly.
- Hair Clips: These are essential for sectioning your hair and keeping it out of the way while you work.
- Comb: A fine-tooth comb is perfect for creating clean sections and ensuring even cuts.
- Spray Bottle with Water: Keeping your hair damp is crucial for a precise cut.
- Towel: To protect your clothes and catch any falling hair.
Don't skimp on the shears! A good pair makes all the difference. Think of it as an investment in your hair (and your sanity).
Hair Prep is Key: Setting the Stage for Success
Now that you've got your tools assembled, it's time to prep your hair. This step is just as important as the cut itself. Start by washing and conditioning your hair as usual. This will remove any product buildup and make your hair easier to work with.
Next, gently towel-dry your hair and comb it through to remove any knots or tangles. You want your hair to be damp, but not soaking wet. Use your spray bottle to keep it consistently moist throughout the cutting process. Finally, decide where you want your part to be. This will affect how your bob falls, so make sure you're happy with it before you start cutting. Remember, a little preparation goes a long way in achieving a great result!
Prep Step | Why It Matters |
|---|---|
Washing & Conditioning | Removes product buildup, makes hair easier to manage. |
Towel Drying (Damp, Not Wet) | Prevents slippage, allows for accurate cutting. |
Combing Through | Removes tangles, ensures even sections. |
Deciding on Part | Influences the overall shape and style of the bob. |
StepbyStep: How to Cut a Bob Hair Cut at Home
StepbyStep: How to Cut a Bob Hair Cut at Home
Sectioning is Sacred: Divide and Conquer Your Hair
deep breaths! This is where the magic (or potential mayhem) happens. Proper sectioning is crucial for an even bob. Using your comb, create a clean center part from your forehead to the nape of your neck. Now, divide your hair into two equal sections, one on each side of your head. Clip one section out of the way. Working with the other section, divide it horizontally into two more sections – an upper and a lower. Clip the upper section up and away. You should now have three sections of hair clipped up, leaving one section (the lower section on one side of your head) ready to be cut. Repeat on the other side. This ensures you're working with manageable amounts of hair and minimizing mistakes. Think of it like building a house – a solid foundation (sectioning) is key!
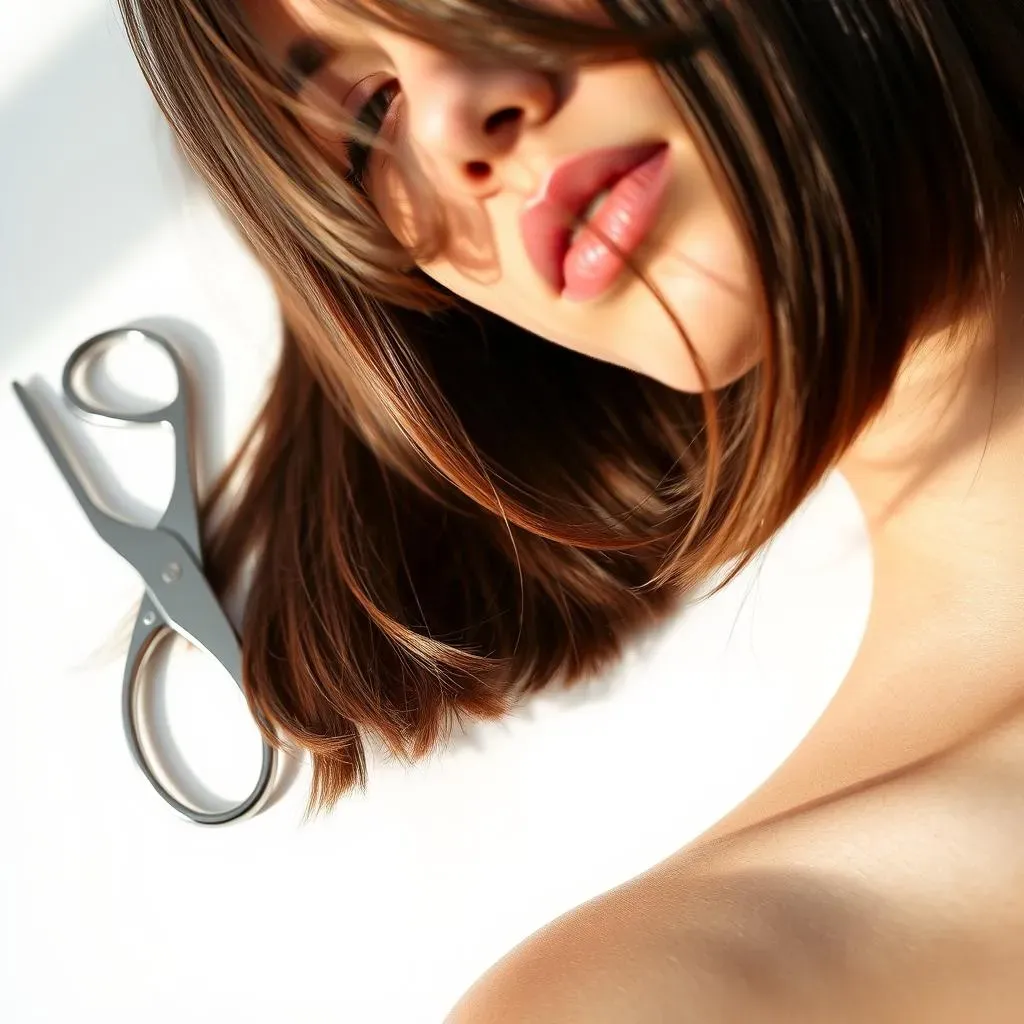
The First Cut is the Deepest (But Should Be Measured!): Establish Your Length
Alright, time for the big chop! Before you snip, decide on the length you want your bob to be. Remember, you can always cut more off, but you can't glue it back on! It's always better to start longer and gradually shorten it. Take the unclipped lower section of hair on one side. Using your comb, pull the hair straight down and hold it taut between your fingers. Now, carefully cut across the hair, creating a straight line. Use your fingers as a guide to ensure the cut is even. Don't try to cut all the hair at once – work in small sections to maintain control. Repeat this process on the other lower section of hair, making sure both sides are the same length. This initial cut establishes the baseline for your bob.
Pro Tip: For a slightly angled bob, cut the front sections a bit longer than the back sections.
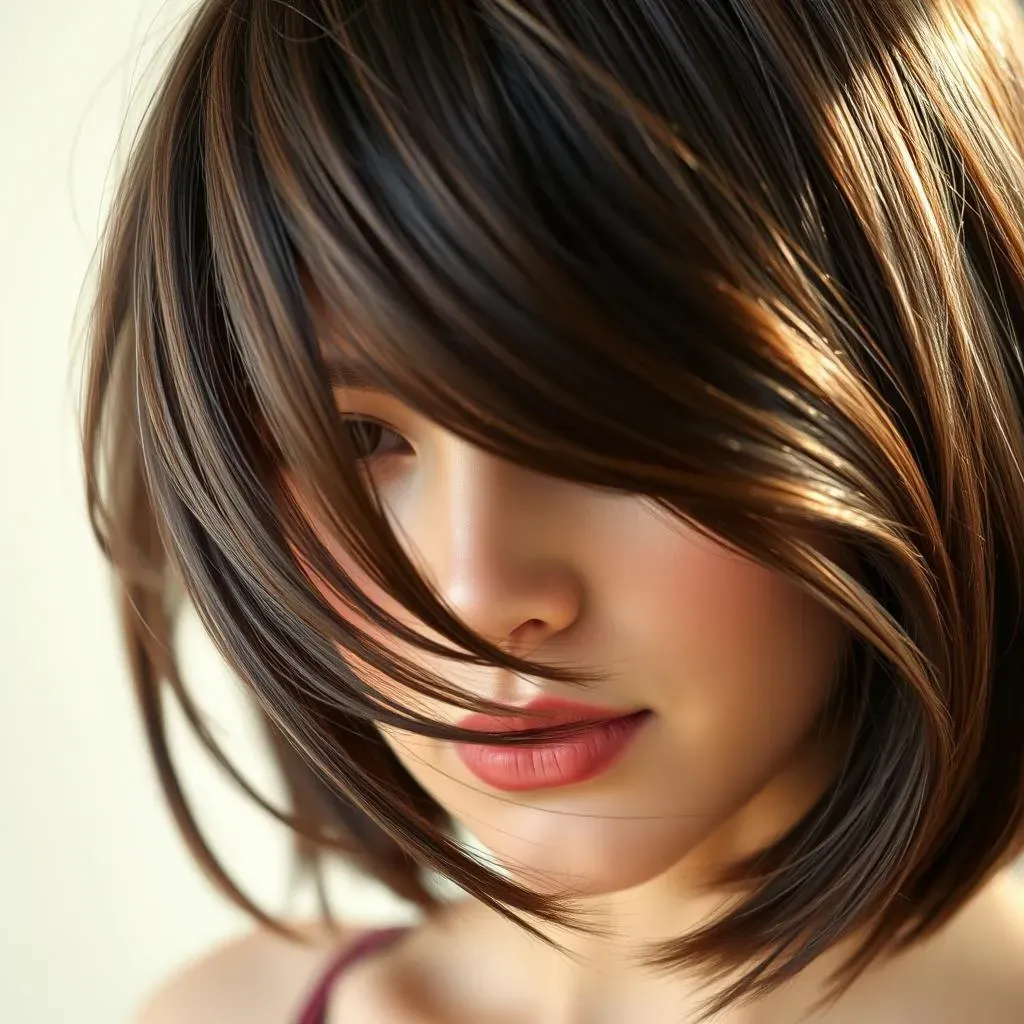
Refine and Define: Blending and Texturizing for a Polished Look
Now that you've established the basic shape and length, it's time to refine the cut and add some personality. Release the upper sections of hair and comb them down. Use your fingers to blend these sections into the lower sections, softening any harsh lines. If you want to add texture, you can use your hair razor to create subtle layers. Hold the razor at a slight angle and gently slide it down the hair shaft, removing small amounts of hair. Be careful not to overdo it – less is more when it comes to texturizing! Finally, use your thinning shears to remove any bulk or weight from the ends of your hair. This will create a softer, more natural look. Remember, the goal is to create a bob that's both stylish and easy to manage.
Technique | Purpose |
|---|---|
Blending Sections | Softens harsh lines, creates a seamless transition. |
Texturizing with Razor | Adds movement and dimension to the hair. |
Thinning Shears | Removes bulk, creates a softer, more natural look. |
Bob Hair Cut: Styling Tips for Your Freshly Cut Bob
Bob Hair Cut: Styling Tips for Your Freshly Cut Bob
Embrace the Air Dry: Effortless Texture for Your Bob
you've got your fresh bob – now what? One of the best things about this cut is its versatility. For a relaxed, everyday look, embrace the air dry! After washing, gently towel-dry your hair and apply a texturizing product, like a sea salt spray or mousse. Scrunch your hair with your fingers to enhance your natural waves or curls. Let it air dry completely, and voila! Effortless, beachy texture that looks like you spent hours styling it (when you really just binge-watched Netflix).
If you have finer hair, try a volumizing mousse to add some lift at the roots. For thicker hair, a curl-defining cream will help to control frizz and enhance your natural texture. Experiment with different products to find what works best for your hair type.
Hair Type | Product Recommendation | Styling Tip |
|---|---|---|
Fine Hair | Volumizing Mousse | Apply at the roots for lift. |
Thick Hair | Curl-Defining Cream | Control frizz, enhance texture. |
Wavy/Curly Hair | Sea Salt Spray | Enhance natural waves/curls. |
Heat Styling Heroes: Elevating Your Bob for Special Occasions
Want to take your bob from casual to chic? Heat styling is your friend! A flat iron can create a sleek, polished look, while a curling iron or wand can add waves and curls for a more glamorous vibe. Before you reach for the heat, though, always apply a heat protectant spray to shield your hair from damage. Divide your hair into sections and work your way around your head, using your chosen tool to create your desired style. Remember, practice makes perfect! Don't be afraid to experiment with different techniques to find what you like best.
For a sleek, straight bob, use a flat iron to smooth each section of hair, paying attention to the ends. For soft waves, wrap sections of hair around a curling wand, leaving the ends out for a more modern look. And for bouncy curls, use a curling iron with a clamp, holding each section for a few seconds before releasing.
Accessorize and Personalize: Adding Your Unique Flair to Your Bob
Don't underestimate the power of accessories! Headbands, scarves, clips, and barrettes can instantly transform your bob and add a touch of your personal style. A simple headband can keep your hair out of your face while adding a pop of color. A silk scarf can be tied around your head for a bohemian vibe. And sparkly clips or barrettes can dress up your bob for a night out.
Beyond accessories, consider playing with different parts or adding braids for a unique twist. A deep side part can create a more dramatic look, while a center part can be more classic and balanced. Small braids can be incorporated into your bob for added texture and visual interest. The possibilities are endless – so have fun and let your creativity shine!
Remember: Confidence is the best accessory! Rock your bob with pride, no matter how you style it.
Maintaining Your Bob Hair Cut: Trims and Upkeep
Maintaining Your Bob Hair Cut: Trims and Upkeep
The Trim Truth: When and Why to Snip
so you've rocked your DIY bob, and it looks amazing! But let's be real, hair grows, and bobs are notorious for losing their shape quickly. To keep your bob looking fresh and sharp, regular trims are essential. Generally, you'll want to trim your bob every 4-6 weeks. This will help to maintain the length and shape, prevent split ends, and keep your hair looking healthy. If you notice your bob starting to look uneven or shapeless before the 4-week mark, don't hesitate to grab those scissors and give it a quick trim. A little maintenance goes a long way in preserving your perfect bob!
Think of it like watering a plant. You wouldn't wait until it's completely withered to give it some love, would you? Regular trims are like watering your bob, keeping it healthy and vibrant.
DIY Trim Tips: Mastering the Maintenance
Feeling confident? You can absolutely trim your bob at home between salon visits. The key is to take it slow and be precise. Start by dampening your hair and sectioning it as you did when you initially cut your bob. Use your comb to pull small sections of hair straight down and trim any split ends or uneven pieces. Focus on maintaining the overall shape and length of your bob. If you're unsure, it's always better to trim less rather than more. You can always go back and trim more later. And remember, practice makes perfect! The more you trim your bob, the better you'll get at it.
If the thought of trimming your own hair terrifies you, don't worry! You can always enlist the help of a friend or family member. Just make sure they have a steady hand and a good eye for detail.
Trim Type | Frequency | Focus |
|---|---|---|
Regular Trim | 4-6 weeks | Maintain length and shape, prevent split ends. |
Spot Trim | As needed | Address uneven pieces or stray hairs. |
Product Power: Keeping Your Bob in Tip-Top Shape
Beyond trims, the products you use can also play a big role in maintaining your bob's health and appearance. A good shampoo and conditioner are essential for keeping your hair clean and hydrated. Look for products that are specifically designed for your hair type. If you have fine hair, use a volumizing shampoo and conditioner to add body and bounce. If you have thick hair, use a moisturizing shampoo and conditioner to prevent dryness and frizz. And if you have color-treated hair, use a color-safe shampoo and conditioner to protect your color.
In addition to shampoo and conditioner, consider incorporating other products into your hair care routine. A leave-in conditioner can help to detangle your hair and add moisture. A hair serum can smooth frizz and add shine. And a heat protectant spray is a must if you use heat styling tools.
- Shampoo & Conditioner: Choose products for your hair type.
- Leave-In Conditioner: Detangles and adds moisture.
- Hair Serum: Smooths frizz and adds shine.
- Heat Protectant: Protects from heat damage.
Beyond the Basics: Advanced Bob Hair Cut Techniques and Considerations
Beyond the Basics: Advanced Bob Hair Cut Techniques and Considerations
Asymmetrical Adventures: The Lopsided Bob
Ready to kick things up a notch? The asymmetrical bob is where it's at! It's edgy, it's modern, and it's a fantastic way to add some serious personality to your look. The key here is confidence and precision. An asymmetrical bob simply means one side is noticeably longer than the other. This can be subtle, with just a half-inch difference, or dramatic, with several inches separating the two sides. The choice is yours! To achieve this, follow the basic bob cutting techniques, but intentionally leave one side longer as you establish your baseline cut. Remember to double-check your angles in the mirror to ensure a smooth, even line. This style works wonders on various hair textures, adding volume and movement.
Pro Tip: Start with a smaller difference in length – you can always go bolder later!
Asymmetry Level | Length Difference | Vibe |
|---|---|---|
Subtle | 0.5 - 1 inch | Modern, Chic |
Moderate | 1 - 2 inches | Edgy, Stylish |
Dramatic | 2+ inches | Bold, Statement-Making |
Layering Like a Boss: Adding Dimension and Movement
Want to pump up the volume and add some serious movement to your bob? Layers are your secret weapon! Layering involves cutting different lengths of hair to create texture and dimension. This can be achieved using a hair razor or scissors, depending on the desired effect. For soft, subtle layers, use a hair razor to gently remove small amounts of hair from the mid-lengths to the ends. For more defined layers, use scissors to create distinct sections of varying lengths. When layering a bob, it's important to consider your hair type and face shape. Shorter layers can add volume to fine hair, while longer layers can help to tame thick hair. And face-framing layers can soften your features and create a more flattering silhouette. Don't be afraid to experiment and find what works best for you!
Caution: Layering can be tricky! If you're not comfortable with it, it's best to leave this technique to the professionals.
Conclusion: Rocking Your DIY Bob Hair Cut
So, you've taken the plunge and given yourself a bob hair cut! Hopefully, this guide has given you the confidence and know-how to achieve a stylish look at home. Remember, practice makes perfect, and don't be afraid to experiment with different styling techniques to find what works best for you. While DIY haircuts can be empowering, always listen to your gut. If you're feeling unsure or want a more complex style, don't hesitate to consult a professional stylist. But for basic trims and maintaining a classic bob, you've now got the skills to keep your hair looking fresh and fabulous, all on your own.