Table of Contents
you got the trendy butterfly cut, right? Those face-framing layers, the volume, the whole vibe. It looks fantastic down, bouncy and full of life. But then Tuesday rolls around, you need to actually *do* something, and suddenly you're thinking, "Can I even put this thing in a ponytail?" It's a fair question. All those carefully crafted layers can feel like they're fighting against the very idea of being pulled back neatly. Trying to wrangle them into a simple elastic band can feel like wrestling a greased piglet. But don't despair or reach for the scissors just yet. The beauty of the butterfly cut is its adaptability. You absolutely *can* rock a fantastic butterfly cut hair ponytail, whether you're hitting the gym, heading to a meeting, or just want your hair off your neck on a hot day. We're going to walk through exactly how to make it work, explore different ponytail styles that complement those layers, and give you the lowdown on keeping it looking good. Forget the struggle; let's make that ponytail happen.
Why the Butterfly Cut Works in a Ponytail
Why the Butterfly Cut Works in a Ponytail
So, you’re looking at your beautiful, layered butterfly cut and wondering how it possibly tames into a ponytail. It seems counter-intuitive, right? All those strategic short pieces around the face, the longer layers underneath – aren't they just going to fall out and make a mess? Here's the secret: the very structure that gives the butterfly cut its signature volume and movement is what makes a butterfly cut hair ponytail surprisingly effective. Those shorter layers frame your face even when pulled back, preventing that severe, pulled-tight look. The longer layers provide the bulk and length for the actual ponytail itself. Instead of fighting the layers, you're actually using them to create texture and a softer look than a flat, single-length ponytail. It's not about getting every single hair perfectly slicked back; it's about embracing the controlled messiness and volume the layers provide.
Styling Your Butterfly Cut Hair Ponytail: A Simple Guide
Styling Your Butterfly Cut Hair Ponytail: A Simple Guide
Gather Your Tools and Prep Your Hair
so you're ready to tackle the butterfly cut hair ponytail. First things first, gather your gear. You'll need a good brush, maybe a comb for smoothing, a hair tie that won't snag (the fabric-covered ones are great), and possibly some hairspray or a texturizing spray depending on the look you're going for. Start with dry hair. Trying to do this with wet hair is a recipe for a tangled mess and uneven results. Brush through your hair gently to get rid of any knots. If your layers are feeling a bit *too* slippery or flyaway, a little bit of dry shampoo or texturizing spray at the roots and mid-lengths can give them some grip and make them easier to control when pulling back.
Mastering the Pull-Back Technique
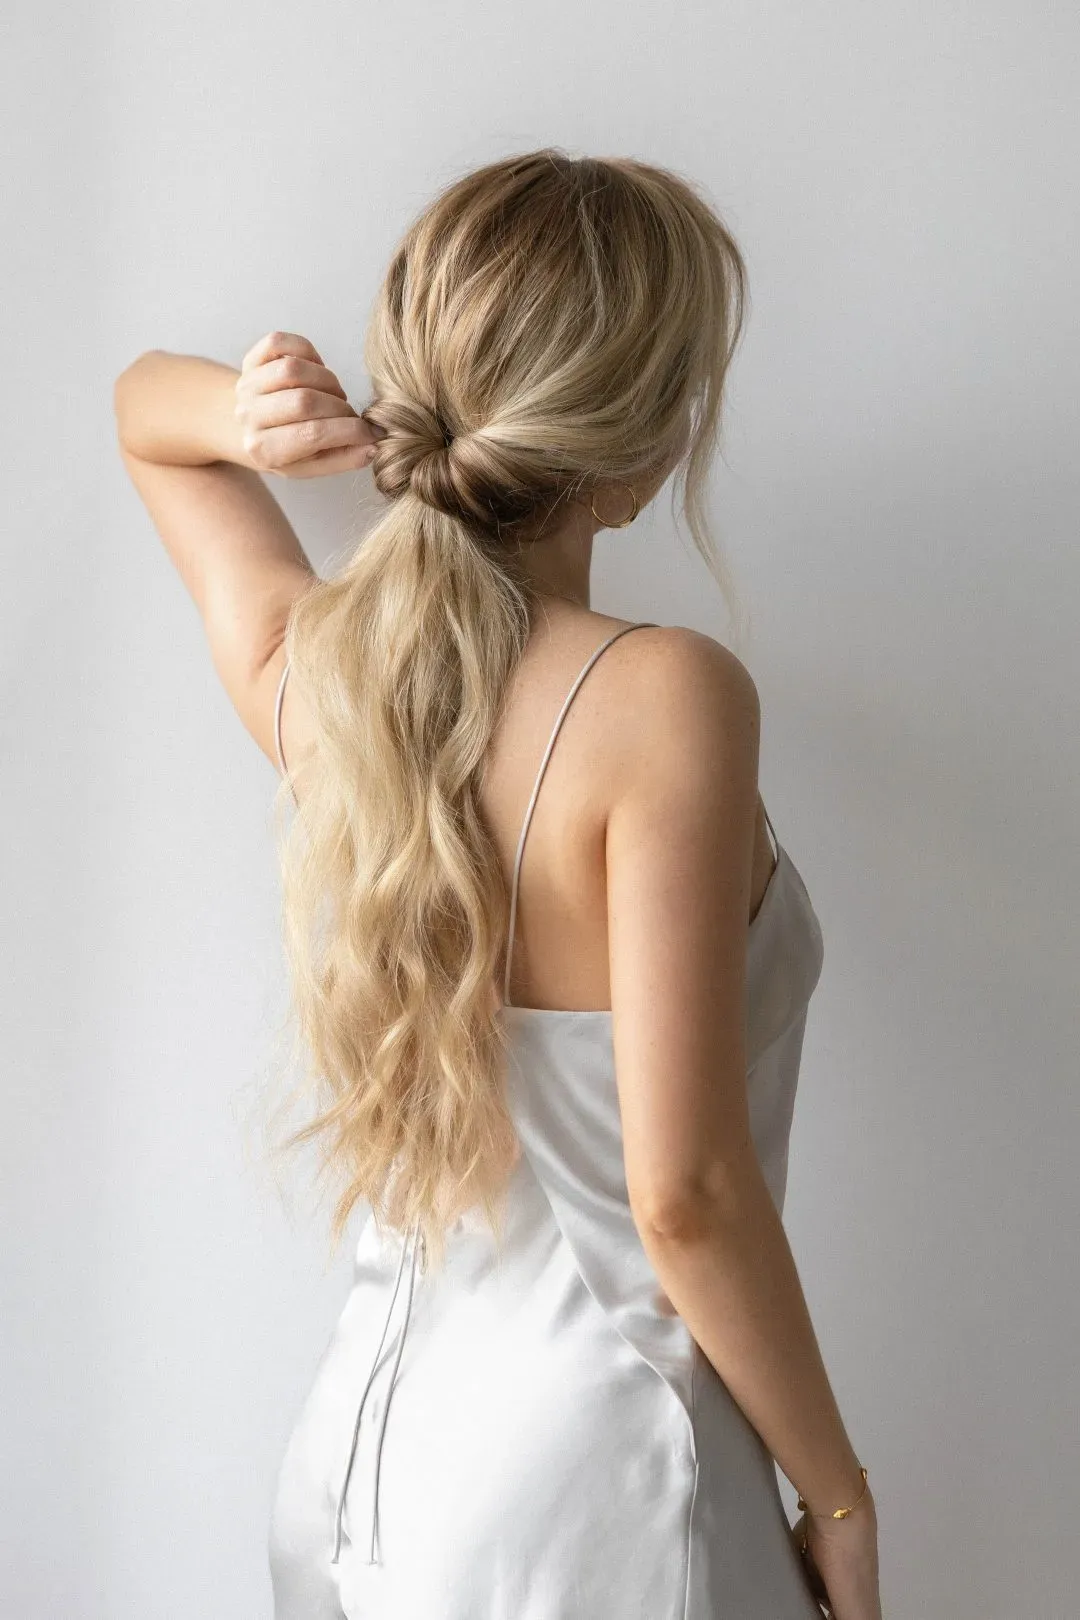
Now for the main event: getting the hair into the ponytail. Don't just yank it all back like you would with a blunt cut. With a butterfly cut, you want to be a bit more strategic. Lean your head back slightly – this helps keep the nape area smooth. Use your fingers or a brush to gently sweep the hair back, starting from the front and working your way back. Don't worry about getting every single short layer perfectly slicked back initially. You can always use a comb or your fingers to smooth those down after the ponytail is secured. The goal is to gather the bulk of the longer hair while allowing those face-framing layers to fall naturally or be intentionally styled around your face later. Secure with your hair tie.
Here's a quick checklist:
- Brush hair thoroughly.
- Apply texturizing spray if needed.
- Lean head back slightly.
- Gather hair gently with fingers or brush.
- Secure with a gentle hair tie.
- Smooth down flyaways if desired.
High, Low, and Messy: Ponytail Styles for Your Butterfly Cut Hair
High, Low, and Messy: Ponytail Styles for Your Butterfly Cut Hair
The Classic High Butterfly Cut Ponytail
So, you've got your hair prepped and gathered. Now, where to put it? The high ponytail is a classic for a reason, and it works surprisingly well with a butterfly cut hair ponytail. When you pull the hair up high on your head, those shorter face-framing layers naturally fall out around your face and temples. This isn't a bug, it's a feature! It gives you that soft, effortless look without needing a ton of styling. You get the height and lift of a traditional high pony, but with added texture and shape around your face thanks to the layers. It keeps the hair off your neck and gives a sporty or chic vibe depending on how you dress it up.
Effortless Chic: The Low Butterfly Cut Ponytail
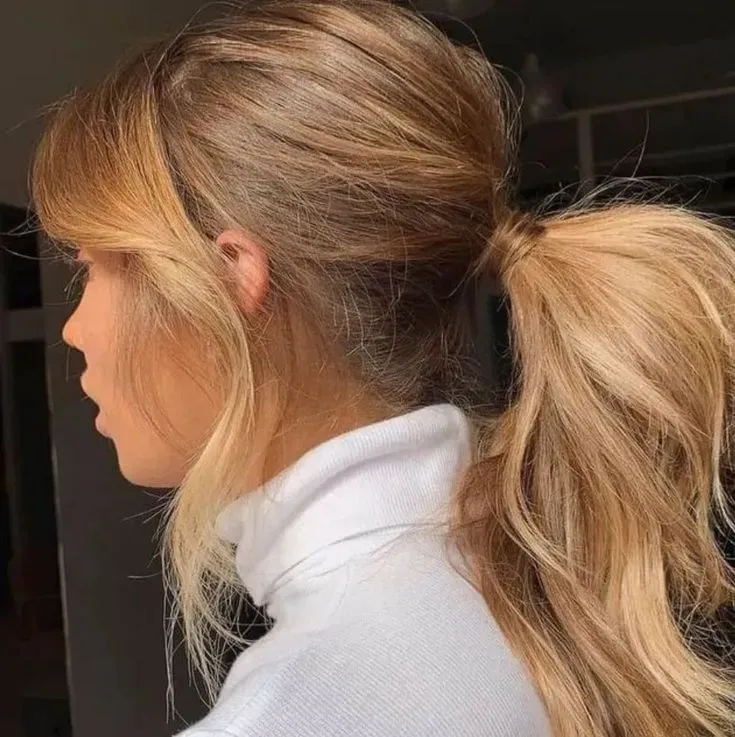
If you're going for something a bit more understated or elegant, the low ponytail is your friend. Gathering your butterfly cut hair ponytail at the nape of your neck creates a completely different look. The shorter layers here tend to blend more into the ponytail itself or create subtle texture right at the base. This style is perfect for showcasing the length of the longer layers. It feels sophisticated and polished without being fussy. It's my go-to when I need to look put-together quickly for a meeting or a dinner out. Plus, it's often more comfortable for long wear than a super high pony.
Different heights, different vibes:
- High Pony: Energetic, face-framing, voluminous crown.
- Mid-Pony: Versatile, balanced, good for securing more layers.
- Low Pony: Elegant, sleek base, emphasizes length.
Embracing the Chaos: The Messy Butterfly Cut Ponytail
Let's be honest, sometimes the best styles happen when you don't try too hard. The messy ponytail is where the butterfly cut truly shines. Instead of fighting those layers that want to escape, you encourage them. Pull your hair back loosely, maybe not even using a brush initially. Secure it, and then gently pull out pieces around your face, the nape, and even within the ponytail itself to create texture and volume. The different lengths in the butterfly cut naturally lend themselves to this undone look. It's perfect for casual days, running errands, or when you want to look effortlessly cool. Don't aim for perfection; aim for lived-in texture.
Making Your Butterfly Cut Hair Ponytail Last: Maintenance Tips
Making Your Butterfly Cut Hair Ponytail Last: Maintenance Tips
Alright, so you've got your butterfly cut hair ponytail looking sharp, whether it's high, low, or perfectly messy. The next trick is making it last longer than your morning commute. Those beautiful layers, while great for style, can also be notorious for trying to escape the confines of your hair tie as the day wears on. Preventing this requires a bit of strategy, not just hoping for the best. It's not about shellacking your head with hairspray until it's a helmet, but about smart moves that keep things in place without looking stiff or unnatural. Think about the enemies of a good ponytail: gravity, movement, and moisture (or lack thereof). Tackling these head-on is key to keeping your butterfly cut hair ponytail looking fresh from morning coffee to evening unwind.
Here are a few quick tips to boost your ponytail's lifespan:
- Use a good quality, gentle hair tie that doesn't stretch out immediately.
- Smooth down flyaways *after* securing the ponytail, rather than trying to get everything perfect beforehand.
- A light mist of flexible hold hairspray can tame stubborn shorter layers around the face.
- Avoid constantly touching or adjusting your ponytail throughout the day – it just loosens things up.
- Consider a small bobby pin strategically placed if a specific layer keeps escaping.
Common Problems and Quick Fixes for Your Butterfly Cut Hair Ponytail
Common Problems and Quick Fixes for Your Butterfly Cut Hair Ponytail
The Great Escape: Layers Falling Out
you've secured your butterfly cut hair ponytail, you turn your head, and *poof* – those shorter face-framing layers are staging a breakout. This is probably the most common complaint. It's like they have a mind of their own, determined to defy gravity and your hair tie. The truth is, some layers *will* likely fall out, and that's often part of the intended look – that soft, effortless vibe. However, if it's more of an uncontrolled cascade than a gentle frame, you need a plan. Trying to jam every single short piece into the main tie rarely works and often creates awkward bumps. Instead, focus on securing the bulk, then managing the escapees.
A little bit of product goes a long way here. A flexible hold hairspray misted onto your fingertips and then smoothed over the flyaway areas can coax them into submission without making your hair feel like cardboard. For really stubborn pieces right around your face or behind your ears, a small bobby pin matched to your hair color is your best friend. Slide it in discreetly parallel to your head, pushing the offending layer back towards the ponytail base. Don't over-pin; just target the main culprits.
Bump City: Unevenness and Lumps
You think you've got it smooth, but when you look in the mirror from the side, it's a topographical map of lumps and bumps. This often happens when you try to gather the hair too quickly or don't fully detangle before pulling it back. The different lengths in a butterfly cut can snag on each other, creating those annoying ridges under the ponytail. It's frustrating because you're aiming for sleek or at least smooth at the crown, and you get... Mount Everest.
Prevention starts with a thorough brush-through before you even think about grabbing the hair tie. Lean your head back slightly as you gather the hair – this helps smooth the nape. Use a comb, held at a slight angle, to gently smooth the top and sides *as* you pull the hair back. Once the ponytail is secured, you can often fix minor bumps by inserting the tail of a comb or a finger under the bump and gently pulling the hair taut from the base of the ponytail while holding the bump down. It's like giving your ponytail a little mini-facelift.
- Problem: Short layers escape.
- Fix: Finger-tip hairspray or strategic bobby pins.
- Problem: Bumps and unevenness.
- Fix: Thorough brushing, leaning head back, using a comb while gathering.
- Problem: Lack of volume at the crown.
- Fix: Teasing or using root-lifting products before securing.
Flat Crown Syndrome: Where Did the Volume Go?
One of the main reasons people get a butterfly cut is the volume it creates, especially around the crown. So it's a real letdown when you pull it into a butterfly cut hair ponytail, and suddenly your crown looks flatter than a pancake. The weight of the ponytail can pull the hair down, undoing all that lovely lift. This is particularly noticeable with high ponytails.
To combat this, you need to build volume *before* the ponytail goes in, or add it strategically afterward. If you want volume at the crown, try backcombing (teasing) the roots lightly in that area before gathering your hair. Use a fine-tooth comb and gently push the hair down towards the scalp in small sections. Don't go crazy; a little teasing creates a cushion. Alternatively, after the ponytail is secured, you can use the tail of a comb or your fingers to gently lift small sections of hair at the crown, loosening them slightly from the ponytail base. A little root-lifting spray applied before styling can also give you a head start on achieving that desired volume.
Making the Butterfly Cut Ponytail Work for You
So, there you have it. Putting your butterfly cut into a ponytail isn't some impossible feat of engineering after all. With a little understanding of how those layers behave and the right technique, you can easily pull your hair back without losing the essence of the cut. Whether it's a sleek high pony, a relaxed low one, or a messy bun cousin, the butterfly cut lends itself to surprisingly versatile updos. It just takes a moment to adjust your usual ponytail routine for those face-framing pieces. Keep these tips in mind, and you'll find your butterfly cut hair ponytail looks just as chic and effortless as when you wear it down. No more wrestling match required.