Table of Contents
Ready to transform your look with the trendy butterfly haircut? This butterfly haircut tutorial for beginners is your ultimate guide to achieving this stunning style at home. Forget expensive salon visits – we'll break down the process into easy-to-follow steps, perfect even if you've never picked up a pair of hair-cutting scissors before. We’ll start by exploring what makes a butterfly haircut unique and who it flatters best. Then, we'll gather the essential tools and prep your hair for a flawless cut. The core of the tutorial will focus on a step-by-step approach to sectioning and cutting your hair, ensuring you get the layered, face-framing effect that defines this popular style. Finally, we'll delve into styling and maintenance tips to keep your butterfly haircut looking its best for weeks to come. So grab your scissors (sharp ones!), a mirror, and let's get started on your new, fabulous look!
Understanding the Butterfly Haircut: What it is and who it suits

Understanding the Butterfly Haircut: What it is and who it suits
What is a Butterfly Haircut?
The butterfly haircut is a super trendy layered style that gets its name from the way the layers are cut to create a fluttery, winged effect around the face. Imagine delicate butterfly wings framing your features – that's the vibe! It involves creating shorter, face-framing layers that are longer towards the back, creating a beautiful shape and volume that's both flattering and chic. Think of it as a more modern, less severe take on traditional layered cuts. You can even customize it to suit your hair texture – it looks amazing on straight, wavy, and even curly hair (check out our guide on butterfly haircuts for curly hair for more info!).
One of the best things about the butterfly cut is its versatility. It can be adapted to suit different hair lengths, from long locks to shoulder-grazing bobs. It’s also incredibly customizable – you can add bangs, highlights, or lowlights to further personalize the look. Want to know more about styling? Head over to our styling tips guide for some inspiration!
Hair Type | Butterfly Haircut Suitability |
|---|---|
Straight | Adds volume and movement |
Wavy | Enhances natural texture and waves |
Curly | Creates defined curls and shape (requires careful layering) |
Who Does a Butterfly Haircut Suit?
The beauty of the butterfly haircut is that it can flatter many face shapes and hair types. It’s particularly great for those who want to add volume and movement to their hair, or those who want a style that frames the face beautifully. The layered nature of the cut can help to soften harsh angles, making it a fantastic choice for those with square or heart-shaped faces. However, it's worth noting that it might require a bit more styling for those with very fine or thin hair, though it can still work wonders! For more face shape-specific advice, you might find our guides on butterfly haircuts for round faces and square faces helpful.
Ultimately, whether or not a butterfly haircut is right for you depends on your personal preference and hair characteristics. If you’re looking for a low-maintenance style that adds a touch of elegance and movement, it’s definitely worth considering. It's a great choice for those who want a trendy, modern look that's still versatile and easy to style. Thinking about trying it for a special occasion? We have some ideas for butterfly haircuts perfect for weddings.
- Adds volume and movement
- Softens harsh features
- Works well with various hair textures
- Versatile for different face shapes
Essential Tools and Prep for your Butterfly Haircut Tutorial for Beginners

Essential Tools and Prep for your Butterfly Haircut Tutorial for Beginners
Gathering Your Supplies: What You'll Need
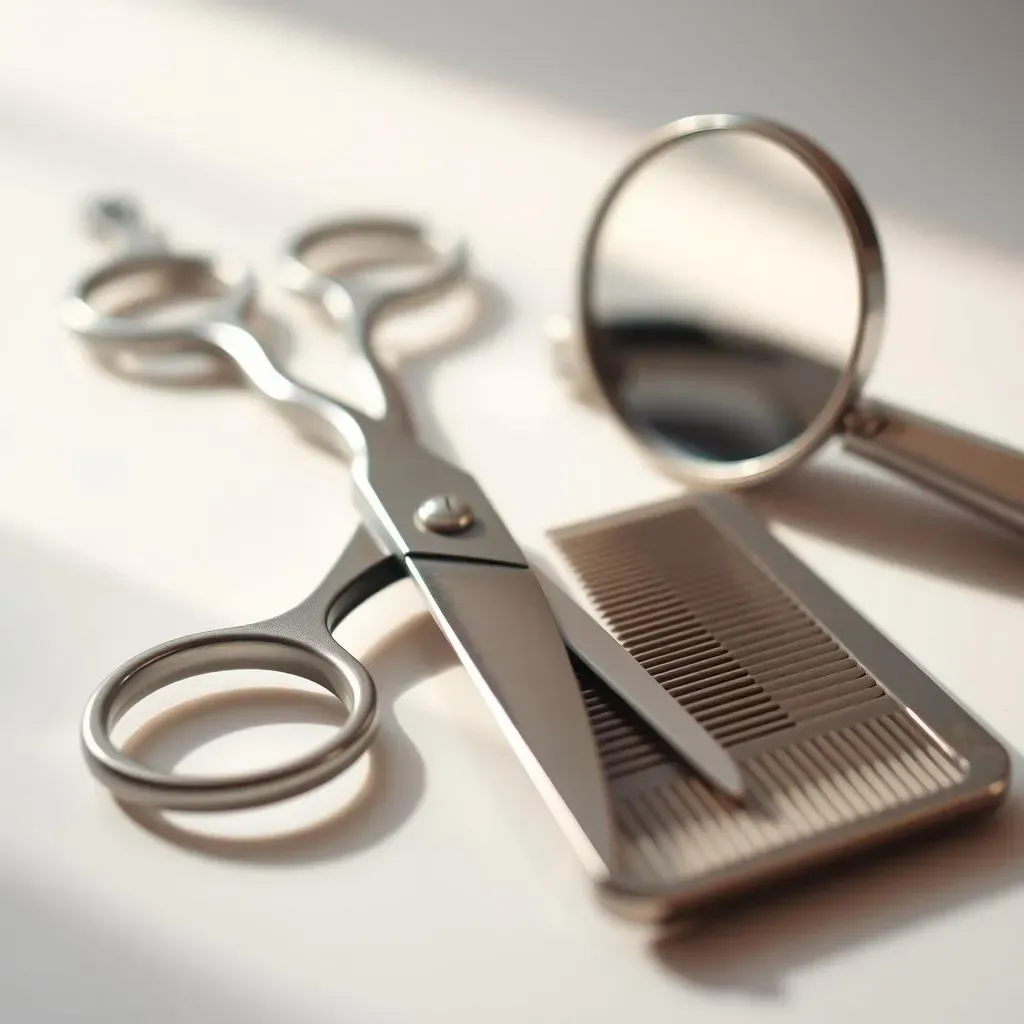
Before you even think about snipping, let's get organized! You'll need a few key tools for a successful butterfly haircut. First, and most importantly, you'll need a pair of sharp hair-cutting scissors. Dull scissors will lead to uneven cuts and damaged ends – trust me, I've been there! Professional hairdressing shears are ideal but a good quality pair from a craft store will do in a pinch. You'll also need a selection of hair clips to section your hair neatly; these are essential for precision cutting. A fine-toothed comb is crucial for creating clean parts and precise sections. Finally, a handheld mirror will help you see the back of your head, ensuring even layers. If you're feeling fancy, a spray bottle to lightly dampen your hair can make the cutting process smoother. Don't forget a towel to protect your clothing!
Preparing your hair is just as important as having the right tools. Start with clean, dry hair. This allows you to see your hair’s natural texture and makes it easier to section and cut. Avoid using any styling products before you start cutting, as this can make it harder to get a clean, precise cut. If you have particularly thick hair, consider using a detangling spray to make the process easier. For more specific advice on prepping your hair for different textures, check out our guide on butterfly haircuts for curly hair or straight hair.
- Sharp hair-cutting scissors
- Hair clips
- Fine-toothed comb
- Handheld mirror
- Spray bottle (optional)
- Towel
Prepping Your Hair: Setting Yourself Up for Success
Now that you've gathered your tools, let's prep your hair. Start by brushing your hair thoroughly to remove any knots or tangles. This will make sectioning much easier. Once your hair is completely detangled, you can decide whether to work with dry or slightly damp hair. Many find dry hair easier to work with for precision, but slightly damp hair can be less prone to flyaways. If you choose to dampen your hair, do so lightly using a spray bottle. Avoid soaking your hair, as this can make it difficult to manage.
Before you begin cutting, take a moment to visualize the final look you want to achieve. Study photos of butterfly haircuts and identify elements you like. This will help guide your cutting process. Remember, you can always start with smaller cuts and work your way up, so don't feel pressured to take off too much hair at once. For more inspiration, check out our wedding butterfly haircut ideas or our page on trendy butterfly haircut colors.
Step | Action |
|---|---|
1 | Brush hair thoroughly |
2 | Lightly dampen (optional) |
3 | Visualize desired look |
StepbyStep Butterfly Haircut Tutorial for Beginners: Sectioning and Cutting

StepbyStep Butterfly Haircut Tutorial for Beginners: Sectioning and Cutting
Sectioning Your Hair: The Foundation of a Great Cut
Alright, let's get cutting! The first step is all about creating neat sections in your hair. This is super important for getting even layers and that beautiful butterfly effect. Start by parting your hair down the middle, from your forehead to the nape of your neck. Then, use your clips to section off the top layer of your hair, leaving the bottom layers free for now. We'll tackle those later. The top section should be roughly triangular, starting from your hairline and extending to the crown of your head. Secure this section with a clip.
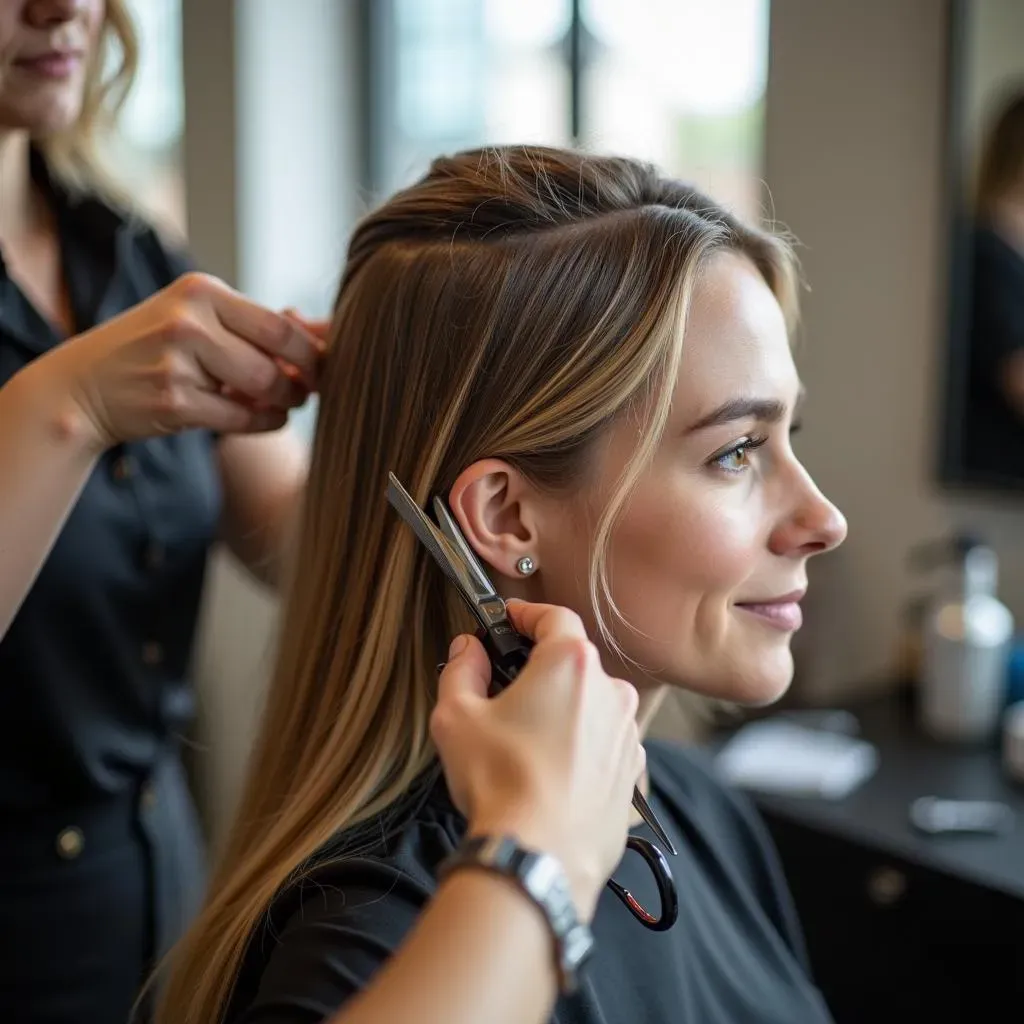
Next, we'll work on the face-framing layers. Take small sections from the front of your hair, starting near your temples. Hold each section away from your face at a slight angle and trim the ends. Remember, start small! You can always take more off, but you can't put it back. For a more precise cut, try using the point-cutting technique – that’s where you use the tips of your scissors to create soft, blended layers. If you're unsure about how much to take off, check out our guide for oval faces for some visual inspiration.
- Part hair down the middle
- Section top layer into a triangle
- Clip top section
- Take small sections from the front
- Trim ends at a slight angle
Creating the Layers: Achieving that Fluttery Effect
Now for the fun part – creating those signature butterfly layers! Unclip the top section of your hair. Divide this section into smaller parts, and again, hold each section away from your face at a slight angle. Use the point-cutting technique to trim the ends, creating soft, feathered layers. The key here is to create layers of varying lengths, ensuring they are shorter near your face and gradually get longer towards the back. Don't aim for a blunt cut; instead, focus on creating a soft, blended look that mimics the delicate shape of butterfly wings.
Once you've finished cutting the top section, move on to the bottom layers. You can either continue using the point-cutting technique or use a more traditional layered cutting method, depending on your preference and the thickness of your hair. Remember to check your progress frequently in the mirror to ensure even layers. If you're finding it tricky to cut the back of your hair, ask a friend for help, or check out our guide on DIY butterfly haircuts for some extra tips!
Section | Cutting Technique | Length |
|---|---|---|
Top | Point cutting | Shorter near face, longer towards back |
Bottom | Point cutting or traditional layering | Gradual increase in length |
Styling and Maintaining your Butterfly Haircut: Tips and Tricks

Styling and Maintaining your Butterfly Haircut: Tips and Tricks
Styling Your Butterfly Cut: From Everyday to Glam
Now that you've got your gorgeous butterfly haircut, let's talk styling! The great thing about this cut is its versatility. For everyday wear, a simple blow-dry with a round brush can add volume and shape. Focus on directing the layers away from your face to accentuate the face-framing effect. A texturizing spray can add extra oomph and definition to your waves or curls. Want some inspiration? Check out our article on styling tips for butterfly haircuts for more ideas!
For a more polished look, try using a straightener to create sleek, straight layers. This works particularly well if you have naturally straight hair. Alternatively, you can use a curling iron to create soft waves or curls, adding extra texture and movement. Remember to use a heat protectant spray before using any heat styling tools to prevent damage. Thinking of adding some color? See our page on trendy butterfly haircut colors for inspiration.
- Blow-dry with a round brush
- Use a texturizing spray
- Straighten for a sleek look
- Curl for added texture
- Use a heat protectant
Maintaining Your Butterfly Haircut: Keeping it Looking Fresh
To keep your butterfly haircut looking its best, regular trims are essential. Aim for a trim every 6-8 weeks to remove split ends and maintain the shape of the layers. This will prevent the layers from looking ragged or uneven. You can easily maintain the style at home with regular brushing and the occasional use of styling products. Always use a wide-tooth comb when detangling to prevent breakage, especially if you have curly or wavy hair. Need some tips on maintenance? Check out our butterfly haircut maintenance guide for more information!
When washing your hair, use a gentle shampoo and conditioner that are suited to your hair type. Avoid harsh sulfates and silicones, as these can strip your hair of its natural oils and make it more prone to damage. After washing, apply a leave-in conditioner or hair mask to add extra moisture and shine. This will help to keep your hair looking healthy and vibrant. For those with thicker hair, consider using a deep conditioning treatment once a week to keep your hair hydrated and manageable. If you are considering a butterfly haircut for your wedding day, take a look at our wedding-ready butterfly haircuts.
Maintenance Task | Frequency | Product Recommendations |
|---|---|---|
Trimming | Every 6-8 weeks | Professional stylist |
Washing | As needed | Gentle shampoo and conditioner |
Conditioning | After each wash | Leave-in conditioner or hair mask |