Thinking about a fresh, chic hairstyle without the salon price tag? You're in the right place! Learning how to cut hair in a bob at home is totally achievable, and this guide will walk you through every snip. A bob is a timeless classic, versatile enough to suit any face shape and easy to style once you get the cut down.
Gathering Your Supplies to Cut Hair in a Bob
Gathering Your Supplies to Cut Hair in a Bob
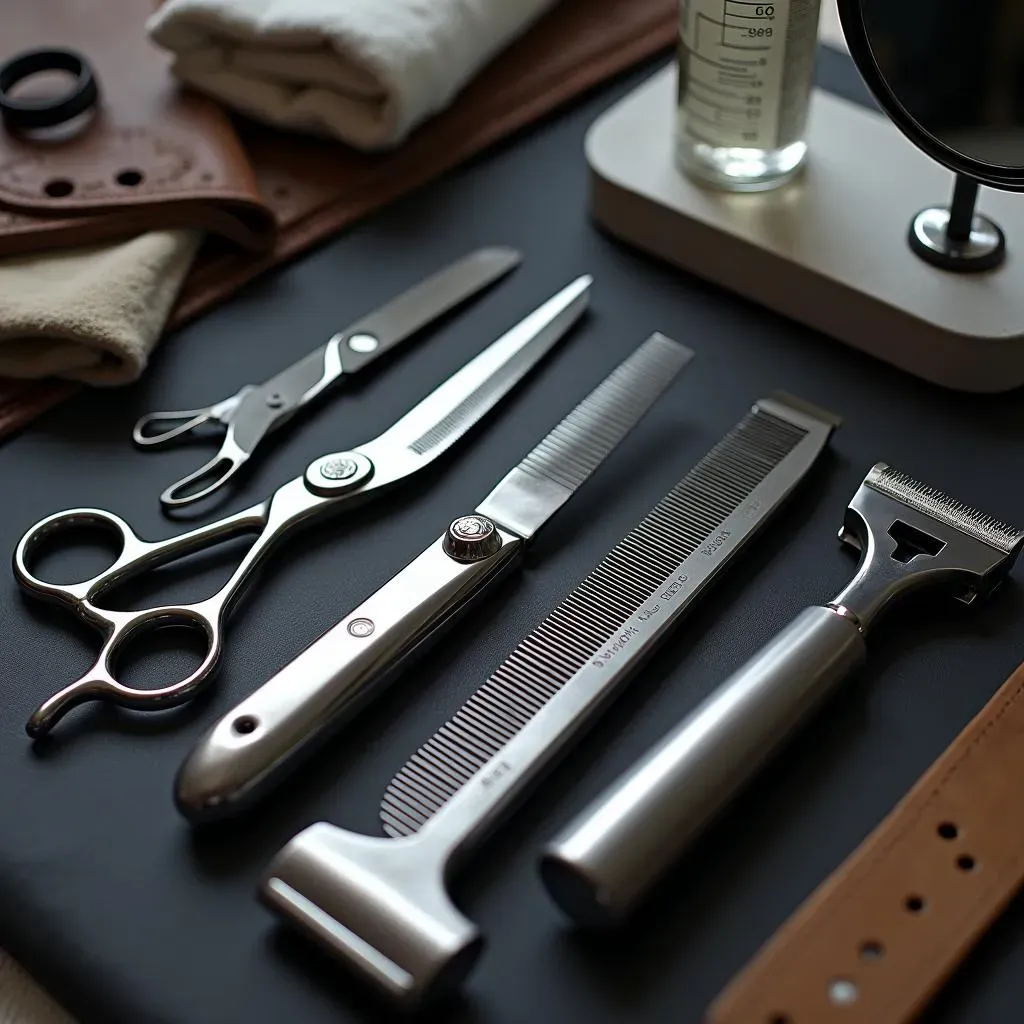
so you're diving into the world of DIY bob haircuts? Awesome! First things first, let's talk about what you'll need. Trust me, having the right tools makes all the difference between a salon-worthy cut and a, well, let's just say "unique" look. You can't just grab any old scissors from the junk drawer – this is your hair we're talking about! Quality is key here, think professional-grade shears. Not the craft kind.
Beyond the shears, you'll want a good comb – preferably one with fine teeth for precision. Clippers can be helpful for a super-blunt, modern bob, and a hair razor is fantastic for softening edges and adding texture. Don't forget hair ties to section off your hair and a spray bottle filled with water to keep things damp and manageable. Having a cape or old towel to protect your clothes is also a smart move. Finally, grab a mirror (or two!) so you can see what you're doing from all angles. Preparation is half the battle, so let’s get you set up for success!
StepbyStep Guide to Cutting the Perfect Bob

StepbyStep Guide to Cutting the Perfect Bob
#1: Prep is Key
Alright, so you've got your gear. Now, let's get your hair ready. Start with clean, dry hair. I know, I know, some tutorials say wet, but trust me on this one, especially if you have any kind of wave or curl. Dry hair lets you see exactly what you're cutting. Brush it out completely to get rid of any knots or tangles. Now, divide your hair into manageable sections. A middle part is classic, but feel free to go off-center if that's more your style. Section from the forehead back to the nape of your neck, and then divide each side into two or three sections, depending on how thick your hair is. Secure each section with a hair tie at the length you want your bob to be.
#2: The Big Chop
Here comes the moment of truth! Take the back section and, using your shears or clippers, cut straight across just below the hair tie. Why below? Because it's always better to start a little longer – you can always trim more, but you can't glue it back on! Once you've cut the back, release the side sections. Now, this is where you can get creative. You can either cut the sides to match the back for a classic bob, or you can angle them slightly longer towards the front for an A-line bob. If you're going for the A-line, use your hair razor to gently shape and trim the sides, blending them into the back. Remember to work in small sections and take your time. Rushing is a recipe for disaster!
#3: Soften and Blend
so you've got the basic shape down. Now, let's soften those edges and blend everything together. This is where the hair razor really shines. Holding the razor at a downward angle, gently run it along the ends of your hair, using short, feathery strokes. This will remove any harsh lines and create a softer, more natural look. If you want to add some layers for extra volume, you can also use the point-cutting technique with your scissors. Just hold the scissors vertically and snip into the ends of your hair at a slight angle. Again, less is more – you can always add more layers later if you want. Finally, give your hair a good shake and check for any uneven spots. Trim as needed until you're happy with the overall shape and texture.
Here's a quick guide to the types of bobs you could cut:
- Classic Bob: Even length all around, typically chin-length.
- A-Line Bob: Longer in the front, gradually shorter in the back.
- Inverted Bob: Shorter in the back, longer layers that angle towards the front (more dramatic than A-line).
- Layered Bob: Incorporates layers of different lengths for added volume and movement.
- Blunt Bob: A sharp, even cut with no layers, creating a bold, modern look.
Expert Q&A: Achieving Your Dream Bob Haircut

Expert Q&A: Achieving Your Dream Bob Haircut
Alright, let's dive into some common questions I get asked all the time about cutting a bob. It's not always as straightforward as snip-snip-done, right? So, I've compiled some expert advice to help you nail that perfect bob. Think of this as your personal cheat sheet!
Q: "I'm scared I'll mess it up! Any advice for a newbie?"
A: Absolutely! Start slow. Don't try to take off too much length at once. It’s way easier to trim more later than to fix a cut that’s too short. Also, practice on a mannequin head if you're super nervous. They're relatively inexpensive and can save you from a hair-raising experience (pun intended!).
Q: "What's the best way to ensure my bob is even?"
A: Evenness is the holy grail of bob haircuts! Use a comb to meticulously measure each section before you cut. A good trick is to use your nose as a center point and measure equal distances from it on both sides. Also, check your work in the mirror from multiple angles to catch any discrepancies.
Q: "How do I add texture to my bob without making it look choppy?"
A: Texture is key for a modern bob. Point-cutting is your best friend here. Hold your scissors vertically and make small, angled snips into the ends of your hair. This will remove bulk and create movement without harsh lines. Another option is to use a texturizing razor, but be careful – it's easy to overdo it!
Q: "My hair is curly. Can I still cut a bob at home?"
A: Curly hair can be a bit trickier, but definitely doable! The key is to cut your hair dry, so you can see how the curls will fall. Cut each curl individually, following its natural shape. Avoid cutting straight across, as this can create a boxy look. And remember, curly hair shrinks when it dries, so don't cut it too short!
Question | Answer |
|---|---|
Best tools for a bob haircut? | Professional shears, fine-tooth comb, hair clips, and a spray bottle. |
How often should I trim my bob? | Every 4-6 weeks to maintain the shape. |
Can I cut layers into my bob at home? | Yes, using the point-cutting technique, but be cautious! |
Essential Tips for Maintaining Your Bob Haircut

Essential Tips for Maintaining Your Bob Haircut
#1: Regular Trims Are Non-Negotiable
so you've got your amazing new bob. Now, listen up: regular trims are absolutely crucial. I'm talking every 4-6 weeks, people! A bob's shape is what makes it so chic, and it loses its mojo fast as it grows out. Think of it like watering a plant – neglect it, and it'll start to droop. Plus, regular trims prevent split ends from creeping up and ruining your style. Trust me, a quick trim is way less of a hassle than dealing with a shapeless, damaged bob later on.
#2: Invest in Quality Styling Products
Your bob's best friend? Quality styling products. A good texturizing spray can add volume and definition, while a smoothing serum can tame frizz and flyaways. Heat protectant is a must if you're using hot tools (which, let's be honest, you probably are). And don't underestimate the power of a great hairspray to keep your bob in place all day long. But here's the key: don't go overboard! Too much product can weigh your hair down and make it look greasy. Start with a small amount and add more as needed.
#3: Master the Art of Styling
A bob might seem low-maintenance, but it actually requires a bit of styling know-how to look its best. Experiment with different techniques to find what works for your hair type and desired look. For a sleek, polished bob, use a flat iron and a smoothing brush. For a more textured, tousled bob, try scrunching your hair with a texturizing spray or using a curling wand to create loose waves. And don't forget about your part! A simple change in your part can completely transform your bob's look.
Here are some styling tools that you can use:
- Flat Iron: Ideal for creating sleek, straight styles.
- Curling Wand: Perfect for adding waves and curls.
- Round Brush: Use with a blow dryer to create volume and shape.
- Texturizing Spray: Adds texture and definition for a tousled look.
- Smoothing Serum: Tames frizz and adds shine.
Troubleshooting Common Bob Haircut Mistakes

Troubleshooting Common Bob Haircut Mistakes
so you've taken the plunge and given yourself a bob. But what happens when things don't go exactly as planned? Don't panic! We've all been there. Let's troubleshoot some common bob haircut mistakes and how to fix them. Think of it as your hair emergency hotline.
Mistake #1: Uneven Length
This is probably the most common issue. One side is shorter than the other, or the back is wonky. The fix? First, take a deep breath. Then, grab your comb and carefully measure each side. Identify the longest section and use it as your guide to trim the rest. Remember, small adjustments are key!
Mistake #2: Choppy Ends
Did you get a little scissor-happy and now your ends look like a jagged mountain range? No worries! A hair razor is your best friend here. Gently run the razor along the ends of your hair at a downward angle to soften those harsh lines. If you don't have a razor, you can also use the point-cutting technique with your scissors.
Mistake #3: Too Many Layers
Layers can add volume and movement, but too many can make your bob look thin and stringy. If you've gone overboard with the layers, the best thing to do is let it grow out a bit. In the meantime, use styling products that add volume and thickness to your hair. And next time, remember: less is more!
Mistake | Solution |
|---|---|
Uneven Length | Measure carefully and trim gradually. |
Choppy Ends | Use a hair razor or point-cutting technique. |
Too Many Layers | Let it grow out and use volumizing products. |
Conclusion: Rock Your DIY Bob Haircut with Confidence
So, you've reached the end of our guide on how to cut hair in a bob at home! Hopefully, you now feel empowered to pick up those shears and give yourself a stylish new look. Remember, practice makes perfect, and even if your first attempt isn't flawless, don't be discouraged. The beauty of a bob is its versatility and the ability to tweak it to perfectly suit your style. With a little patience and these tips, you'll be rocking a salon-worthy bob haircut without breaking the bank. Happy snipping!