Thinking about a fresh new bob but dreading the salon visit? You're not alone! Many are turning to the DIY world to save time and money, and one of the most popular techniques is the cut your own hair bob ponytail method. It sounds a little crazy, right? But trust me, it can be surprisingly effective for achieving a cute, textured bob at home. This method involves gathering your hair into a ponytail at the front of your head and making a single cut, creating layers and movement.
Understanding the Ponytail Method for a DIY Bob Haircut
Understanding the Ponytail Method for a DIY Bob Haircut
The Core Concept: Why a Ponytail?
Alright, so why a ponytail? It seems counterintuitive, but gathering your hair into a high ponytail before cutting is the secret sauce. When you pull all your hair to the center of your forehead and secure it, you're essentially creating a pivot point. Because of this pivot point, when you make the cut, the hair naturally falls into layered sections. The hair closest to your face will be the shortest, gradually getting longer towards the back. This is what gives you that trendy, textured bob without having to fuss with individual layers.
This method is all about controlled chaos. You're not aiming for perfect precision; you're embracing the natural fall and movement of your hair. It's a fantastic way to get a modern, slightly undone bob that looks effortlessly chic. Plus, it's way less intimidating than trying to cut precise layers yourself!
Is It Right for You? Hair Type & Bob Goals
Now, before you grab your scissors, let's be real: the ponytail method isn't a one-size-fits-all solution. It works best on hair that's relatively straight or has a slight wave. If you have super curly or textured hair, the results can be a bit unpredictable, and you might end up with a shape you didn't expect. Also, consider your desired bob length and style. This method is excellent for creating a shaggy, textured bob, but if you're after a blunt, super-precise bob, you might want to leave it to the professionals.
Think about it this way: Are you looking for a low-maintenance, slightly edgy bob? The ponytail method could be your new best friend. Do you dream of a perfectly symmetrical, polished bob? Maybe book an appointment with your stylist instead. Knowing your hair type and your bob goals is half the battle!
Here’s a quick guide to help you decide:
Hair Type | Best For | Considerations |
|---|---|---|
Straight to Wavy | Textured, shaggy bobs | Works best with minimal styling |
Slightly Curly | Adding volume and movement | May require some styling to define curls |
Very Curly/Textured | More unpredictable results | Best to consult a professional stylist |
StepbyStep Guide: How to Cut Your Own Hair into a Bob Using the Ponytail Method
StepbyStep Guide: How to Cut Your Own Hair into a Bob Using the Ponytail Method
Gather Your Supplies and Prep Your Hair
Alright, gather 'round, aspiring DIY stylists! Before we dive into the actual cutting, let's make sure you're armed with everything you need. First, you'll need a good pair of hair-cutting scissors. Please, for the love of your hair, don't use your kitchen scissors! Invest in a decent pair; they'll make a world of difference. Next, grab a comb, a hair tie (preferably a soft one that won't leave a crease), and a mirror where you can clearly see what you're doing. Natural light is your friend here!
Now, let's talk hair prep. Start with clean, dry hair. Wet hair stretches, so cutting it wet can lead to a bob that's shorter than you intended once it dries. Brush your hair thoroughly to remove any knots or tangles. This will ensure a smooth, even cut. Ready? Let's do this!
Create the Ponytail and Determine Your Length
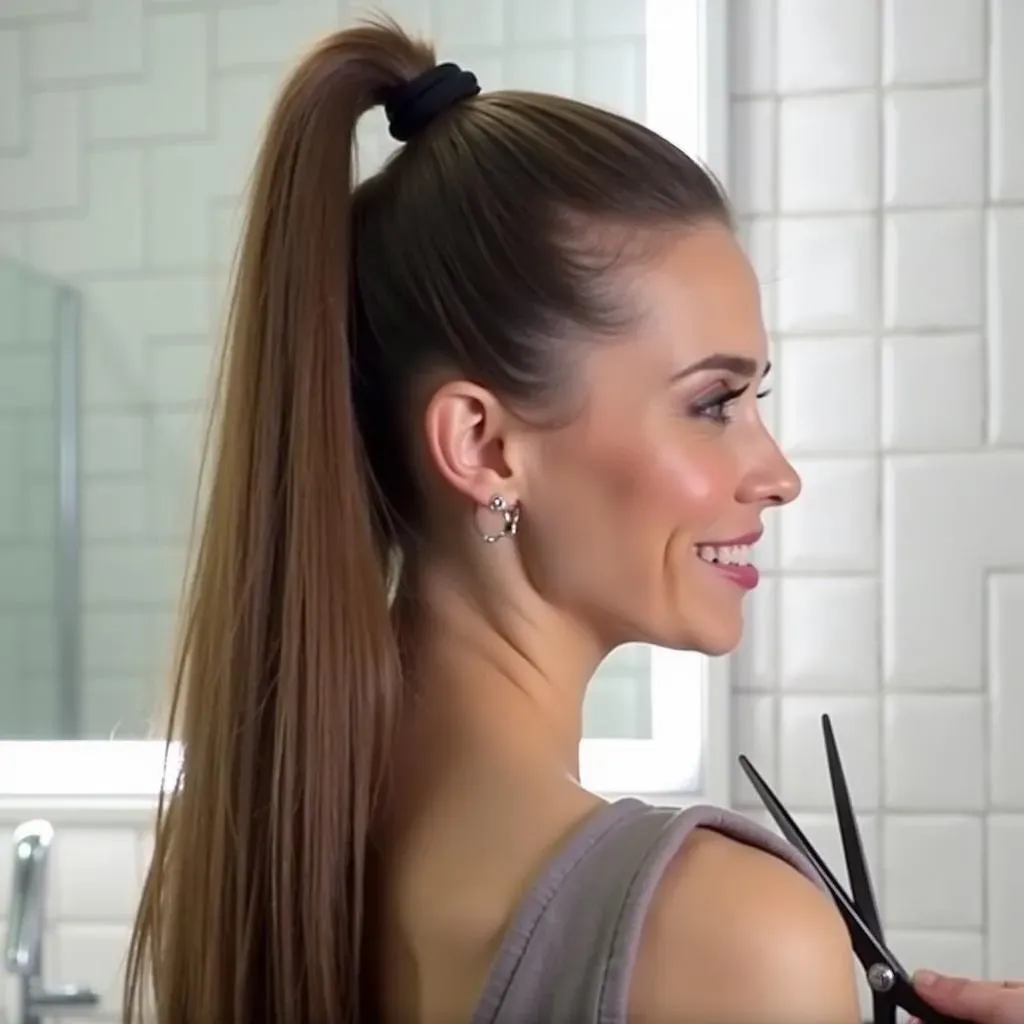
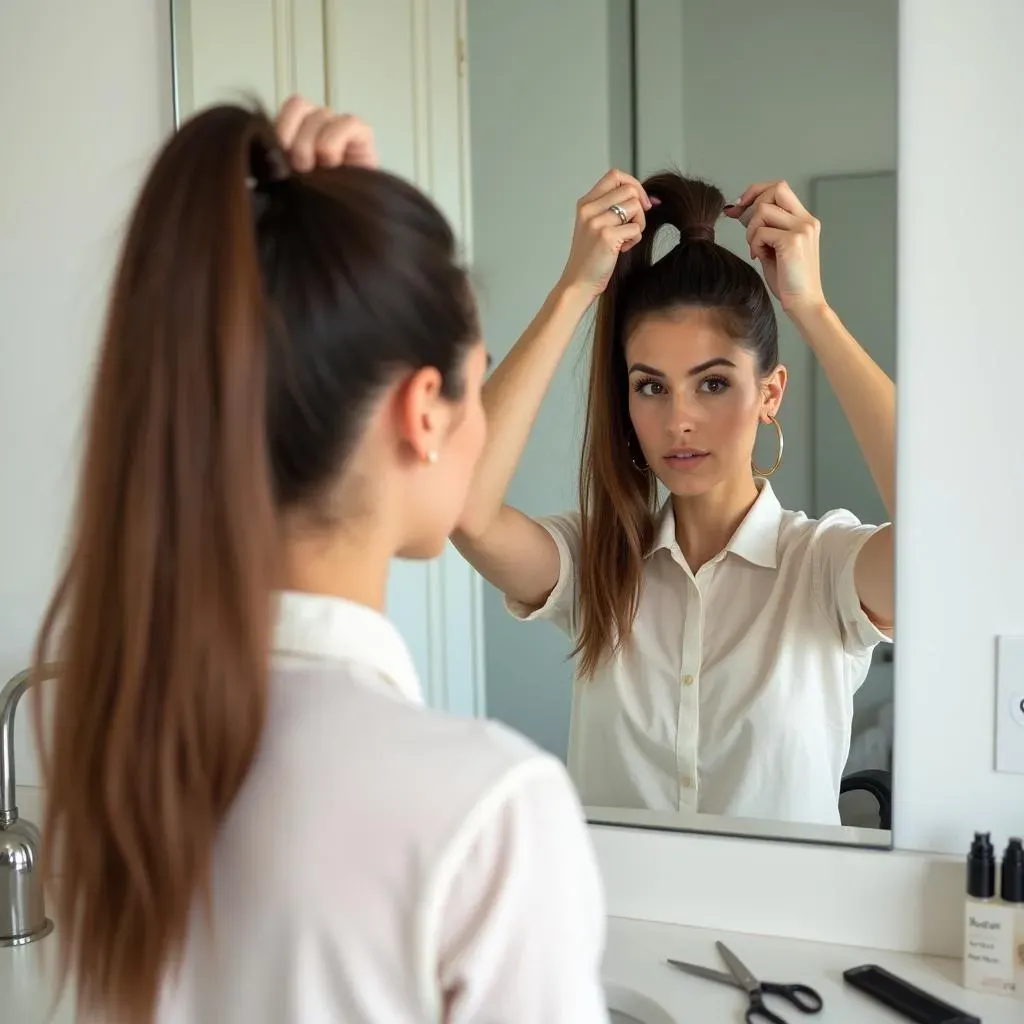
This is where the magic happens! Flip your head upside down and gather all your hair into a ponytail at the very top of your forehead, right at your hairline. The higher the ponytail, the more dramatic the layers will be. Once you have your ponytail secured, take a moment to smooth out any bumps or unevenness. You want a nice, sleek ponytail base.
Now, the crucial part: deciding how much to cut off. This will determine the length of your bob, so take your time and really visualize the end result. A good rule of thumb is to start with less – you can always cut more later! Hold the ponytail straight up and use your fingers to mark where you want the end of your bob to fall. Remember, the hair at the front of your face will be the shortest, so factor that in when choosing your length.
Still unsure? Here's a little trick: hold your ponytail at the desired length and take a selfie. This will give you a better idea of how the bob will look on your face. Once you're happy with the length, secure the ponytail with another hair tie just below where you plan to cut. This will act as a guide and prevent the hair from slipping.
Make the Cut and Refine the Shape
deep breaths! This is the moment of truth. Holding your scissors horizontally, carefully cut straight across the ponytail just below the second hair tie. Don't chop! Use a smooth, controlled cutting motion for a cleaner line. Once you've made the initial cut, remove the hair ties and let your hair down. Prepare for a slightly "what have I done?" moment, but don't panic!
Now it's time to refine the shape. You'll likely have some uneven pieces or stray hairs. Use your scissors to carefully trim and shape your bob. Point-cutting (holding the scissors vertically and making small snips into the ends of the hair) is a great way to soften the edges and create a more natural look. Remember, less is more! Step back, assess your progress, and only trim what's necessary.
If you find that the layers are too dramatic or the bob is too short in the front, you can always pull your hair back into a low ponytail at the nape of your neck and trim the ends to even things out. The key is to take your time, be patient, and don't be afraid to make small adjustments until you're happy with the final result.
Styling and Maintaining Your Ponytail Bob Haircut
Styling and Maintaining Your Ponytail Bob Haircut
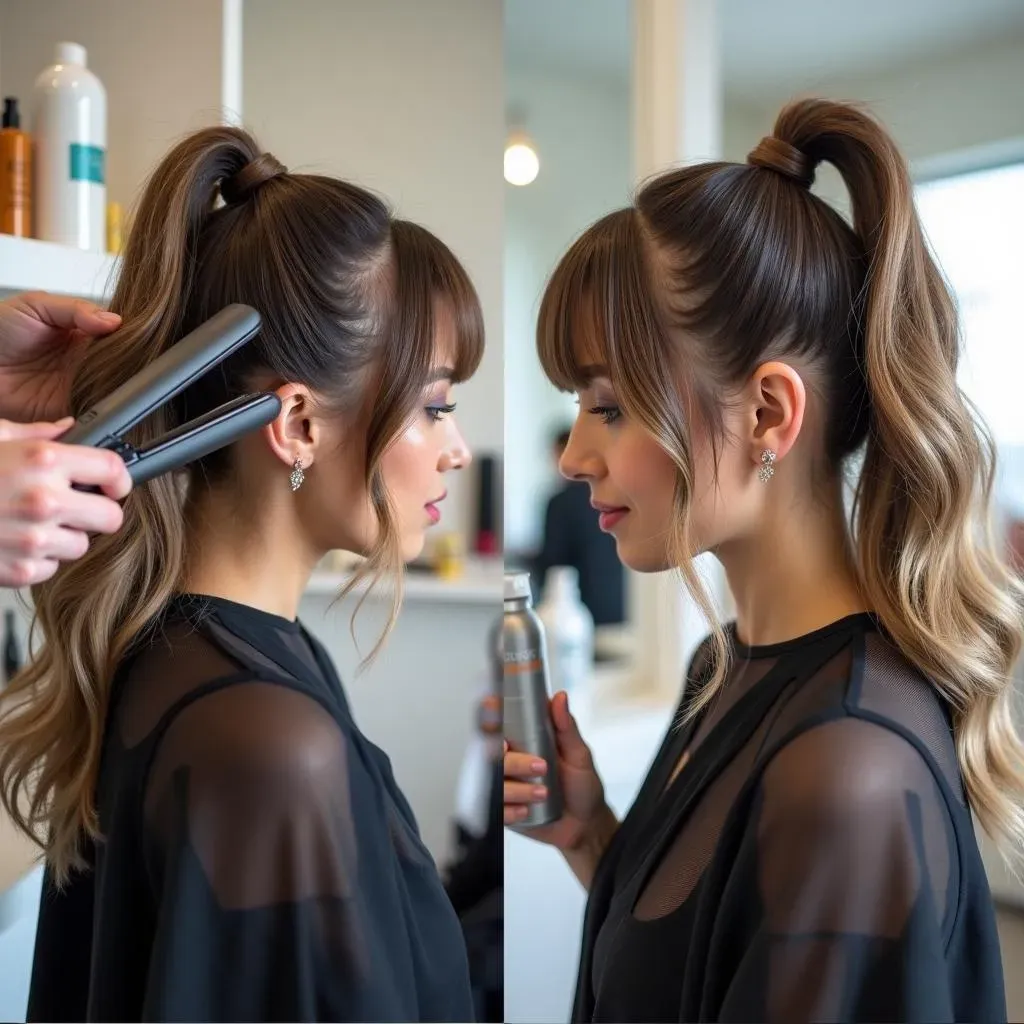
Finding Your Style: Styling Tips for Your New Bob
you've got your DIY ponytail bob, and now it's time to make it your own! The beauty of this cut is its versatility. Whether you're into a sleek, polished look or prefer a more tousled, effortless vibe, there's a styling option for you. For a smooth, sophisticated bob, try using a flat iron to straighten your hair, focusing on the ends to create a polished finish. Add a touch of shine serum for extra sleekness. On the other hand, if you're all about that lived-in texture, embrace your natural waves with a sea salt spray or texturizing mousse. Scrunch your hair with your fingers to enhance the waves and create a slightly messy, undone look.
Don't be afraid to experiment with different parts, too! A deep side part can add drama and volume, while a center part can create a more balanced and symmetrical look. Play around with accessories like headbands, scarves, or clips to add a personal touch to your bob. The possibilities are endless!
Maintaining Your Bob: Trims and Touch-Ups
So, you're loving your new ponytail bob, but how do you keep it looking fresh? Regular trims are key to maintaining the shape and preventing split ends. Depending on how fast your hair grows, you'll probably want to trim it every 6-8 weeks. Now, you could try the ponytail method again for a quick touch-up, but if you're feeling a little nervous, you might want to visit a stylist for a professional trim. They can clean up the lines and ensure your bob stays in tip-top shape.
In between trims, pay attention to the health of your hair. Use a good-quality shampoo and conditioner, and avoid over-washing, which can strip your hair of its natural oils. Treat your hair to a deep conditioning mask once a week to keep it hydrated and healthy. And remember, heat styling can cause damage, so always use a heat protectant spray before using a flat iron or curling iron.
Here's a simple guide to help you maintain your bob:
- Trims: Every 6-8 weeks
- Shampoo/Conditioner: Use quality products
- Deep Conditioning: Once a week
- Heat Protection: Always before styling
Products and Tools: Must-Haves for Bob Styling
Alright, let's talk about the essentials! To keep your ponytail bob looking its best, you'll need a few key products and tools in your arsenal. A good texturizing spray is a must-have for creating that effortless, beachy wave look. Look for one that's lightweight and doesn't leave your hair feeling sticky or stiff. A shine serum is perfect for adding a glossy finish and taming flyaways. Apply a small amount to your palms and smooth it over your hair, focusing on the ends. And of course, a good hairspray is essential for holding your style in place.
As for tools, a flat iron is great for creating a sleek, straight bob, while a curling iron or wand can be used to add waves and curls. A round brush is perfect for blow-drying your hair and adding volume at the roots. And don't forget a good comb for detangling and styling! With the right products and tools, you can create endless looks with your ponytail bob.
Troubleshooting Common Mistakes When You Cut Your Own Hair Bob Ponytail Method

Troubleshooting Common Mistakes When You Cut Your Own Hair Bob Ponytail Method
Uneven Lengths and Wonky Layers
so you've taken the plunge and cut your own hair bob ponytail method, but something's not quite right? Don't freak out! Uneven lengths and wonky layers are super common when you're DIY-ing a haircut. The good news is, they're usually fixable. First, take a deep breath and assess the damage. Is one side significantly longer than the other? Are the layers choppy and uneven? If so, grab your scissors and get ready for some minor surgery.
For uneven lengths, simply dampen your hair and comb it straight down. Use your fingers as a guide and carefully trim the longer side to match the shorter side. Point-cutting can help blend the edges and create a more natural look. For wonky layers, try pulling your hair back into a low ponytail at the nape of your neck and trimming the ends to even things out. Remember, small adjustments are key! It's always better to cut less and then go back for more if needed. And if you're really struggling, don't be afraid to enlist the help of a friend or family member with some hair-cutting experience. A fresh pair of eyes can make all the difference!
Cutting Too Short or Not Enough
Ah, the classic DIY haircut dilemma: did I cut off too much, or not enough? If you find that your bob is shorter than you intended, there's not much you can do except wait for it to grow out. But don't despair! A short bob can be super chic and stylish. Embrace the look and experiment with different styling techniques to make it your own. Add some texture with a texturizing spray, or slick it back with some gel for a more edgy vibe.
On the other hand, if you feel like you didn't cut off enough, that's an easy fix! Simply pull your hair back into a ponytail and trim off a bit more length. Just be careful not to get too scissor-happy! Remember, you can always cut more, but you can't uncut. Take your time, assess your progress, and only trim what's necessary. And if you're unsure, err on the side of caution and leave it a little longer. You can always go back and shorten it later.
Mistake | Solution |
|---|---|
Too Short | Embrace the style, experiment with products |
Not Short Enough | Trim a little more, cautiously |
Dealing with Frizz and Flyaways
Frizz and flyaways can be the bane of any haircut, but they're especially noticeable with a bob. The shorter length means there's less weight to hold the hair down, making it more prone to frizz and static. But fear not, there are plenty of ways to combat these pesky issues! First, make sure you're using a good-quality shampoo and conditioner that are designed to hydrate and smooth the hair. Avoid over-washing, which can strip your hair of its natural oils and make it more prone to frizz. When you do wash your hair, use cool water, which helps to seal the cuticle and reduce frizz.
After washing, apply a smoothing serum or leave-in conditioner to damp hair. This will help to hydrate and protect the hair, as well as tame any flyaways. When blow-drying, use a diffuser attachment, which helps to distribute the heat evenly and prevent frizz. And finally, a light spritz of hairspray can help to hold your style in place and keep frizz at bay. With the right products and techniques, you can keep your ponytail bob looking smooth, sleek, and frizz-free.
Conclusion: Embrace Your DIY Bob with Confidence
So, you've taken the plunge and tried the cut your own hair bob ponytail method! Whether you're rocking a perfectly symmetrical bob or embracing a slightly more textured, shaggy style, the most important thing is that you feel confident and happy with your new look. Remember that DIY haircuts are all about experimentation and learning what works best for your hair. Don't be afraid to tweak and refine your technique over time. With a little practice and the right styling, you can achieve a fantastic bob haircut right in the comfort of your own home. Now go out there and rock that new 'do!