Table of Contents
Thinking about a chic, new look? The bob haircut is a timeless classic, but the thought of going to a salon can be daunting. What if you could achieve that stylish bob right at home? Cutting hair into a bob yourself might seem intimidating, but with the right tools, a steady hand, and our comprehensive guide, it's totally achievable. We'll break down the process into manageable steps, from gathering your supplies to styling your freshly cut bob. No more expensive salon visits or haircut anxiety! This guide is designed to empower you to take control of your hair and create a stunning bob that perfectly complements your features. We'll also cover common mistakes to avoid and offer tips for maintaining your new 'do. So, grab your scissors and let's get started on your DIY bob transformation!
Gathering Your Hair Cutting Arsenal for the Bob
Gathering Your Hair Cutting Arsenal for the Bob
The Essential Hair Cutting Shears
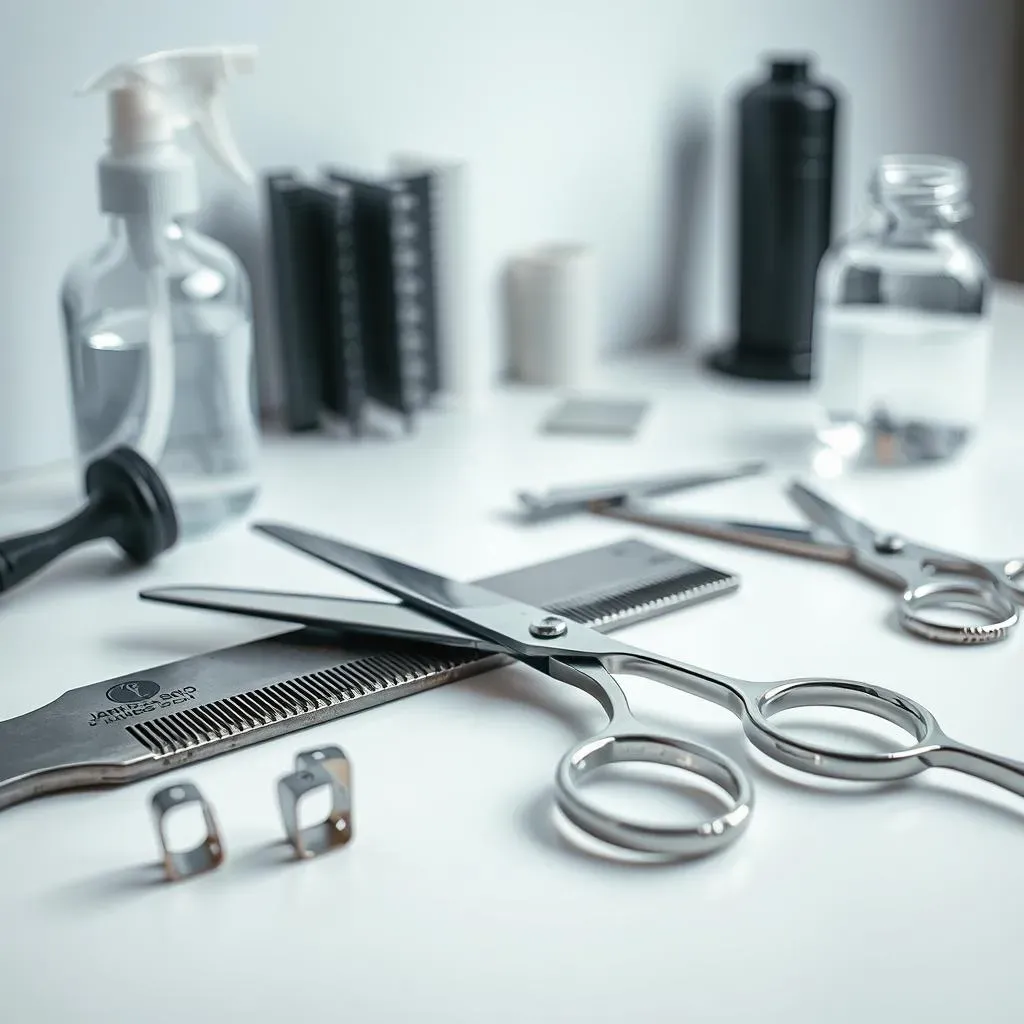
Alright, let's talk tools! You absolutely cannot use your kitchen scissors for this. Seriously, don't. You need proper hair cutting shears. Think of it like this: you wouldn't use a butter knife to carve a Thanksgiving turkey, would you? Hair shears are designed with super sharp blades that cut cleanly, preventing damage and split ends. Look for shears made from Japanese stainless steel – they hold their edge longer. Trust me, your hair will thank you.
Investing in a good pair is worth it. You don't need to break the bank on your first pair, but avoid the super cheap ones that will just chew up your hair. A good starting point is a pair in the $30-$50 range. Take care of them, clean them after each use, and they'll last you a long time.
Combs, Clips, and Water Spritzers: The Supporting Cast
so you've got your shears. What else do you need? A good comb is crucial for sectioning and creating clean lines. A fine-tooth comb is your best bet. Sectioning clips are also a must-have. These will keep the hair you're not cutting out of the way. Trust me, trying to hold all that hair while you're snipping is a recipe for disaster.
A spray bottle filled with water is another essential. Damp hair is easier to manage and cut evenly, especially if you have curly or wavy hair. Just make sure your hair is damp, not soaking wet.
- Hair Cutting Shears: Sharp, high-quality steel.
- Fine-Tooth Comb: For precise sectioning.
- Sectioning Clips: To keep hair out of the way.
- Spray Bottle: For dampening hair.
Optional but Awesome: Thinning Shears and a Hair Razor
Now, these aren't strictly necessary, but they can really elevate your bob game. Thinning shears are great for adding texture and removing bulk, especially if you have thick hair. They have teeth on one or both blades that remove some hair while leaving other strands untouched. This creates a softer, more blended look.
A hair razor is fantastic for creating a more textured, edgy bob. It's also great for blending layers and removing weight. However, razors can be a bit tricky to use, so I recommend watching some tutorials before you dive in. With both of these tools, less is more. You can always take more hair off, but you can't put it back on! Start with small sections and work your way up.
Remember, practice makes perfect. Don't be afraid to experiment and find what works best for you. And most importantly, have fun with it!
StepbyStep Guide to Cutting Your Hair into a Perfect Bob
StepbyStep Guide to Cutting Your Hair into a Perfect Bob
Prep is Key: Washing and Drying
Alright, so you've got your tools ready. Now, let's get your hair prepped. Start with freshly washed hair. This is super important because clean hair is easier to cut and style. Use a shampoo and conditioner that are suited for your hair type. Once you're done washing, gently towel dry your hair to remove excess water. Now, here's the thing: you need to decide whether you want to cut your hair wet or dry. There are pros and cons to both. Cutting wet is generally easier for beginners because the hair is more manageable. However, hair tends to shrink as it dries, so you might end up with a bob that's shorter than you intended. Cutting dry, on the other hand, gives you a more accurate idea of the final length, but it can be trickier to get clean, even lines. I personally prefer to cut my hair dry, but if you're a beginner, I recommend starting with damp hair.
If you're going the damp route, make sure your hair is evenly damp, not soaking wet. Use your spray bottle to spritz any areas that have dried out. If you're cutting dry, make sure your hair is clean, dry, and free of any product. Brush it thoroughly to remove any knots or tangles.
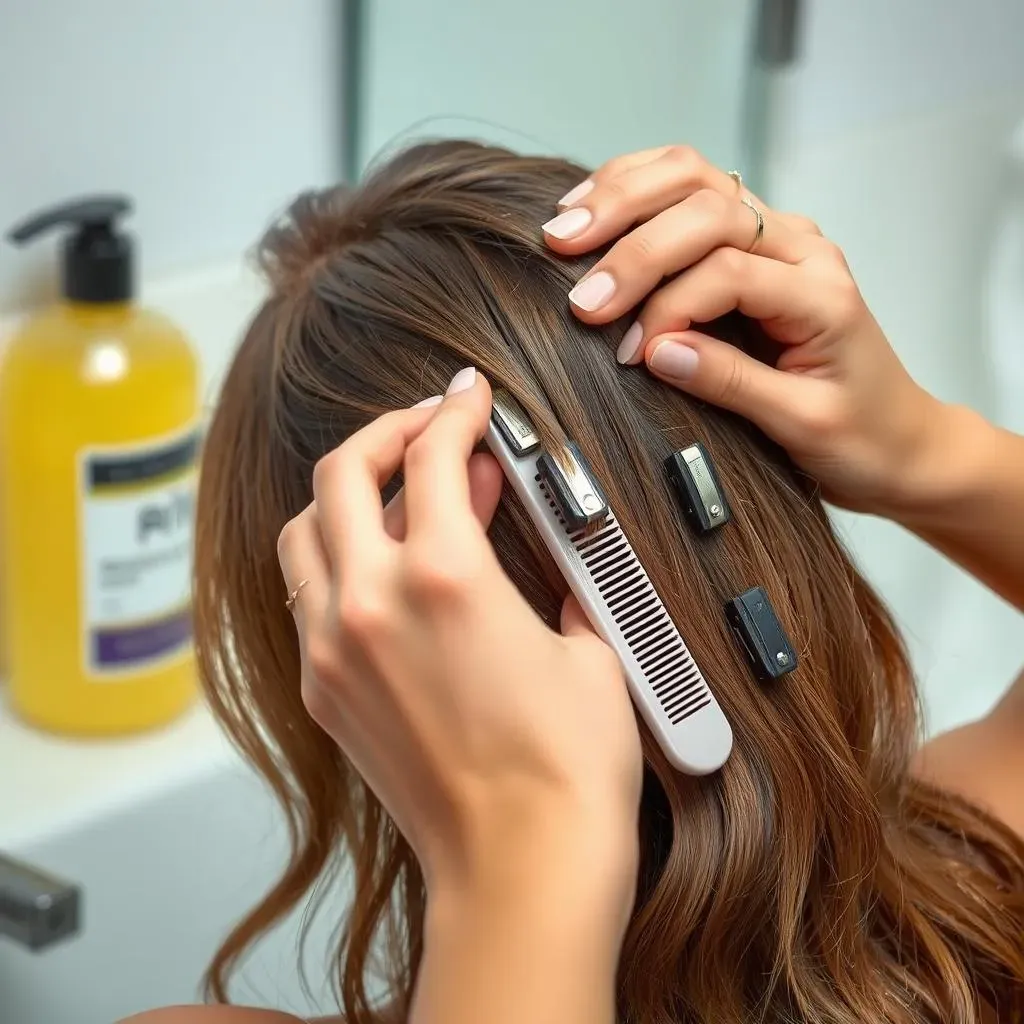
Sectioning for Success: Divide and Conquer
now comes the crucial part: sectioning. This is where a good comb and those sectioning clips come in handy. The goal here is to divide your hair into manageable sections so you can cut it evenly. Start by creating a center part, from your forehead to the nape of your neck. Then, divide your hair into two sections, one on each side of your head. Clip these sections out of the way. Now, take one of those sections and divide it into two more sections, one on top and one on the bottom. Clip the top section out of the way. You should now have three sections of hair clipped up, leaving one section down. This is the section you're going to start cutting first.
Why all the sectioning? Because it allows you to work in small, manageable chunks, ensuring that you get a nice, even cut. Trying to cut all your hair at once is a recipe for disaster. Trust me, I've been there. Sectioning might seem like a pain, but it's well worth the effort.
- Create a center part.
- Divide hair into two sections (left and right).
- Divide each side into two more sections (top and bottom).
- Clip all sections except the one you're working on.
Styling and Maintaining Your Freshly Cut Bob Hair

Styling and Maintaining Your Freshly Cut Bob Hair
Finding Your Bob's Best Style
Alright, you've got your bob! Now comes the fun part: styling it. The beauty of a bob is its versatility. You can wear it sleek and straight, tousled and textured, or even add some waves or curls. The key is to find the styles that work best for your hair type and face shape. If you have fine hair, you might want to focus on creating volume. A volumizing mousse or spray can be your best friend. Apply it to damp hair before blow-drying, focusing on the roots. For thicker hair, you might want to use a smoothing serum or oil to tame frizz and add shine. Remember, less is often more. Start with a small amount of product and add more as needed. You don't want to weigh your hair down.
Don't be afraid to experiment with different styling tools. A flat iron can create a sleek, polished look, while a curling iron or wand can add waves or curls. If you're using heat, always remember to use a heat protectant spray to prevent damage. And don't forget about accessories! Headbands, scarves, and clips can all add a touch of personality to your bob. The possibilities are endless!
Keeping Your Bob Looking Fresh: Maintenance Tips
So, you've styled your bob to perfection. Now, how do you keep it looking that way? Regular trims are essential. A bob can lose its shape quickly as it grows out, so plan on getting a trim every 4-6 weeks. This will keep your bob looking sharp and prevent split ends. If you cut your bob at home, you can do this yourself, but if you went to a salon, it's best to go back to your stylist.
In between trims, there are things you can do to maintain your bob's health and appearance. Use a good quality shampoo and conditioner that are suited for your hair type. Avoid washing your hair every day, as this can strip it of its natural oils. When you do wash, use lukewarm water, not hot. Hot water can damage your hair and make it frizzy. And finally, protect your hair from the sun. UV rays can fade your hair color and damage the strands. Wear a hat or use a hair product with UV protection when you're spending time outdoors.
Maintenance Tip | Description |
|---|---|
Regular Trims | Every 4-6 weeks to maintain shape. |
Quality Shampoo & Conditioner | Suited for your hair type. |
Avoid Daily Washing | Prevents stripping natural oils. |
Lukewarm Water | Avoid hot water to prevent damage. |
Sun Protection | Hats or UV protection products. |
Troubleshooting Common Bob Hair Cutting Mishaps

Troubleshooting Common Bob Hair Cutting Mishaps
Help! My Bob Is Uneven!
deep breaths. Unevenness is probably the most common bob-cutting mishap. Don't panic! First, assess the damage. Is it just a tiny bit off, or are we talking a serious slant? If it's minor, you can usually fix it by carefully evening out the longer side. Use your comb to create a clean part and compare both sides, snipping away small bits until they match. Remember, it's always better to cut less than more! If the unevenness is more dramatic, you might need to enlist a friend for help or, dare I say, visit a professional to get it corrected. They can even things out and give you some pointers for next time.
One tip to avoid unevenness in the first place is to constantly check your work in the mirror. Step back and look at your bob from different angles. This will help you spot any imbalances early on. Also, make sure your head is straight when you're cutting. Tilting your head can throw off your whole cut.
My Bob Is Too Short! Now What?
This is the nightmare scenario, right? You got scissor-happy and now your bob is way shorter than you intended. Unfortunately, there's no magic potion to make your hair grow back instantly. But don't despair! There are still things you can do. First, embrace it! A super short bob can be incredibly chic and edgy. Play around with different styling products to add texture and volume. Think piece-y waves or a sleek, polished look. Secondly, consider adding some face-framing layers. This can soften the look and make your bob feel less severe. Finally, be patient. Hair grows, and in a few weeks, your bob will be a more manageable length. In the meantime, rock it with confidence!
To prevent this in the future, always start by cutting less than you think you need to. You can always take more hair off, but you can't put it back on! Also, double-check your measurements before you start cutting. It's helpful to use your fingers as a guide, placing them at the desired length and then cutting just below your fingers.
Mishap | Troubleshooting Tip |
|---|---|
Uneven Bob | Carefully even out the longer side, check in the mirror frequently. |
Bob Too Short | Embrace the short style, add face-framing layers, be patient. |
Conclusion: Own Your Bob!
So, you've taken the plunge and learned how to cut your hair into a bob! Hopefully, this guide has given you the confidence and know-how to rock this classic style. Remember, practice makes perfect, and don't be afraid to experiment to find the bob that best suits you. Regular trims and proper styling will keep your bob looking fresh and fabulous. Now go out there and flaunt your amazing new haircut!