Thinking about chopping your locks into a chic bob, but dreading the salon price tag? You're not alone! The idea of cutting your own hair in a bob can be intimidating, but with the right guidance and a steady hand, it's totally achievable. This guide is your ultimate roadmap to DIYing a stylish bob haircut, all from the comfort of your own home. We'll break down the essential tools you'll need, walk you through a simple, step-by-step cutting process, and share pro tips to avoid common pitfalls. From mastering the perfect angle to troubleshooting uneven layers, we've got you covered. Plus, we'll explore easy styling techniques to keep your self-cut bob looking fresh and fabulous every day. Ready to ditch the salon and embrace your inner stylist? Let's get started and transform your hair with confidence!
Tools and Prep for Cutting Your Own Bob
Tools and Prep for Cutting Your Own Bob
Gather Your Haircutting Essentials
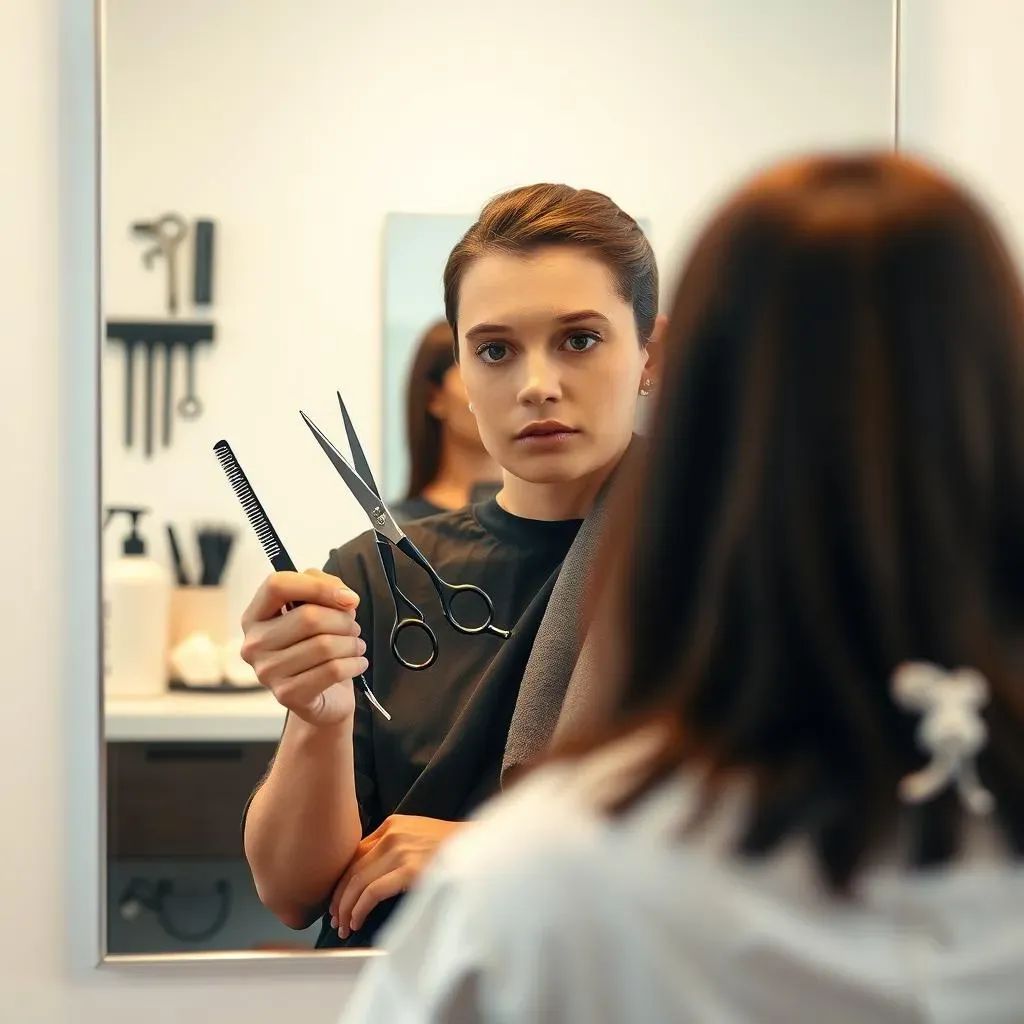
so you're ready to take the plunge and cut your own bob? Awesome! First things first, let's talk tools. You wouldn't try to build a house with just a hammer, right? Same goes for hair. Invest in a good pair of hairdressing scissors – not your kitchen shears! Trust me, your hair will thank you. Look for stainless steel with a comfortable grip. A fine-tooth comb is also crucial for precise sectioning. And don't forget hair clips to keep those sections neatly out of the way. I like the duckbill kind, they really hold tight.
Another essential? A spray bottle filled with water. Damp hair is much easier to manage and cut evenly. Lastly, grab a large mirror – preferably one you can see the back of your head in – and a towel to drape around your shoulders. This is gonna get messy!
Prepping Your Hair for the Cut
Alright, you've got your tools, now let's prep that mane! Start with freshly washed and conditioned hair. This gives you a clean slate to work with. Detangle thoroughly with your fine-tooth comb. Knots are the enemy of a smooth bob. Next, lightly dampen your hair with the spray bottle. You want it damp, not soaking wet. Think towel-dried, but a little extra moisture.
Now for the sectioning! This is where things get real. Part your hair down the middle, from your forehead to the nape of your neck. Then, create another part from ear to ear, dividing your hair into four quadrants. Clip each section securely. This keeps things organized and prevents accidental snips. Seriously, sectioning is key to a symmetrical bob. Don't skip this step!
Choosing Your Bob Length and Style
So, what kind of bob are we going for? A classic chin-length bob? A trendy angled bob? Or maybe a longer lob (long bob)? This is the fun part! Stand in front of your mirror and visualize your desired length. A good trick is to use a hair tie to simulate different lengths. Play around and see what flatters your face shape.
Keep in mind that hair shrinks up a bit when it dries, especially if you have curly or wavy hair. So, it's always better to start a little longer than you think you want it. You can always trim more off later! And remember, bobs can be customized to suit any face shape. Add layers for volume, or keep it blunt for a more edgy look. The possibilities are endless!
Bob Style | Description | Best for Face Shape |
|---|---|---|
Classic Bob | Chin-length, blunt cut | Oval, heart |
Angled Bob | Shorter in the back, longer in the front | Round, square |
Lob (Long Bob) | Shoulder-length or slightly longer | All face shapes |
The StepbyStep Guide to Cutting a Bob Haircut at Home
The StepbyStep Guide to Cutting a Bob Haircut at Home
The Initial Cut: Establishing the Length
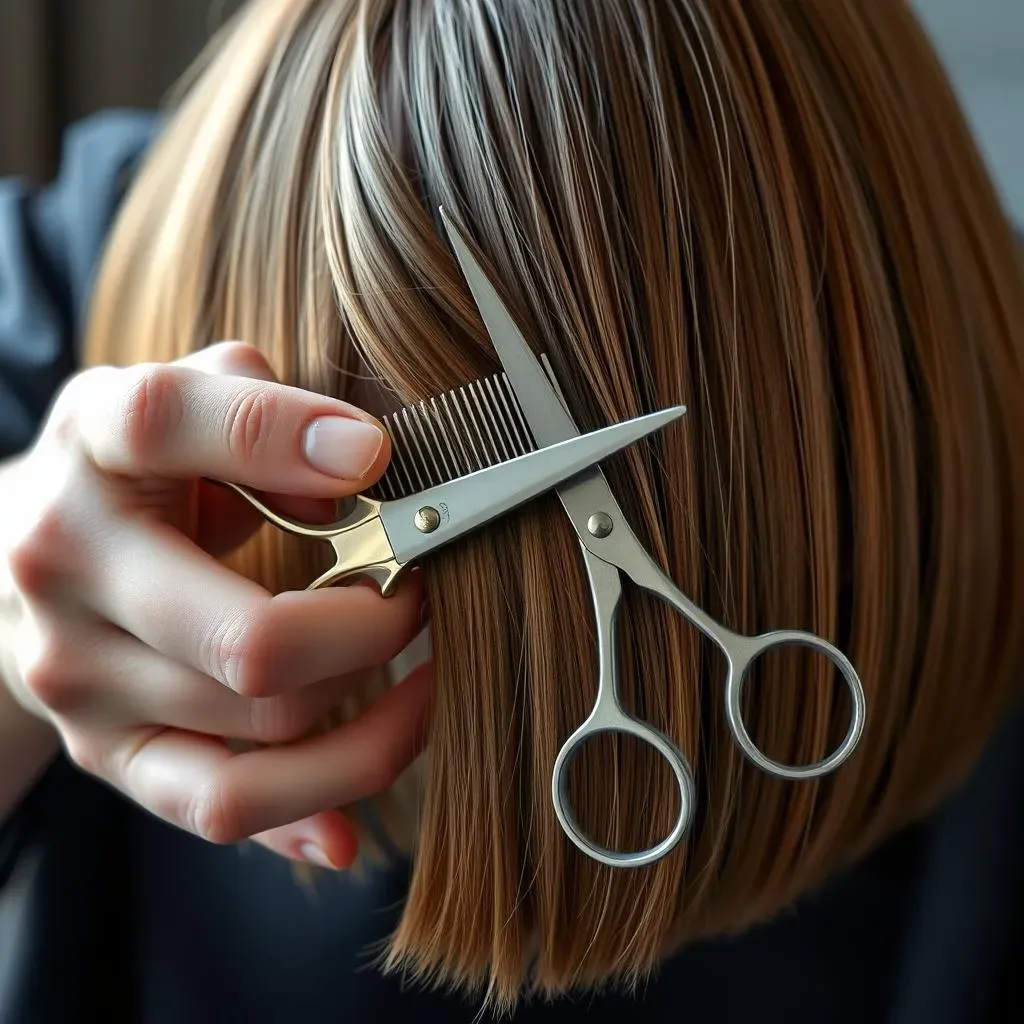
Alright, deep breaths! This is where the magic happens. Unclip one of the back sections. Using your fine-tooth comb, comb the hair straight down and hold it taut between your fingers. Decide on your desired length, remembering that it will shrink up a bit when dry. For a classic bob, aim for chin-length. For an angled bob, cut the back slightly shorter than the front. Now, with your sharp hairdressing scissors, make a clean, even cut across the section. Don't chop! Use a smooth, controlled motion. Repeat this process on the other back section, making sure both sides are even. Use your fingers as a guide to compare the lengths.
Once the back is done, move on to the front sections. Comb the hair straight down and, using the back as a guide, cut the front sections to the desired length and angle. Remember, for an angled bob, the front sections should be longer than the back. Take your time and double-check your work. It's always better to cut less and then trim more if needed. And don't panic if it's not perfect! Bobs are forgiving haircuts. A little asymmetry can actually add character.
Refining the Cut: Adding Layers and Texture
you've got the basic shape down. Now it's time to add some finesse! This is where you can customize your bob to suit your hair type and personal style. If you want more volume, consider adding some subtle layers. To do this, take small sections of hair and hold them vertically, then gently point-cut into the ends. Point-cutting involves making small, angled snips into the hair, rather than a blunt cut. This softens the edges and creates movement.
For a more textured look, try using a technique called "slicing." Slicing involves sliding your scissors down the hair shaft, removing small amounts of hair as you go. This thins out the hair and creates a piece-y, undone vibe. Be careful not to overdo it! A little slicing goes a long way. And if you're not comfortable with these techniques, don't worry! A simple, blunt bob is always a classic choice. The most important thing is to have fun and experiment. It's just hair, after all! And if you mess up, well, that's what hats are for.
Technique | Description | Effect |
|---|---|---|
Point-Cutting | Making small, angled snips into the ends | Softens edges, adds movement |
Slicing | Sliding scissors down the hair shaft | Thins hair, creates texture |
Tips for Achieving the Perfect Bob and Avoiding Common Mistakes

Tips for Achieving the Perfect Bob and Avoiding Common Mistakes
so you're on your way to rocking a DIY bob! But before you go snip-happy, let's talk about some crucial tips for achieving the perfect bob and steering clear of those dreaded haircutting disasters. First, and I can't stress this enough, always cut your hair dry if you're unsure. Wet hair stretches, and you might end up with a bob that's way shorter than you intended. Trust me, I've been there! Also, resist the urge to rush. Cutting your own hair is a marathon, not a sprint. Take breaks, check your work in the mirror, and don't be afraid to ask for a second opinion from a friend (preferably one who isn't afraid to tell you the truth!).
Another biggie? Invest in quality scissors! Those dull kitchen shears will only lead to split ends and frustration. And speaking of frustration, don't try to do too much at once. Start with a basic shape and then gradually refine it. Remember, you can always cut more off, but you can't glue it back on! Finally, don't compare your DIY bob to a professional salon cut. It's okay if it's not perfect. Embrace the imperfections and rock your unique style!
- Always cut dry (if unsure)
- Invest in quality scissors
- Take your time
- Don't be afraid to ask for help
- Embrace imperfections
Maintaining Your SelfCut Bob and Styling Ideas

Maintaining Your SelfCut Bob and Styling Ideas
Regular Trims: Keeping Your Bob Sharp
Alright, you've got your fabulous self-cut bob! Now, how do you keep it looking fresh? The key is regular trims. I know, I know, you just cut it! But trust me, a little maintenance goes a long way. Depending on how fast your hair grows, you'll want to trim your bob every 4-6 weeks to maintain its shape and prevent split ends. You don't need to take off much – just a quarter of an inch or so. If you're feeling brave, you can even do this yourself using the same techniques we discussed earlier. If not, a quick visit to a professional stylist can do the trick. Think of it as a little tune-up for your hairstyle.
Also, pay attention to your hair's texture. If you have fine hair, regular trims will help keep it looking thick and full. If you have thick hair, trims will prevent it from becoming too bulky. And if you have curly hair, trims are essential for maintaining definition and preventing frizz. No matter your hair type, regular trims are a must for a healthy, stylish bob.
Styling Your Bob: Endless Possibilities
One of the best things about a bob is its versatility. You can wear it sleek and straight, tousled and wavy, or anything in between! For a sleek look, apply a heat protectant and use a flat iron to straighten your hair. Add some shine serum for extra gloss. For a more relaxed vibe, try using a curling wand to create loose waves. Or, for a truly effortless look, simply apply some texturizing spray to damp hair and let it air dry. Embrace your natural texture!
Bobs also look great with accessories. Try adding a headband, a scarf, or some stylish hair clips. And don't forget about updos! Even though it's short, you can still create some fun and flirty updos with your bob. Think half-up styles, messy buns, or even a mini French twist. The possibilities are endless! So, experiment and have fun with your bob. It's a blank canvas just waiting to be styled.
Styling Technique | Description | Best For |
|---|---|---|
Flat Ironing | Straightening hair with a flat iron | Sleek, polished look |
Curling Wand | Creating waves with a curling wand | Tousled, romantic look |
Texturizing Spray | Adding texture and volume to hair | Effortless, beachy look |
Product Recommendations: Keeping Your Bob in Tip-Top Shape
To keep your self-cut bob looking its best, you'll need the right products. A good shampoo and conditioner are essential for maintaining healthy hair. Look for products that are specifically designed for your hair type. If you have fine hair, choose lightweight products that won't weigh it down. If you have thick hair, opt for moisturizing products that will keep it hydrated. And if you have color-treated hair, use products that are designed to protect your color.
In addition to shampoo and conditioner, you'll also want to invest in some styling products. Heat protectant is a must if you use hot tools. Texturizing spray is great for adding volume and texture. Shine serum is perfect for creating a glossy finish. And hairspray is essential for holding your style in place. Experiment with different products to find what works best for your hair. And don't be afraid to ask your stylist for recommendations. They're the experts!
- Shampoo and Conditioner: Choose products for your hair type.
- Heat Protectant: Essential for using hot tools.
- Texturizing Spray: Adds volume and texture.
- Shine Serum: Creates a glossy finish.
- Hairspray: Holds your style in place.
Conclusion: Embrace Your Inner Stylist
So, you've reached the end of our DIY bob journey! Hopefully, you're now armed with the knowledge and confidence to tackle cutting your own hair in a bob. Remember, practice makes perfect, and even seasoned stylists have learning curves. Don't be afraid to experiment, tweak, and personalize your bob to truly make it your own. Whether you're rocking a classic chin-length bob or a trendy asymmetrical cut, the power to transform your look is now in your hands. Embrace the freedom, save some cash, and most importantly, have fun with it!