Thinking about a fresh new look but dreading the salon price tag? A chic bob might be just what you need, and guess what? You can totally rock a diy bob hair cut right in your own bathroom! It might sound intimidating, but with the right tools, a steady hand, and a dash of confidence, you can achieve a stylish bob that's uniquely you. This guide is your go-to resource for everything you need to know about cutting your own bob. From gathering the essential tools to mastering the step-by-step cutting process, we'll break it down into manageable chunks. Plus, we'll share insider tips on styling your freshly cut bob and maintaining its fabulous shape in the weeks to come. Ready to ditch the salon and embrace your inner hairstylist? Let's get snipping!
Essential Tools for Your DIY Bob Hair Cut
Essential Tools for Your DIY Bob Hair Cut
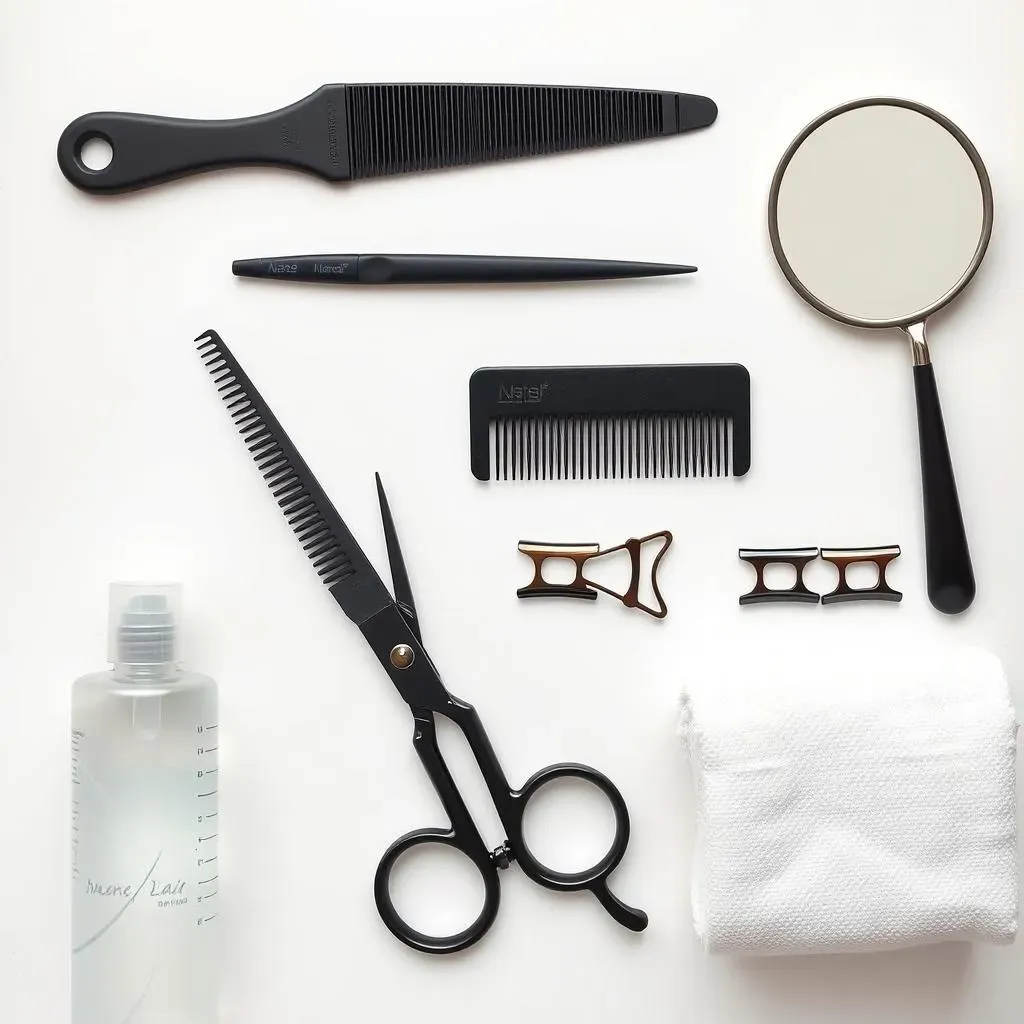
Alright, before you even think about picking up those scissors, let's talk tools. Having the right equipment is half the battle when it comes to a successful diy bob hair cut. Trust me, you don't want to be stuck using dull kitchen shears – that's a recipe for disaster! We're aiming for a clean, even cut, so investing in a few key items is totally worth it. Think of it as an investment in your future fabulous hair days. So, what exactly do you need? Let's break it down.
- Sharp Hair Cutting Shears: This is non-negotiable. Invest in a good quality pair of shears specifically designed for cutting hair. They'll make a world of difference in achieving a clean, precise cut.
- Comb: A fine-tooth comb is your best friend for sectioning and creating even lines.
- Spray Bottle: Keeping your hair damp is crucial for even cutting. A spray bottle will help you maintain the right moisture level.
- Hair Clips: Sectioning your hair is key, and clips will keep everything in place while you work.
- Mirror: You'll need a good mirror to see what you're doing, especially the back of your head. A handheld mirror can be helpful for checking your progress from all angles.
- Towel: To protect your clothes from getting wet and covered in hair.
StepbyStep Guide to Cutting Your Own Bob at Home
StepbyStep Guide to Cutting Your Own Bob at Home
you've got your tools ready? Awesome! Now comes the slightly nerve-wracking but totally doable part: the actual cutting. This step-by-step guide to cutting your own bob at home will walk you through the process, making it as smooth and stress-free as possible. Remember, it's hair, and it grows back! So, don't be afraid to experiment and have some fun with it. We're going for progress, not perfection, right? Let's do this!
Step 1: Prep Your Hair. Start with clean, damp hair. Use your spray bottle to keep it consistently moist throughout the process. This is super important for getting an even cut. If your hair is too dry, it will be harder to manage and you might end up with uneven lengths.
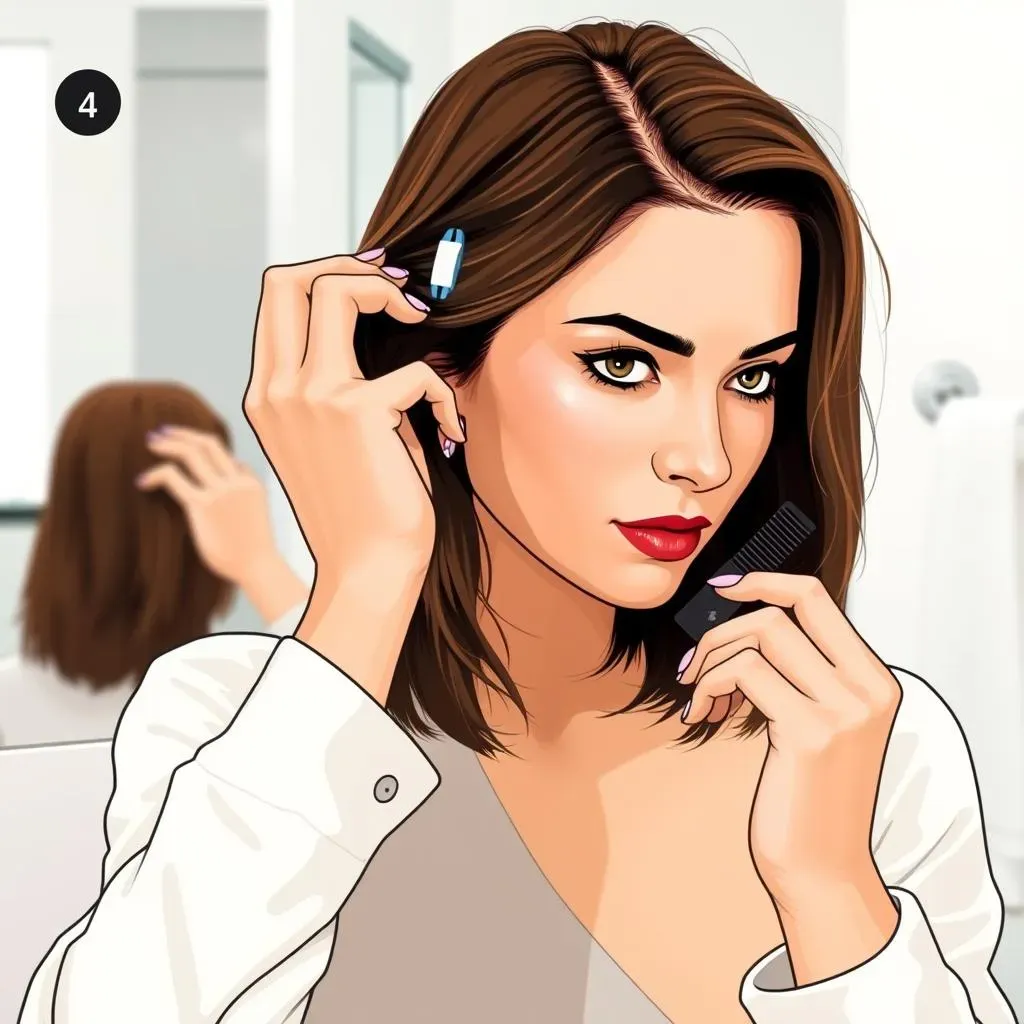
Step 2: Section Your Hair. This is where the comb and clips come in handy. Create a center part and then divide your hair into two sections, one on each side of your head. Clip each section away, making sure they're neatly separated. Next, divide each of those sections into smaller, more manageable subsections. This will help you maintain control and ensure you're cutting evenly.
Step 3: Determine Your Desired Length. Before you start snipping, decide how short you want your bob to be. A good way to do this is to hold a section of hair between your fingers and slide your fingers down to the length you want. Remember, you can always cut more off, but you can't put it back! So, start with a slightly longer length than you think you want, just to be safe.
Step 4: Start Cutting. Take one of your subsections and, using your sharp hair cutting shears, carefully trim the ends to your desired length. It's best to cut in small increments rather than trying to chop off a large chunk all at once. This will give you more control and prevent mistakes. Use your comb as a guide to ensure you're cutting a straight line.
Step 5: Repeat and Check. Continue cutting the remaining subsections, using the first section as a guide to ensure consistent length. Once you've cut all the sections on one side, repeat the process on the other side of your head. After you've cut both sides, take a step back and check your work in the mirror. Look for any uneven spots or areas that need to be trimmed further.
Step | Description |
|---|---|
1 | Prep Hair: Clean and dampen. |
2 | Section Hair: Divide into manageable sections. |
3 | Determine Length: Decide how short you want to go. |
4 | Start Cutting: Trim in small increments. |
5 | Repeat and Check: Ensure evenness. |
Step 6: Fine-Tune and Style. Once you're happy with the overall shape and length, it's time to fine-tune your diy bob hair cut. This might involve trimming any stray hairs or adding some subtle layers. Once you're done, style your hair as you normally would. This will give you a better idea of how the cut looks when it's dry and styled, and you can make any final adjustments as needed.
Remember, practice makes perfect! The more you cut your own hair, the better you'll get at it. So, don't be discouraged if your first attempt isn't flawless. Just keep practicing and experimenting, and you'll be rocking a stylish bob in no time!
Styling Tips and Tricks for Your Fresh DIY Bob Hair Cut
Styling Tips and Tricks for Your Fresh DIY Bob Hair Cut
you've got your diy bob hair cut, and it looks amazing! Now, let's talk styling. A bob is super versatile, and there are tons of ways to rock it, whether you're going for a sleek and sophisticated look or something a bit more edgy and playful. The right styling techniques can really elevate your cut and show off your personality. So, grab your favorite products and let's dive into some styling tips and tricks that will take your bob from basic to bombshell!
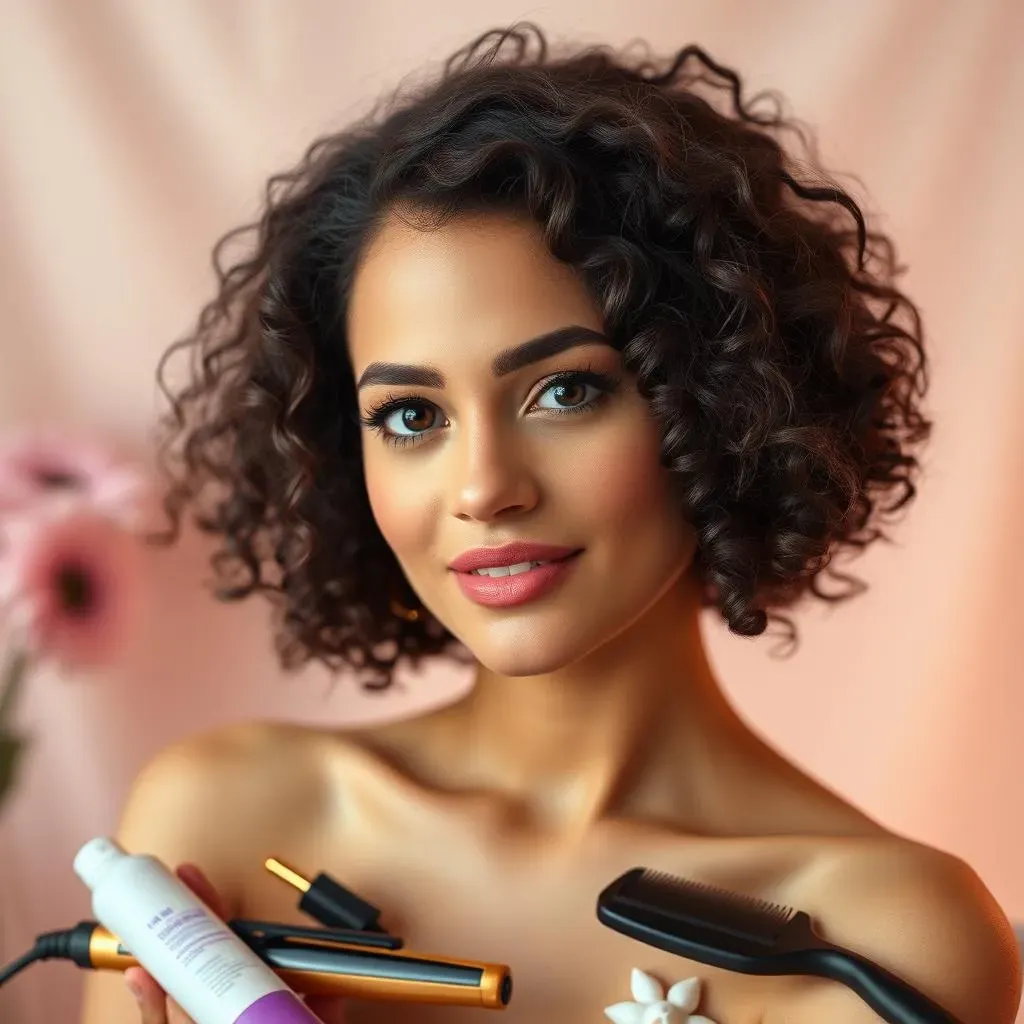
Embrace the Texture: Bobs look fantastic with a bit of texture. If you have naturally wavy or curly hair, enhance it with a sea salt spray or texturizing mousse. For straight hair, try adding some waves with a curling iron or wand, or even braiding your hair overnight for effortless texture in the morning. A little bit of texture adds volume and movement, giving your bob a more modern and effortless vibe.
Sleek and Straight: For a more polished look, you can't go wrong with a sleek and straight bob. Use a flat iron to smooth out any kinks or waves, and finish with a shine serum to add a glossy finish. A sleek bob is perfect for a night out or any occasion where you want to look extra put-together.
Accessorize: Hair accessories can instantly transform your bob. Try adding a headband, scarf, or decorative hair clips to add a pop of color or sparkle. Accessories are a great way to express your personal style and add a unique touch to your look.
Play with Parts: Changing your part can make a big difference in how your bob looks. Try a deep side part for a dramatic effect, or a center part for a more balanced and symmetrical look. Experiment with different parts to see what suits your face shape and features best.
Style | Description | Best For |
|---|---|---|
Textured | Enhance natural waves or add texture with product. | Casual, everyday looks |
Sleek | Straighten hair for a polished finish. | Formal events, professional settings |
Accessorized | Add headbands, clips, or scarves. | Expressing personal style |
Part Play | Experiment with different partings. | Changing up your look |
Volume Boost: If your bob is looking a little flat, add some volume at the roots with a volumizing spray or mousse. You can also try backcombing your hair at the crown for extra lift. Volume can make your bob look fuller and more dynamic.
Don't Forget the Hairspray: A light hold hairspray is your best friend for keeping your style in place without weighing it down. It will help to tame flyaways and keep your bob looking polished all day long.
Maintaining Your DIY Bob Hair Cut: LongTerm Care

Maintaining Your DIY Bob Hair Cut: LongTerm Care
Regular Trims are Key
so you've nailed your diy bob hair cut, it looks fantastic, and you're feeling like a total rockstar. But here's the thing: a bob requires a little bit of upkeep to keep it looking its best. Think of it like a plant – you need to water it and trim it to keep it thriving! The most important thing you can do to maintain your bob's shape and prevent it from looking overgrown is to get regular trims. How often? That depends on how fast your hair grows and how precise you want to keep the shape.
Generally, I'd recommend trimming your bob every 6-8 weeks. This will help to remove any split ends, keep the lines sharp, and prevent your bob from losing its shape. If you're feeling confident, you can even trim it yourself using the same techniques you used for the initial cut. Just remember to take it slow and steady, and don't be afraid to ask a friend for help if you're struggling with the back. A little trim can make a world of difference!
Hydration and Hair Health
Beyond just trims, keeping your hair healthy is crucial for maintaining the overall look of your diy bob hair cut. Dry, damaged hair will look frizzy and dull, which will detract from the sharpness and style of your bob. So, make sure you're giving your hair the hydration and nourishment it needs to stay healthy and shiny. This means using a good quality shampoo and conditioner that's suited to your hair type. If you have dry hair, look for moisturizing products that will help to replenish lost moisture. If you have oily hair, opt for lighter formulas that won't weigh your hair down.
In addition to shampoo and conditioner, consider incorporating a hair mask or deep conditioning treatment into your routine once or twice a week. This will give your hair an extra boost of hydration and help to repair any damage. Also, be mindful of heat styling. Excessive heat can damage your hair, leading to split ends and breakage. Always use a heat protectant spray before using any hot tools, and try to limit your use of heat as much as possible. Embrace air-drying whenever you can!
Product Selection and Styling Habits
Finally, the products you use to style your diy bob hair cut can also impact its long-term appearance. Heavy, greasy products can weigh your hair down and make it look limp and lifeless. Opt for lightweight styling products that will add volume and texture without making your hair feel greasy or sticky. A good volumizing mousse or texturizing spray can work wonders for adding body and movement to your bob.
Also, be mindful of how you're styling your hair. Avoid pulling or tugging on your hair, as this can lead to breakage. Use a wide-tooth comb to detangle your hair gently, and avoid brushing your hair when it's wet, as this is when it's most vulnerable to damage. With a little bit of care and attention, you can keep your diy bob hair cut looking fabulous for weeks to come!
Care Aspect | Recommendation | Frequency |
|---|---|---|
Trims | Trim every 6-8 weeks | Every 6-8 weeks |
Hydration | Use moisturizing shampoo and conditioner | Every wash |
Deep Conditioning | Apply a hair mask | 1-2 times per week |
Heat Protection | Use heat protectant spray | Before heat styling |
Conclusion: Embrace Your Inner Stylist with a DIY Bob Hair Cut
So, you've conquered the diy bob hair cut! Give yourself a pat on the back. Cutting your own hair can seem daunting, but with the right preparation, technique, and a little bit of courage, you can achieve a stylish and personalized look without breaking the bank. Remember, practice makes perfect, and even if your first attempt isn't flawless, it's a learning experience. Embrace the journey, experiment with different styling techniques, and most importantly, have fun with your new bob. You've got this!