Table of Contents
Thinking about a fresh, stylish update? The "hair cut into a bob" is a timeless choice, offering versatility and a touch of elegance. But what if you could achieve this look without stepping into a salon? This guide empowers you to confidently cut your own hair into a bob at home. We'll walk you through everything, from gathering the right tools to mastering essential cutting techniques. Whether you're aiming for a classic chin-length bob, a trendy A-line, or a textured, layered style, this article provides clear, step-by-step instructions and expert tips to help you achieve salon-worthy results. Dive in to discover how to save time and money while rocking a fabulous new "hair cut into a bob" that perfectly suits your style. Let's get started!
Things You Should Know Before You Cut Your Hair Into a Bob
Things You Should Know Before You Cut Your Hair Into a Bob
#1: Hair Type and Texture Matter
Before you even think about picking up those scissors, take a good look at your hair. Is it fine, thick, wavy, curly, or straight? Your hair type significantly impacts how a bob will lay and how much effort it will take to style. Fine hair might benefit from a blunt cut to appear fuller, while thick hair might need some layering to avoid looking bulky. Curly hair will bounce up more when cut, so you'll want to cut it longer than your desired final length.
Consider your hair's natural texture, too. If you have naturally straight hair, a sleek, one-length bob can be stunning. If you have waves or curls, you might want to opt for a more textured bob with layers to enhance your natural movement. Also, think about how much time you're willing to spend styling your hair each day. A low-maintenance bob might be a better choice if you're not one for elaborate styling routines.
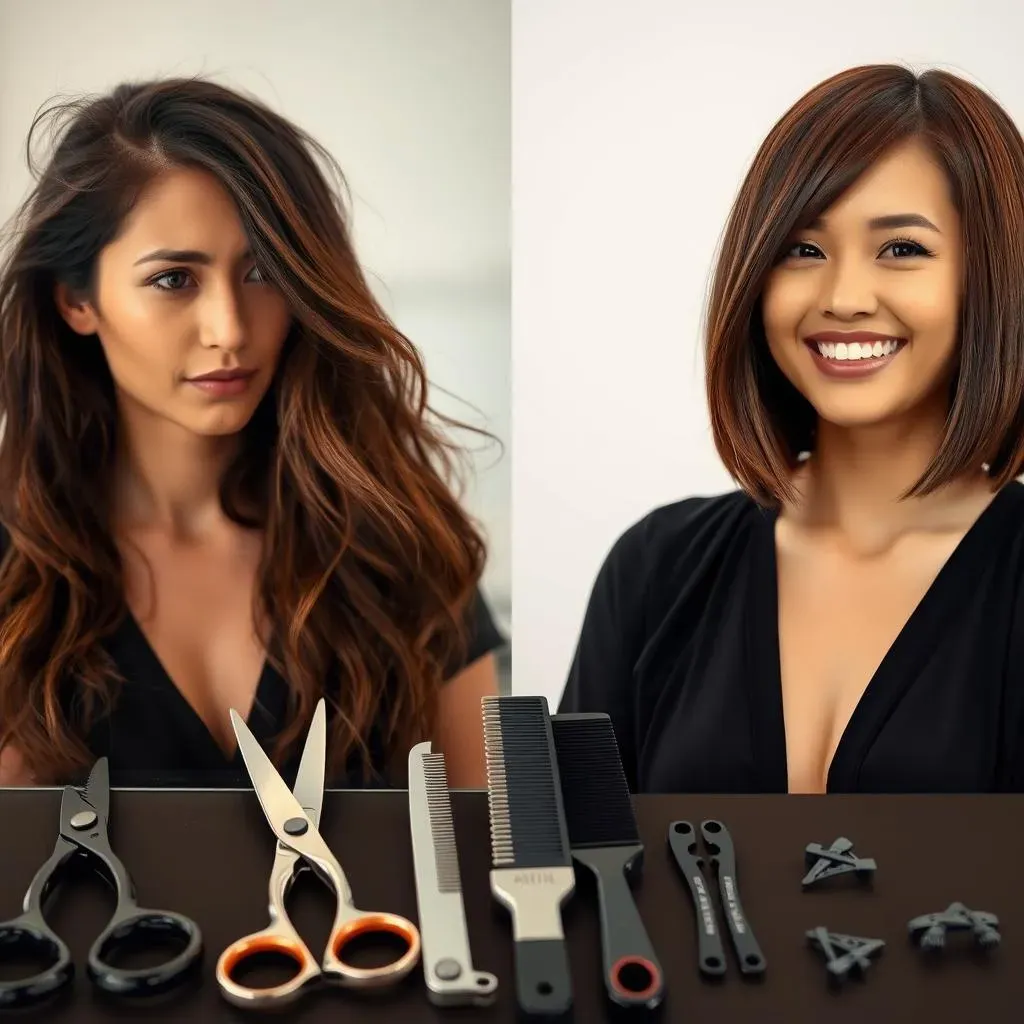
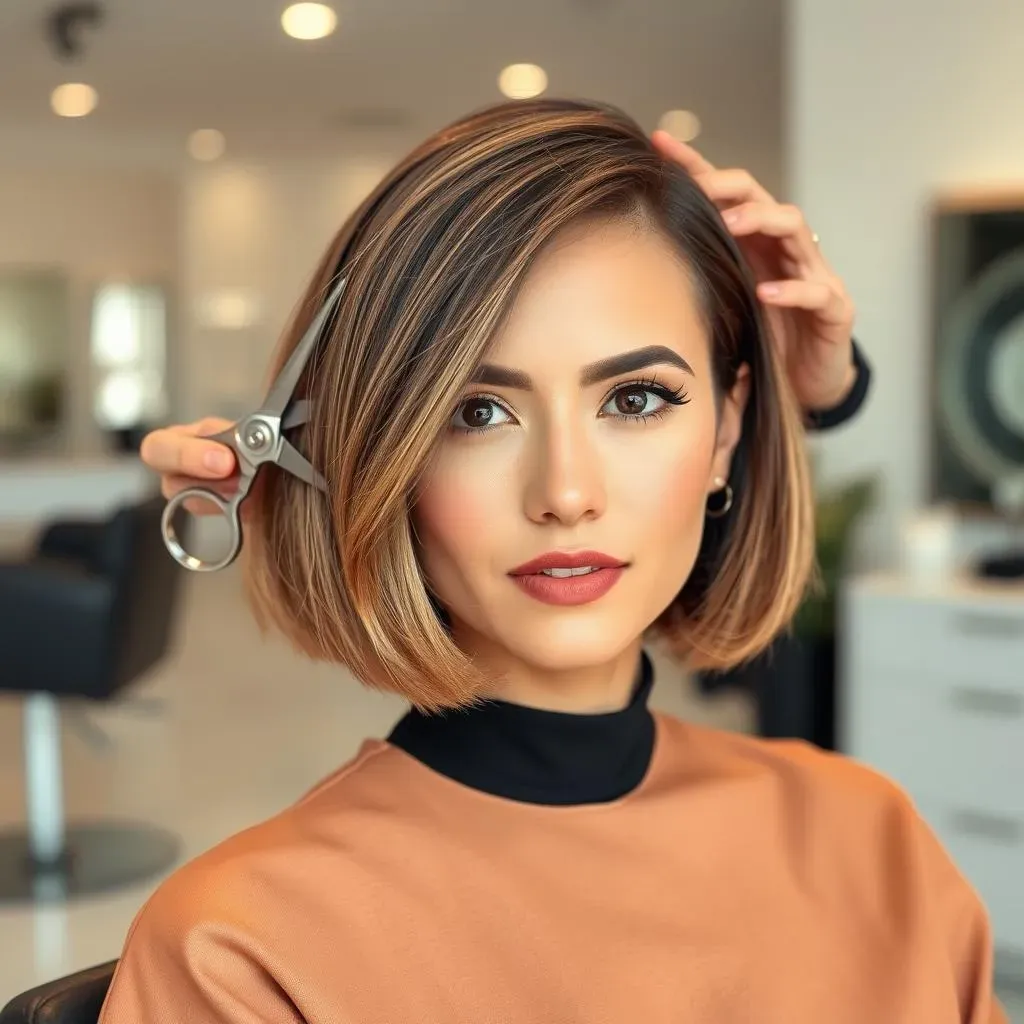
#2: The Right Tools Are Essential
Don't even think about using your kitchen scissors! A sharp pair of professional hair shears is an absolute must. Dull scissors will tug and tear your hair, leading to split ends and an uneven cut. Invest in a good quality pair – they'll make a world of difference. Besides shears, you'll also need a comb, hair clips to section your hair, and a mirror (or two!) to see the back of your head.
If you're planning on adding layers or texture, consider investing in thinning shears or a hair razor. These tools can help you remove bulk and create a softer, more blended look. However, use them with caution – they can be tricky to master, and it's easy to overdo it. Lastly, make sure you have a spray bottle filled with water to keep your hair damp while you're cutting. Dry hair is harder to manage and can result in an uneven cut.
#3: Understanding Length and Face Shape
The length of your bob should complement your face shape. A classic chin-length bob can be flattering on many face shapes, but it's especially great for oval and heart-shaped faces. If you have a round face, a longer bob that falls below the chin can help to elongate your features. For square faces, a softer, layered bob with side-swept bangs can help to soften the angles.
Also, think about your neck length. A shorter bob can make a short neck appear even shorter, while a longer bob can help to create the illusion of a longer neck. Before you start cutting, stand in front of a mirror and experiment with different lengths by holding your hair up to see how it frames your face. Consider consulting online resources or even a virtual hairstylist app to get personalized recommendations based on your face shape and features.
Face Shape | Recommended Bob Length | Styling Tips |
|---|---|---|
Oval | Versatile, any length works | Experiment with different styles |
Round | Below the chin | Add layers for definition |
Square | Soft, layered, chin-length or longer | Side-swept bangs soften angles |
Heart | Chin-length or slightly longer | Volume at the jawline balances the face |
StepbyStep Guide: Cutting a Bob Haircut at Home
StepbyStep Guide: Cutting a Bob Haircut at Home
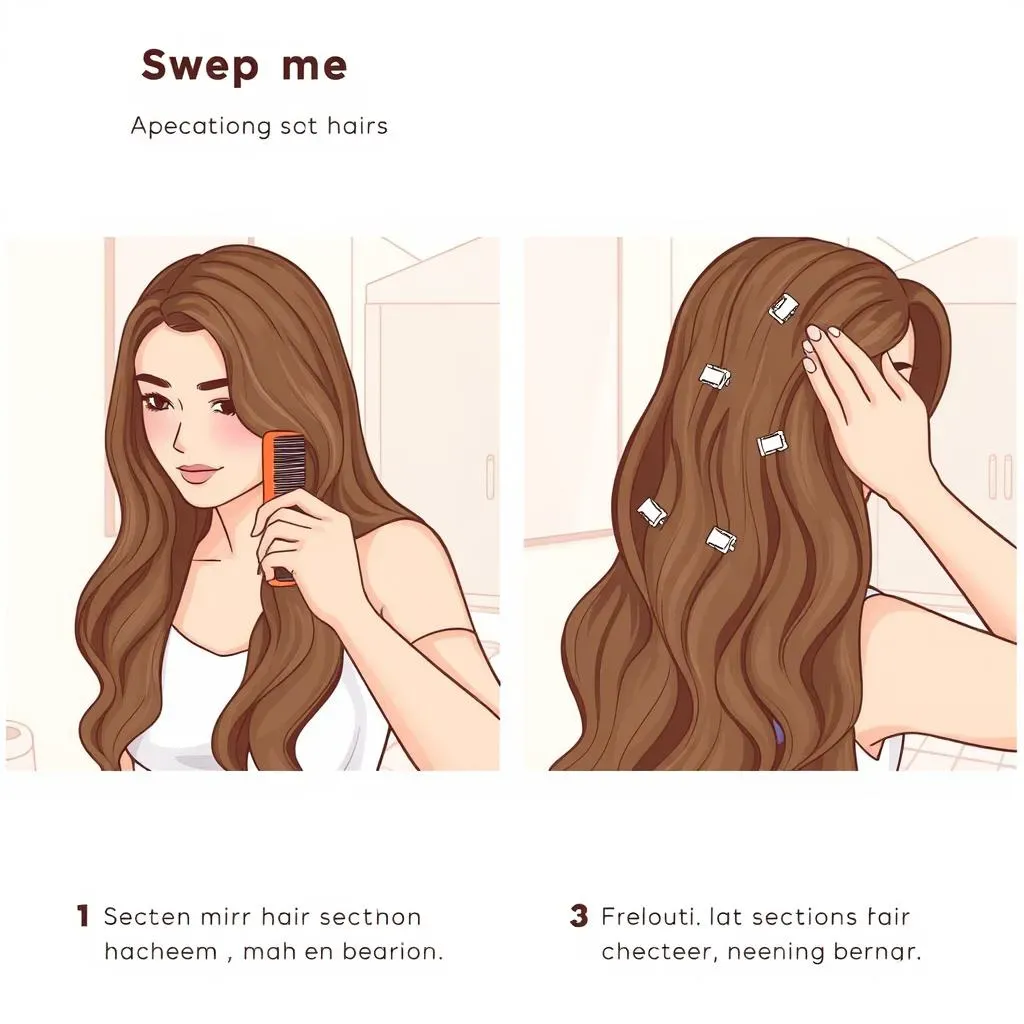
#1: Prep Your Hair and Section It Off
Alright, let's get started! First things first: wash your hair and let it dry completely. I know, I know, most tutorials say to cut it wet, but trust me on this one. Cutting dry hair gives you a much better idea of the final length and prevents any unwanted surprises when it dries. Once your hair is bone dry, brush it thoroughly to remove any knots or tangles. Now, using your comb, create a clean center part from your forehead to the nape of your neck. This will divide your hair into two equal sections.
Next, section off each side into two more sections: one on top and one on the bottom. This will give you four sections in total. Secure each section with a hair clip or hair tie. Make sure the clips are tight enough to hold the hair in place, but not so tight that they leave a crease. This meticulous sectioning is key to achieving an even and balanced bob. Remember, patience is your friend here! Rushing through this step can lead to an uneven cut, and nobody wants that.
#2: Cutting the Back Section
deep breaths! It's time to make the first cut. Start with the back sections. Take down one of the bottom back sections and comb it through again. Decide how long you want your bob to be. A good starting point is around chin length, but feel free to adjust based on your preference. Hold the section of hair straight out from your head, using your fingers as a guide. Now, using your sharp hair shears, carefully cut the hair straight across, parallel to the floor. It's always better to start longer and trim shorter as needed, so don't be afraid to leave a little extra length at first.
Once you've cut the first section, use it as a guide for the other back section. Take down the second bottom back section and comb it through. Hold it next to the first section you cut, and trim it to match the length. Make sure both sections are even before moving on. Accuracy is key here! After the back is cut, you can use the mirror to double check and clean up any unevenness.
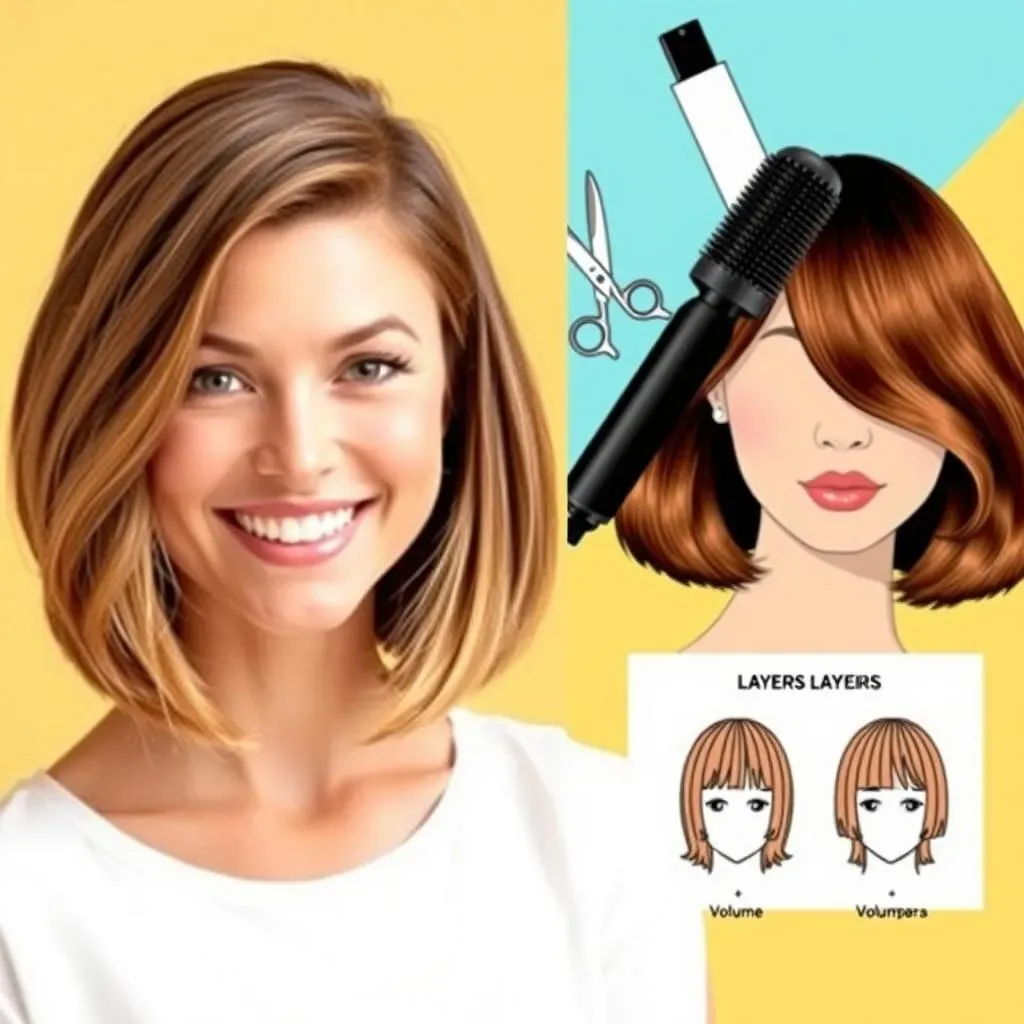
#3: Blending the Sides and Refining the Cut
Now for the front sections! Release one of the front sections. Comb it down and make sure there aren't any tangles. Using the cut back section as a guide, trim the front section to match the length. You can either cut it straight across for a blunt bob, or angle it slightly for a more A-line shape. Repeat on the other side, making sure both sides are even. Once all four sections are cut, it's time to blend everything together.
Remove all the clips and comb your hair down. Check for any uneven spots or stray hairs. Use your shears to carefully trim and refine the cut. If you want to add some texture, you can use thinning shears or a hair razor to remove some bulk from the ends. This will create a softer, more natural look. But remember, less is more! Start with a small amount and gradually add more texture as needed.
Bob Style | Cutting Technique | Recommended for |
|---|---|---|
Blunt Bob | Straight, even cut | Fine hair, sleek look |
A-Line Bob | Slightly angled cut, longer in the front | Adding length to the face |
Textured Bob | Thinning shears or razor to remove bulk | Thick hair, natural movement |
Expert Q&A: Tips and Tricks for the Perfect Bob Hair Cut
Expert Q&A: Tips and Tricks for the Perfect Bob Hair Cut
#1: How Do I Avoid the Dreaded "Mom Bob"?
Ah, the "Mom Bob" – a fate no one wants! The key to avoiding this is all in the styling and personalization. First, ditch the uniform length. Add layers, texture, or an asymmetrical cut to give your bob some edge. Next, think about your hair's natural texture and work with it, not against it. If you have wavy hair, enhance those waves with a texturizing spray or mousse. If you have straight hair, try adding some volume at the roots with a volumizing product or a root-lifting technique.
Finally, don't be afraid to experiment with different styling techniques. A sleek, straight bob can look chic and modern, while a tousled, undone bob can be effortlessly cool. Consider your lifestyle and personal style when choosing a bob style. A busy mom might opt for a low-maintenance bob that can be styled quickly and easily, while someone who loves to experiment with their look might choose a more daring and trendy bob. The goal is to find a bob that reflects your personality and makes you feel confident and stylish.
#2: What's the Best Way to Add Volume to a Bob?
Volume is key to a great bob, especially if you have fine hair. Start with the right haircut. Ask your stylist for layers that will add lift and movement to your hair. A graduated bob, where the back is shorter than the front, can also create the illusion of more volume. When styling, start with a volumizing shampoo and conditioner. These products will help to plump up your hair from the roots.
Next, apply a volumizing mousse or spray to damp hair. Focus on the roots, as this is where you want to create lift. Blow-dry your hair upside down, using a round brush to lift the roots. Once your hair is dry, use a texturizing spray or dry shampoo to add even more volume and grip. If you want to add some waves or curls, use a curling iron or wand, focusing on the mid-lengths and ends. Finish with a light-hold hairspray to keep your style in place.
Volume-Boosting Technique | How to Do It | Best For |
|---|---|---|
Root Lifting | Blow-dry hair upside down with a round brush | Fine hair, adding lift at the roots |
Texturizing Spray | Apply to dry hair, scrunching to add texture | All hair types, creating a tousled look |
Dry Shampoo | Apply to roots to absorb oil and add volume | Oily hair, refreshing style |
#3: How Often Should I Trim My Bob to Keep It Looking Fresh?
Maintaining a bob requires regular trims to keep its shape and prevent it from looking overgrown. As a general rule, you should trim your bob every 4-6 weeks. This will help to remove any split ends and keep the shape of your bob looking sharp. If you have a more structured bob, like a blunt bob or an A-line bob, you might need to trim it more frequently to maintain its precise lines.
If you're cutting your own hair, invest in a good pair of hair shears and follow the steps outlined in this article. If you're going to a salon, be sure to communicate your desired length and shape to your stylist. Bring photos of bobs that you like to give them a clear idea of what you're looking for. And don't be afraid to ask for their advice – they're the experts! With regular trims and proper styling, your bob will always look fresh and fabulous.
Video Tutorial: Watch How to Cut Your Own Hair into a Bob
Video Tutorial: Watch How to Cut Your Own Hair into a Bob
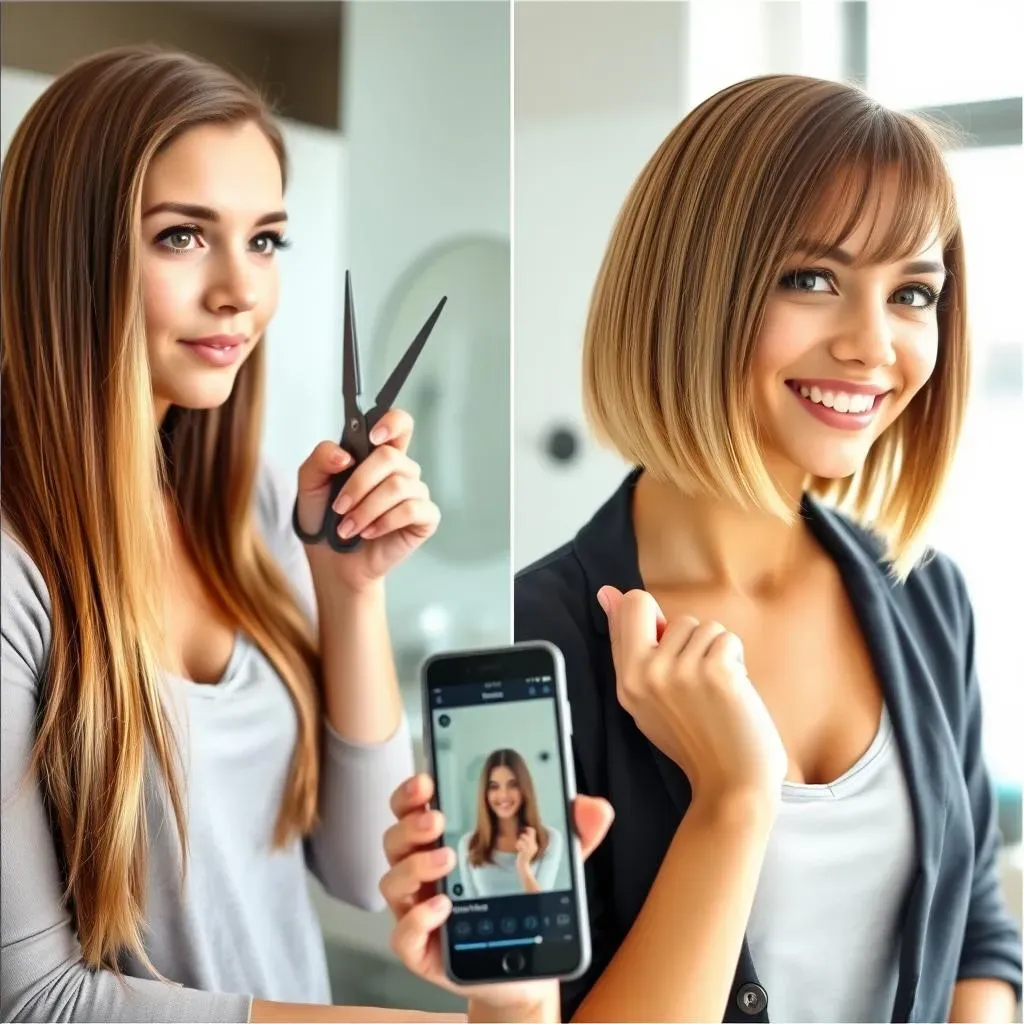
#1: Why a Video Tutorial is Your Best Friend
Alright, let's be real. Reading about cutting your own hair is one thing, but actually seeing it done? That's a game-changer. A video tutorial allows you to visually follow each step, pause when needed, and rewind to catch any tricky parts. It's like having a personal stylist guiding you through the process, right in your own bathroom. Plus, you can find tons of different tutorials online, catering to various bob styles and skill levels. Whether you're a visual learner or just need that extra bit of reassurance, a video tutorial is an invaluable resource.
Think of it this way: you wouldn't try to assemble IKEA furniture without the instructions, would you? Cutting your hair is no different! A video tutorial provides that visual roadmap, helping you avoid common mistakes and achieve a more professional-looking result. So, before you even think about picking up those scissors, find a video tutorial that resonates with you and watch it a few times. Trust me, it'll make a world of difference.
#2: Finding the Right Video Tutorial
Not all video tutorials are created equal. When searching for the perfect one, consider a few key factors. First, make sure the tutorial is clear, concise, and easy to follow. Look for videos with good lighting, clear audio, and close-up shots of the cutting techniques. The stylist in the video should be experienced and knowledgeable, providing clear explanations and helpful tips. Also, consider the style of bob you're aiming for. There are tutorials for classic bobs, A-line bobs, textured bobs, and more. Choose a video that specifically demonstrates the style you want to achieve.
Pay attention to the comments section, too. See what other viewers are saying about the tutorial. Are they finding it helpful? Are there any common issues or questions that are being addressed? A good video tutorial will have a supportive community of viewers who are willing to share their experiences and offer advice. And don't be afraid to watch a few different tutorials before settling on one. Each stylist has their own unique approach, and you might find that one resonates with you more than others.
Tutorial Aspect | What to Look For | Why It Matters |
|---|---|---|
Clarity | Good lighting, clear audio, close-up shots | Easy to follow each step |
Expertise | Experienced stylist, clear explanations | Trustworthy advice and techniques |
Relevance | Specific to your desired bob style | Achieve the look you want |
#3: Tips for Following Along with a Video Tutorial
you've found the perfect video tutorial – now what? First, gather all your supplies before you start. This includes your hair shears, comb, hair clips, mirror, and spray bottle. Set up your workstation in a well-lit area where you have plenty of space to move around. Watch the entire video tutorial once before you start cutting, just to get a sense of the overall process. Then, watch it again, pausing after each step to follow along. Don't be afraid to rewind and re-watch sections as many times as you need to.
Remember, it's always better to start longer and trim shorter as needed. Don't try to rush through the process. Take your time and focus on accuracy. If you're feeling overwhelmed or unsure, don't hesitate to stop and take a break. You can always come back to it later. And most importantly, don't be afraid to experiment and have fun! Cutting your own hair can be a liberating and empowering experience. With the right video tutorial and a little bit of patience, you can achieve a salon-worthy bob right in your own home.
Maintaining Your Bob: Tips for a Fresh Hair Cut
Maintaining Your Bob: Tips for a Fresh Hair Cut
#1: Regular Trims are Non-Negotiable
Listen, a bob is like a high-maintenance plant – it needs regular pruning to thrive! Seriously, if you want to keep that sharp, defined shape, you absolutely have to commit to trims every 4-6 weeks. This prevents split ends from creeping up and ruining the line of your cut. Think of it as a little investment in your overall look. Plus, regular trims make styling so much easier because your hair is always in its best shape.
Now, I know what you're thinking: "Another salon visit? Ugh!" But trust me, it's worth it. You can even learn to do quick touch-up trims yourself if you're feeling brave (and have watched enough video tutorials!). The key is to be consistent. Don't let your bob grow out into a shapeless mess. A little trim goes a long way in keeping it looking fresh and intentional.
#2: Styling Products are Your Best Friends
so you've got the cut down, but now you need to style it! The right styling products can take your bob from "meh" to "wow" in minutes. For volume, try a root-lifting mousse or spray. Apply it to damp hair and blow-dry upside down for maximum lift. If you want a sleek, polished look, use a smoothing serum or oil to tame frizz and add shine. And for a textured, undone vibe, reach for a texturizing spray or sea salt spray.
Don't be afraid to experiment with different products to find what works best for your hair type and desired style. Also, consider investing in a good quality heat protectant spray if you use heat styling tools regularly. This will help to prevent damage and keep your hair healthy and strong. And remember, less is more! Start with a small amount of product and add more as needed. You don't want to weigh your hair down or make it look greasy.
Product | Benefit | How to Use |
|---|---|---|
Root-Lifting Mousse | Adds volume at the roots | Apply to damp hair, blow-dry upside down |
Smoothing Serum | Tames frizz, adds shine | Apply to dry hair, focusing on ends |
Texturizing Spray | Adds texture, creates undone look | Spray on dry hair, scrunching to style |
Conclusion: Rock Your New Bob Hair Cut with Confidence!
So, you've taken the plunge and given yourself a fantastic bob haircut! Remember, practice makes perfect, and even if your first attempt isn't flawless, don't be discouraged. The beauty of a bob is its versatility and the ease with which it can be styled. Embrace your new look, experiment with different textures and products, and most importantly, own it! With these tips and tricks, maintaining your hair cut into a bob at home will become second nature, saving you time and money while keeping you looking stylish and confident.