Table of Contents
Are you ready to unlock the secrets to perfectly coiffed curls? This comprehensive guide dives deep into the world of hair cutting scissors for curly hair, equipping you with the knowledge and techniques to achieve salon-worthy results at home. We'll explore the crucial aspects of selecting the right hair cutting scissors—from blade type and material to size and ergonomics—ensuring you choose a tool that complements your curl pattern and cutting style. Beyond the selection process, we'll guide you through proven techniques for cutting curly hair, addressing common pitfalls and offering solutions for achieving precise, even trims. Maintaining the sharpness and longevity of your scissors is also crucial; we'll provide expert tips to ensure your investment lasts. Finally, we'll troubleshoot common problems many curly-haired individuals face when attempting at-home cuts, providing actionable advice to overcome challenges and prevent frustrating mistakes. Prepare to transform your hair care routine and embrace the beauty of your unique curls with the right tools and techniques, all thanks to this ultimate guide to hair cutting scissors for curly hair.
Choosing the Right Hair Cutting Scissors for Curly Hair

Choosing the Right Hair Cutting Scissors for Curly Hair
Blade Type: The Heart of the Matter
Let's talk blades! For curly hair, you absolutely need sharp, high-quality blades. Think of dull scissors like trying to cut a thick rope with a butter knife – it's a messy, frustrating experience that leads to split ends and uneven cuts. Sharp blades, on the other hand, slice cleanly through the hair, preserving the curl's integrity and preventing damage. Look for scissors made from high-carbon stainless steel; they're durable, hold their edge longer, and resist corrosion. Avoid anything labeled "thinning shears" unless you're a seasoned stylist. They're often more trouble than they're worth for beginners.
The type of blade edge also matters. Convex blades are favored by many professionals because they offer a smooth, gliding cut that's perfect for maintaining the natural curl pattern. They're less likely to snag or pull, minimizing frizz and breakage. But don't shy away from exploring other blade types, too. Experimentation is key to finding your perfect match!
Blade Type | Pros | Cons |
|---|---|---|
Convex | Smooth cuts, minimizes frizz | Can be more expensive |
Bevel | More affordable, versatile | May require more skill to avoid snagging |
Size and Ergonomics: Finding Your Perfect Fit
The size of your scissors significantly impacts your cutting experience. For curly hair, shorter scissors (around 5-6 inches) often provide more control and precision, especially when working with tighter curls or intricate shapes. Longer scissors can be unwieldy, making it harder to execute precise cuts. However, personal preference plays a significant role. Some stylists prefer longer scissors for long, loose curls. The key is finding a size that feels comfortable and allows for fluid movement.
Ergonomics are equally important. You'll be holding these scissors for a while, so ensure they fit comfortably in your hand. Look for features like finger rests, offset handles (designed to reduce wrist strain), and lightweight construction. Discomfort leads to fatigue, which in turn affects your precision. Try holding different scissors before purchasing to find the perfect ergonomic fit. It might sound trivial, but your hands will thank you!
- Consider your hand size and grip.
- Try out different handle designs (offset, swivel).
- Prioritize comfort to avoid hand fatigue.
Material and Maintenance: Investing in Quality
Investing in high-quality hair cutting scissors is an investment in your hair's health and your own sanity. As mentioned earlier, high-carbon stainless steel is a top choice for durability and sharpness retention. However, other materials like cobalt steel offer even greater sharpness and longevity. While more expensive, they’re worth considering if you plan to use your scissors frequently.
Proper maintenance is vital for keeping your scissors in top condition. Regular cleaning and lubrication will prevent rust and ensure smooth operation. Professional sharpening is recommended every few months to maintain peak performance. A dull blade is a curly hair's worst enemy. Think of it like this: you wouldn't use a rusty knife to cook a gourmet meal, right? The same principle applies to your hair cutting scissors.
Techniques for Cutting Curly Hair with Scissors

Techniques for Cutting Curly Hair with Scissors
Cutting Dry vs. Wet: The Great Debate
This is where things get interesting! Many stylists advocate for cutting curly hair dry. Why? Because dry curls reveal their true shape and texture. Cutting wet, especially with very curly hair, can lead to a shorter result once it dries because the hair shrinks. Think of it like this: a wet noodle is longer than a dry noodle. However, some people find dry cutting more challenging, especially for beginners. Wet cutting can be easier to control for certain techniques and hair types. Ultimately, the best approach depends on your comfort level, hair texture, and the specific cut you're attempting. Experiment and see what works best for you. There's no one-size-fits-all answer!
If you’re opting for dry cutting, make sure your hair is completely dry and free from any product buildup. This ensures accuracy and prevents unexpected shrinkage surprises. If you choose wet cutting, use a leave-in conditioner to keep the hair manageable and prevent breakage.
Cutting Method | Pros | Cons |
|---|---|---|
Dry Cutting | More accurate, reveals true curl shape | Can be more challenging for beginners |
Wet Cutting | Easier to control, less likely to create mistakes | May result in shorter length after drying |
Sectioning and Point Cutting: Mastering Precision
Before you even think about snipping, section your hair. This is crucial for achieving an even cut and controlling the overall shape. Think of it as creating a roadmap for your haircut. Use clips to keep each section separate and organized. This prevents accidental snips and keeps you on track. For curly hair, smaller sections are usually better. The smaller the sections, the more control you have.
Point cutting is your best friend. This technique involves holding the scissors vertically and lightly snipping the ends of the hair, rather than making full cuts. This helps to debulk the hair, remove split ends, and create a more textured look without significantly altering the length. It's a gentle way to refine your cut and add movement to your curls.
- Use clips to section your hair into manageable pieces.
- Point cutting removes bulk and adds texture without shortening the hair.
- Practice on small sections before tackling larger areas.
Maintaining Your Hair Cutting Scissors for Curly Hair

Maintaining Your Hair Cutting Scissors for Curly Hair
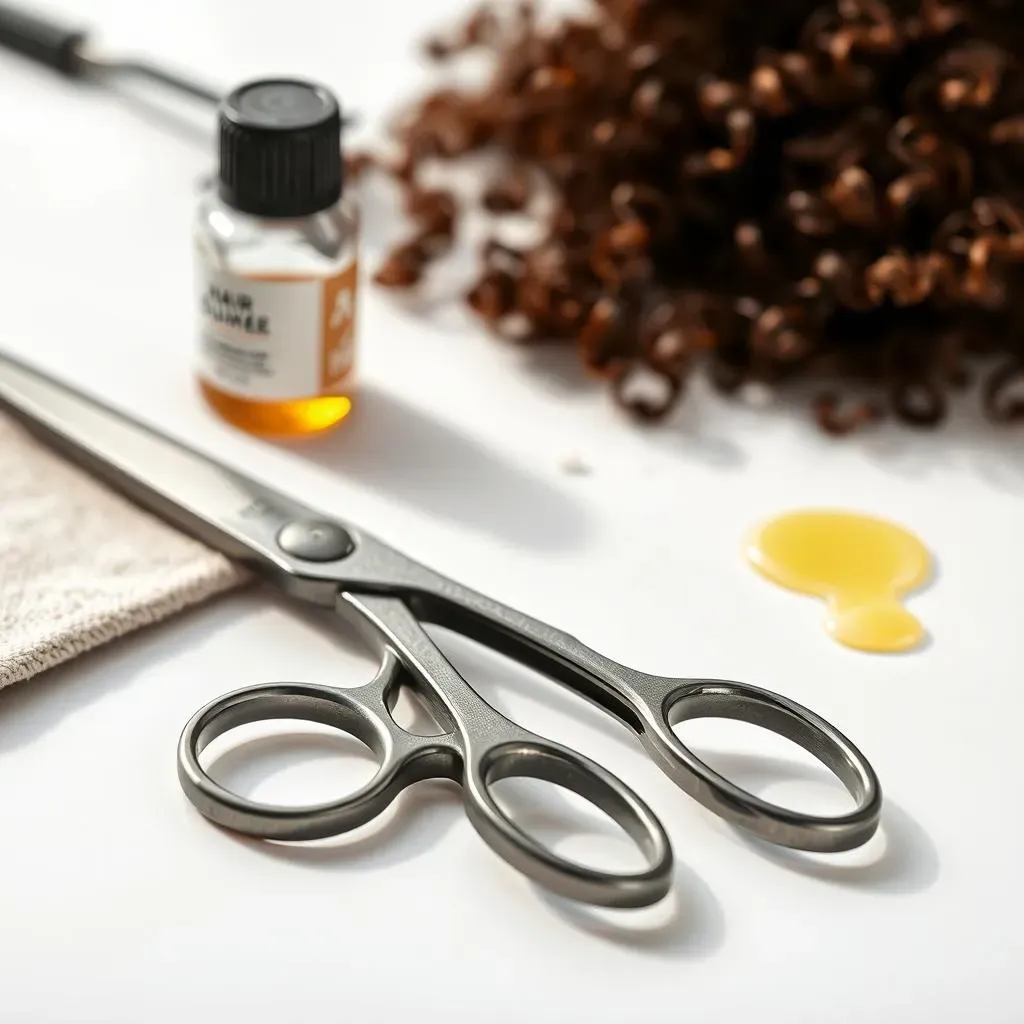
Okay, so you've got your fancy new hair cutting scissors for curly hair. High five! But here's the thing: treating them right is just as important as choosing them wisely. Think of your scissors as a precision instrument—a tiny, sharp sword for your curls. A dull blade is a recipe for disaster, leading to split ends, uneven cuts, and general hair chaos. Regular cleaning and lubrication are your best friends. After each use, gently wipe the blades with a soft cloth to remove any hair or product residue. A drop or two of specialized scissor oil on the pivot point will keep things running smoothly. Avoid harsh chemicals or abrasive cleaners, as these can damage the blades and handles.
Professional sharpening is non-negotiable. Just like your kitchen knives, your hair cutting scissors will eventually lose their edge. Don't try to DIY this; it's a job for a pro. A skilled sharpener will restore the blades to their original glory, ensuring clean, precise cuts for many more happy haircuts. How often? Every 6-12 months, depending on how frequently you use them. Think of it as a small price to pay for the health of your curls—and your sanity.
Maintenance Task | Frequency | How To |
|---|---|---|
Cleaning | After each use | Wipe blades with a soft cloth |
Lubrication | Weekly | Apply a drop of scissor oil to the pivot point |
Professional Sharpening | Every 6-12 months | Take them to a professional scissor sharpener |
Storing your scissors properly is also key. Keep them in a protective case or sheath when not in use. This prevents accidental damage and keeps the blades sharp and clean. Avoid throwing them in a drawer with other tools, as this can lead to nicks and scratches. Think of it as giving your expensive hair-cutting tools the VIP treatment they deserve.
And finally, remember that preventative maintenance is the best maintenance. Avoid using your hair cutting scissors for anything other than cutting hair. Don't use them to cut string, fabric, or anything else that might dull the blades. Treat them with respect, and they'll reward you with years of flawless curls.
- Store your scissors in a protective case.
- Never use them for anything other than cutting hair.
- Regular maintenance prevents costly repairs.
Troubleshooting Common Problems When Cutting Curly Hair

Troubleshooting Common Problems When Cutting Curly Hair
Uneven Cuts: The Curly Hair Nemesis
Ah, uneven cuts—the bane of many a curly-haired individual's existence! This often stems from inadequate sectioning, rushing the process, or using dull scissors. Remember, patience is key when cutting curly hair. Take your time, work in small sections, and use sharp scissors. If you notice unevenness, don't panic! You can often fix minor imperfections with point cutting or by carefully trimming the longer sections to match the shorter ones. The key is to avoid over-correcting, which can lead to even more unevenness. Start small, and be methodical. Precision is more important than speed.
Another common culprit is cutting wet hair, which can lead to shrinkage surprises once it dries. If you're a beginner, consider dry cutting to get a better sense of your curl pattern and shape. Remember, dry curls reveal their true form. Cutting wet hair can lead to a choppy or uneven look once it's dry. For wet cutting, use a leave-in conditioner or styling cream to help manage the hair and prevent breakage.
Problem | Cause | Solution |
|---|---|---|
Uneven Cuts | Poor sectioning, dull scissors, rushing | Careful sectioning, sharp scissors, patience, point cutting |
Shrinkage Surprises | Cutting wet hair | Dry cutting, using styling products |
Dealing with Frizz and Flyaways: Taming the Mane
Frizz and flyaways are the arch-enemies of perfectly defined curls. Often, this is caused by using dull scissors, which can create split ends and rough edges. Sharp scissors are essential for minimizing frizz. Another contributing factor is the cutting technique. Avoid aggressive cutting, as this can disrupt the curl pattern and lead to increased frizz. Gentle point cutting is a better approach; it helps to refine the ends without causing unnecessary disruption. Consider using a curl-enhancing styling product to help manage frizz and keep your curls looking their best.
The environment also plays a role. High humidity can exacerbate frizz. If you're cutting your hair in a humid environment, consider using a curl-defining product that helps to combat frizz and enhance curl definition. If frizz persists, try using a smoothing serum or oil to tame flyaways and add shine. Remember, a little goes a long way. Overusing products can lead to buildup, which can also contribute to frizz.
- Use sharp scissors to minimize split ends.
- Employ gentle point cutting to refine the ends.
- Use curl-enhancing products to manage frizz.
- Consider the humidity level when cutting.
Avoiding the "Choppy" Look: Maintaining Curl Integrity
A choppy look is often the result of cutting too much hair at once or using an incorrect cutting technique. Remember, less is more when cutting curly hair. Start by making small, incremental cuts, and avoid making large, sweeping motions. This will help you to maintain the integrity of your curls and prevent a choppy appearance. Instead of trying to cut everything perfectly even in one go, focus on shaping your curls using point cutting and layering techniques.
If you're struggling to achieve an even cut, consider seeking professional help. A skilled stylist can teach you proper techniques and help you to avoid common mistakes. Remember, practice makes perfect. The more you cut your own hair, the better you'll become at it. Don't be discouraged if your first few attempts aren't perfect. Just keep practicing, and you'll eventually master the art of cutting curly hair. And hey, embracing your natural texture is always an option, too!