Table of Contents
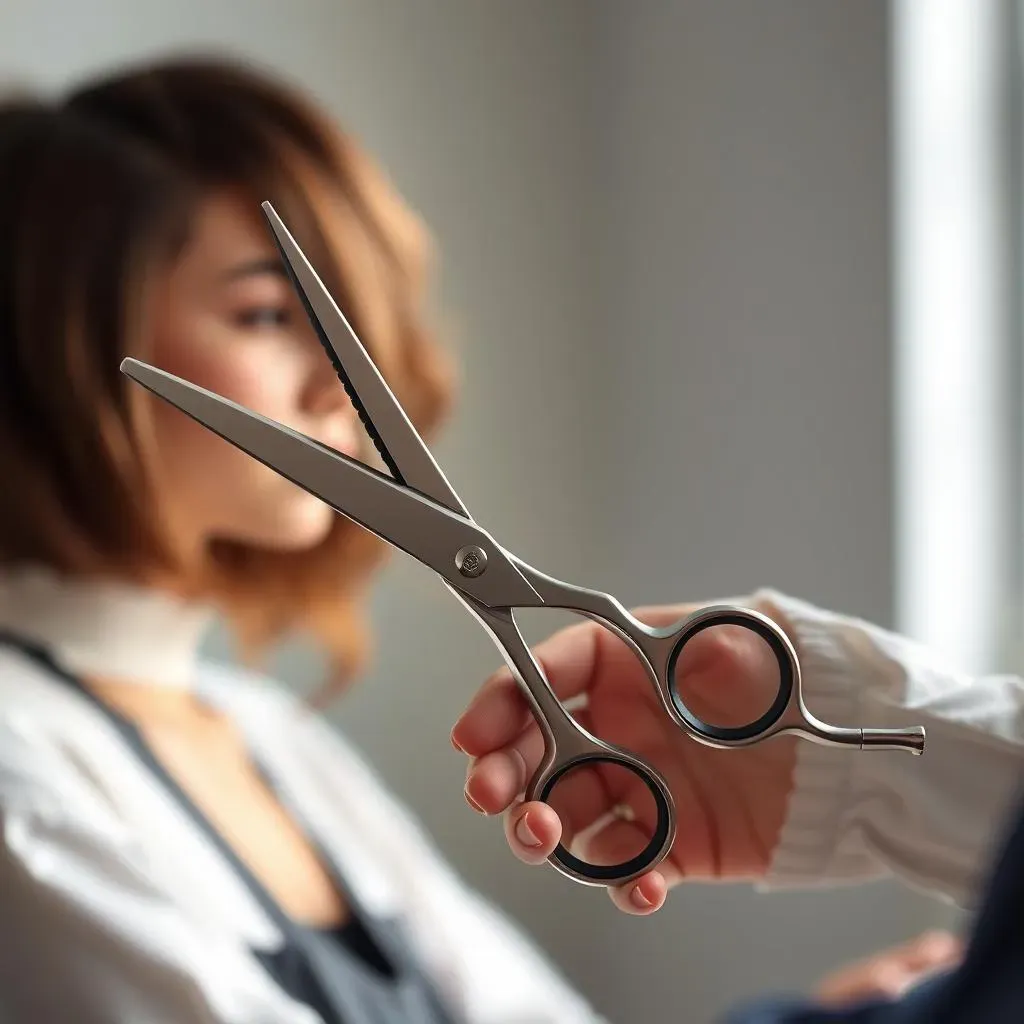
Ready to unlock the secrets to perfectly layered hair? This comprehensive guide dives into the world of hair cutting scissors for layered cuts, equipping you with the knowledge and confidence to achieve salon-worthy results at home. We'll explore the crucial factors to consider when selecting the right hair cutting scissors for your layered cut ambitions – from blade type and size to material quality. You’ll learn essential techniques for creating various layered styles, whether you're aiming for subtle movement or dramatic volume. We'll also delve into the different types and styles of hair cutting scissors specifically designed for layered cuts, helping you navigate the choices available. Finally, we’ll address common challenges faced when working with layered cuts and offer practical solutions to help you avoid mistakes and achieve a flawless finish. Get ready to transform your hair with the power of precision and the right tools – let's get started on your journey to mastering layered cuts with the perfect hair cutting scissors!
Choosing the Right Hair Cutting Scissors for Layered Cuts

Choosing the Right Hair Cutting Scissors for Layered Cuts
Blade Type and Size
Choosing the right hair cutting scissors for layered cuts starts with understanding blade types. There are several to consider, each with its own strengths: convex blades provide a super-sharp, clean cut, ideal for precise layering and creating sharp lines. Semi-convex blades are a versatile option, offering a balance between sharpness and durability. And then there are concave blades, which are great for creating texture and removing bulk. The size of your scissors also matters. Smaller scissors (around 5-6 inches) offer greater control for intricate work, while larger ones (6-7 inches) are better suited for cutting larger sections of hair. Consider your comfort and the types of cuts you'll be making most often.
Remember, a good pair of shears will feel balanced in your hand and not cause fatigue during extended use. Think of it like choosing a perfectly weighted tennis racket – you wouldn't want one that's too heavy or too light, right?
Blade Type | Best For |
|---|---|
Convex | Precise layering, sharp lines |
Semi-convex | Versatile cutting, good balance |
Concave | Texturizing, removing bulk |
Material and Durability
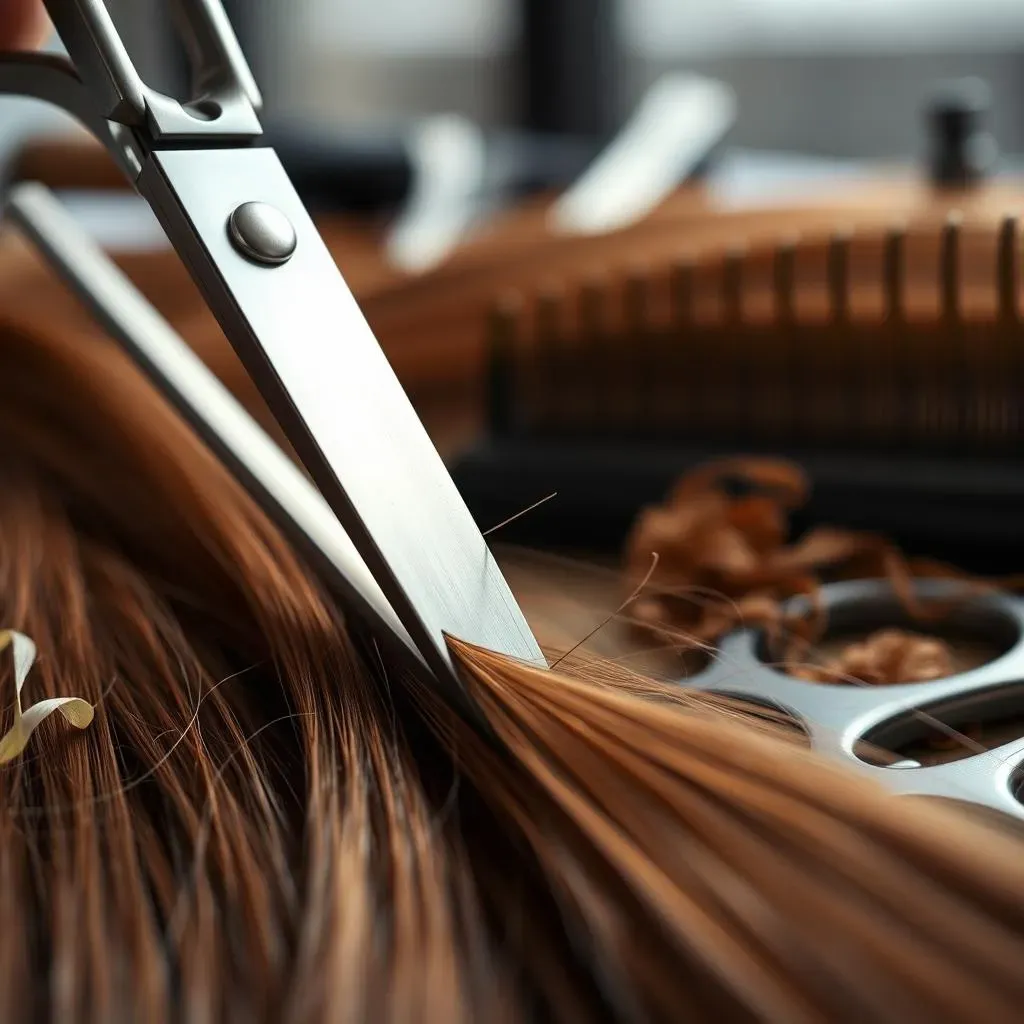
The material of your hair cutting scissors directly impacts their sharpness, durability, and longevity. High-quality stainless steel is the gold standard; it's resistant to rust and corrosion and will hold its sharpness for a long time. Look for scissors made from Japanese steel, often considered the best in the industry for its exceptional hardness and edge retention. Avoid cheaper scissors made from inferior materials – they'll likely dull quickly, leading to uneven cuts and frustration. A good pair of scissors is an investment, so it's worth paying a bit more for superior quality.
Think of it like this: would you use a dull knife to carve a delicate sculpture? Probably not. The same principle applies to your hair cutting scissors. Sharp blades are essential for clean, precise cuts that create perfectly blended layers.
- High-quality stainless steel
- Japanese steel (superior hardness and edge retention)
- Avoid cheap materials that dull quickly
Ergonomics and Comfort
Finally, don't underestimate the importance of ergonomics and comfort. You'll be holding these scissors for extended periods, so choose a pair that feels comfortable in your hand. Look for features like finger rests and adjustable tension screws. The right fit will prevent hand fatigue and wrist strain, allowing you to work more efficiently and precisely. Consider the overall weight and balance of the scissors; some people prefer lighter weight, while others prefer a heavier feel. The best way to determine what feels right is to handle the scissors yourself before committing to a purchase.
Just like choosing the right running shoes, getting the right fit for your hair cutting scissors is crucial for comfort and preventing injury. Don't rush the process; take your time and find a pair that feels perfectly balanced and comfortable for your hand.
Essential Techniques for Layered Haircuts with Scissors

Essential Techniques for Layered Haircuts with Scissors
Sectioning and Preparation
Before you even pick up your scissors, proper sectioning is key. Think of your hair as a canvas – you wouldn't start painting without sketching a plan, would you? Use clips to divide your hair into manageable sections, working from the bottom layers up. This ensures even layering and prevents accidental mistakes. Start with a horizontal part at the nape of the neck, then create vertical sections from ear to ear. The size of your sections will depend on the length and thickness of your hair, but generally, smaller sections are easier to control.
Remember, patience is a virtue! Rushing the process leads to uneven layers and a less-than-perfect result. Take your time, and don't be afraid to use plenty of clips to keep your sections organized. A well-organized approach is half the battle won in the layered haircut game.
Step | Action |
|---|---|
1 | Part hair horizontally at the nape of the neck |
2 | Create vertical sections from ear to ear |
3 | Clip sections securely |
Creating Layers: Techniques and Angles
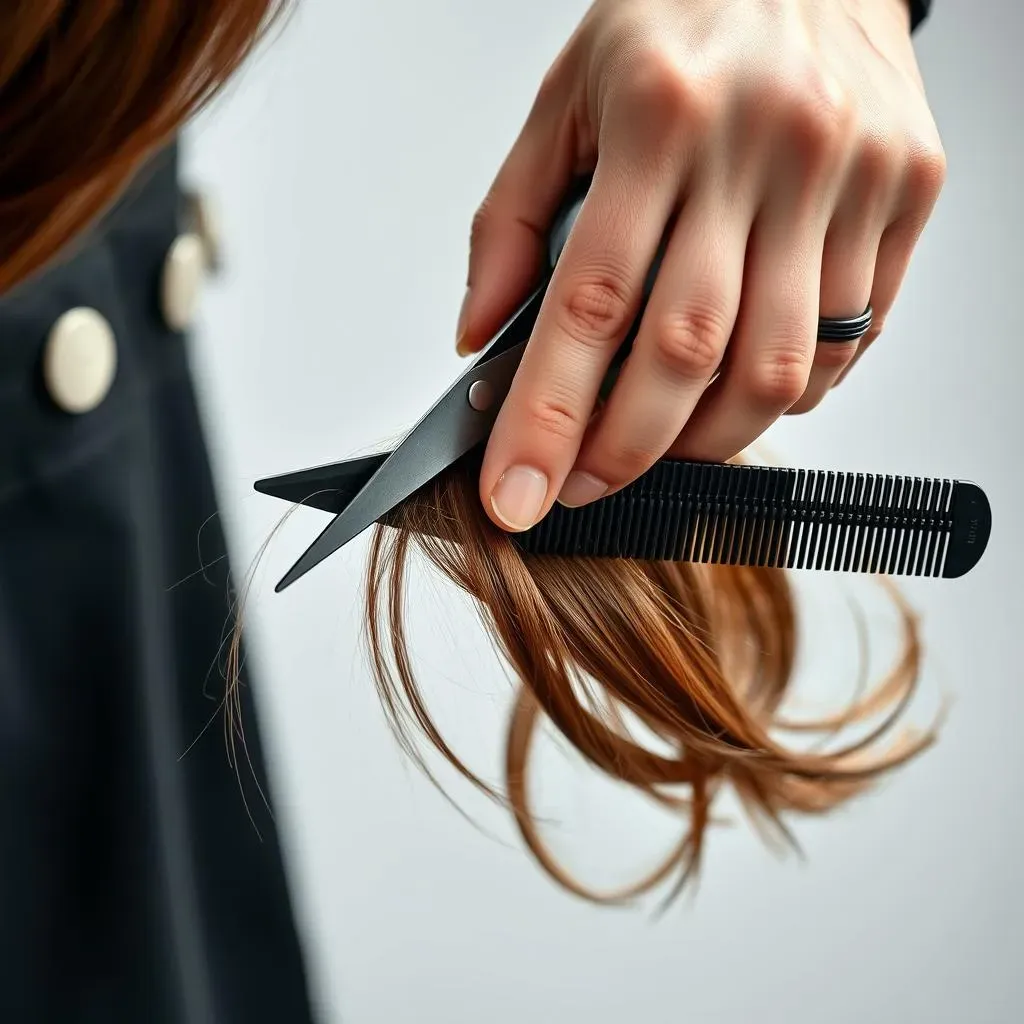
Now for the fun part! There are several techniques for creating layers, each producing a different effect. The most common is point cutting, where you use the tips of your scissors to snip into the ends of the hair, creating texture and movement. This technique is great for blending layers and adding subtle volume. For longer layers, you can use a slide cutting technique, where you gently slide the scissors along the hair shaft. This creates soft, wispy layers. Remember to always cut at an angle, creating a diagonal line rather than a straight one. The angle of your cut determines the shape and length of your layers.
Experiment with different angles to see what works best for your hair type and desired style. A slight angle will create gentle, subtle layers, while a steeper angle will create more dramatic, shorter layers. Remember, practice makes perfect! Start with small, incremental cuts, and you can always take more off, but you can't put it back!
- Point cutting: for texture and movement
- Slide cutting: for soft, wispy layers
- Always cut at an angle
Blending and Finishing
Once you've created your layers, it's important to blend them seamlessly. This means ensuring there are no harsh lines or choppy ends. Use your comb to check for any unevenness and carefully trim any stray hairs. You can also use thinning shears to remove bulk and create more texture. Once you're happy with the shape of your layers, style your hair as usual. Remember to use a heat protectant spray if you're using hot styling tools. A final touch-up with a styling product can add shine and definition.
Remember the golden rule: less is more! It's always better to take off a little bit at a time and gradually refine your layers. Don't be afraid to step back and assess your work; a fresh perspective can help you identify any areas that need further attention. And most importantly, have fun!
Hair Cutting Scissors for Layered Cuts: Types and Styles

Hair Cutting Scissors for Layered Cuts: Types and Styles
Understanding Different Hair Cutting Scissors
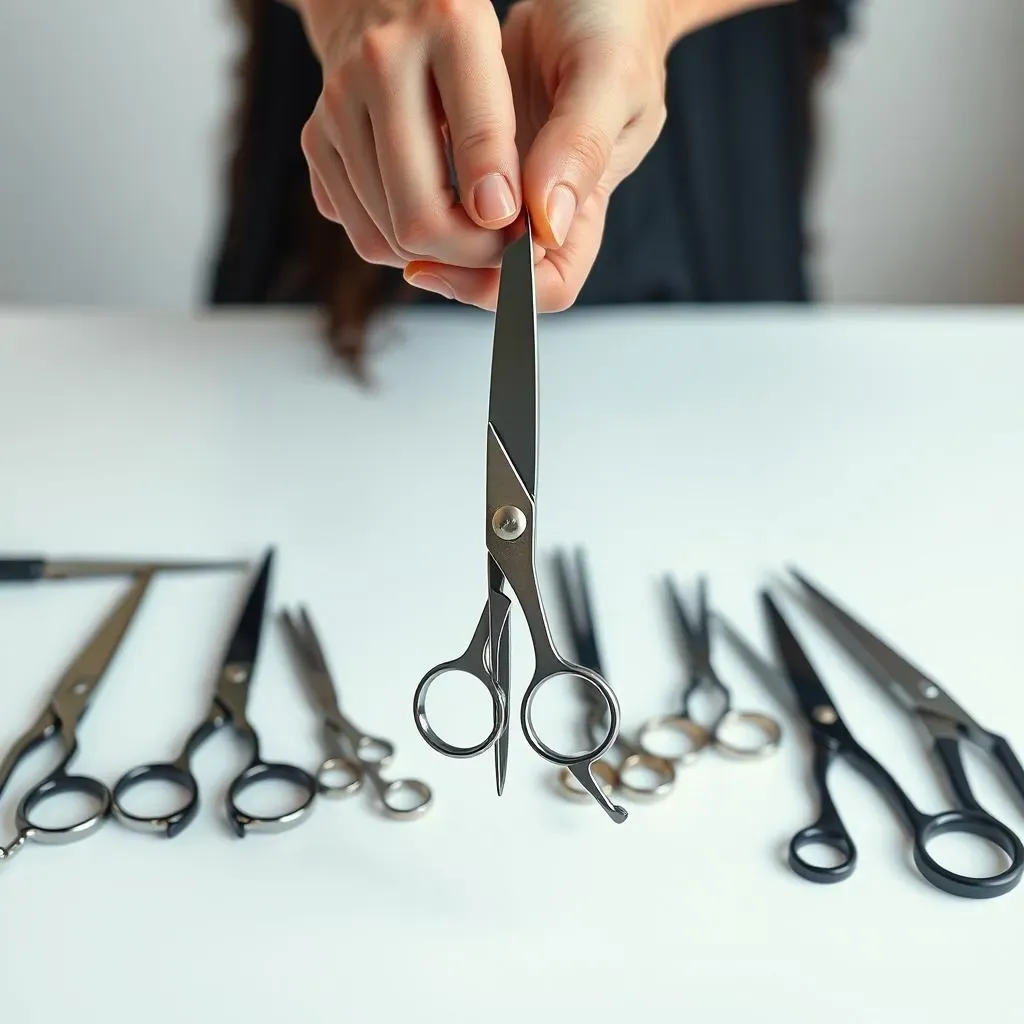
Let's talk about the different types of hair cutting scissors you'll encounter. First, there are your standard hair cutting shears. These are your all-purpose workhorses, great for creating clean lines and precise cuts. They come in various sizes, from small (around 5 inches) for detail work to larger ones (7 inches or more) for cutting larger sections. The length you choose depends on your preference and the types of haircuts you'll be performing most often. Then, there are thinning shears, which have teeth on one blade, allowing you to remove bulk and create texture without shortening the hair significantly. These are particularly useful for blending layers and adding movement to your cut. Finally, we have texturizing shears, which are similar to thinning shears but often have more widely spaced teeth. This creates more dramatic texturizing effects. Choosing the right tool for the job makes all the difference!
Think of it like having a toolbox for any project. You wouldn't use a hammer to screw in a screw, right? Similarly, having the right type of scissors for the job makes your work easier and leads to a better outcome. The choice of hair cutting scissors depends entirely on what kind of look you are going for, and how much bulk you're trying to remove.
Scissors Type | Purpose |
|---|---|
Standard Hair Cutting Shears | Precise cuts, clean lines |
Thinning Shears | Removing bulk, creating texture |
Texturizing Shears | More dramatic texturizing effects |
Material Matters: Steel Grades and Their Impact
The material of your hair cutting scissors is paramount to their performance and longevity. The most common material is stainless steel, but not all stainless steel is created equal. Look for high-carbon stainless steel, often indicated by markings like "440C" or "Japanese steel." These grades offer superior hardness, edge retention, and resistance to corrosion and rust. A higher carbon content generally translates to a sharper, more durable blade, which is essential for creating precise layers. Lower-quality stainless steel will dull quickly, leading to uneven cuts and frustration. Investing in higher-quality scissors is an investment in your skills and the quality of your haircuts.
Remember that quality scissors are a tool that will last you years. It's an investment in your craft, and it pays off in terms of precision, ease of use, and longevity. Just like a chef wouldn't use dull knives, a stylist shouldn't use dull scissors! The sharpness of the blades directly impacts your ability to create even, well-blended layers.
- High-carbon stainless steel (440C, Japanese steel)
- Superior hardness and edge retention
- Resistance to corrosion and rust
Offset vs. Straight Handles: Finding the Perfect Fit
The handle design of your hair cutting scissors also plays a significant role in comfort and control. Straight handles are the traditional design and are often preferred by those who are already comfortable with their technique. Offset handles, on the other hand, have one handle slightly shorter than the other. This design reduces wrist strain and allows for a more relaxed cutting posture, especially useful during longer cutting sessions. The best choice depends on personal preference and cutting style; some stylists find offset handles more ergonomic while others prefer the traditional feel of straight handles. Experimenting with both types can help you determine which best suits your needs and cutting technique.
Consider your cutting style and hand position. Do you tend to hold your scissors in a certain way? Do you experience wrist pain? These are important considerations when choosing between offset and straight handles. Remember that comfort and proper posture are essential for avoiding injuries and maintaining precision during your cuts.
Troubleshooting Common Problems with Layered Cuts and Scissors

Troubleshooting Common Problems with Layered Cuts and Scissors
Uneven Layers: Identifying and Correcting the Problem
Uneven layers are a common frustration. They often stem from improper sectioning or inconsistent cutting angles. Before you start cutting, make sure your sections are even and clearly defined. Use clips to keep your hair organized, and work methodically from one section to the next. Pay close attention to your cutting angles; maintaining consistent angles throughout the process is crucial for creating even layers. If you notice unevenness, don't panic! Use your point cutting technique to carefully blend the layers, removing small amounts of hair until the sections are even. Remember, it's always easier to take off a little more hair than to add it back.
A good tip is to regularly step back and assess your work from a distance. This gives you a better perspective on the overall shape and helps you spot any inconsistencies more easily. Patience and precision are key here; take your time and don't rush the process.
Problem | Solution |
|---|---|
Uneven sections | Re-section and cut with consistent angles |
Inconsistent cutting angles | Practice consistent angles and use a guide |
Choppy layers | Use point cutting to blend layers |
Dealing with Choppy or Jagged Ends: Refining Your Technique
Choppy or jagged ends are often the result of using dull scissors or aggressive cutting techniques. Dull scissors will create uneven cuts, leading to a messy finish. Invest in a high-quality pair of hair cutting scissors with sharp blades. When cutting, use a gentle, controlled motion, avoiding harsh snips. If you find your ends are still choppy after cutting, use your point cutting technique to refine them. Carefully snip into the ends, blending them seamlessly with the rest of the hair. Thinning shears can also be helpful in removing excess bulk and creating a smoother finish. Remember, precision is key to achieving a polished, professional look.
Take your time and don't be afraid to use your thinning shears to remove any excess bulk. Remember, a little bit of patience goes a long way when it comes to achieving a perfect layered cut. Always strive for a natural, blended look, avoiding any harsh lines or choppy sections.
- Use sharp scissors
- Use a gentle, controlled cutting motion
- Use point cutting to refine ends
- Use thinning shears to remove excess bulk
Avoiding Common Mistakes: Tips for Success
To avoid common mistakes, always start with clean, dry hair. Wet hair can stretch and shrink, leading to uneven cuts. Also, be sure to use a comb to clearly define your sections, ensuring you cut each section consistently. Remember to cut small sections at a time, working gradually to achieve your desired shape. Don't be afraid to take your time and check your work regularly. If you're unsure about a particular cut, it's always better to err on the side of caution and take less hair off than you intended. You can always go back and remove more if needed, but you can't add hair back on!
Consider using a mannequin head for practice before working on real hair. This allows you to experiment with different techniques and gain confidence before attempting a layered cut on a live model. Remember that practice makes perfect, so don’t get discouraged if your first attempt isn’t perfect. Keep practicing, and you'll gradually improve your skills and confidence.