So, you've got short hair, and you're thinking of taking matters into your own hands? I get it. Whether you're after a quick trim or a whole new look, the right tools make all the difference. And when it comes to short hair, those tools are your trusty hair cutting scissors. Forget those kitchen shears—we’re talking about precision instruments that can either make you a styling superstar or a total mess. This article is your guide to navigating the world of hair cutting scissors for short hair. We'll explore why short hair needs special attention, how to choose the perfect pair of scissors for your needs, and the best way to use them. Think of this as your personal crash course in hair-cutting at home. We'll also cover how to keep your scissors in top shape. Ready to become a short-hair styling pro? Let's get snipping!
Why Short Hair Needs Special Scissors

Why Short Hair Needs Special Scissors
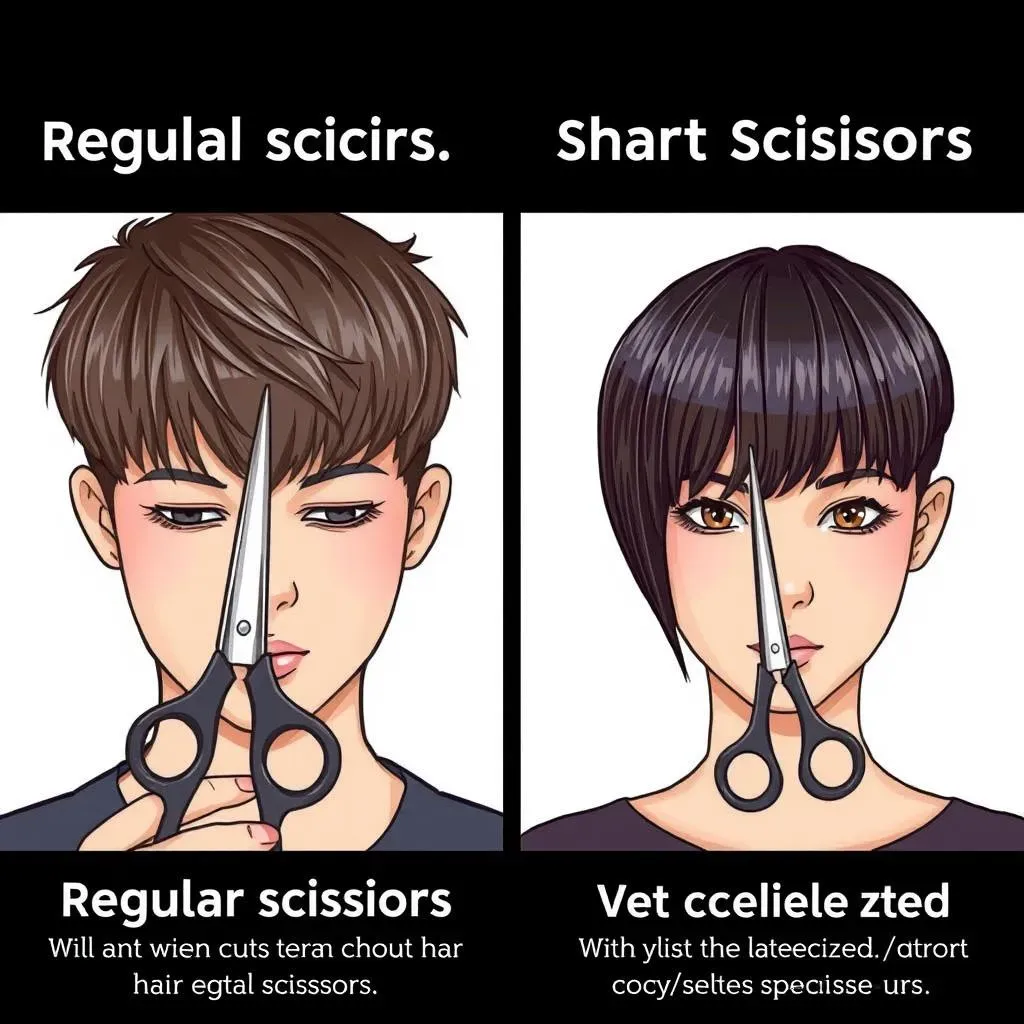
Okay, so you might be thinking, "Scissors are scissors, right?" Wrong! When it comes to short hair, it's like comparing a tiny sports car to a monster truck. They both get you places, but they handle completely differently. Short hair is all about precision. Every snip counts because, unlike long hair where mistakes can hide, there's nowhere to hide with short styles. The wrong scissors can lead to jagged edges, uneven layers, and a whole lot of regret. You need tools that can handle tight corners and delicate details, something regular scissors just can't do. The weight, the blade sharpness, the size – it all plays a huge role in getting that clean, intentional look. So, before you go hacking away, let's understand why short hair demands a specialized approach.
Picking the Perfect Hair Cutting Scissors for Your Short Style

Picking the Perfect Hair Cutting Scissors for Your Short Style
Size Matters: Finding Your Perfect Fit
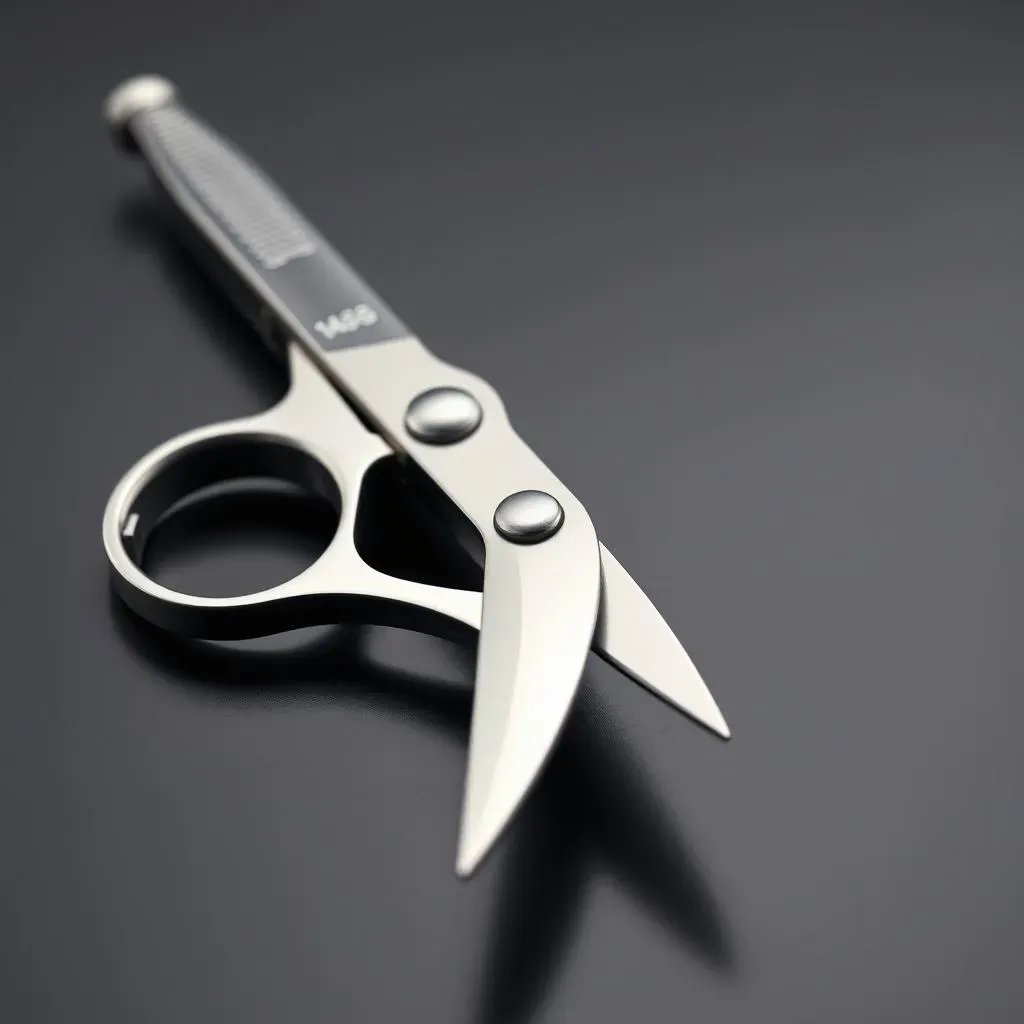
Alright, let's talk size. You wouldn't wear shoes that are three sizes too big, right? Same goes for scissors. For short hair, you're going to want something smaller and more maneuverable. Think of it like this: longer scissors are like trying to paint a tiny canvas with a huge brush. It's just not going to work. Generally, 4.5 to 5.5-inch scissors are your best bet. They give you the control you need for those tricky areas around the ears and neckline. Don't be tempted to go bigger, thinking it will make the job faster. It'll just make it messier. Remember, we're after precision, not speed.
Blade Type: Smooth or Serrated?
Now, let’s get into the nitty-gritty of blades. You'll often see two main types: smooth and serrated. Smooth blades are like a hot knife through butter, giving you a clean cut. They're great for most types of short hair and allow for techniques like slide cutting and point cutting. Serrated blades, on the other hand, have tiny teeth along the edge. These are designed to grip the hair and prevent it from slipping as you cut. While they can be helpful if you’re new to cutting hair, they can also create a more textured, less defined cut, which might not be what you want for certain short styles. For most short haircuts, smooth blades are the way to go. You want to be in control of the cut, not the other way around.
Blade Type | Best For | Avoid If |
|---|---|---|
Smooth | Clean, precise cuts; slide & point cutting | Beginners uncertain about control |
Serrated | Textured cuts; preventing slippage | Precise, defined lines |
Handle with Care: Ergonomics and Comfort
Last but definitely not least: the handle. You could have the sharpest blades in the world, but if the scissors are uncomfortable to hold, you're going to have a bad time. Look for handles that feel natural in your hand. Some scissors have offset handles, which can reduce strain on your wrist. Others have finger rests that give you more control. It's all about what feels best for you. Think of it like trying on a new pair of gloves; you want them to fit just right. Cutting your hair shouldn't feel like a workout. If your hand is cramping up after just a few snips, it’s time to consider a different pair.
How to Use Hair Cutting Scissors on Short Hair

How to Use Hair Cutting Scissors on Short Hair
Getting Started: The Prep Work
Alright, so you’ve got your perfect pair of scissors, now what? Before you even think about making that first cut, preparation is key. Start with clean, damp hair. Not soaking wet, but just slightly damp. This makes the hair easier to manage and cut evenly. Think of it like prepping a canvas before you paint. Next, you’ll need a good mirror, preferably one that allows you to see the back of your head (a hand mirror is a game changer here). Make sure you have a clear, well-lit space to work in. You don’t want any shadows or distractions messing with your vision. And finally, have a plan. Don’t just start snipping randomly. Decide what you want to achieve. Are you trimming the ends, shaping layers, or going for a whole new style? Having a clear goal will help you stay on track and avoid any major hair disasters.
Remember, it's always better to cut off less than you think you need. You can always take off more, but you can't glue it back on. Start by sectioning your hair with clips. This helps you focus on one area at a time and makes the whole process less overwhelming. Think of it like organizing your closet before you try to find an outfit. It makes everything easier and much less chaotic. For short hair, I suggest starting with the sides and back, leaving the top and front for last. This way, if you mess up a little, it’s easier to fix. Now, take a deep breath and let's get to the cutting part.
The Art of the Cut: Techniques for Short Hair
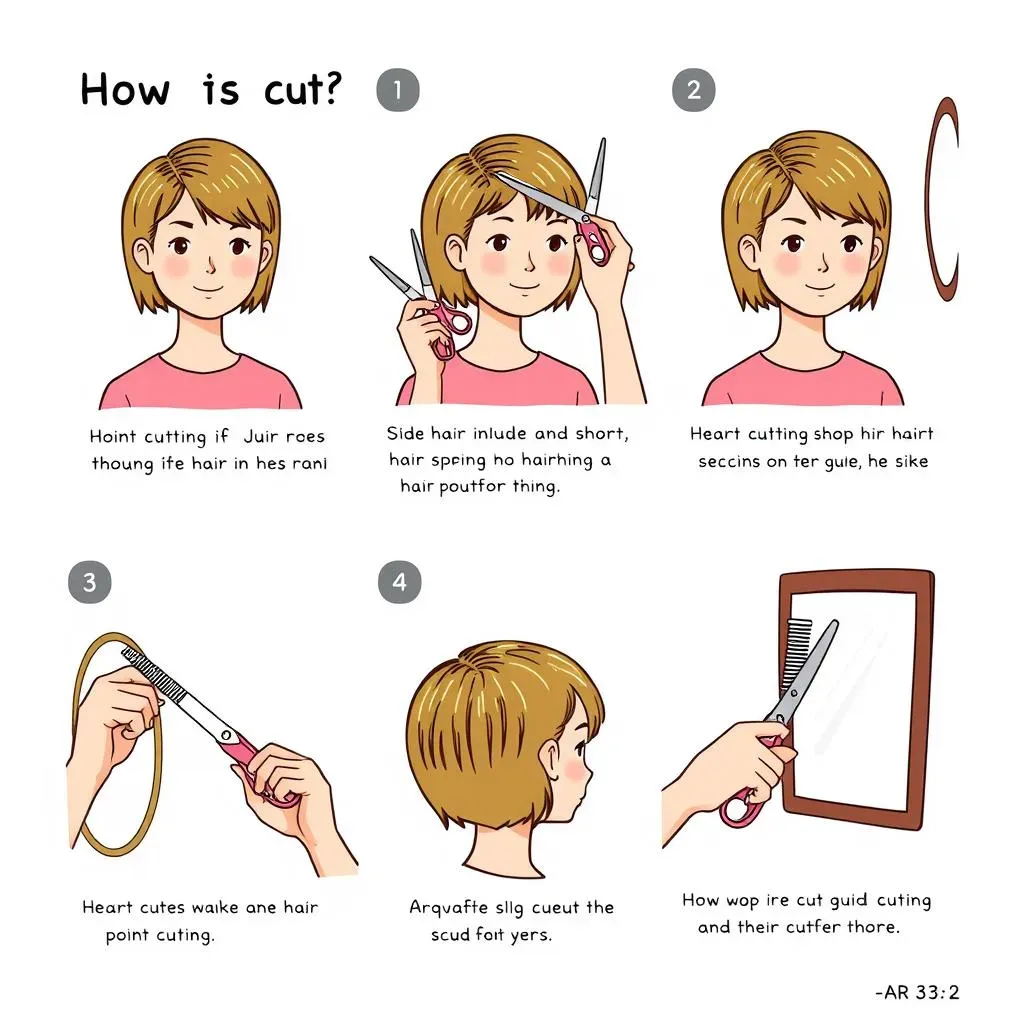
Now for the fun part! When cutting short hair, it’s all about small, precise snips. Avoid long, sweeping cuts; they’re a recipe for disaster. Instead, use the point-cutting technique. This involves holding your scissors vertically and making small snips into the ends of your hair. It creates a softer, more natural-looking edge. Think of it like sculpting clay; you’re shaping the hair, not chopping it. Another useful technique is slide cutting. This is where you hold your scissors slightly open and slide them down the hair shaft. This can help remove bulk and create texture. But be careful with this one, it takes some practice, and it’s easy to get carried away. If you’re new to cutting hair, it's best to start with point cutting and slowly introduce slide cutting as you get more comfortable.
When cutting around the ears and neckline, be extra careful. These areas are tricky and require a steady hand. Use the tip of your scissors and make small, precise cuts. It’s also a good idea to use a comb to guide your scissors and ensure you're cutting in a straight line. Think of the comb as your personal hair-cutting GPS. If you're unsure about a cut, err on the side of caution. It's always best to take a break, re-evaluate, and then continue. Rushing is the enemy of a good haircut. Remember, you're not a professional stylist, and that’s totally fine. The goal here is to get a decent trim at home, not a salon-worthy cut. Just have fun with it, and don't be afraid to experiment.
Technique | Description | Best For |
|---|---|---|
Point Cutting | Small, vertical snips into the ends | Softer edges, layering |
Slide Cutting | Scissors slightly open, slide down hair shaft | Removing bulk, texture |
Maintaining Your Hair Cutting Scissors: Keep Them Sharp and Ready

Maintaining Your Hair Cutting Scissors: Keep Them Sharp and Ready
Okay, so you've invested in a great pair of hair cutting scissors, and you're finally starting to get the hang of cutting your own short hair. But here's the thing: even the best scissors won't stay sharp and precise forever if you don't take care of them. Think of your scissors like a good chef's knife; they need regular maintenance to perform their best. Neglecting them is like letting your car run without oil – it's going to end badly. So, let's talk about how to keep those blades in tip-top shape so you can keep getting those perfect trims without any hassles. It's not just about keeping them sharp, it's also about keeping them clean and ready for action.
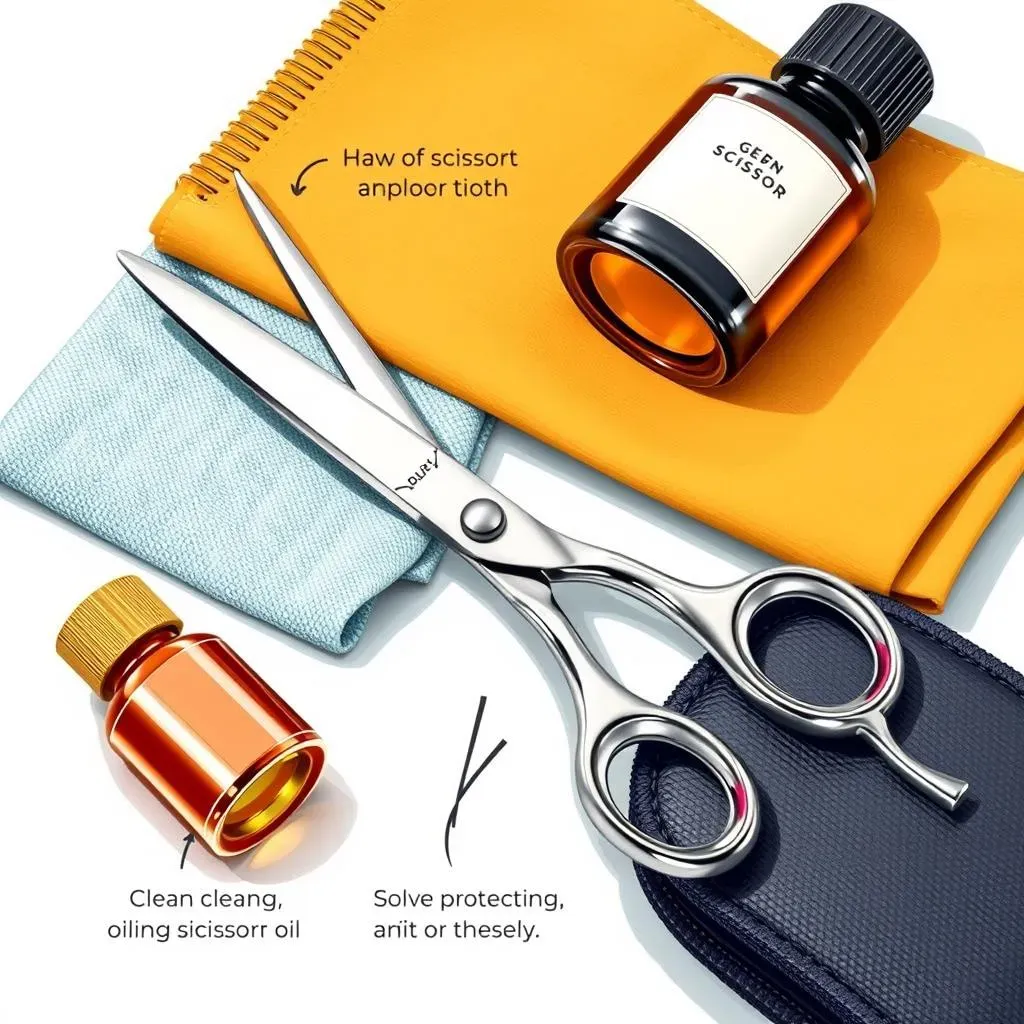
First things first: cleaning. After each use, take a soft cloth and gently wipe down the blades. This removes any hair clippings and product residue. You might want to use a bit of rubbing alcohol to disinfect them, especially if you're sharing scissors with someone. But be careful, make sure the alcohol doesn't get into the pivot point of your scissors. It's like washing your dishes after a meal, it keeps things fresh and prevents build-up. Next up, oiling. Use a drop or two of scissor oil (yes, there's such a thing) on the pivot point. This keeps the blades moving smoothly and prevents them from getting stiff. It’s like giving your bike chain a little lubrication so it doesn't rust up. And finally, storage. Don't just toss your scissors into a drawer or bag. Store them in a case or pouch to protect the blades from damage. It's the same as putting your glasses in a case instead of just throwing them in your bag, it keeps them safe from scratches.
Maintenance Step | Why It's Important | How to Do It |
|---|---|---|
Cleaning | Removes hair & product, prevents rust | Wipe blades with a soft cloth, use rubbing alcohol |
Oiling | Keeps blades moving smoothly | Apply a drop of scissor oil to pivot point |
Storage | Protects blades from damage | Store in a case or pouch |
Now, let's talk about sharpening. This is where things get a bit more complex. Unless you’re experienced, I would avoid trying to sharpen them yourself. It’s easy to mess up the blade alignment and ruin your scissors. Instead, take them to a professional sharpener. They have the right tools and expertise to get them back to their original sharpness. It’s like taking your car to a mechanic instead of trying to fix it yourself, it's better to leave it to the professionals. How often should you sharpen them? It depends on how often you use them, but a good rule of thumb is once a year for regular home use. If you notice the blades are starting to feel dull or your cuts are getting jagged, that’s a sign it’s time for a sharpen. Proper care and maintenance might seem like a hassle, but it will extend the life of your scissors. It will also make each haircut easier, more enjoyable, and much better in the long run. So, treat your scissors well, and they’ll treat you well.