Table of Contents
Ever looked at your hair and thought, "I could do that myself?" Well, you're not alone! Cutting hair at home can seem daunting, but with the right tools and a little know-how, it's totally achievable. This hair cutting scissors tutorial will be your guide, breaking down the process into easy-to-follow steps. We'll start by picking the perfect scissors – because let's be honest, kitchen shears are a no-go. Then, I'll walk you through basic techniques like trimming and layering, which are essential for a good-looking cut. Feeling adventurous? We'll even touch on using clippers for those shorter styles. This isn't about turning you into a professional stylist overnight, but about giving you the confidence and skills to manage your hair between salon visits. So, grab your comb, a mirror, and let's get snipping! Remember, practice makes perfect, and even if it's not flawless at first, you'll be a pro in no time.
Choosing the Right Hair Cutting Scissors and Tools

Choosing the Right Hair Cutting Scissors and Tools
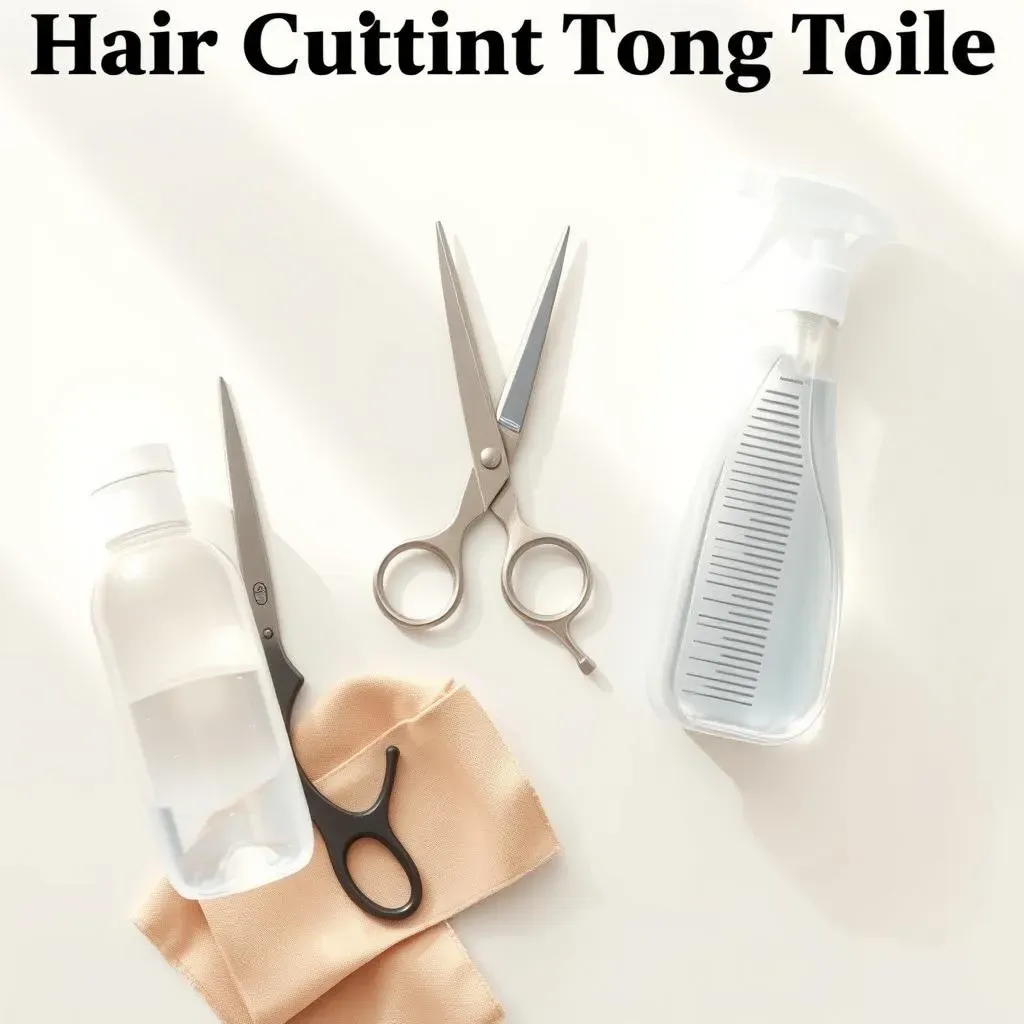
Okay, so you’re thinking about cutting hair at home? Awesome! But before you grab any old scissors, let's talk tools. It's not just about having sharp blades; it's about having the right sharp blades. Think of it like this: you wouldn't try to paint a masterpiece with a house brush, would you? Same deal with hair. You need proper hair cutting scissors. These aren't the ones you use to open packages or trim coupons. We're talking about scissors made with specific steel, designed for hair, with edges that are honed to perfection. And while you're at it, a good comb is your best friend, a water spray bottle for dampening, and maybe a chair cloth to avoid a carpet covered in hair. It might seem like a lot, but trust me, the right tools are half the battle won.
Tool | Why You Need It | Where to Find It |
|---|---|---|
Hair Cutting Scissors | Sharp blades designed for hair; prevent damage | Professional beauty supply stores or online |
Cutting Comb | Helps section and guide hair evenly | Professional beauty supply stores or online |
Water Spray Bottle | Keeps hair damp for easier cutting | Any general store or online |
Chair Cloth | Protects clothing and floor from hair | Professional beauty supply stores or online |
Basic Hair Cutting Techniques: Trimming and Layering

Basic Hair Cutting Techniques: Trimming and Layering
Trimming: The Foundation
Alright, let's start with the basics – trimming. Think of trimming as giving your hair a little "cleanup." It's about removing split ends and keeping your length neat. The key here is to work with small sections of hair, and always cut horizontally. Don't get all artistic and start chopping at angles just yet. For example, if you have long hair and want to maintain the length but get rid of the dead ends, just take off a tiny bit from the bottom. This is also a good time to check for unevenness. If you see one side is longer than the other, you can lightly adjust. Remember, less is more, you can always cut more later, but you can't glue it back.
Layering: Adding Dimension
Now for layering, which is a bit trickier, but totally doable. Layering is all about creating different lengths within your hair to reduce bulk and add movement. Imagine a staircase; each step is a different length of hair. To do this, you'll need to section off your hair and lift each section at a 90-degree angle. Then, using your scissors, make small snips into the ends. The angle is crucial; a 90-degree angle gives you a softer layer. If you lift the hair higher than 90 degree the layers will be shorter. This technique can transform a very heavy hair into a lighter, bouncier style. Start slowly, and don't get too carried away with the layers. It’s easy to get lost in the process, but remember to take a step back and check your work as you go.
Tips and Tricks for Success
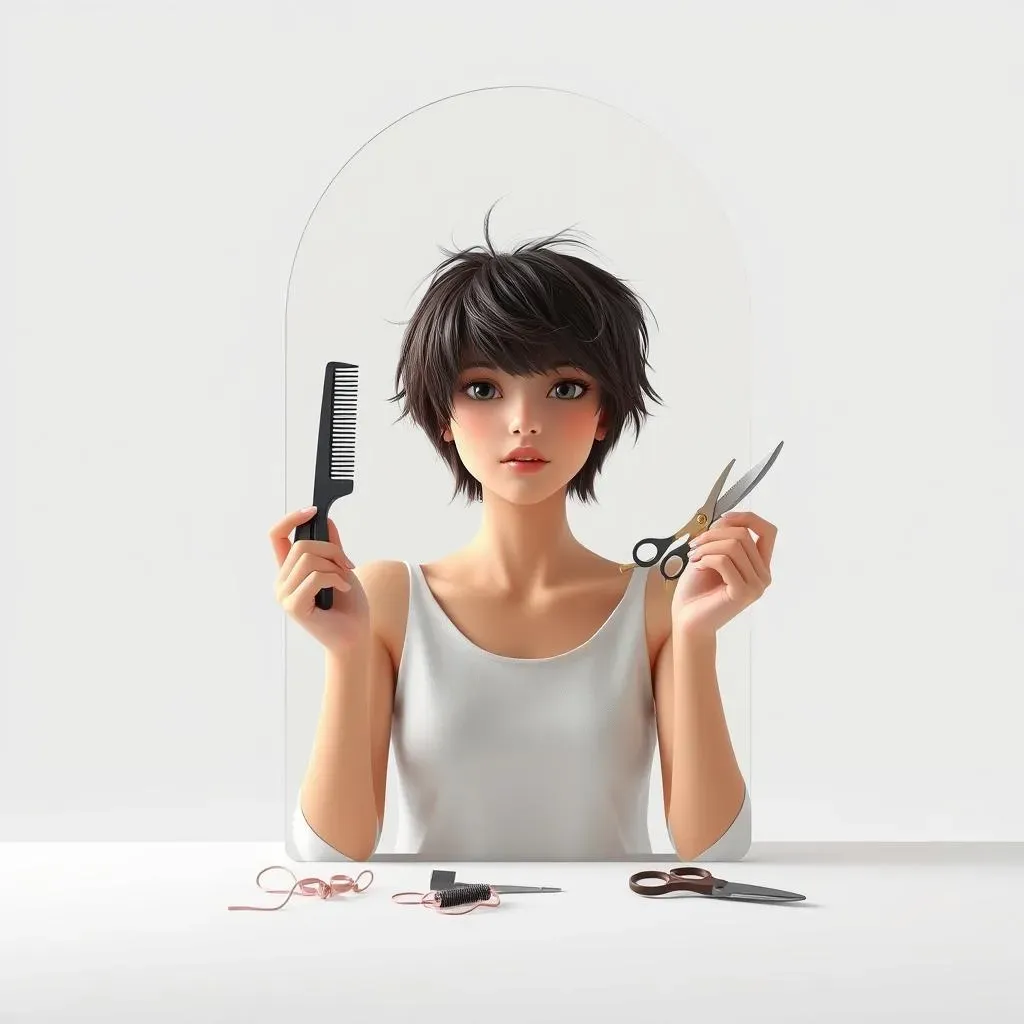
Before you start snipping away, here are a few crucial things to keep in mind. Always work with damp hair, it’s easier to cut when it’s not bone dry. And remember, patience is key; don't rush. Start with small sections of hair and make small cuts. It's better to take off too little than too much. And when you're doing layers, remember to keep the angle consistent. It's like building a house – if your foundation is off, the whole thing will be wonky. Practice in front of a mirror, so you can see what you're doing and make sure you're happy with your progress. If you're feeling unsure, watch some videos to get a better sense of what the process should look like. Don't be afraid to ask a friend for a second opinion, especially when you're working with layers in the back of your head. And most importantly, have fun with it! It's just hair; it grows back.
Technique | Purpose | How to do it |
|---|---|---|
Trimming | Removes split ends and keeps length neat | Cut ends horizontally with small sections |
Layering | Adds dimension and reduces bulk | Section hair, lift at 90-degree angle, snip ends |
Advanced Hair Cutting: Clipper Cutting and Texturizing

Advanced Hair Cutting: Clipper Cutting and Texturizing
Alright, so you've mastered the basics with scissors, huh? Now, let's get into the real fun stuff: clippers and texturizing! Clippers are your best friend when it comes to short styles, fades, and keeping things super neat. Think of them as your power tool for hair. But, they're not as simple as just buzzing away. You need to learn the different guard sizes and how to use them to create a smooth, even cut. For instance, a larger guard will leave more hair, while a smaller one will get you closer to the scalp. Start with a larger guard, and gradually go down to shorter ones, if you want a fade. Always move the clippers against the grain of the hair, and use a comb to lift the hair and create a guide for the clippers. It's all about being precise and patient. Now, texturizing is like adding the sprinkles on top of a cupcake, it’s the final touch that brings everything together. You can use thinning shears to remove bulk and create a softer, more natural look or even use the point cutting technique which we already discussed. But again, don't get scissor-happy, it’s easy to overdo it, and you don't want to end up with a fluffy mess. Just use the scissors gently to remove the bulk.
Tool/Technique | Purpose | How to Use |
|---|---|---|
Clippers | Creating short styles, fades, and even cuts | Use guards for different lengths, move against the grain |
Thinning Shears | Remove bulk and add texture | Use gently, making small snips into the hair |
Point Cutting | Create softer ends and more texture | Point the scissors upwards and lightly open and close scissors on the ends of the hair |