Rocking a bob cut but dreaming of longer locks? You're not alone! Many find themselves wanting to switch up their style, and that's where hair extensions for bob cut come in. It might seem tricky, but with the right techniques and extensions, you can achieve a seamless and natural-looking transformation. This guide will walk you through everything you need to know, from choosing the perfect type of extensions to blending them flawlessly with your bob. We'll cover the best extension types for short hair, including tape-ins, micro-links, clip-ins, and weaves, highlighting the pros and cons of each. You'll also learn step-by-step application tips and expert blending techniques to ensure your extensions look like they're growing right out of your head. Plus, we'll share essential maintenance and styling advice to keep your extended bob looking fabulous. Get ready to unlock a world of styling possibilities and say hello to the bob of your dreams – with a little help from hair extensions for bob cut!
Choosing the Right Hair Extensions for Your Bob Cut
Choosing the Right Hair Extensions for Your Bob Cut
Understanding Your Bob's Unique Needs
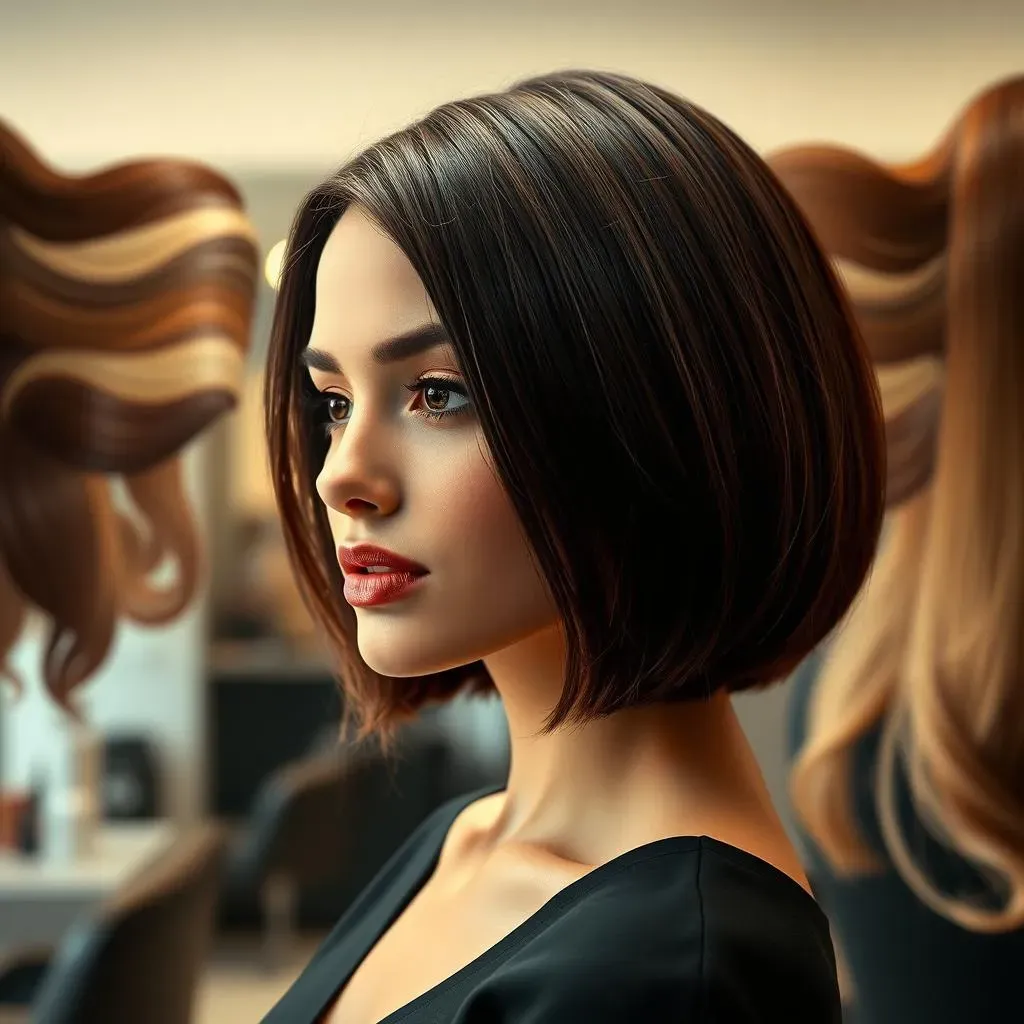
So, you're thinking about adding some length or volume to your bob? Awesome! But before you dive headfirst into the world of extensions, it's crucial to really understand your hair and your bob's specific characteristics. Is your bob blunt and bold, or soft and layered? Is your hair fine, thick, or somewhere in between? These factors will significantly influence the type of extensions that will work best for you. Think of it like finding the perfect pair of jeans – you need to know your measurements to get the right fit!
Also, consider your lifestyle. Are you a low-maintenance kinda person, or do you love spending time styling your hair? Some extensions require more upkeep than others, so be honest with yourself about how much time you're willing to invest. And finally, what's your budget? Hair extensions range in price from affordable clip-ins to more expensive, salon-installed options. Knowing your budget upfront will help you narrow down your choices and avoid any surprises later on.
Exploring Extension Types: A Bob-Friendly Guide
Now that you know your bob inside and out, let's explore the different types of extensions and see which ones are best suited for short hair. Tape-in extensions are a popular choice for bobs because they lie flat against the head and blend seamlessly, especially with thinner hair. Micro-link extensions, also known as micro-beads, are another discreet option, attaching to small sections of your hair using tiny beads. Clip-in extensions are great for a temporary boost of length or volume, allowing you to easily add and remove them as needed. And then there are weaves, which involve braiding your natural hair and sewing the extensions onto the braids. Each type has its own set of pros and cons, so let's dive a little deeper.
Extension Type | Best For | Maintenance Level | Longevity |
|---|---|---|---|
Tape-Ins | Thin to Medium Hair | Medium | 6-8 weeks |
Micro-Links | Medium to Thick Hair | Medium | 8-12 weeks |
Clip-Ins | All Hair Types | Low | Temporary |
Weaves | Thick Hair | High | 6-8 weeks |
Length, Volume, and Color Matching
you've chosen your extension type – fantastic! Now comes the fun part: selecting the right length, volume, and color. For bobs, it's generally best to stick with extensions that are no more than a few inches longer than your natural hair. This will help you avoid a drastic, unnatural look and make blending much easier. When it comes to volume, consider the thickness of your own hair and how much extra fullness you want to achieve. If you have fine hair, opt for lighter extensions to avoid weighing it down. If you have thicker hair, you can go for more voluminous options.
And finally, color matching is absolutely crucial. The goal is to find extensions that perfectly blend with your natural hair color, creating a seamless transition. If you're not sure which color to choose, it's always best to consult with a professional stylist. They can help you find the perfect match and even customize the color of your extensions to ensure a flawless result. Remember, a little extra effort in this step can make all the difference in achieving a natural and beautiful look.
Applying Hair Extensions to Short Hair: StepbyStep
Applying Hair Extensions to Short Hair: StepbyStep
Prepping Your Hair: The Foundation for Success
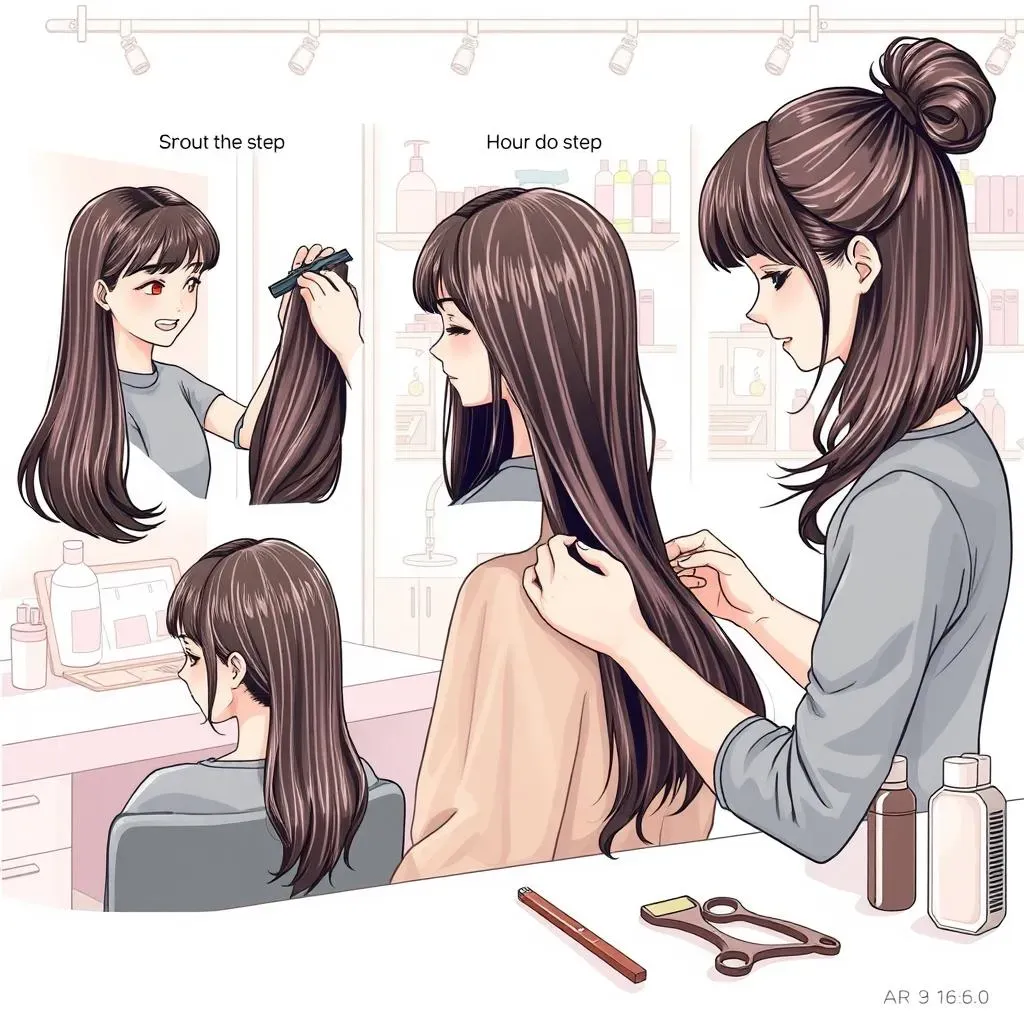
Alright, let's get down to business! Before you even think about touching those extensions, prepping your natural hair is key. Start with a clarifying shampoo to remove any buildup from products or oils. This will ensure the extensions have a clean surface to grip onto. Avoid using conditioner or any heavy styling products, as they can create a slippery barrier. Once your hair is squeaky clean, blow-dry it completely. Any moisture can interfere with the extension application and cause them to slip out later on. Finally, give your hair a good brush to remove any tangles or knots. A smooth, clean canvas is essential for a flawless application.
Now, part your hair where you plan to start applying the extensions. For tape-ins and micro-links, a clean, straight part is crucial for proper placement. Use a comb to create a precise part and clip the rest of your hair out of the way. This will give you a clear view of the area you're working with and prevent any stray hairs from getting in the way. If you're using clip-ins, you might want to tease your roots slightly at the base of each section. This will provide extra grip for the clips and help them stay in place. Remember, preparation is half the battle!
Step-by-Step Application: Mastering the Technique
with your hair prepped and ready to go, it's time to start applying those extensions! The specific steps will vary depending on the type of extensions you're using, but here are some general guidelines. For tape-in extensions, peel off the adhesive backing and carefully sandwich a small section of your natural hair between two tape wefts. Make sure the wefts are aligned properly and press them firmly together to create a secure bond. For micro-link extensions, thread a small section of your hair through a micro-bead, then insert the extension strand into the bead and clamp it shut with pliers. Be careful not to clamp too tightly, as this can damage your natural hair.
If you're using clip-in extensions, simply open the clips and attach them to your hair near the roots. Start with the larger wefts at the back of your head and work your way up to the smaller wefts on the sides. Make sure the clips are securely fastened and hidden beneath your natural hair. And for weaves, well, that's best left to the professionals! Sewing in extensions requires specialized skills and tools, so it's not something you should attempt at home. No matter which type of extensions you're using, take your time and be patient. Rushing through the process can lead to mistakes and a less-than-perfect result. Remember, practice makes perfect!
Extension Type | Application Tip |
|---|---|
Tape-Ins | Use a heat tool to warm the adhesive for a stronger bond. |
Micro-Links | Leave a small gap at the roots to allow for natural movement. |
Clip-Ins | Tease your roots for extra grip. |
Blending Hair Extensions Seamlessly with a Bob Cut

Blending Hair Extensions Seamlessly with a Bob Cut
The Art of Disguise: Matching Texture and Density
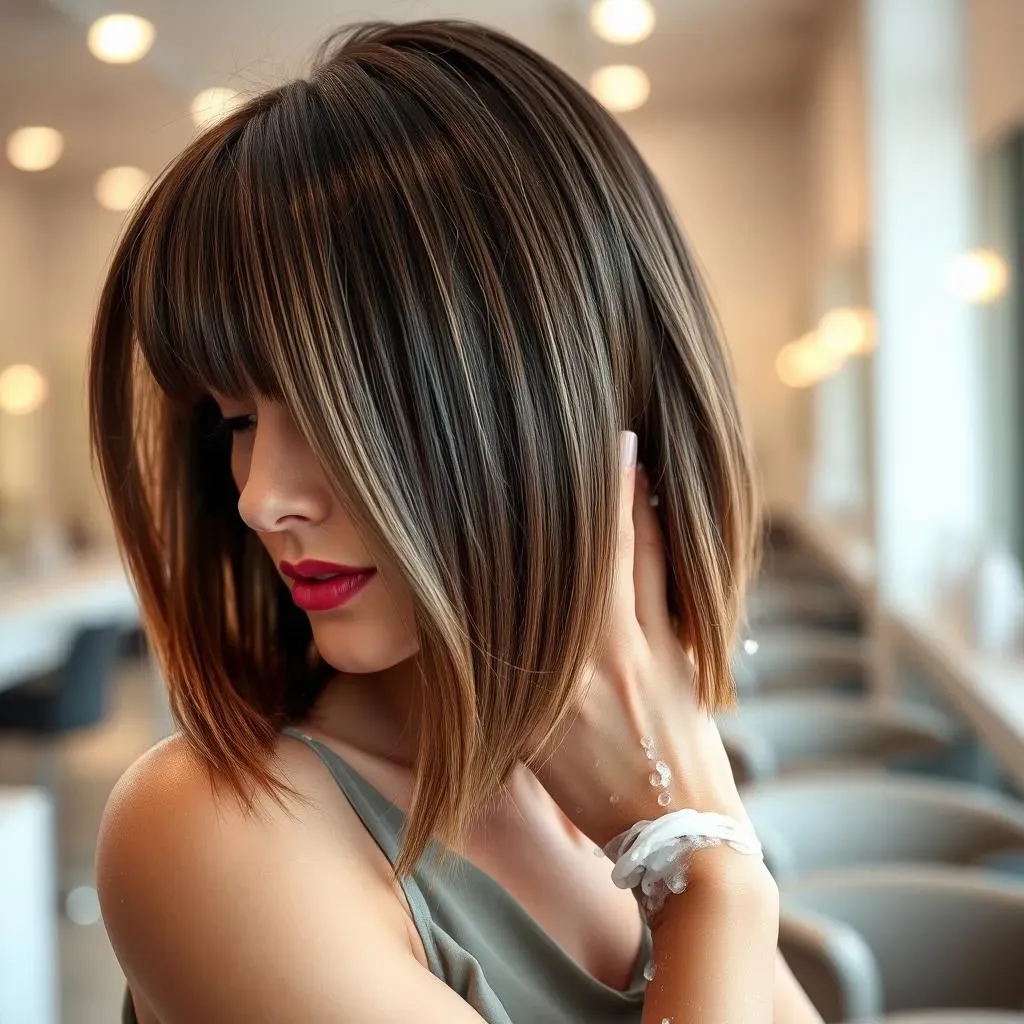
so you've got your extensions in, but they're not quite giving "effortless chic," are they? Don't worry; this is where the magic happens. Truly blending hair extensions seamlessly with a bob cut hinges on mimicking your natural hair's texture and density. If your bob is fine and silky, avoid thick, coarse extensions that will stick out like a sore thumb. Opt for extensions that have a similar texture and weight to your own hair. This will create a more cohesive and believable look. Also, be mindful of the density of the extensions. Too much volume can make your bob look top-heavy and unnatural. Start with a smaller amount of extensions and gradually add more until you achieve the desired fullness.
Think of it like painting: you wouldn't use a thick brush for fine details, would you? The same principle applies to hair extensions. Matching the texture and density is the foundation for a flawless blend, ensuring your extensions look like they're growing right out of your scalp. It's all about creating a harmonious balance between your natural hair and the added extensions. And remember, less is often more! You can always add more extensions, but it's much harder to take them away.
Strategic Cutting and Layering: The Bob's Best Friend
Alright, texture and density are on point, but your extensions still look a bit... separate? Time for some strategic cutting and layering! This is where a skilled stylist can really work wonders. The key is to create a seamless transition between your natural bob and the extensions. This often involves trimming the extensions to match the length and shape of your bob. Layers are your best friend here, as they can help blend the extensions into your natural hair and create a more natural, flowing look. Ask your stylist to add subtle layers to both your bob and the extensions, focusing on the areas where they meet. This will soften any harsh lines and create a more cohesive silhouette.
Remember, the goal is to make the extensions look like they're a natural part of your bob, not an add-on. Cutting and layering is like sculpting – it allows you to shape and refine the extensions to perfectly complement your existing hairstyle. And don't be afraid to experiment! Try different layering techniques to see what works best for your hair and your desired look. With a little bit of scissor magic, you can transform your extensions from "obvious" to "oh-so-natural."
Color Melting and Toning: The Finishing Touch
Almost there! You've matched the texture and density, you've got the perfect cut and layers, but something's still not quite right? It might be the color. Even if you've chosen extensions that are a close match to your natural hair color, there can still be subtle differences that make them stand out. This is where color melting and toning come in. Color melting involves blending the roots of the extensions with your natural hair color to create a seamless transition. This can be done with a root smudge or a balayage technique. Toning, on the other hand, involves adjusting the overall tone of the extensions to match your natural hair. This can be done with a gloss or a toner.
These techniques are like adding the finishing touches to a masterpiece. They ensure that the color of your extensions perfectly complements your natural hair, creating a harmonious and believable look. If you're not comfortable doing these techniques yourself, it's best to leave them to a professional stylist. They have the expertise and the tools to achieve a flawless color match. With a little bit of color magic, you can transform your extensions from "almost perfect" to "absolutely stunning."
Technique | Purpose | Best For |
|---|---|---|
Color Melting | Blending roots | Creating a seamless transition at the scalp |
Toning | Adjusting overall tone | Matching the overall color of extensions to natural hair |
Maintaining and Styling Your Bob Cut with Hair Extensions
Maintaining and Styling Your Bob Cut with Hair Extensions
Washing and Conditioning: The Gentle Approach
Alright, let's talk about keeping those extensions looking fresh! Washing and conditioning are crucial, but you've gotta be gentle. Think of your extensions like delicate silk – you wouldn't throw them in the washing machine, would you? Use a sulfate-free shampoo and conditioner specifically designed for extensions. Sulfates can strip the hair of its natural oils, causing dryness and damage. When washing, focus on the scalp and gently work the shampoo down the length of the extensions. Avoid rubbing or tangling the hair. Rinse thoroughly with cool water and follow up with a moisturizing conditioner. Apply the conditioner from the mid-shaft down, avoiding the roots (especially with tape-ins or micro-links, as this can loosen the bonds). Let the conditioner sit for a few minutes before rinsing again with cool water.
After washing, gently pat your hair dry with a microfiber towel. Avoid rubbing or twisting the hair, as this can cause breakage. And whatever you do, don't go to bed with wet extensions! This is a recipe for tangles and matting. Always make sure your extensions are completely dry before hitting the hay. You can either air-dry them or use a low-heat blow dryer with a diffuser attachment. Remember, gentle care is key to extending the life of your extensions and keeping them looking their best.
Styling Tips and Tricks: Unleashing Your Inner Bob Star
Now for the fun part: styling! With Maintaining and Styling Your Bob Cut with Hair Extensions, the possibilities are endless. You can rock sleek and straight styles, bouncy curls, or textured waves. Just be mindful of the heat. Excessive heat can damage both your natural hair and the extensions, so always use a heat protectant spray before using any hot tools. When blow-drying, use a low-heat setting and a diffuser attachment to minimize damage. For curling or straightening, use a ceramic or tourmaline iron and avoid holding the heat on any one section for too long. And don't forget to use hair-friendly styling products. Avoid products that contain alcohol, as they can dry out the hair. Opt for moisturizing serums, oils, and creams to keep your extensions looking healthy and hydrated.
Another tip for styling your extended bob is to experiment with different updos and braids. These can be a great way to switch up your look and protect your extensions from damage. Try a half-up, half-down style, a messy bun, or a braided crown. The possibilities are endless! And remember, practice makes perfect. Don't be afraid to try new styles and techniques until you find what works best for you. With a little bit of creativity and some hair-friendly products, you can unleash your inner bob star and rock any style with confidence.
Styling Tool | Tip |
|---|---|
Blow Dryer | Use a low-heat setting and a diffuser. |
Curling Iron/Straightener | Use a heat protectant spray and avoid holding heat on one section for too long. |
Styling Products | Choose alcohol-free products and opt for moisturizing options. |
Conclusion: Embrace the Versatility of Hair Extensions for Your Bob Cut
Adding hair extensions to a bob cut opens up a realm of possibilities, allowing you to experiment with length, volume, and style without the commitment of a long-term change. Whether you opt for the seamless blend of tape-ins, the convenience of clip-ins, or the long-lasting effect of micro-links, the key is to choose the right type, length, and color to match your natural hair. Remember, proper application and blending are crucial for achieving a natural look, and professional assistance is always a great option, especially for permanent methods. So go ahead, explore the world of hair extensions and discover how they can transform your bob cut into a stunning, versatile style that reflects your unique personality.