Table of Contents
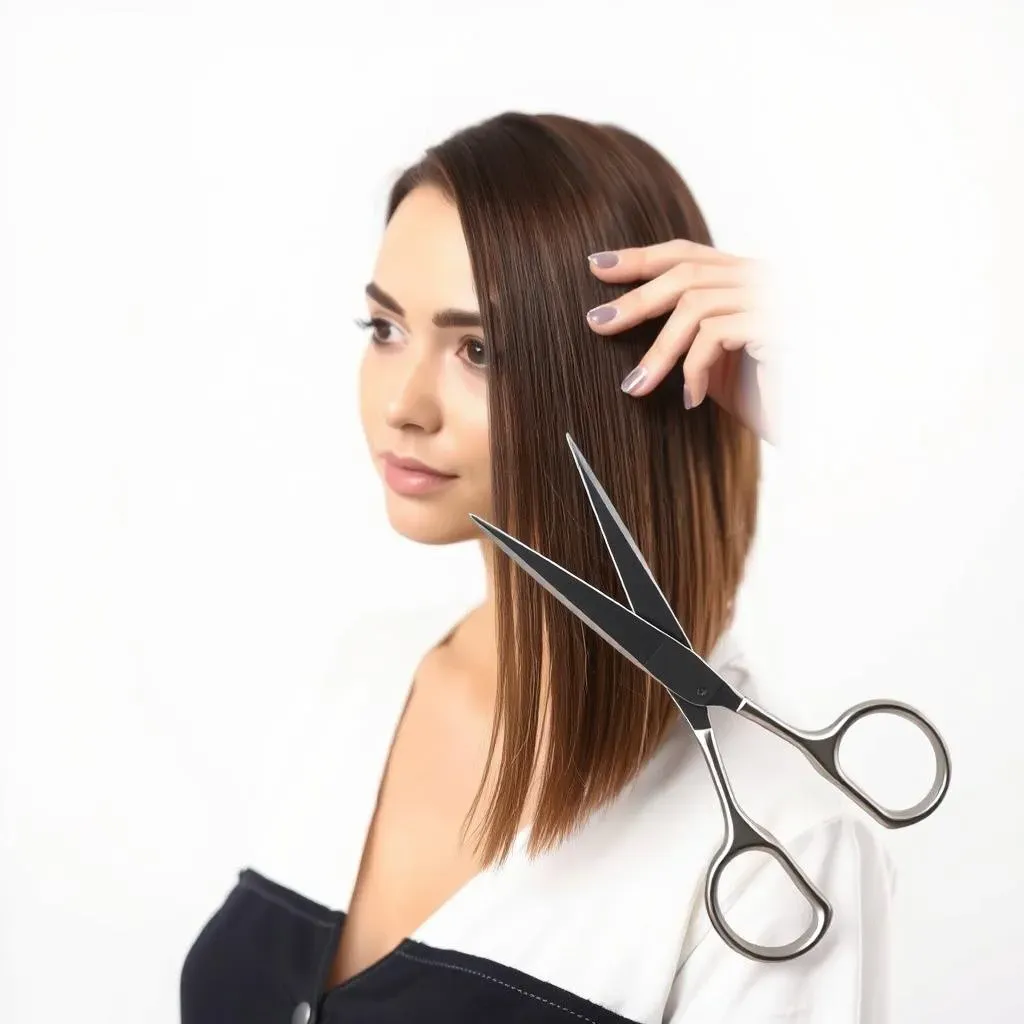
Ever looked at a chic bob and thought, "I could totally rock that?" I have, many times! But the salon prices? Ouch. So, I did what any slightly rebellious, budget-conscious person would do: I figured out how to cut my hair into a bob myself. It wasn’t as scary as you might think, and you know what? It can be pretty fun and empowering. This isn't about becoming a professional hairstylist overnight; this is about getting a great haircut on your terms. This article will show you, step by step, how to cut a bob at home, from prepping your hair to the final snip. We'll cover the tools you'll need, how to section your hair, and how to make sure you don't end up with a lopsided mess. So, grab your scissors and let’s get started, it's time to learn how to cut your hair into a bob! I promise, with a little patience and these easy-to-follow steps, you will be rocking that bob in no time.
Prep Work: How to Get Ready to Cut Your Own Bob

Prep Work: How to Get Ready to Cut Your Own Bob
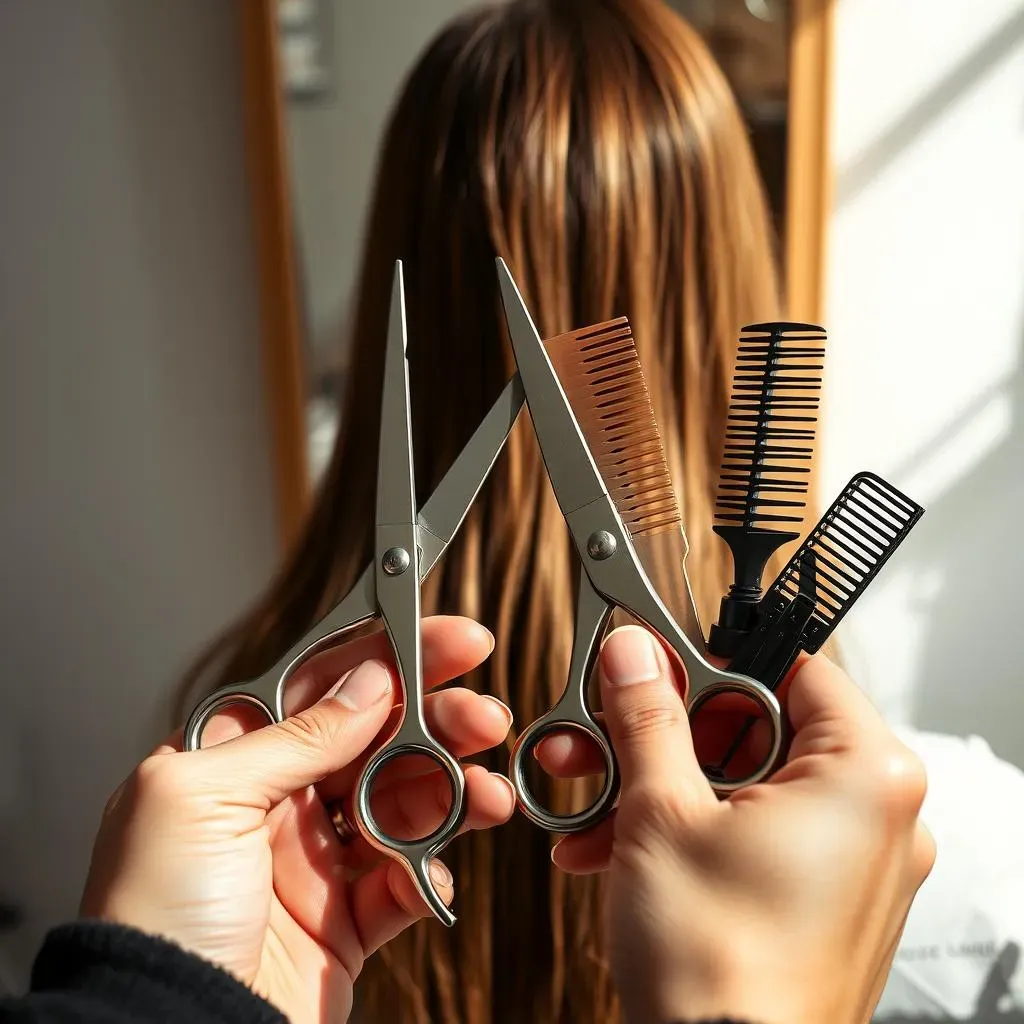
Okay, so you're ready to grab those scissors, I get it. But hold up a sec! Before you start snipping away, we need to get prepped. Think of it like baking a cake, you wouldn't just throw everything in the bowl, would you? First things first, make sure you have the right tools. No kitchen scissors here, please! We need sharp hair shears. Trust me, dull scissors will make your life a nightmare. Then, you'll want a comb, some hair clips, and a spray bottle with water. Now, about your hair, you want it clean, dry, and detangled. If you just got out of the shower, wait for it to dry completely. Wet hair stretches and can lead to an uneven cut. Also, find a good spot with a mirror and good light, you want to see what you are doing. Trust me, good lighting is your best friend in this process.
Tool | Why You Need It |
|---|---|
Sharp Hair Shears | For clean, precise cuts. |
Comb | To section and guide your hair. |
Hair Clips | To keep hair out of the way. |
Spray Bottle | To dampen hair if it gets too dry. |
The Big Chop: StepbyStep Guide on How to Cut a Bob

The Big Chop: StepbyStep Guide on How to Cut a Bob
Alright, the moment we've been waiting for: the actual haircut. Deep breaths, you got this! Start by sectioning your hair down the middle, creating two even sides. Then, take a small section at the nape of your neck, this is your guide. Comb it straight and decide how short you want your bob to be. Remember, you can always cut more, but you can't put it back. So, start conservative. Snip across, keeping your scissors straight. Now, use that first cut as your guide and work your way up, taking small sections and cutting them to the same length. Keep checking in the mirror, making sure both sides are even. Don't rush, take your time. It's like sculpting, you’re shaping your hair into the bob of your dreams. And don't stress too much if it's not perfect on the first try, it's a learning process, we all been there.
Once the back is cut, move to the sides. Start with small sections near your face, matching the length to the back. Comb the hair straight down, and cut to the length you want. Keep working your way towards the back, blending the sides into the back. Use your fingers as a guide to make sure the lengths are even. Now, stand back and look at your work. Is it even? Are there any pieces that are too long? If so, trim them. Remember to cut in small increments, you don't want to go too short. And don't forget to check the back, either by using a handheld mirror or asking someone else to take a look. It's all about small adjustments and patience.
Step | Action |
|---|---|
1 | Section your hair down the middle. |
2 | Cut a small guide section at the nape. |
3 | Work your way up, cutting the back. |
4 | Cut the sides, blending into the back. |
5 | Check for evenness and adjust. |
FineTuning Your Bob: How to Make it Perfect

FineTuning Your Bob: How to Make it Perfect
Checking for Unevenness
Okay, you've done the big chop, but now's the time to really look at what you've created. Stand in front of that mirror, maybe grab another one to see the back, and really scrutinize your bob. Are there any bits that are longer than the rest? Any spots that look a little wonky? This is normal, don’t panic. Even the pros have to make little adjustments. What you're looking for is balance. Does the left side match the right? Does the back have a nice, even line? If not, that’s where we’re going to focus now.
Think of this like editing a photo. You’ve got the main image, but now you’re just tweaking it to make it pop. Take your time and try not to overthink it. If you see an area that's a bit off, comb it out and cut it just a little bit. Remember, small snips are the way to go. It’s better to cut too little than too much. And don't feel like you need to get it perfect. Hair grows back, it's not the end of the world if it’s not 100% symmetrical.
Adding Texture and Shape
Alright, so now that you have the basic shape, let's talk about texture. Do you want a sharp, blunt bob? Or something a little softer? If you're going for a softer look, you can add some subtle layers. This doesn’t mean cutting in layers like a shag, but just snipping into the ends of your hair to make it less blunt. You can do this by holding your scissors vertically and making small cuts into the tips. This will help your hair move a little more and look less like a helmet.
Another thing you can try is point cutting. This is where you hold your scissors at an angle and make small cuts into the ends. It's a great way to soften a very straight line. You can also play around with how you style it. A little texture spray or some mousse can add volume and movement. The beauty of a bob is that it can be styled in so many different ways, you can play around and see what works best for you. It's your bob, make it your own!
Dealing with Problem Areas
Sometimes, no matter how careful you are, you might end up with a spot that's just not cooperating. Maybe it's a rogue piece that keeps sticking out, or a section that looks a little too thick. Don't worry, we've all been there. For those stubborn pieces, try isolating them and cutting them at a slight angle. This can help them blend in better. If you have a section that feels too bulky, you can try thinning it out a little bit, but be careful not to overdo it.
And if all else fails, remember that there are tons of tutorials online that can offer specific advice. Don’t be afraid to watch a few videos or ask a friend for help. The most important thing is to be patient with yourself and to remember that this is a learning process. The first time might not be perfect, but you’ll get better each time you try. And who knows, maybe you’ll become a bob-cutting expert!
Problem | Solution |
|---|---|
Uneven Lengths | Trim the longer pieces, check in the mirror. |
Blunt Ends | Point cut or add subtle layers. |
Problem areas | Try isolating and cutting at a slight angle. |
Maintaining Your Bob: How to Keep it Looking Great

Maintaining Your Bob: How to Keep it Looking Great
Regular Trims: The Key to a Sharp Bob
Okay, so you've got your bob, it looks amazing! But here's the thing about bobs, they need a little upkeep to stay sharp. Think of it like a garden, you can't just plant it and forget about it. Regular trims are super important. They prevent split ends and keep the shape looking fresh. How often? Well, that depends on how fast your hair grows, but generally, every 6-8 weeks is a good rule of thumb. Now, I know what you're thinking, "But I just cut it myself!" And you totally can keep trimming it yourself too, if you feel confident, just remember the tips we talked about earlier. Or, you can go to a salon for a touch-up. It’s all about what works best for you. The key is to not let it get too long and lose its shape.
When you're trimming, focus on the perimeter of your bob. It's the edges that tend to get a little fuzzy first. Use those sharp hair shears and take small snips. Don’t try to chop off too much at once. Remember to comb the hair straight before you cut, and keep checking in the mirror to make sure everything is even. And if you're feeling a bit nervous, you can always start with the very tips. Taking off just a tiny bit can make a big difference in keeping your bob looking polished. It's all about those little maintenance snips that keep your style on point.
Styling Tips for Your Bob
Now, let's talk about styling. The great thing about a bob is that it's so versatile. You can wear it sleek and straight, tousled and textured, or even with a bit of wave. It's really all about your mood and the look you're going for. If you want a sleek look, use a flat iron and some smoothing serum. For a bit more volume, try a round brush when you blow dry. And if you want some texture, a little sea salt spray or texturizing paste can work wonders. It’s like having a blank canvas, you can style it however you want!
Don't be afraid to experiment with different products and techniques. Sometimes, you might find that a simple side part can completely change the look of your bob. Or maybe you'll discover that a little bit of root lift is all you need for a more voluminous style. The key is to have fun and play around with it. And remember, not every style is going to work for everyone. The best way to figure out what works for you is to try different things and see what makes you feel awesome. It's your bob, make it your own, and don't be afraid to have fun with it!
Maintenance Task | Frequency |
|---|---|
Regular Trims | Every 6-8 weeks |
Sleek Style | Flat iron and smoothing serum |
Textured Style | Sea salt spray or texturizing paste |
Voluminous Style | Round brush when blow drying |
The Final Flourish: Your Bob is Ready!
So, there you have it – your very own DIY bob. It wasn't so scary, was it? Remember, practice makes perfect, and even if your first attempt isn't flawless, it's a fantastic learning experience. Now that you know how to cut your hair into a bob, you can keep it looking sharp and fresh without needing to pay salon prices. You've got the skills, you've got the style, and you've got the confidence to rock that bob like a pro. Go on, show off your new 'do, and remember, hair grows back, so have fun with it!