Ever looked at a stylish bob and thought, "I could totally do that"? Well, you might be right! Cutting your own hair, especially a bob, can seem scary, but it's totally achievable with the right approach. This article is your go-to guide on how to bob cut my own hair, without needing to visit the salon. We'll start by gathering the essentials, because having the right tools makes all the difference. Then we will walk step-by-step on how to cut the bob yourself. We will move on to tips to add volume and texture, making your bob look less like a DIY disaster and more like a salon masterpiece. Finally, we will cover how to maintain your new look, so it stays fresh and stylish. Ready to grab your scissors and get started? Let's transform your hair!
Gathering Your Supplies for a DIY Bob Haircut

Gathering Your Supplies for a DIY Bob Haircut
The Essential Toolkit
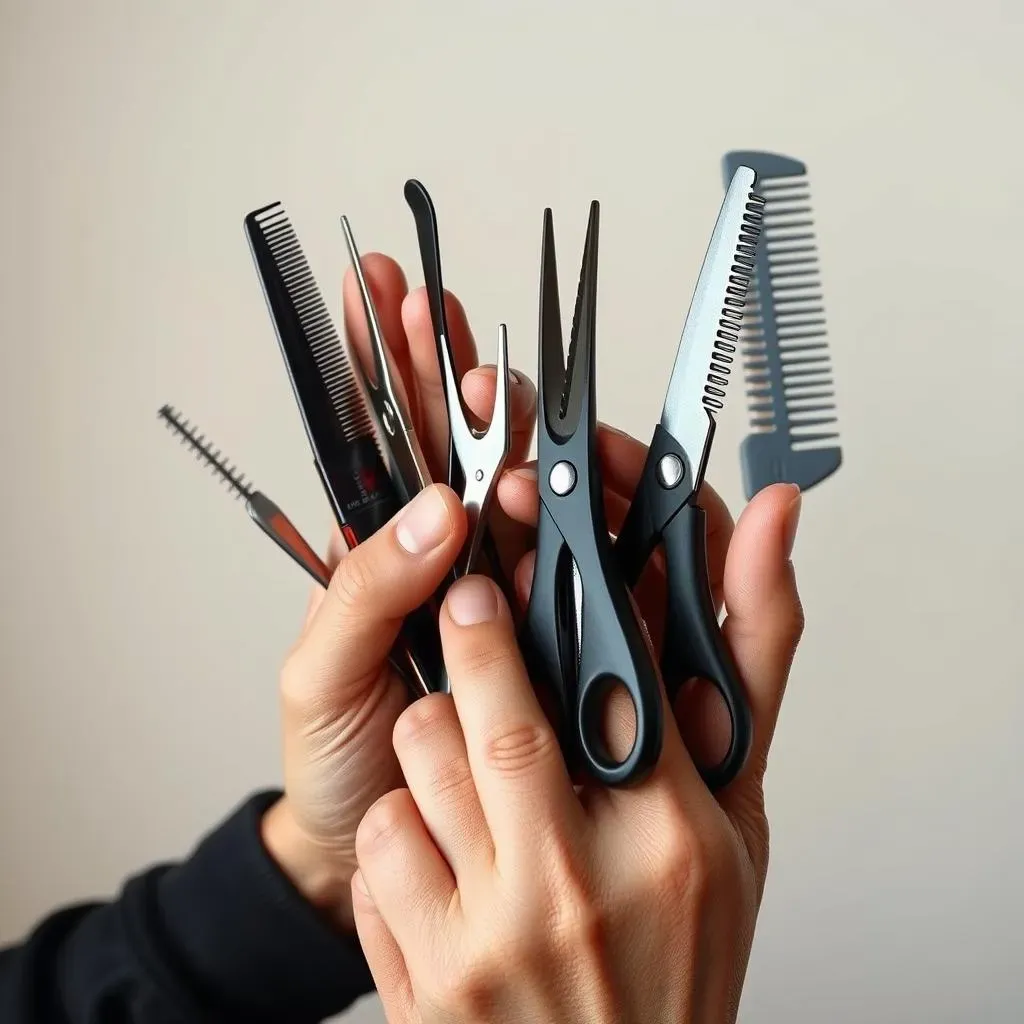
Okay, so you're thinking about cutting your own bob. First things first, let's talk tools. You wouldn't try to build a house with just a spoon, right? Same goes for hair. You'll need a good pair of hair-cutting shears, not your kitchen scissors; those will make your hair look like it was attacked by a lawnmower. A comb is a must-have, and some clips to keep sections of your hair out of the way. If you have electric hair clippers, that's good for cleaning up the edges. And for the brave souls, a hair razor can add some texture. Trust me, having the right gear is half the battle.
Safety First, Style Second
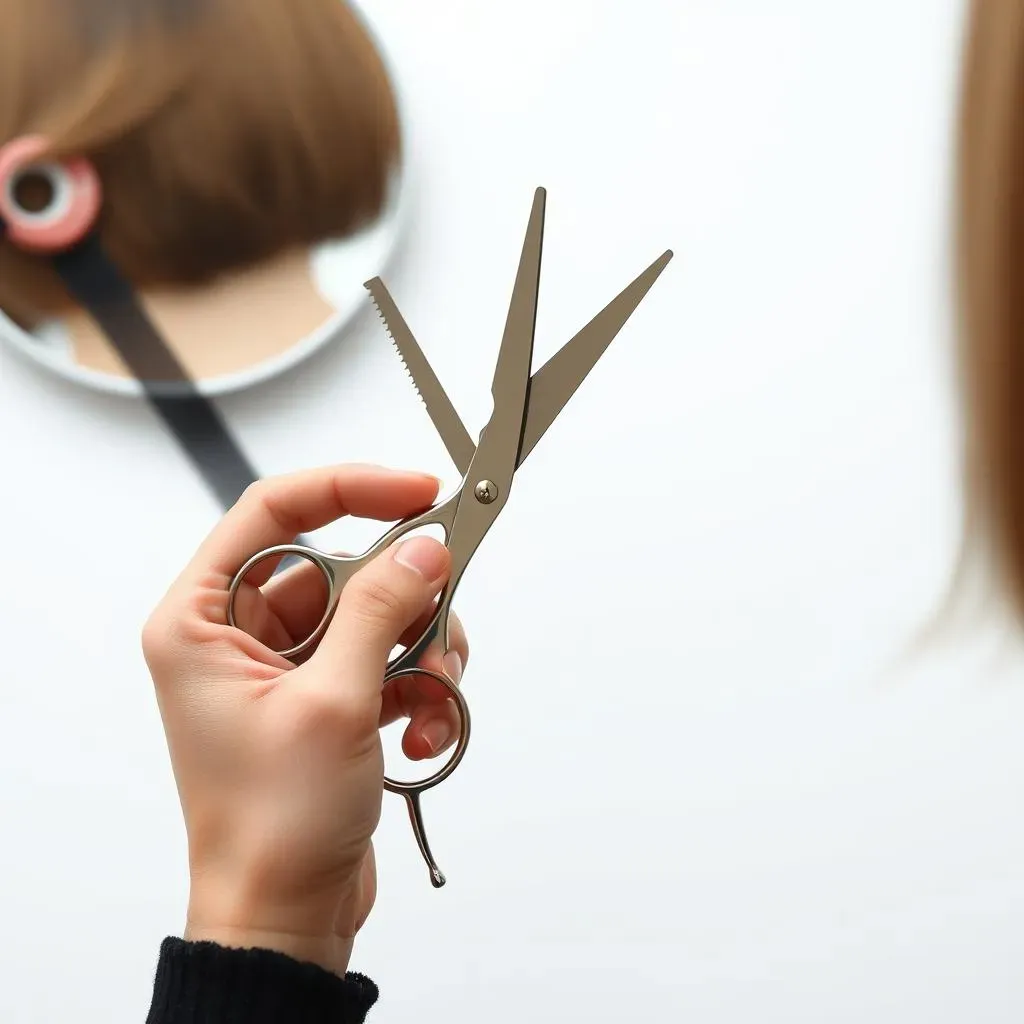
Before you get scissor-happy, remember, safety is key. You want to look good, not like you lost a fight with a pair of scissors. Make sure your shears are sharp; dull ones will just chew up your hair. And always, always cut with purpose, don't just hack away. Also, grab a mirror, preferably a big one where you can see the back of your head. You might even want to have a friend on standby, or at least a phone charged to call someone for help if things get hairy (pun intended). Remember, it's okay to take breaks and assess your progress. You are not trying to win a race here.
Must-Have Tools:
- High-quality hair-cutting shears
- Comb
- Hair clips
- Electric hair clippers (optional)
- Hair razor (optional)
- Large mirror
StepbyStep Guide: How to Bob Cut Your Own Hair

StepbyStep Guide: How to Bob Cut Your Own Hair
Sectioning Your Hair: The Key to a Clean Cut
Alright, now that you've got your tools, let's get to the actual cutting. First, you need to section your hair. Think of it like dividing a pizza before you eat it, it makes everything easier. Use your comb to part your hair down the middle, from your forehead to the nape of your neck. Then, separate the back section from the side sections. Clip the side sections out of the way, so you're not accidentally snipping off more than you planned. You should now have three sections: one at the back, and one on each side. This is going to help you keep your cut even and prevent any accidental lopsidedness.
For the back section, use a hair tie to gather it into a low ponytail. The position of this ponytail will determine the length of your bob, so make sure it is where you want your final length to be. If you are unsure, it is always better to start longer than shorter. You can always cut more off, but you can't magically make hair grow back instantly. Remember, patience is your friend here; take your time, and double-check that everything is even before you commit to the cut.
Making the First Cut: The Back Section
Okay, deep breaths, it is time to make the first cut. With your back section in a ponytail, grab your shears and carefully cut straight across below the hair tie. Now, here’s the thing: don’t try to be a hero and cut it all at once. Start with a small snip and then adjust as needed. After the first cut, check to ensure you're happy with the length. If you need to go shorter, move the hair tie up a bit and cut again. Repeat this process until you are happy with the length. Once you are happy with the back section, release the ponytail and let it down.
Now, let's move to the side sections. Release one side section from its clip and comb it straight. You can use the back section as your guide. Grab your hair razor and, starting near the bottom, use a downward, angled motion to shape the side section. Go slow and check your work frequently. You are not going to have a perfect cut the first time, so don't stress out if it's not perfect. Repeat the same on the other side section. Now, you have a bob! Take a break and admire your work, you earned it.
Cutting Steps Overview:
- Section your hair into three parts: back, left side, right side.
- Tie the back section into a ponytail at your desired length.
- Cut the back section straight across below the hair tie.
- Release the back section.
- Shape the side sections using a hair razor, using the back as a guide.
Adding Volume and Texture to Your DIY Bob Cut

Adding Volume and Texture to Your DIY Bob Cut
So, you've got your bob, but maybe it’s looking a little flat? No worries, we can fix that! Adding volume and texture is where you go from "just cut my hair" to "rocking a new style". If you've got thinner hair, layers are your best friend. They create the illusion of more hair by letting shorter strands lift the longer ones. Think of it like a tiered cake, each layer supporting the one above it. You can achieve this by lifting small sections of your hair and using your shears to cut shorter lengths into the underneath layers. It's like giving your hair a little pep rally. But remember, less is more when you are cutting your own hair for the first time. Start with small sections and always double-check your work.
Now, for texture, this is where the hair razor comes back into play. If you didn't use it earlier, no problem. You can use it to blend the ends of your hair, removing any blunt lines. Lift small pieces of hair and run the razor down at an angle. This technique will give your bob a softer, more natural look. It's like giving your hair a little bit of that "I woke up like this" vibe. You can also try using thinning shears, but be careful with these. They're designed to remove bulk and add texture, but using them in the middle or near the top of your hair can make it look thin and choppy. Stick to the ends for a more controlled result. Remember, the goal is to add dimension, not to create a new hairstyle from scratch.
Techniques for Volume and Texture:
- Cut layers to add volume, especially for thinner hair.
- Use a hair razor to blend the ends for a softer look.
- Use thinning shears on the ends to remove bulk and add texture.
- Avoid using thinning shears in the middle or near the top of your hair.
Maintaining Your Bob Cut: Tips for Home Haircuts

Maintaining Your Bob Cut: Tips for Home Haircuts
Okay, so you've successfully bobbed your hair, congrats! But the journey doesn't end there. Like a houseplant, your bob needs regular upkeep to stay looking its best. Think of it like this: you wouldn't just let your garden go wild, would you? Same goes for your hair. To maintain that sharp, stylish look, you'll need to trim it every 4-6 weeks. Now, I know what you're thinking, "More cutting?!". But trust me, it's easier to maintain than to try and fix a grown-out mess. You can either use the same techniques that you used for the first cut, or you can go to a professional stylist if you are not feeling brave enough to do it again. This isn't about making big changes; it's about keeping the lines clean and preventing your bob from turning into a "lob" (long bob) if that is not your intention.
If you are not confident to trim it yourself, consider having a professional stylist create the initial style. They can advise on the best type of bob for your face shape and hair type, and then you can maintain it at home. It's like learning to ride a bike with training wheels; once you get the hang of it, you're good to go. For those who are doing the maintenance themselves, remember to take small sections at a time, use your mirror to make sure you're cutting straight, and don't be afraid to ask a friend for help. It’s like a team sport, but the prize is amazing hair, which is the best kind of prize.
Maintaining Your Bob: Quick Tips
- Trim your bob every 4-6 weeks to maintain the shape.
- Consider having a professional stylist create the initial style.
- Use the same cutting techniques you used for the first cut.
- Always cut small sections at a time.
- Ask a friend for help if you're not confident.
Wrapping Up Your DIY Bob Cut Journey
So, you've taken the plunge and learned how to bob cut your own hair! It might seem like a big deal, but with a little patience and the right steps, you can achieve a stylish look at home. Remember, practice makes perfect, and don't be afraid to experiment to find what works best for you. Whether you're rocking a classic blunt bob or a textured lob, the key is to keep those ends trimmed and your style fresh. If you're unsure, it’s always a good idea to have a professional stylist create the initial style and advise on what type of bob works best with your face shape and hair type. Now, go forth and rock that fabulous bob you created yourself!