Table of Contents
So, you've got a shiny new pair of hair cutting scissors, or maybe you're a seasoned stylist looking to keep your trusty tools in tip-top shape. Either way, you've landed in the right place! This comprehensive guide tackles the essential question: how to clean hair cutting scissors. We'll go beyond simple wiping and delve into the art of proper cleaning, disinfection, and long-term maintenance. Think of your scissors as an extension of your skill—treating them right guarantees cleaner cuts, longer-lasting sharpness, and a professional finish every time. This article breaks down the process into manageable steps, from the quick daily clean to a more thorough deep clean and disinfection. We'll cover everything from removing stubborn hair and product buildup to the best techniques for sanitizing your tools and keeping them free from harmful bacteria. By the end, you'll be a pro at maintaining your scissors, ensuring they remain a precision instrument for years to come. Ready to learn the secrets to perfectly clean and meticulously maintained hair cutting scissors? Let's get started!
Daily Cleaning of Your Hair Cutting Scissors

Daily Cleaning of Your Hair Cutting Scissors
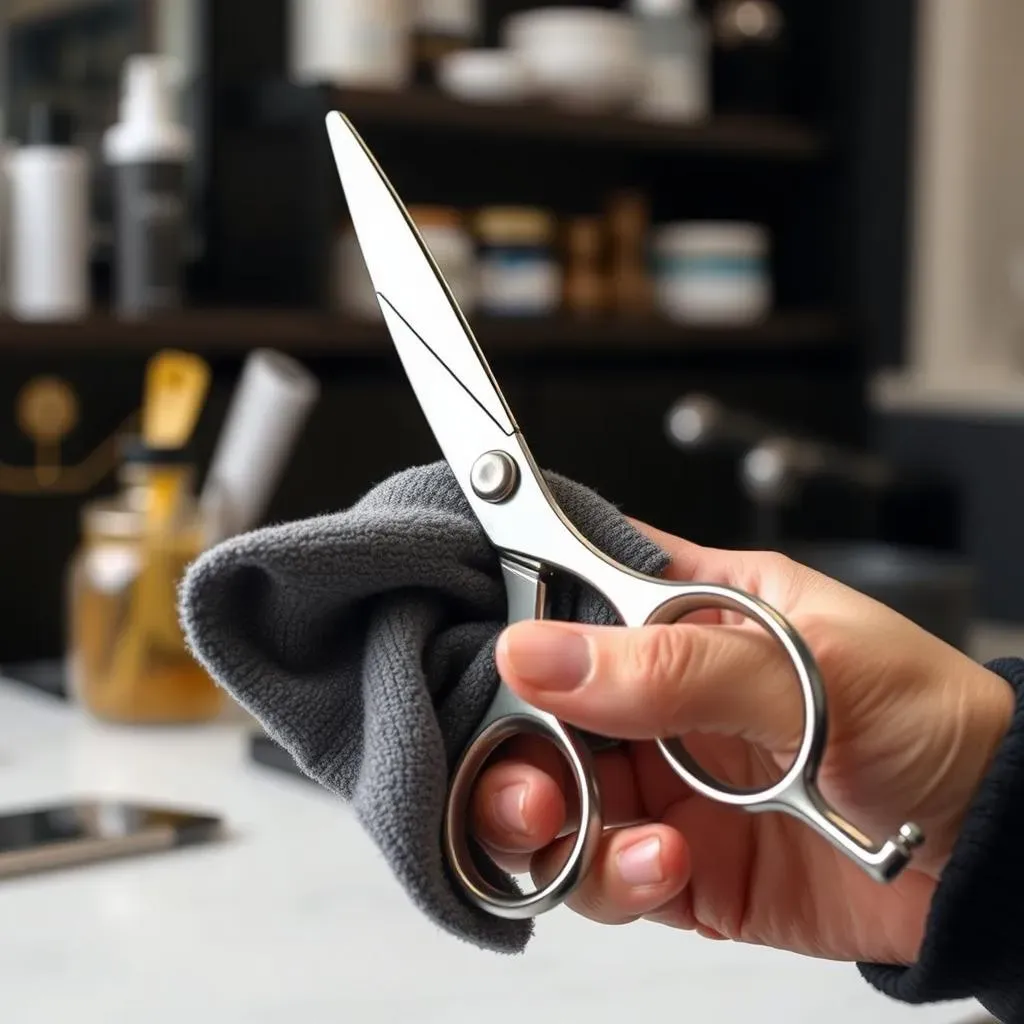
Daily cleaning isn't about a deep scrub-down; it's about preventing those tiny hair bits and product residue from building up and dulling your blades. Think of it as a quick wipe-down after a workout – you don't need a full shower, just enough to remove the sweat. Grab a soft, lint-free cloth – a microfiber cloth works wonders. Gently wipe down the blades, the handles, and the entire scissor body. Pay special attention to the pivot area where the blades meet – that's a magnet for hair. A quick swipe with a clean cloth will remove most debris. If you notice any sticky residue from hair products, a slightly damp cloth might help, but make sure to dry everything thoroughly afterward. This daily routine takes only a minute or two, but it makes a huge difference in the long run.
Cleaning Tool | Purpose | Notes |
|---|---|---|
Soft, lint-free cloth (microfiber recommended) | Removes loose hair and debris | Avoid abrasive cloths that could scratch the surface. |
Slightly damp cloth (optional) | Removes sticky residue | Dry thoroughly to prevent rust. |
Now, let's talk about lubrication. A drop or two of good quality scissor oil on the pivot point keeps things moving smoothly. It's like oiling a bicycle chain – it prevents friction and extends the life of your tools. Don't overdo it, a tiny drop is enough. Open and close the scissors a few times to distribute the oil evenly. This simple step will keep your scissors working like a dream and prevent those annoying squeaks! Remember, consistent daily care is far easier than tackling a major cleaning job later on.
- Clean your scissors after every haircut.
- Focus on removing hair from the blades and pivot area.
- Use a small amount of scissor oil to lubricate the pivot point.
- Store your scissors in a protective case.
Deep Cleaning and Disinfecting Hair Cutting Scissors

Deep Cleaning and Disinfecting Hair Cutting Scissors
Tackling Stubborn Buildup
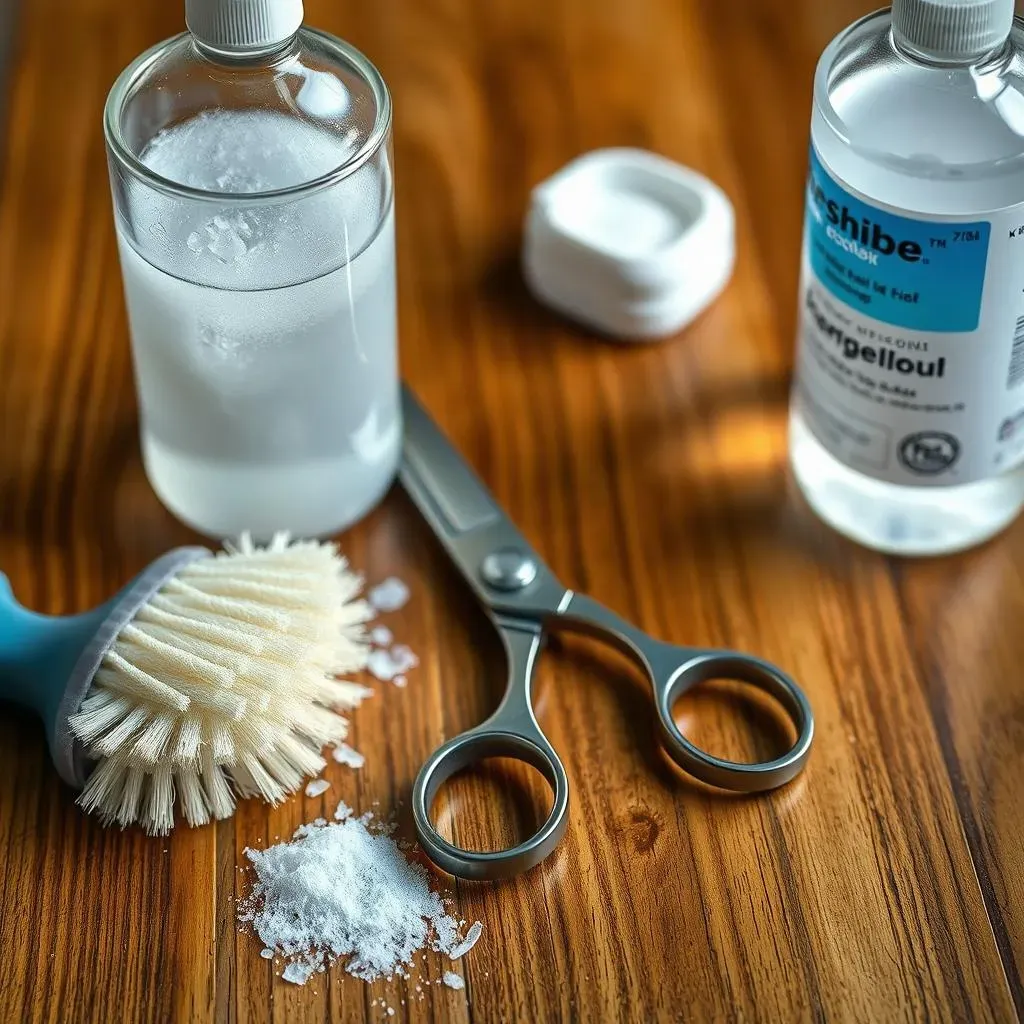
Okay, so daily cleaning keeps things tidy, but sometimes your scissors need a more serious spa day. This is where the deep clean comes in. We're talking about tackling that stubborn gunk—dried hair product, bits of hair that have wedged themselves into every nook and cranny, and any other grime that's accumulated. First, use a soft-bristled brush (an old toothbrush works great!) to gently dislodge any loose debris. Pay close attention to the pivot area and around the screw. Then, mix a small amount of mild dish soap with warm water. Use a soft cloth or sponge to gently scrub the blades and handles, making sure to rinse thoroughly. This step removes most of the visible dirt and grime. Remember to be gentle; you don't want to damage the blades.
- Use a soft-bristled brush to remove loose hair and debris.
- Mix mild dish soap with warm water for cleaning.
- Rinse thoroughly and dry completely.
Disinfection: Killing Germs
Now that your scissors are sparkling clean, it's time to disinfect them. This is crucial for hygiene, especially if you're a professional stylist or share your tools. The most common and effective method is using a 70% isopropyl alcohol solution. Spray a small amount onto a lint-free cloth and gently wipe down the entire scissor surface, including the blades. Let it air dry completely; this usually takes about 5-10 minutes. Alternatively, you can use a commercially available disinfectant spray specifically designed for hairdressing tools. Always follow the manufacturer's instructions carefully. Never submerge your scissors in any liquid, as this can damage the internal mechanisms.
Disinfectant | Method | Precautions |
|---|---|---|
70% Isopropyl Alcohol | Spray onto a lint-free cloth and wipe. | Allow to air dry completely. |
Commercial Disinfectant Spray | Follow manufacturer's instructions. | Ensure compatibility with your scissors' material. |
Maintaining Your Investment
Regular deep cleaning and disinfection are vital for extending the lifespan of your hair cutting scissors. Think of it as preventative maintenance for your most valuable tool. It not only keeps them looking and working their best but also ensures a hygienic environment for you and your clients. By following these steps consistently, you'll notice a significant difference in the performance and longevity of your shears. They'll cut smoothly, precisely, and remain a dependable part of your kit for many years to come. Remember, a little care goes a long way!
"A well-maintained tool is a craftsman's best friend." - Anonymous
Maintaining Your Hair Cutting Scissors for a Longer Life: Cleaning and Beyond

Maintaining Your Hair Cutting Scissors for a Longer Life: Cleaning and Beyond
Sharpening and Tension Adjustment
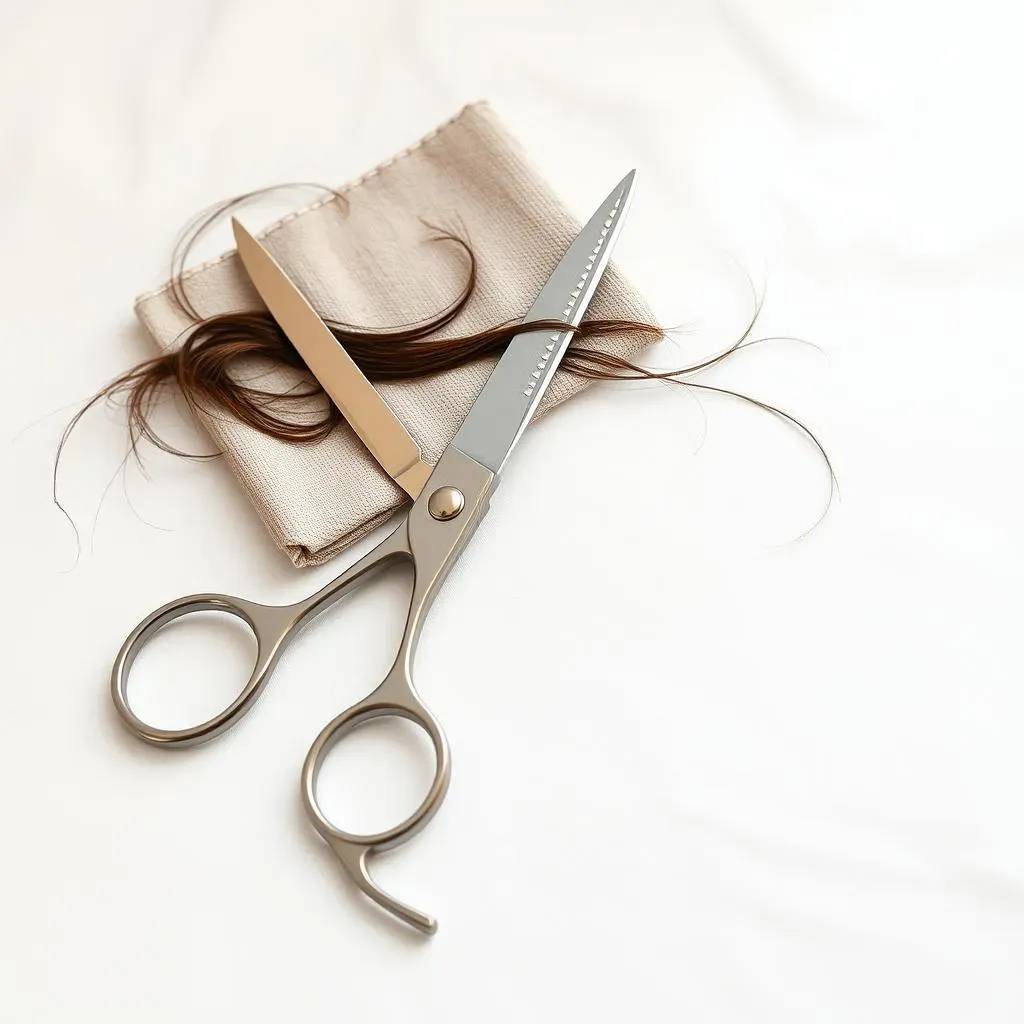
Beyond cleaning, regular sharpening is key to maintaining your scissors' cutting power. Think of it like sharpening a knife – a dull blade is frustrating and inefficient. How often you need sharpening depends on usage, but generally, professional stylists get their scissors sharpened every few months. You can either learn to sharpen them yourself (plenty of online tutorials exist!), or take them to a professional sharpening service. While you're at it, check the tension. Proper tension ensures a smooth, clean cut. If the blades feel loose or too tight, you might need an adjustment. Again, a professional can help if you're unsure how to do this yourself. Don't underestimate the value of professional maintenance; it's an investment in your tools and your work.
- Sharpen your scissors every few months (frequency depends on usage).
- Check and adjust the tension of your scissors regularly.
- Consider professional sharpening and adjustment services.
- Learn basic sharpening techniques through online resources.
Storage and Handling: Protecting Your Investment
Proper storage is just as important as cleaning. Imagine leaving your favorite knife out in the rain – not a good idea! Always store your scissors in a protective case when not in use. This protects the blades from damage and keeps them clean. Avoid throwing them in a drawer with other tools; they could get scratched or damaged. And, this might seem obvious, but avoid using your hair cutting scissors for anything other than cutting hair! Don't use them to open packages or cut anything else. Treat them with respect, and they'll return the favor with years of precise, reliable service. Think of it as a partnership – take care of your tools, and they'll take care of you.
Storage Method | Benefits | Considerations |
|---|---|---|
Protective case | Prevents damage and keeps blades clean. | Choose a case with soft lining to avoid scratching. |
Designated storage space | Keeps scissors organized and readily accessible. | Avoid storing with other sharp objects. |