Table of Contents
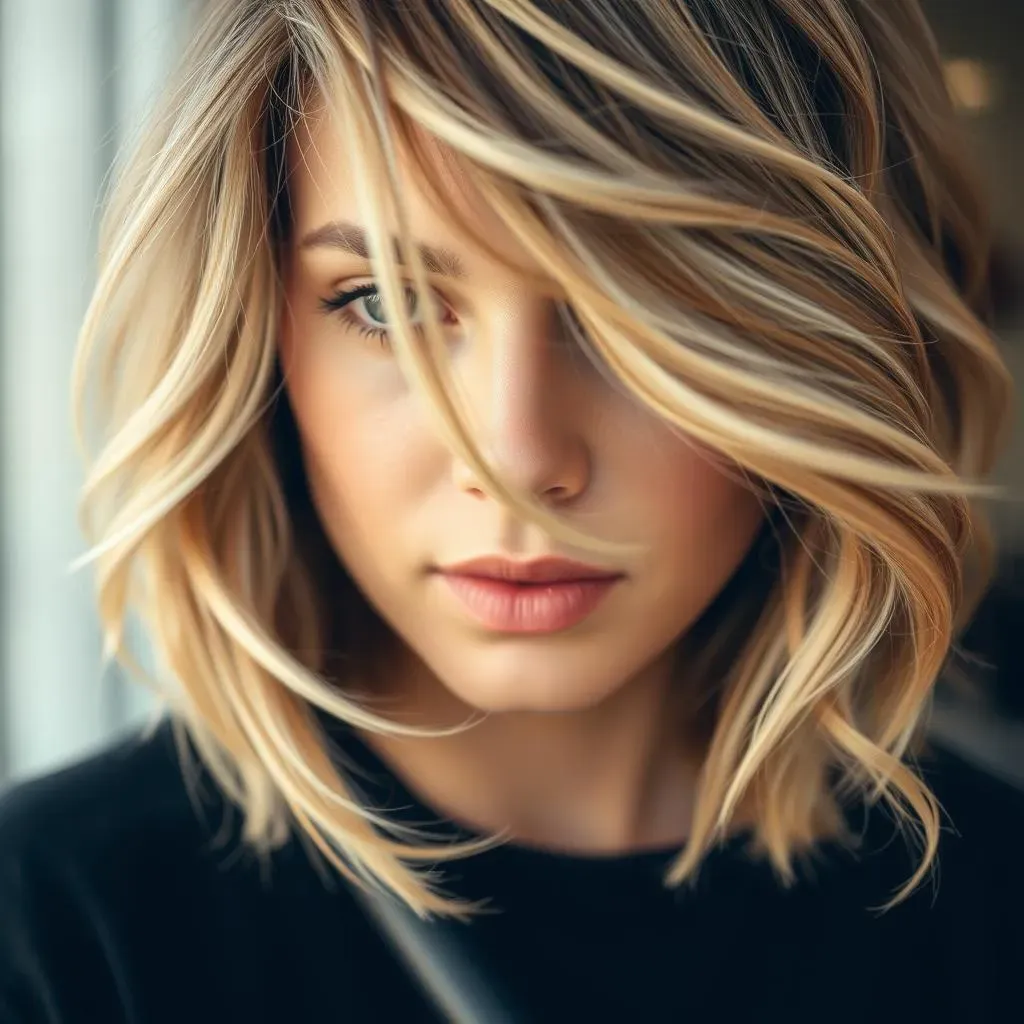
So, you've got a bob, and you're dreaming of those effortlessly chic curls you see all over the internet? I get it. I've been there, staring at my own stubbornly straight bob, wondering if curls were even possible. Let me tell you, they are! This isn't just another generic hair tutorial, it's a real-world guide from someone who's actually struggled with curling short hair. Forget those complicated, multi-step processes; I'm going to break down exactly how to curl your bob hair cut, step-by-step, with the right tools and techniques. We'll cover everything from prepping your hair to making those curls last all day (yes, even on a bob). Think of this as your cheat sheet to achieving those coveted, bouncy curls, no matter how short your hair is. Ready to ditch the straight and embrace the curl? Let's get started, and by the end, you will be curling your bob like a pro.
The Right Tools for the Job: Curling Your Bob

The Right Tools for the Job: Curling Your Bob
The Curling Wand
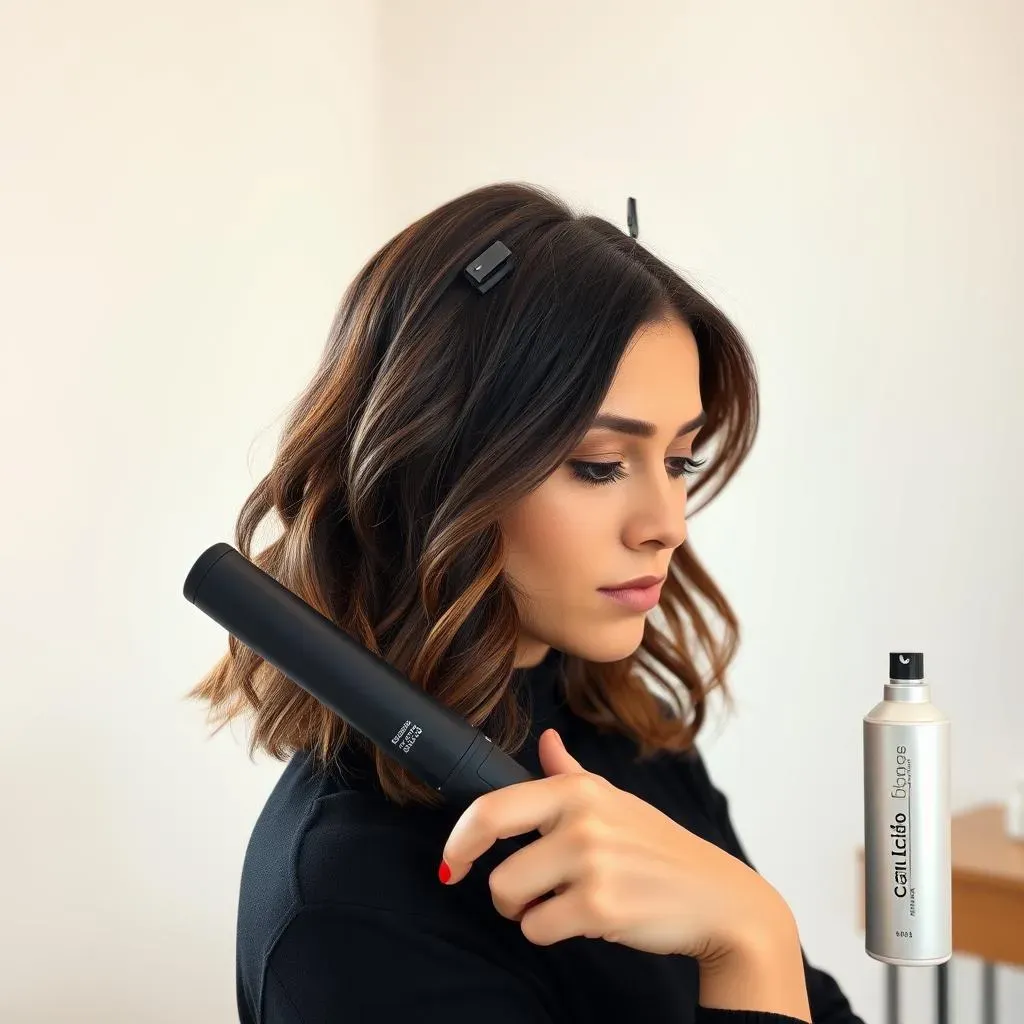
Okay, let's talk tools. You can't just grab any old thing and expect perfect curls, especially with a bob. The star of the show here is a good curling wand. I'm not talking about those old-school curling irons with the clips, no, no. We need a wand, and preferably, one that's about an inch in diameter. This size is ideal for creating those loose, beachy waves or tighter curls, depending on what you're going for. My personal fave? The T3. It heats up super fast, and it has adjustable temperature settings, which is a must if you want to avoid frying your hair. It's an investment, sure, but think of all the amazing hair days to come! And please, for the love of your hair, don't use the highest heat setting, unless you want to look like a poodle, a very dry poodle.
Now, you might be thinking, "Do I really need a special wand?" And the answer is, well, not really. But it sure does make a difference. You can try using a flat iron, but it's trickier to get the hang of and you might end up with crimped, weird looking curls. A curling wand makes it so much easier to control the size and shape of your curls, plus it's faster. And time is precious, especially in the morning, right? It's all about efficiency, my friend, and a good wand is your secret weapon. Trust me on this one, it’s a game changer.
Tool | Why it's Important | My Recommendation |
|---|---|---|
Curling Wand (1 inch) | Creates defined, long-lasting curls on a bob. | T3 Curling Wand (or similar) |
Heat Protectant Spray | Protects hair from heat damage. | Any good quality heat protectant. |
Texture Spray | Adds volume and helps curls hold. | Any brand you like |
Sectioning Clips | Help divide hair into manageable sections. | Basic Hair clips |
The Supporting Cast
Okay, so a curling wand is the main character, but we need a supporting cast to make this whole production work. First up, heat protectant spray. This stuff is non-negotiable, people. Think of it as sunscreen for your hair. You wouldn't go sunbathing without sunscreen, right? Same goes for heat styling. It creates a barrier between your hair and the hot wand, preventing damage and breakage. Then we have texture spray, this is my absolute secret weapon for long-lasting curls. This is the magic potion that gives your hair volume and helps those curls hold their shape. I usually spray it before and after I curl, you know, just to make sure they're not going anywhere. And finally, sectioning clips are your best friend when you're styling your hair. They help you divide your hair into manageable sections, so you're not trying to curl a giant, tangled mess.
Now, let's talk about the optional extras. A good dry shampoo is a lifesaver for extending the life of your curls. If you have oily hair like me, a little dry shampoo can soak up excess oil and give your hair a bit of a lift. And some people like to use a glove when curling their hair. I don’t, I don't use one, but if you're new to curling, it can prevent you from burning your fingers. But be careful either way! It is a hot wand!. So, that's the lowdown on the tools you'll need. It might seem like a lot, but trust me, once you have them, you'll wonder how you ever lived without them.
StepbyStep: How to Curl a Bob Haircut

StepbyStep: How to Curl a Bob Haircut
Alright, now for the fun part: actually curling your bob. First things first, you're going to want to start with clean, dry hair. If you've just washed it, make sure it's completely dry before you even think about picking up that hot wand. Now, grab your sectioning clips and divide your hair into manageable parts. I usually start with the bottom layer, clipping the rest of my hair up and out of the way. Think of it like building a house, you have to start with the foundation, right? Now, spray your hair with heat protectant, don't skip this part, seriously.
Next, take a small section of hair, about an inch wide, and wrap it around the curling wand, starting near the root and working your way down. Hold it for a few seconds, not too long or you'll burn your hair. Then, gently release the curl, and voila! A perfectly formed curl. Repeat this process with the rest of your hair, working your way up layer by layer. It's like a little dance between you and your hair, once you get the hang of it, it's super easy. Don't worry if the curls aren't perfect at first, it takes some practice. And remember, the goal is to have fun with it, not to stress over every single curl.
Step | Action | Tip |
|---|---|---|
1 | Section your hair. | Start with the bottom layer. |
2 | Apply heat protectant. | Don't skip this step! |
3 | Curl small sections. | Wrap hair around the wand. |
4 | Repeat | Work your way up layer by layer |
Once you've curled all of your hair, it's time for the finishing touches. This is where the texture spray comes in. Flip your head upside down and give your hair a good spray, concentrating on the roots for extra volume. Then, gently shake out your curls and use your fingers to tousle them a bit. You don't want them to look too perfect, a little bit messy is good. And that's it! You've successfully curled your bob. Now, go admire your work in the mirror and get ready to rock those curls, you did it.
If you want your curls to last even longer, you can try a light hairspray. But honestly, the texture spray does a pretty good job on its own. And if you're feeling adventurous, you can even try different curling techniques, like alternating the direction of your curls for a more natural look. But for now, let's just stick to the basics. The point is that you have the tools and the knowledge to curl your bob, and that's something to celebrate. So go on, show off those curls, you deserve it!
Maintaining Your Curls and Bob: Tips and Tricks

Maintaining Your Curls and Bob: Tips and Tricks
Okay, so you've mastered the art of curling your bob, congrats! But, let's be real, keeping those curls looking fresh all day is a whole different ball game. It's not enough to just curl it and forget it. You need a strategy, my friend. First things first, hands off! I know it's tempting to keep touching your curls, but the more you mess with them, the faster they will lose their shape. Think of it like a freshly baked cake, you wouldn't poke it constantly, would you? The same goes for your curls, let them be.
Another key tip is to sleep on a satin pillowcase. Cotton pillowcases can cause friction, which can lead to frizz and flattened curls. Satin, on the other hand, is much smoother and allows your hair to glide over the surface, preserving your curls overnight. It's like giving your hair a little spa treatment while you sleep. And if you're really serious about protecting your curls, you can even try sleeping in a loose bun or a silk scarf. It might sound a bit extra, but trust me, it makes a difference. Little things like that are what make your curls last longer. Also, dry shampoo is your best friend; it will help keep your curls fresh between washes.
Tip | Why it Works |
|---|---|
Hands Off! | Reduces frizz and helps curls hold their shape. |
Satin Pillowcase | Minimizes friction and prevents flattened curls. |
Dry Shampoo | Absorbs oil and refreshes curls. |
Now, let’s talk about refreshing your curls. Sometimes, even with the best efforts, your curls might start to droop a bit. Instead of re-curling your whole head, try using a little bit of water or a curl-refreshing spray. Spritz your hair lightly, and then use your fingers to reshape the curls. You can also use a curling wand to touch up any specific curls that have lost their shape. The key is to be gentle and not overdo it. You're not trying to create a whole new hairstyle, just bring your curls back to life. Remember, less is more when it comes to refreshing curls. And if all else fails, you can always throw your hair up in a messy bun or a cute ponytail. There's no shame in a good updo, sometimes you need a break from styling.
And finally, remember that practice makes perfect. The more you curl your bob, the better you will become at it. Don't get discouraged if your curls aren't perfect at first. It takes time to learn what works best for your hair type and your styling technique. Just keep experimenting, and most importantly, have fun with it. Curling your bob should be an enjoyable experience, not a stressful one. So, embrace the curls, and let your hair do the talking.
"The best way to predict the future is to create it." - Peter Drucker
Wrapping Up Your Curly Bob Journey
And there you have it! Curling your bob might have seemed like a distant dream, but with a little practice and the right know-how, it's totally achievable. Remember, it's all about finding what works best for your hair type and the style you're going for. Don't be afraid to experiment with different techniques and products until you nail your perfect curl. The key takeaways are using the correct tools, sectioning your hair properly, and not being afraid to try again if at first you don't succeed. So go ahead, rock those curls with confidence, and show off your fabulous, freshly styled bob!