Table of Contents
Thinking about a fresh new look? A bob haircut is a timeless style, but the thought of cutting it yourself might seem daunting. Don't worry, it's totally achievable at home! This article will show you how to cut a hair bob, breaking it down into easy-to-follow steps. We’ll begin with gathering all the necessary supplies, from sharp shears to trusty clips. Next, we'll get your hair prepped and ready for the cut, a crucial step for avoiding any uneven surprises. Then comes the fun part where we guide you through the actual cutting process. Finally, we'll touch on styling tips and how to keep your bob looking sharp between trims. Whether you're looking to save some money or just enjoy the satisfaction of a DIY project, you'll find all the essential information you need to master how to cut a hair bob right here. Let's get started!
Gathering Your Hair Cutting Supplies

Gathering Your Hair Cutting Supplies
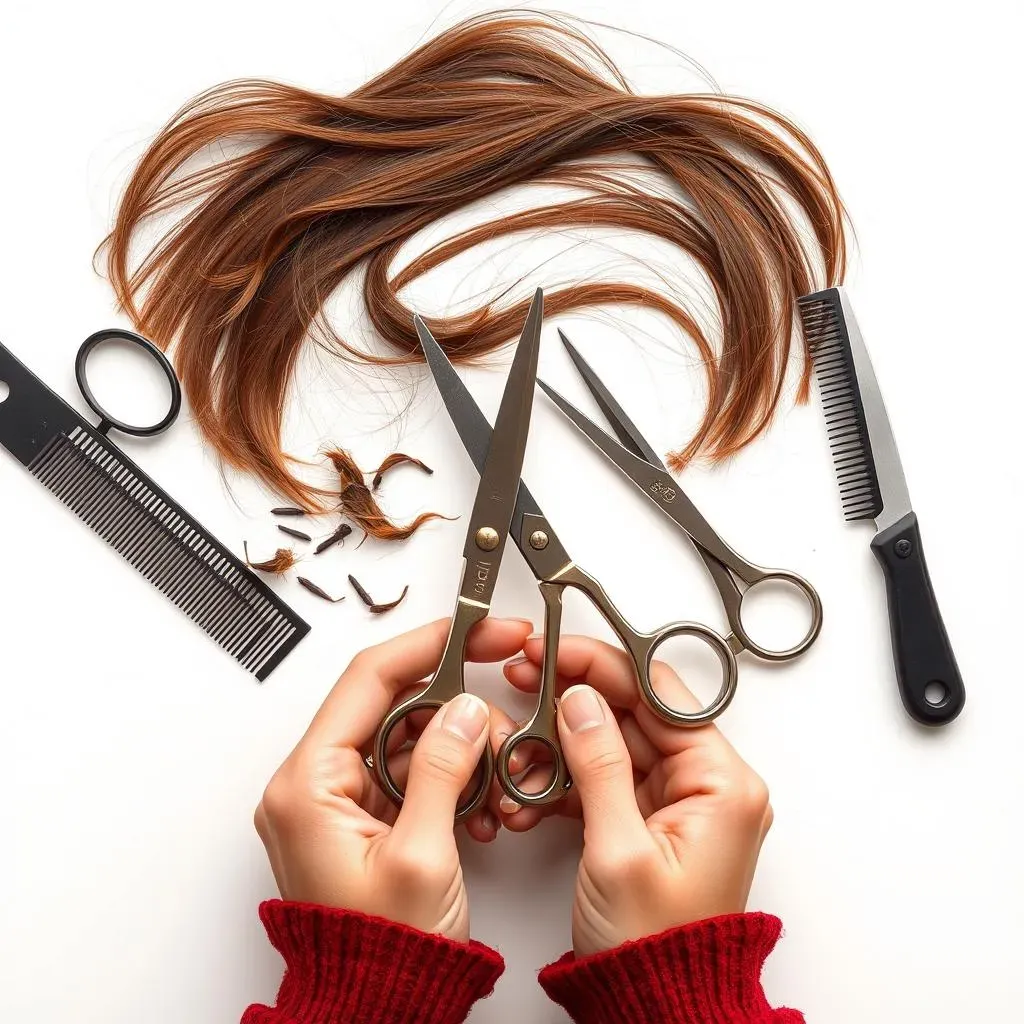
Okay, so you're ready to take the plunge and cut your own bob? Awesome! First things first, we need to make sure we have the right tools for the job. Think of it like a chef prepping their station before cooking a fancy meal. You wouldn't try to bake a cake without a pan, would you? Same goes for hair. You can't just grab any old scissors. For a clean, precise cut, you'll need actual hair cutting shears. These are different from your kitchen scissors, they are sharper and have finer blades. You might also want to grab some electric hair clippers, especially if you are planning to do a short bob. A hair razor is great for shaping and trimming the side sections. And don’t forget clips to keep your hair out of the way. It's like having a good team to help you out, and these tools are your team!
Here's a quick checklist to make sure you've got everything:
- Hair Cutting Shears: Not your kitchen scissors!
- Electric Hair Clippers: For shorter styles or clean lines.
- Hair Razor: Great for shaping and trimming.
- Hair Clips: To keep sections separate.
- Comb: A wide-tooth comb works best.
- Spray Bottle: For keeping hair damp during the cut.
- Towel: To catch hair trimmings.
Preparing Your Hair for the Bob Cut
Preparing Your Hair for the Bob Cut
Alright, now that you've got your tools all lined up, it's time to get your hair ready for its big transformation. Think of it like prepping a canvas before you start painting. You wouldn't just slap paint on a dirty surface, right? Same with your hair. Start by washing it with your favorite shampoo and conditioner. This will make sure your hair is clean and easy to work with. Once it's washed, gently comb through it to remove any tangles. You'll want your hair to be damp, not soaking wet, when you start cutting. If your hair dries out a bit, just use that spray bottle to give it a little spritz. This part is key for getting a nice, even cut, so don't rush it.
Next up, let’s section your hair. This is like setting up a game plan before you make your move, it keeps things organized and prevents you from accidentally cutting too much hair at once. The easiest way to do this is to divide your hair into three sections: one at the back and one on each side of your head. Use those handy clips to keep each section separate. If you have really thick hair, you might want to make more sections. The goal here is to keep the hair you’re not working on out of the way, so you can focus on one section at a time. It's like having your focus on one area, instead of trying to look at the whole picture at once. Once you’ve sectioned, take one last look to make sure everything is damp, smooth, and ready to go. Now, we can start cutting!
Step | Action | Why |
|---|---|---|
1 | Wash and condition hair | Removes dirt and makes hair easier to manage. |
2 | Comb through hair | Removes tangles for a smooth cut. |
3 | Keep hair damp | Ensures even cutting and prevents dry hair from being shorter than you want. |
4 | Section hair into three parts | Keeps hair organized and prevents accidental cutting of the wrong section. |
Cutting the Bob: StepbyStep Guide
Cutting the Bob: StepbyStep Guide
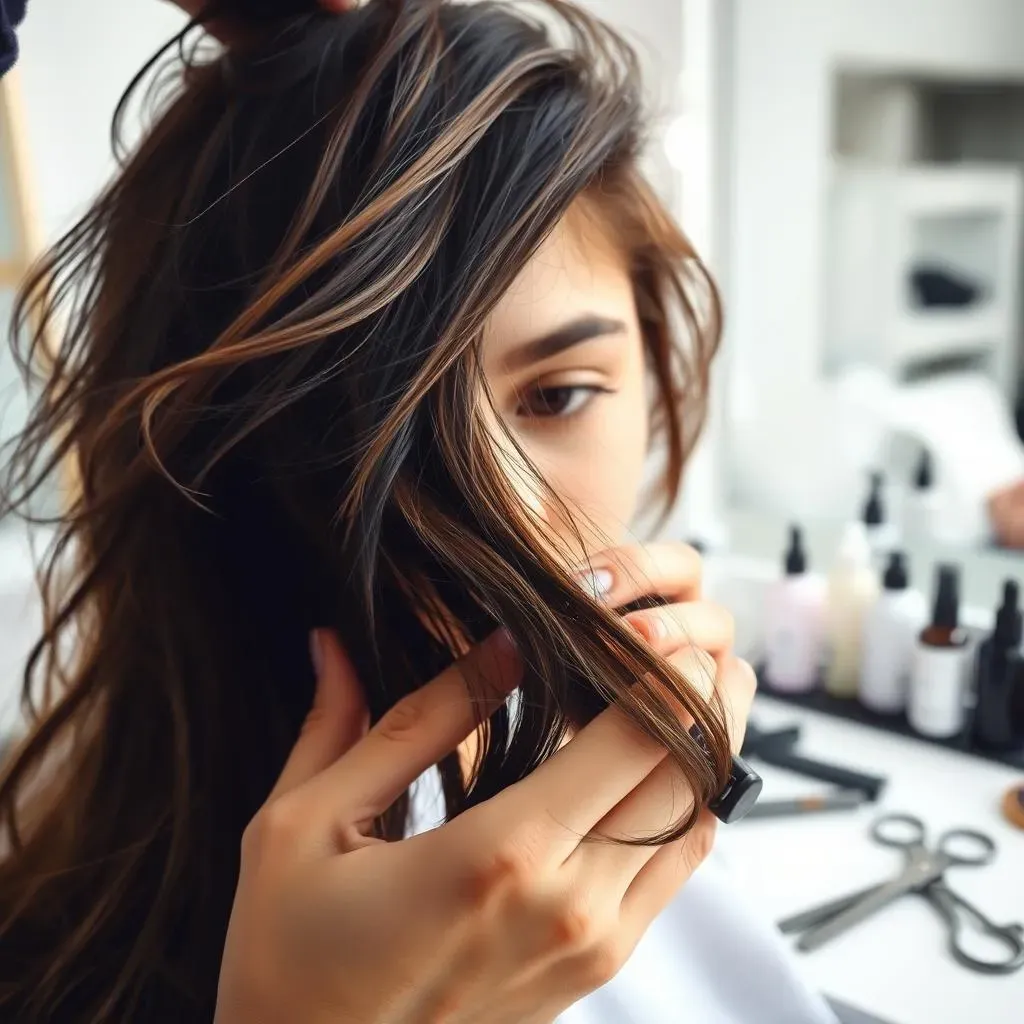
Okay, here's where the magic happens! We're actually going to cut the bob now. Let's start with the back section, that's the one in the middle. Grab your hair cutting shears, and be confident. You're not hacking away at a hedge, this is a controlled cut. Hold the section of hair straight out from your head and make a horizontal cut under the hair tie. Remember, you can always cut more hair off later, but you can't stick it back on. Start by cutting off less than you think you want, and then check if the hair is even and the length is right. It's like starting with a small sketch before creating a masterpiece. Once you're happy with the length of the back, move on to the side sections. For these, you'll want to match the length of the back, but you can go shorter if you want. The hair razor can help you shape the sides, and give the bob a sleeker look.
Now, let's talk about adding some volume! If you want a bit of a layered look, you can trim the ends of the hair with your scissors pointed down and in. It's like giving your hair a little lift. This technique can add some nice movement to your bob. To blend the ends, run your hair razor in a downward, angled motion. This will soften the edges and make your bob look more professional. If you find your hair is looking a little too thick, you can use thinning shears on the ends to remove some of the volume. Remember, practice makes perfect, so don't worry if it's not spot-on the first time. It's all part of the learning process. Once you've cut all the sections, take a look at the overall shape, and adjust the length or layers as needed.
Step | Action | Notes |
|---|---|---|
1 | Cut the back section | Start with less, you can always trim more. |
2 | Match side sections to back | Use a razor for shaping. |
3 | Add layers | Trim ends with scissors pointed down. |
4 | Blend the ends | Use a razor in a downward motion. |
5 | Thin out if needed | Use thinning shears on the ends. |
Styling and Maintaining Your New Bob Haircut

Styling and Maintaining Your New Bob Haircut
Alright, you’ve got your fresh bob cut, and it looks amazing! But the journey doesn't end there. Now it's time to think about how to style and maintain your new look. Styling a bob can be super fun because it’s so versatile. You can go sleek and straight with a flat iron, or add some waves with a curling wand. If you're feeling fancy, try a texturizing spray for a more tousled look. It's like having a blank canvas, you can experiment with different styles to see what fits your mood. A little bit of hair product can go a long way in making your bob look polished and chic. Think of it like adding the final touches to a painting, it brings everything together.
Maintaining a bob is also key to keeping it looking great. Because a bob is shorter, it will need to be trimmed more often than long hair. This is because as it grows out, it can lose its shape. I recommend getting a trim every 6-8 weeks to keep it looking sharp. You can go to a professional for this, but if you're feeling brave, you can always trim it yourself at home. Just remember to go slow and cut less than you think you need. If you’re not sure about doing it yourself, maybe start by having a professional create the style, and then you can maintain it at home when it starts to grow out. This way, you know you have a good foundation to work from. It's like having a roadmap, it makes the journey a lot easier.
Styling Tool | How to Use | Effect |
|---|---|---|
Flat Iron | Run through hair in sections | Sleek, straight look |
Curling Wand | Wrap hair around the wand | Waves or curls |
Texturizing Spray | Spray lightly throughout hair | Tousled, textured look |
Also, don't be afraid to play around with products. A good mousse can add volume, while a shine serum can make your bob look extra glossy. And if you're dealing with frizz, a bit of anti-frizz cream can be a lifesaver. It's like having a toolbox of different tools, each one serves a different purpose. The right products can really make a difference in how your bob looks and feels. So, don't be afraid to experiment to find what works best for you. Remember, the key is to have fun with your new style! It's your chance to express yourself and show off your unique personality. And if you ever feel like you need a change, you can always try a new style or a new product. The world of bobs is your oyster!
- Regular Trims: Every 6-8 weeks to maintain the shape.
- Experiment with Styles: Use flat irons, curling wands, and sprays.
- Use the Right Products: Mousse, shine serum, and anti-frizz cream.
- Don't be afraid to try new things: Have fun with your new style.
Wrapping Up Your DIY Bob Cut
So, you've made it through the steps of how to cut a hair bob at home! It might feel a bit nerve-wracking at first, but with patience and practice, you can absolutely achieve a stylish bob on your own. Remember, it's always a good idea to start with small trims, you can always go shorter, but you can't put the hair back on. While this guide provides a solid foundation, each person's hair is unique. Don't be afraid to experiment and find what works best for you, and when in doubt, a quick trim by a professional can help maintain the perfect shape. Now go out there and rock your new bob with confidence!