Table of Contents
Thinking about a fresh, stylish bob haircut but dreading the salon prices? I get it! The bob is a timeless classic, but keeping it sharp can be a pain, and costly. What if I told you that you could learn how to cut a bob cut hair yourself, right at home? It's not as scary as it sounds, I promise. This guide will walk you through the process, from gathering the right tools to mastering the technique. We'll break down the steps, so you can achieve a salon-worthy bob without the salon bill. We’ll cover everything you need for a successful DIY haircut, from the essential tools and how to use them effectively to the actual cutting process and how to maintain your new look. So, grab your scissors, and let's get started on this hair adventure together!
Gathering Your Bob Haircut Supplies
Gathering Your Bob Haircut Supplies
The Essential Toolkit
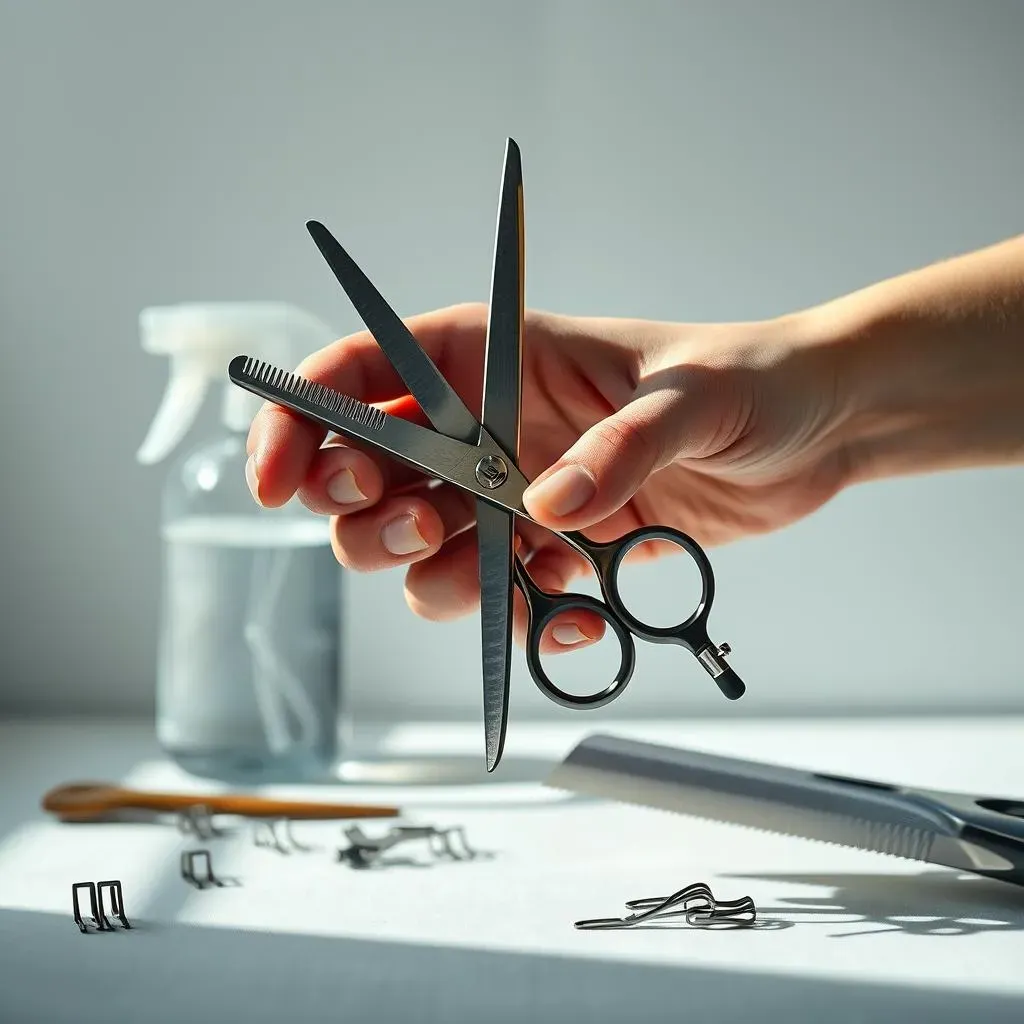
Okay, so you're ready to take the plunge and cut your own bob, awesome! But before you grab any old scissors, let's talk tools. You wouldn't build a house with a butter knife, right? Same goes for hair. You'll need a decent pair of hair-cutting shears. I'm not talking about the ones you use to open chip bags, those are a big no-no. Invest in a pair of sharp shears designed for hair; they'll make a huge difference. Also, grab some hair clips, the kind that can actually hold your hair back and not just slide out. These will be your best friends when sectioning off your hair. And lastly, don't forget a comb, preferably one with both wide and fine teeth, to make sure the hair is smooth before you make any cuts.
Now, for the optional, but highly recommended, items. A hair razor can be a game-changer for shaping and blending the ends of your bob. It’s like a magic wand for adding texture. Also, if you want to be extra precise, a set of electric hair clippers with different guard sizes can be super handy, especially for the back of your neck. And remember, a spray bottle filled with water is essential for keeping your hair damp during the cut. Dry hair is harder to cut and can lead to uneven results. It's like trying to sculpt with dry clay; it just doesn't work well.
Tool | Purpose | Why You Need It |
|---|---|---|
Hair Cutting Shears | Cutting hair | Sharp, precise cuts |
Hair Clips | Sectioning hair | Keeps hair out of the way |
Comb | Smoothing and parting hair | Ensures even cuts |
Hair Razor | Shaping and blending ends | Adds texture and softens lines |
Electric Clippers | Trimming neck and back | Provides clean, short cuts |
Spray Bottle | Keeping hair damp | Makes hair easier to cut |
Why Quality Matters
I know, I know, it’s tempting to just use whatever you have lying around, but trust me, the quality of your tools matters, a lot. Dull scissors will lead to split ends and a choppy cut, and no one wants that. Think of it like this: you wouldn't use a rusty knife to prepare a fancy dinner, would you? So, why would you use subpar tools on your hair? Investing in decent shears and other tools will not only make the cutting process easier but will also result in a much better-looking bob. Plus, if you take care of them, they’ll last you a long time, so it’s a worthwhile investment.
Think of it like building with Lego, you need the right pieces to make something awesome. The right tools set you up for success. And while we're on the topic of tools, remember to keep them clean and sharp. A little maintenance goes a long way in ensuring your tools perform at their best. It's the difference between a smooth, satisfying cut and a frustrating, uneven mess. So, before you even think about picking up your scissors, make sure you have everything you need, and that everything is in good condition.
Cutting Your Own Bob Hair at Home

Cutting Your Own Bob Hair at Home
Preparing Your Hair for the Cut
Alright, so you've got your tools, you're feeling brave, and now it's time to actually start cutting. The first thing you need to do is prep your hair. Start with clean, damp hair. Don't go soaking wet, just a little damp, like you just got out of the shower and towel-dried it a bit. This makes it easier to manage and cut. Now, you'll need to section your hair. Imagine you're dividing your head into three parts: the back, and then the two sides. Use those handy clips to secure each section. This keeps the hair you're not working on out of the way. It's like organizing your workspace before starting a project, it makes everything much easier.
Next, figure out how short you want your bob to be. I recommend starting longer than you think you want it, you can always cut more off, but you can't add it back. Use a comb to pull down a small section of hair from the back section, this will be your guide. If you're going for a classic bob, this section should be at the nape of your neck. Once you have your guide, make your first cut. Remember, small cuts are better than big ones. You don't want to accidentally take off too much all at once, unless you're going for a pixie, then maybe go for it. But we're talking bobs here, so small and steady wins the race.
Cutting the Back Section
Okay, so you've got your guide, now let's tackle the back. Take a small section of hair, no more than an inch wide, and comb it straight down. Make sure it's smooth and tangle-free, no one wants a knotty bob. Now, here’s the crucial bit, hold the hair between your fingers, and cut straight across. Try to keep your hand steady and your cut even. Use the guide you cut earlier to make sure you’re cutting the right length. Don't worry if it's not perfect, you can always make adjustments. It’s like painting a wall, you do one coat, and then you go back and touch up any spots you missed.
Continue cutting the back section, taking small sections of hair and using the previous cut as a guide. Remember to keep your hair damp. If it starts to dry out, spritz it with your water bottle. Once you’re done with the back, check the length. If it's a little uneven, don't panic, just make small adjustments. It's like crafting, you don’t get it perfect on the first try. Now, we move on to the side sections. These are crucial for framing your face, so take your time. Remember, you're not in a race, you’re creating a masterpiece, one snip at a time.
Step | Action | Tip |
|---|---|---|
1 | Dampen hair | Use a spray bottle for even moisture |
2 | Section hair | Clip back and sides separately |
3 | Cut a guide | Start at the nape of the neck |
4 | Cut back section | Use small sections and cut straight |
5 | Adjust and refine | Make small adjustments for evenness |
Maintaining Your Bob Cut Hair
Maintaining Your Bob Cut Hair
Keeping Your Bob Fresh
So, you've bravely cut your bob, and it looks amazing! But the journey doesn't end there. Like a well-tended garden, your bob needs regular care to stay in top shape. How often you need to trim it really depends on how fast your hair grows and how short your bob is. A super short bob might need a trim every 4-6 weeks to keep its shape, while a longer bob, sometimes called a "lob," can stretch to 8-10 weeks. You'll know it's time when the ends start to look a little shapeless, or if your hair is just getting in your face too much.
Now, here’s a little secret: you don’t always need to do a full-on haircut. Sometimes, a little touch-up is all it takes. If the ends are getting a bit unruly, grab your hair razor and gently blend them. Think of it like polishing your favorite shoes, a little effort goes a long way. And if you notice some unevenness, don't be afraid to make small snips with your shears. Remember, small adjustments are your friends here. It’s like editing a photo, you tweak a little here and there until it looks just right.
Bob Type | Trim Frequency |
|---|---|
Short Bob | 4-6 weeks |
Long Bob (Lob) | 8-10 weeks |
Adding Texture and Volume
Want to take your bob to the next level? Let’s talk about texture and volume. If you’re rocking a blunt bob, thinning shears are your best friend. These are scissors with teeth that remove some of the hair’s volume without affecting the length. Use them on the ends of your hair to add movement and prevent that dreaded boxy look. Think of it like sculpting clay, you remove some to create shape. But be careful not to overdo it, start with small snips and see how it looks. You can always cut more, but you can't un-cut.
Also, if you’re going for a more voluminous look, try cutting layers into your bob. This doesn’t mean going all “Rachel” from Friends, we’re talking subtle layers that add lift and movement. To do this, hold sections of your hair up and cut the ends with your scissors pointed down and in. It’s like giving your hair a little bit of a lift, creating the illusion of more volume. And remember, practice makes perfect. The more you maintain your bob, the better you’ll get at it. It’s like learning a new skill, the more you do it, the more confident you’ll become.
Wrapping Up Your DIY Bob Cut
So, you've taken the plunge and given yourself a bob! Remember, practice makes perfect, and your first attempt might not be flawless. Don't be too hard on yourself. The key is to take your time, work in small sections, and adjust as you go. If you're unsure, it’s always a good idea to get a professional cut first and then maintain it at home. A fresh bob can be a real confidence booster, and now you have the skills to keep it looking great. Enjoy your new style, and happy snipping!