Table of Contents
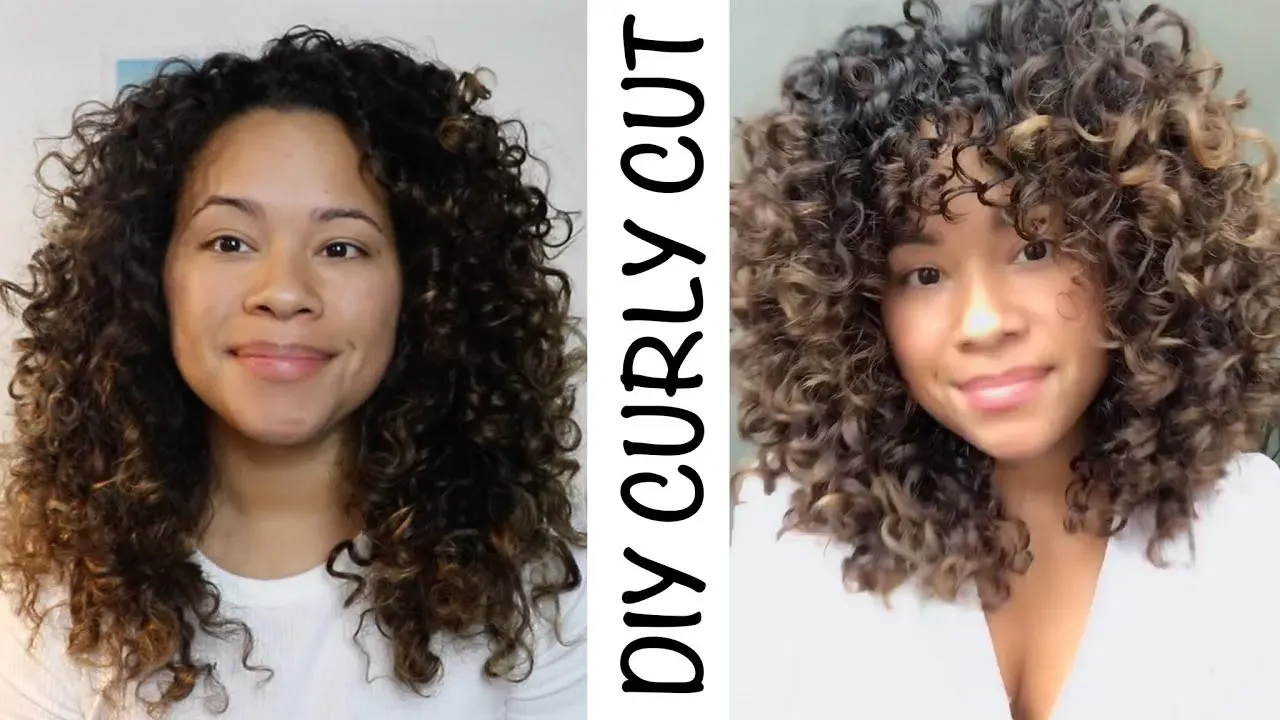
Let's be real. Staring at your curly hair in the mirror, scissors in hand, feels a bit like standing on the edge of a cliff, doesn't it? You've probably had salon experiences that left you wondering if the stylist even *saw* your curls, or maybe a previous DIY attempt resulted in something... uneven. Cutting curly hair is definitely not the same game as snipping straight strands. Curls have their own agenda, their own bounce, their own personality. Cut them wet, and they spring up shorter than you ever imagined. Cut them without seeing the pattern, and you end up with awkward lengths and wonky shapes.
Why Cutting Curly Hair Isn't Like Cutting Straight Hair
Why Cutting Curly Hair Isn't Like Cutting Straight Hair
The Shrinkage Factor is Real
let's get straight to the most fundamental difference when you're figuring out how to cut curly hair: shrinkage. This isn't some urban legend whispered in natural hair forums; it's a physical reality. A curl, by its very nature, coils up. When it's wet and weighed down with water, it stretches out, appearing much longer than its dry state. You snip off an inch while it's wet, thinking you're being conservative, and then as it dries, that curl springs back, and suddenly you've lost three inches. Or worse, you end up with one side way shorter than the other. It's like trying to measure a Slinky while it's fully extended versus coiled up. You have to see the curl in its natural, dry state to truly understand its length and how it will sit.
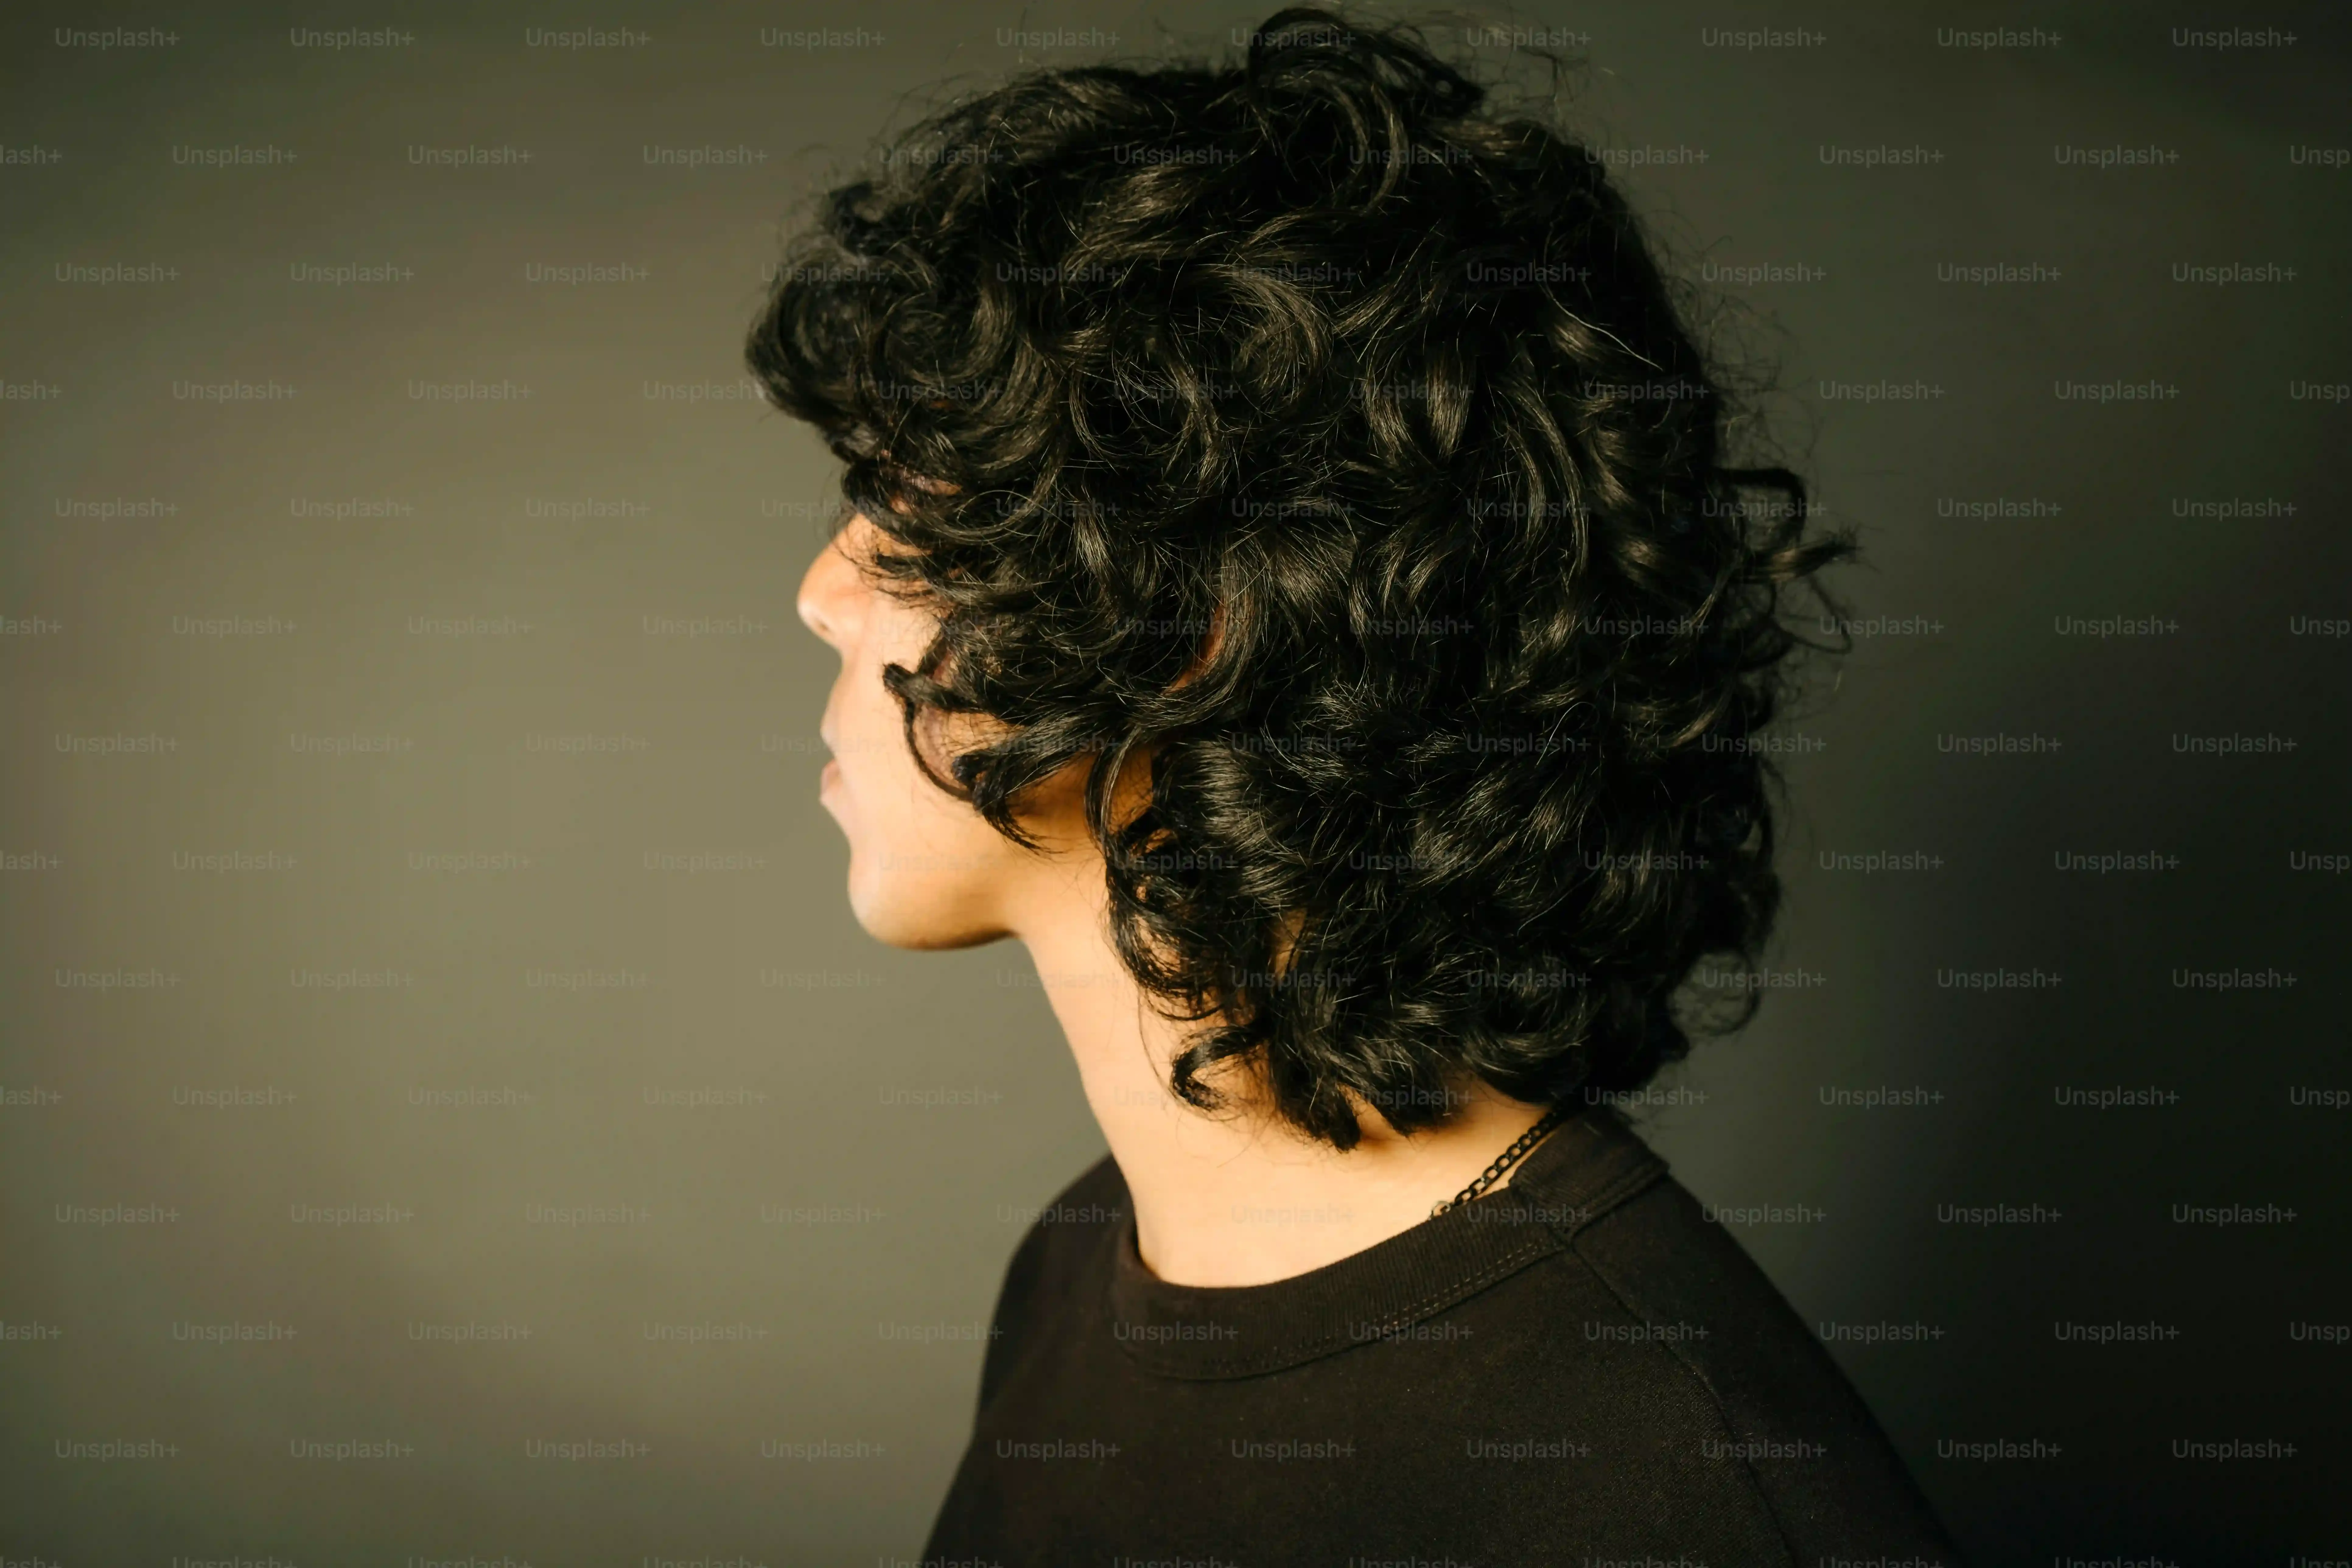
Understanding the Unique Curl Pattern
Straight hair falls uniformly. You can pull a section taut, make a clean cut, and generally predict where the ends will land. Curly hair? Not so much. Each curl has its own unique pattern, its own direction, its own level of tightness. Some curls might be loose waves, others tight coils, sometimes even on the same head. Cutting into a wet mass of curls means you're often cutting blindly across these varied patterns. You aren't respecting the individual curl clump. This is why you hear stylists talk about cutting curl by curl – they are literally following the natural roadmap of your hair. Ignoring this leads to jagged lines, awkward layers that don't blend, and a shape that just feels... off.
- Wet curls hide true length.
- Cutting wet disrupts the natural curl pattern.
- Individual curls have unique tension and spring.
- You can't see the final shape when wet.
Density and Shape Matter More
With straight hair, you might focus on creating sharp lines or blended layers based on thickness. With curly hair, density plays a different role, and the overall shape is paramount. A good curly cut liberates the curls, allowing them to bounce and form a cohesive shape that frames the face. Cutting wet often leads to cutting too much weight from certain areas, creating holes or triangular shapes (the dreaded "Christmas tree" look). Seeing the hair dry allows you to assess where the weight is, how the curls are falling, and where you need to remove bulk or add layers to encourage movement and create a balanced silhouette. It’s about sculpting, not just cutting a straight line across.
Gathering Your Arsenal: Tools for Cutting Curly Hair Right
Gathering Your Arsenal: Tools for Cutting Curly Hair Right
Gathering Your Arsenal: Tools for Cutting Curly Hair Right
Alright, before you even think about putting scissors near your precious curls, you need to get your gear sorted. Think of it like prepping for a minor surgical procedure, except the patient is your own head and the stakes are slightly less life-threatening (though a bad haircut can feel pretty dire). You can't just grab those rusty kitchen scissors you use for opening Amazon packages. That's a recipe for frayed ends and regret. You need actual hair shears. They're sharper and designed to make clean cuts, preventing damage. Beyond sharp scissors, you'll definitely want a good wide-tooth comb or just rely on your fingers for detangling and separating curls. Sectioning clips are your best friend for keeping hair out of the way. And here’s a crucial one: mirrors. A good wall mirror plus a hand-held mirror is non-negotiable so you can see what the heck is happening in the back. Good lighting helps too, you need to see those individual curls and their patterns clearly.
The NonNegotiable Rule: Always Cut Curly Hair Dry
The NonNegotiable Rule: Always Cut Curly Hair Dry
The Non-Negotiable Rule: Always Cut Curly Hair Dry
listen up. If there is one single rule you take away from learning how to cut curly hair, it’s this: Always. Cut. It. Dry. Seriously, etch this into your brain. Trying to cut curly hair when it's soaking wet is like trying to sculpt a cloud – it looks one way now, but it will be completely different once it dries and shrinks up. When your curls are dry and styled as you normally wear them, you can see exactly how each curl clump hangs, where the weight is, and where those pesky split ends are hiding. You can actually follow the natural curl pattern and cut curl by curl, respecting its individual spring and shape. Cutting wet is a gamble where the house (aka, shrinkage) always wins, leaving you with unpredictable lengths and a shape that likely doesn't flatter your face.
StepbyStep: How to Cut Curly Hair at Home Like You Mean It
StepbyStep: How to Cut Curly Hair at Home Like You Mean It
Prepping Your Curls for the Cut
you've got your sharp shears, your clips, and your mirrors. You've committed to cutting your curly hair dry. Now what? First, make sure your hair is styled exactly how you normally wear it. This isn't the time for a wash-and-go if you usually diffuse, or vice versa. You need to see the true shape and length of your curls as they live their daily life. Detangle gently with your fingers or a wide-tooth comb if necessary, but don't stretch the curls out too much. You're observing, not altering. Stand in front of your main mirror with your hand-held mirror ready. Good lighting is key here; you need to see those individual curl patterns clearly to figure out where you need to snip.
Sectioning is crucial, especially if your hair is dense. Think of it like dividing a task into smaller, manageable chunks. Use your clips to isolate the sections you aren't working on. Start at the front, where you can see what you're doing easily. You can divide your hair into four main sections or even more, depending on thickness. The goal is to work with small, isolated areas so you don't accidentally cut hair that belongs in another section, leading to lopsided results. Take a deep breath. You've prepared. Now comes the cutting part.
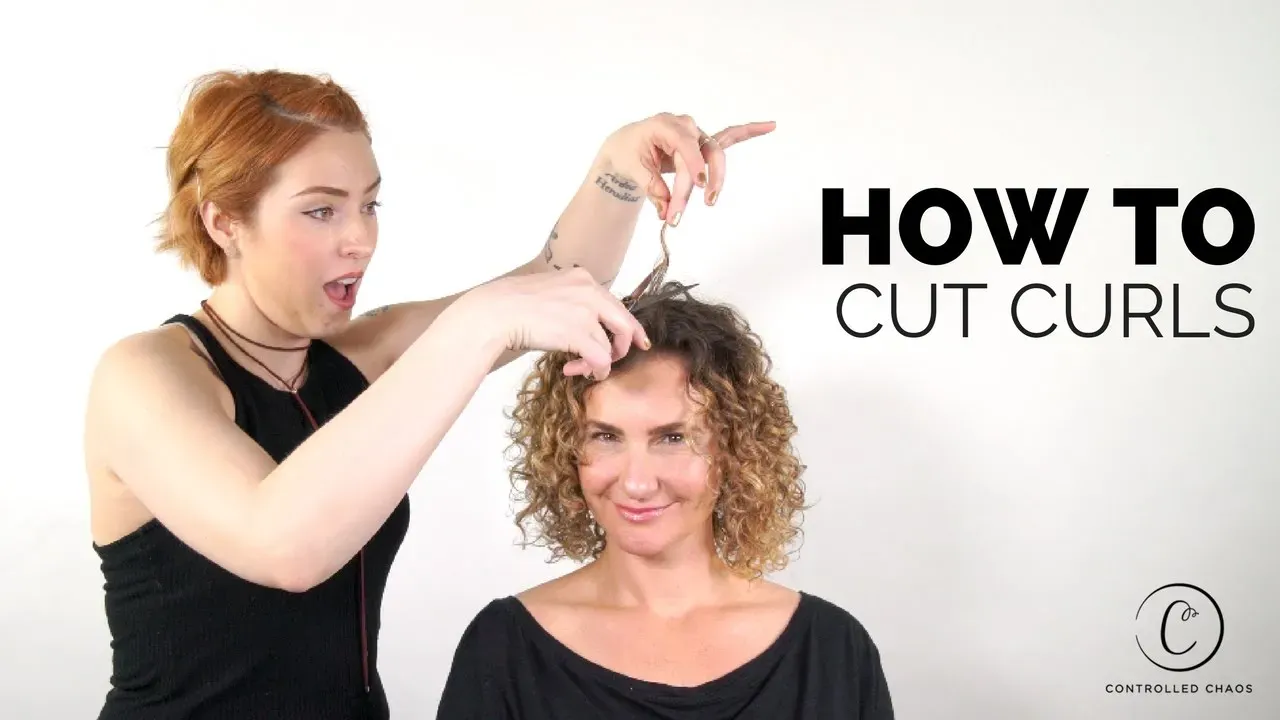
The Curl-by-Curl Cutting Method
This is the core technique for how to cut curly hair effectively at home. Forget trying to cut straight lines across a horizontal section. That works for straight hair, not curls. Instead, you're going to work curl by curl. Pick up an individual curl clump. Observe it from root to tip. See where it naturally wants to fall and where the split or damaged ends are. Slide your fingers down the curl, but don't pull it taut. You want to maintain its natural shape and tension. Once you've identified the end you want to remove, use the very tip of your sharp shears to snip just below the damage. Make a clean, straight cut across the curl end. Avoid cutting at an angle, which can make the ends look stringy.
Move slowly and deliberately. Don't try to rush this. Cut one curl, then let it fall back into place. Pick up the next curl clump right beside it and repeat the process. Compare the length to the curl you just cut if they are in the same general area and you're aiming for a uniform length there. If you're adding layers, you'll pick up curls from higher up and snip those ends. The beauty of this method is that you are addressing each curl's unique needs and respecting its pattern, which prevents those awkward holes and uneven spots that plague wet cuts.
- Ensure hair is dry and styled as usual.
- Use good lighting and multiple mirrors.
- Section hair into manageable parts using clips.
- Isolate a single curl clump.
- Observe the curl's natural fall and identify damaged ends.
- Slide fingers down the curl without stretching.
- Snip just the damaged end with the tip of sharp shears.
- Cut straight across, not at an angle.
- Work slowly, curl by curl, comparing lengths as needed.
Refining Your Shape and Living Your Best Curly Hair Life
Refining Your Shape and Living Your Best Curly Hair Life
Checking Your Work and Making Initial Adjustments
you've snipped away, curl by curl, tackling those crunchy ends and maybe adding a layer or two. Now comes the moment of truth: seeing the overall shape. Gently shake your head out. Flip your hair back. Walk around your mirror setup, looking from different angles. This isn't about perfection on the first try; it's about seeing how the curls fall together. Notice if any areas look significantly heavier or lighter than others. Do you see any rogue curls that are way longer than their neighbors? This is where that hand-held mirror is gold, letting you inspect the back and sides.
Don't panic if it's not exactly salon-perfect. Remember, you're learning how to cut curly hair yourself. The beauty of dry, curl-by-curl cutting is that you can always go back and make tiny tweaks. If a curl looks too long, isolate it again and snip just a fraction more. If a section feels dense, look for individual curls within that section that you can shorten slightly to remove weight, always following the curl's natural curve. Think of it as sculpting – you chip away slowly until the desired form emerges. Patience is key here; small adjustments are better than big, irreversible cuts.
- Shake hair gently to see the overall shape.
- Use mirrors to check all angles, especially the back.
- Identify areas that look uneven or too heavy/light.
- Isolate individual curls needing adjustment.
- Snip *tiny* amounts at a time.
- Compare lengths to surrounding curls.
- Avoid rushing the refinement process.
Styling and Assessing the Final Result
Once you feel reasonably good about the shape and length, it's time to style your hair as you normally would. Apply your leave-in conditioner, your gel, your mousse – whatever your curl cocktail is. Scrunch, diffuse, air dry – follow your usual routine. Seeing how your curls behave after styling is the ultimate test of your cut. This is when you'll truly see the bounce, the definition, and the overall flow. Sometimes, a curl you thought was fine while dry might reveal a still-split end or sit awkwardly after styling. That's okay.
Give it a day or two. Live with the cut. See how it looks after sleeping on it, after refreshing it. Often, the first day jitters fade, and you start to appreciate the work you did. If you still spot a few stragglers or uneven bits after styling and wearing it, you can go back with your sharp shears and carefully snip those specific curls. The goal is manageable, healthy-looking curls that have great shape and movement, not surgical precision on every single strand. Embrace the slightly imperfect, unique nature of a DIY cut.
"The difference between a bad haircut and a good haircut is about two weeks... unless you cut your own curly hair wet. Then it might be six months." - Anonymous (probably a curly person)
Ongoing Maintenance and Confidence Building
Learning how to cut curly hair at home isn't a one-time event; it's a skill you develop over time. Regular trims are essential for maintaining healthy ends and shape. You might find you need to trim every 3-4 months, or more or less frequently depending on your hair's health and how quickly it grows and splits. As you get more comfortable, you can experiment with adding more layers or trying different techniques to refine the shape further. Maybe you'll learn you prefer focusing just on face-framing pieces or only trimming the very ends.
The most important thing is the confidence you gain from taking control of your own hair. You understand your curl pattern better than anyone else. You know how much shrinkage to expect. You are literally in your own hands. Don't be afraid to keep practicing. Your first DIY curly cut might not be your best, but you'll learn something valuable every time you pick up those shears. Plus, think of the money you'll save. That's enough to buy a *lot* of good curl products.
Confidence and Curls: Wrapping Up Your DIY Trim
So there you have it. Tackling how to cut curly hair yourself isn't about achieving salon perfection on your first try; it's about getting comfortable with your own texture and making smart, deliberate snips. You've got the tools, the understanding of why dry cutting matters, and a couple of methods to get you started. Will every cut be flawless? Probably not. That's okay. The point is to take control, maintain health between professional visits, and avoid the dreaded triangle shape. Keep it simple, work slowly, and remember that hair grows back. You've taken the plunge; now go forth and rock those refreshed curls.