Table of Contents
Ever stared at your curly hair, wishing for a change but dreading the salon? I get it. The fear of a bad cut is real, especially with curls. That's why I started cutting my own hair, and let me tell you, it's been a game-changer. I've finally figured out a way to get a great-looking bob without any of the salon drama. This isn't about some complicated technique; it's about a simple, effective method that anyone can do. This article will guide you through the process of how to cut curly hair into a bob at home, in just a few minutes. We'll cover why a bob works so well for curls, what to do before you even pick up the scissors, and the step-by-step method I use. Plus, I’ll share some tips on styling your new, fabulous bob. Ready to ditch the salon and embrace your inner stylist? Let's get started!
The Curly Bob: Why It Works

The Curly Bob: Why It Works
Why a Bob is a Curl's Best Friend
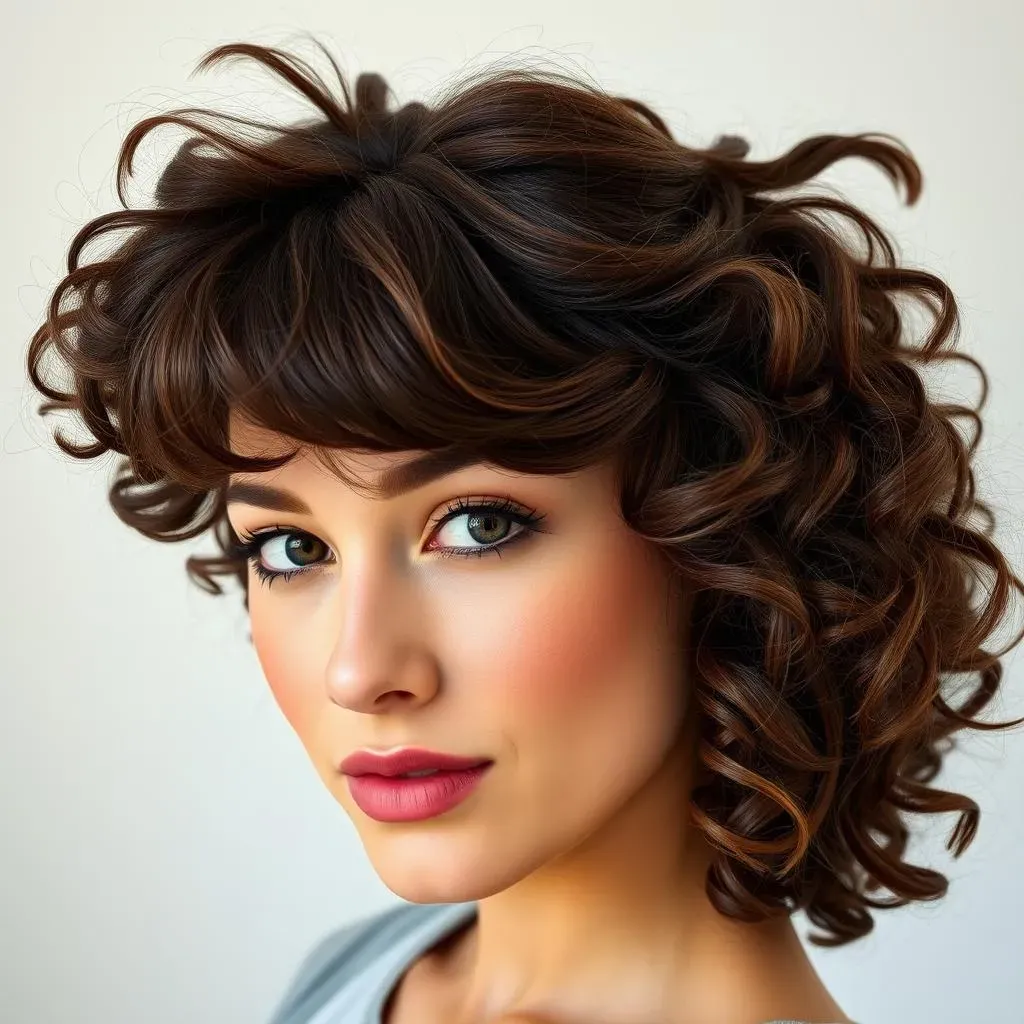
Okay, so you're wondering why a bob? Well, let's be real, curls have a mind of their own. They do what they want, when they want, and often that means a whole lot of poof and triangle shapes. A bob, when cut right, actually works with your curls, not against them. It’s like giving your curls a structured playground; they can bounce and do their thing, but they’re contained and look intentional. Forget the pyramid head; we're aiming for chic and effortless.
Think about it: long, heavy curls can get weighed down, losing their definition and bounce. But a bob? It’s like a weight has been lifted, literally. Each curl gets its own space to shine, creating volume and shape without looking like a fuzzy mess. And the best part? It’s super versatile. Wear it sleek, wear it messy, wear it with a side part, a middle part – the world is your oyster! It's a style that celebrates the natural texture and movement of curly hair, not hides it.
The Power of Shape
It's all about the shape, really. A good curly bob isn't just a straight line across; it's got layers, angles, and movement. These elements are key to avoiding that dreaded "triangle" or "pyramid head" look that can plague curly cuts. The layers help distribute the volume more evenly, preventing all the bulk from sitting at the bottom. This allows the curls to spring up and create a more rounded, balanced shape. It's like sculpting, but with your hair. And it's so much more fun than you might think!
The right length also plays a massive role. A bob that hits just above or at the shoulders is often the sweet spot for curls. It's short enough to keep the curls light and bouncy, but long enough to give you some styling versatility. You can rock it sleek and polished for a more formal look, or let it air dry for a carefree, textured vibe. It’s all about finding that perfect balance that works for your unique curl pattern.
Benefit | Why It Matters |
|---|---|
Reduced Weight | Curls bounce more freely. |
Enhanced Shape | Avoids the triangle look. |
Versatility | Style it sleek or messy. |
Embracing Your Natural Texture
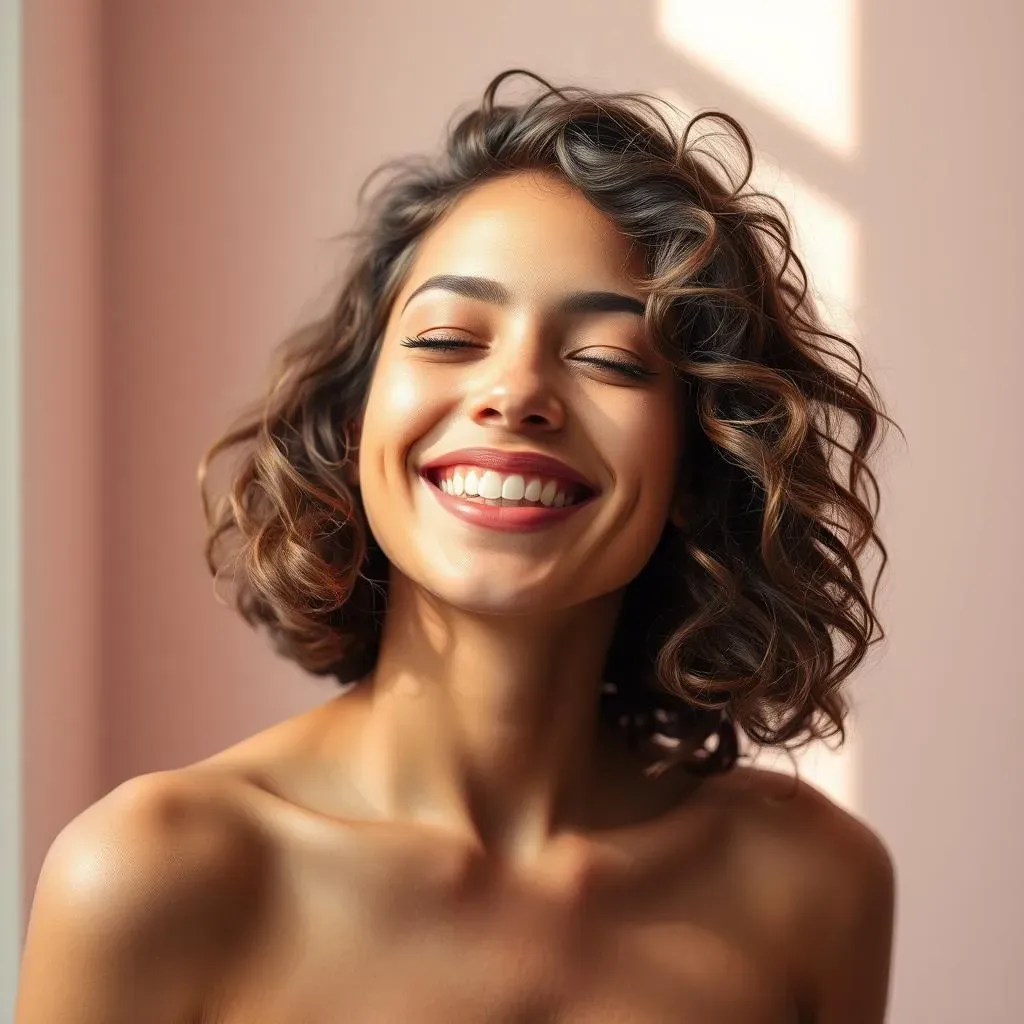
Ultimately, a curly bob is about embracing what you've got. It’s about celebrating the natural texture, bounce, and volume of your curls. It’s a style that says, “I love my curls, and I'm not afraid to show them off!” I’ve found that once you get the right cut, your curls become easier to manage, and you’ll actually want to spend less time styling them. You can just wash, go, and feel amazing. It’s that simple!
So, if you’re thinking about a change, consider a curly bob. It’s a style that works for so many different curl types and face shapes, and it's a fantastic way to give your hair a fresh, modern look. It's not just a haircut; it's a curl revolution. And trust me, your curls will thank you.
Prep Your Curls: Before You Cut

Prep Your Curls: Before You Cut
The Golden Rule: Dry Curls Only
Okay, listen up, this is crucial: never, ever cut curly hair when it’s wet. I know, I know, it seems like it would be easier, but trust me, it's a recipe for disaster. When your curls are wet, they’re stretched out, and you have no idea how short they’ll actually be when they dry. It's like trying to guess the size of a balloon before you inflate it. You might think you’re trimming just a bit, but then bam! You’ve got a super short bob that you didn't plan for. So, dry hair only, got it? This is non-negotiable in the curly hair world.
Now that we have that out of the way, let's talk about what you actually need for the job. First, those dull kitchen scissors? Put them down. You need professional haircutting shears, the kind that are super sharp. Dull scissors will just chew up your ends and cause split ends. Invest in a good pair; they'll make all the difference. You will also need a comb with a fine end, a few clips to section off your hair, and a good mirror. Oh, and maybe a glass of wine, or your favorite drink, because why not?
Tools of the Trade
Before you even think about picking up those shears, make sure your hair is clean and dry. I like to wash and style my curls as I normally would. This way, I can see exactly how my curls fall, and I can make sure to cut each curl at its natural length. This is also a great time to detangle your hair, so you don't have any knots in the way when you're cutting. Detangling is key, trust me! You will thank yourself later when you have no weird random strands sticking out.
Next up, take a good look at your hair in the mirror. How does it usually fall? Where are the spots where it looks a bit too bulky or needs more shape? Think about what you want the final look to be. Do you want a more blunt bob, or do you want more layers? Having a clear idea in your head will make cutting so much easier. Remember, this is your hair, so you make the rules. Don't let anyone tell you differently.
Tool | Why You Need It |
|---|---|
Professional Hair Shears | Sharp, clean cuts, no split ends. |
Fine-tooth Comb | For sectioning and detangling. |
Hair Clips | To keep sections out of the way. |
Mirror | To see what you're doing! |
The Pre-Cut Check-List
Alright, so you've got your tools, your hair is dry, and you've got a plan. Now, let's get down to the nitty-gritty before we actually start cutting. Make sure you have good lighting, you don't want to end up with an uneven hair cut because you can't see what you are doing. It's also a good idea to have a spray bottle of water nearby, just in case you need to dampen any stubborn strands. But remember, just a little spritz, not soaking wet.
Finally, take a deep breath. Cutting your own hair can be a little nerve-wracking, but it's also incredibly empowering. Just remember that it's hair, and it will always grow back. So, relax, have fun with it, and don't be afraid to experiment. If you mess up a little, so what? It's part of the learning process. This is your time to shine, so go for it!
How to Cut a Curly Bob at Home: The 5Minute Method
How to Cut a Curly Bob at Home: The 5Minute Method
The Ponytail Trick
Alright, here's where the magic happens. Forget complicated techniques; we're going for simple and effective. The secret? Ponytails. Yes, you heard me right. Start by taking all your hair and pulling it into a low ponytail at the nape of your neck. Make sure it’s nice and smooth, no bumps or lumps. This is going to be your guide for the first cut, and it's surprisingly accurate. Think of it like using a stencil, but for your hair. And don't worry if it feels a little weird, it's supposed to. It's all part of the process.
Now, here's the slightly scary part – but trust me, you've got this. Take your professional shears and, holding them horizontally, cut straight across the ponytail. I know, it sounds drastic, but this is how you create that initial bob shape. Don't overthink it; just make a clean cut. The length you choose here will determine the overall length of your bob, so be sure you're happy with where you're cutting. If you are unsure, you can always start longer and go shorter. It is better to be safe than sorry!
Layering Made Easy
Okay, so you've got your initial bob length. Now, for the layers. This is where the second ponytail comes in. Flip your head upside down and gather all of your hair into a ponytail at the top of your head, right at your hairline. Again, make sure it's smooth and even. This ponytail will be shorter than the first one. The higher the ponytail, the more layers you'll get. If you want a subtle layer, pull the ponytail closer to the crown of your head.
Once you have the ponytail secure, take your shears and cut straight across, just like you did with the first ponytail. This creates the layers that will give your bob that gorgeous shape and movement. It's like giving your curls a little lift, letting them bounce and play. Now, you're almost done. It is time to take down both ponytails and shake your hair out. You will be surprise how it looks already.
Step | Action |
|---|---|
1 | Low ponytail at the nape of your neck. |
2 | Cut straight across. |
3 | High ponytail at the top of your head. |
4 | Cut straight across again. |
Final Touches
Now that you have cut your hair, it is time to check for any uneven bits or chunks. This is where you can tweak and refine your bob. Use your fingers to feel for any stray strands that are sticking out longer than the rest. If you find any, take your shears and trim them carefully. Remember, you are not trying to cut it all over again, you are just evening out the cut.
And that's it! You've just cut your own curly bob in about five minutes. It’s not a miracle, it’s a simple technique that really works. Style it as you normally would and enjoy your new, fabulous bob. Don't be afraid to experiment with different looks and have fun with it. Remember, it's just hair, and it's supposed to be fun. Now go rock that bob!
Styling Your New Curly Bob
Styling Your New Curly Bob
Embrace the Air Dry
Okay, so you've got your fresh new bob, and now you're wondering how to style it. Well, let me tell you, one of the best things about a curly bob is that it looks amazing just air-dried. Seriously! After you wash your hair, apply your favorite curl cream or leave-in conditioner, and then just let it do its thing. Don't touch it too much, or you'll end up with frizz. The less you mess with it, the better it will look. The beauty of a bob is that it naturally falls into a flattering shape, so you don't have to work too hard.
If you want a little extra definition, try scrunching your curls upwards with your hands while they're still damp. This will help enhance the curl pattern and give you more volume at the roots. You can also use a diffuser attachment on your hairdryer, but make sure to keep the heat low. The key is to let your curls dry naturally as much as possible. This will give you that effortless, lived-in look that's so on-trend right now. So, go ahead, embrace the air dry and let your curls shine!
Playing with Products
Now, if you're like me and you love to experiment with products, there are tons of ways to style your curly bob. For extra hold and definition, try using a curl gel or mousse. Apply it while your hair is still damp, and then style as usual. You can also use a lightweight oil to add shine and tame frizz. Just a few drops will do the trick, you don't want to make your hair greasy. I always say, less is more when it comes to styling products.
Another fun thing to try is using a texturizing spray or sea salt spray. This can give your bob a more tousled, beachy vibe. Just spray it lightly throughout your hair, and then scrunch it with your hands. This is a great way to add volume and movement without making your hair look too perfect. And who wants perfect anyway? It’s all about embracing those natural, imperfect curls. So, go ahead, play around with different products and see what works best for your hair. You might be surprised at what you discover.
Product | Benefit |
|---|---|
Curl Cream | Hydrates and defines curls. |
Curl Gel/Mousse | Provides hold and definition. |
Hair Oil | Adds shine and tames frizz. |
Texturizing Spray | Creates tousled, beachy waves. |
Switching Up Your Look
The great thing about a curly bob is how versatile it is. You can wear it sleek and polished, or you can let it be wild and free. It's all about what you're feeling that day. For a more formal look, try using a smoothing serum and a round brush to blow-dry your bob straight. This is a great way to switch things up when you want a change from your natural curls. You can also use a flat iron to smooth out any stubborn strands.
On the other hand, if you're feeling more casual, try using a pick to fluff out your roots and create more volume. You can also use your fingers to create a more messy, textured look. Don't be afraid to experiment with different parts or accessories like headbands or clips. The possibilities are endless. The key is to have fun with it and not take yourself too seriously. After all, it’s just hair, and it’s meant to be enjoyed. So, go ahead, switch up your look and rock that bob!
Your Curly Bob: Confidence in Every Curl
So, there you have it, my method for cutting a curly bob. It’s not about being a professional stylist, it’s about taking control of your look and feeling good about it. I know tackling your own hair can feel daunting, but think of it as an adventure. With a few simple steps, you can achieve a fantastic, face-framing bob that highlights your natural curls. Remember, it’s okay if it's not perfect the first time. The beauty of curls is their forgiving nature. So, go on, grab those scissors, and create a bob that’s uniquely yours. It's time to rock those curls with confidence!