Thinking about a fresh, stylish bob? You're not alone! This classic haircut is super popular, and guess what? You can totally achieve it at home. Forget those pricey salon visits. This article will walk you through the process of learning how to cut hair in a bob yourself. We'll start with the basics, like gathering the right tools—because let's be real, kitchen scissors are a big no-no. Then, we'll get into the nitty-gritty of cutting, with clear, easy-to-follow steps. I'll share some tips on how to shape your bob and keep it looking sharp. Whether you're after a blunt, edgy bob or something a bit softer, I've got you covered. By the end of this, you'll be wielding those shears with confidence, ready to rock a brand-new, self-made bob. Ready to get started? Let's do this!
Gathering Your Tools for a DIY Bob Haircut
Gathering Your Tools for a DIY Bob Haircut
The Essential Shears
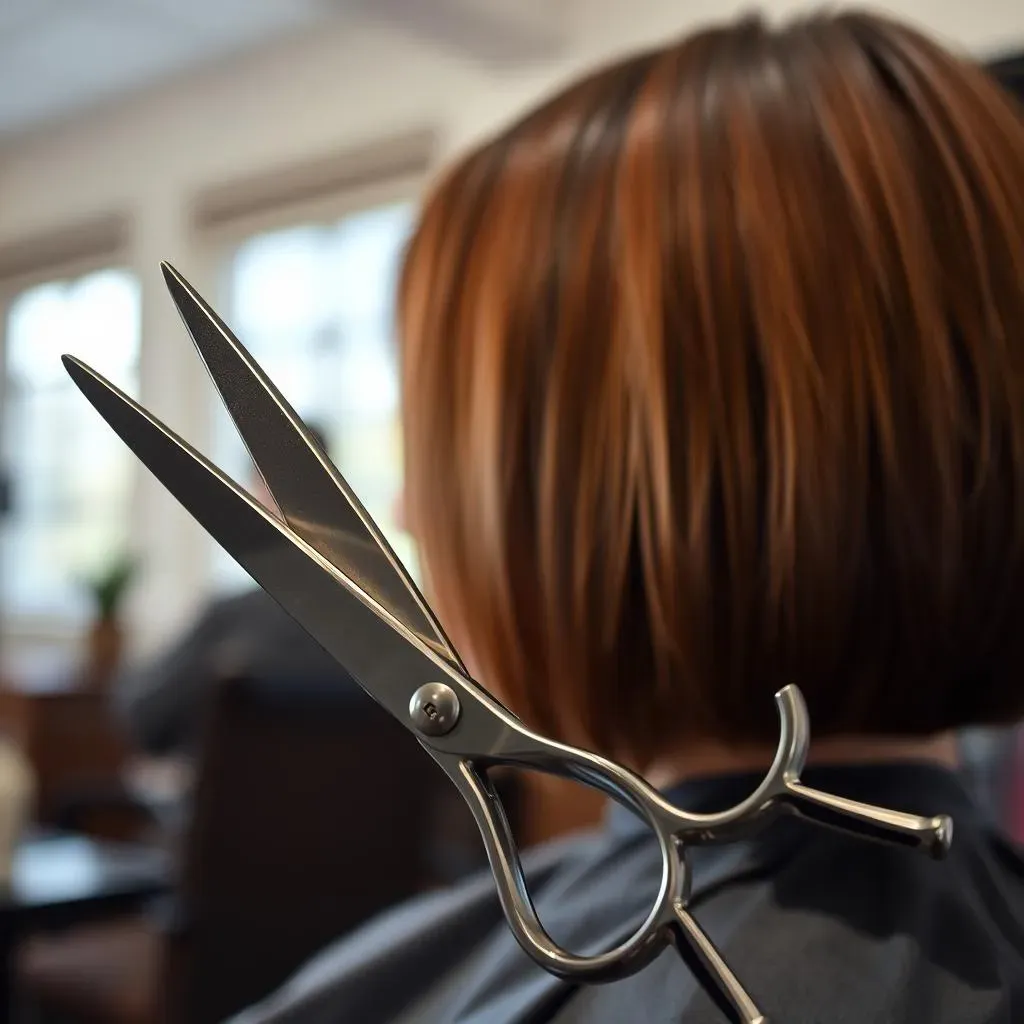
Okay, so you're serious about this whole DIY bob thing, right? First things first: ditch those dull kitchen scissors. You wouldn't use a butter knife to carve a sculpture, would you? Same deal with your hair. Invest in a decent pair of hair-cutting shears. They don't have to be super fancy salon-grade, but make sure they're sharp and designed for hair. Dull scissors will just chew up your ends, leading to a frizzy, uneven mess, and nobody wants that. Trust me on this one, it's worth the small investment.
Think of your shears as the artist's brush – they're your primary tool for creating the bob shape you want. You'll find that sharper blades will give you cleaner lines and a better overall cut. I learned this the hard way when I tried to cut my own bangs with my crafting scissors, it was a disaster I'd rather not repeat.
Clippers, Razors, and More
Next up, let's talk about clippers and razors. Now, if you're aiming for a super precise, blunt bob, electric hair clippers could be your friend. They’re great for creating clean, even lines, especially around the neckline. A hair razor, on the other hand, is awesome for adding texture and softening the edges. It helps blend layers and thin out any areas that might be looking too bulky. Don't go overboard with the razor though; less is more when you're still learning the ropes. It's easy to get carried away and end up with a totally different look than you were imagining.
Tool | Purpose | Best for |
|---|---|---|
Hair Cutting Shears | Primary cutting tool | All types of bob cuts |
Electric Clippers | Creating blunt lines | Precise, short bobs |
Hair Razor | Adding texture and blending | Soft, layered bobs |
The Supporting Cast
Finally, let's not forget the supporting cast of tools. We need clips to section off your hair, a comb to keep things neat, and a spray bottle to keep your hair damp. I find that working with slightly wet hair makes it way easier to control and cut. Plus, having a mirror you can see in the back of your head is a must-have. You can use the mirror in your bathroom but a hand mirror would be ideal to see all the angles. Oh, and a towel to catch all the fallen hair. It's a small thing, but it'll save you from spending the next hour cleaning up. Trust me, you'll thank yourself later.
Having all your tools ready before you start will make the process so much smoother. It's like setting up your cooking station before you start chopping veggies – you’re setting yourself up for success. So, take the time to gather everything you need. It will help you to avoid any mid-cut panic searches for that one missing clip.
StepbyStep Guide: Cutting Your Own Bob
StepbyStep Guide: Cutting Your Own Bob
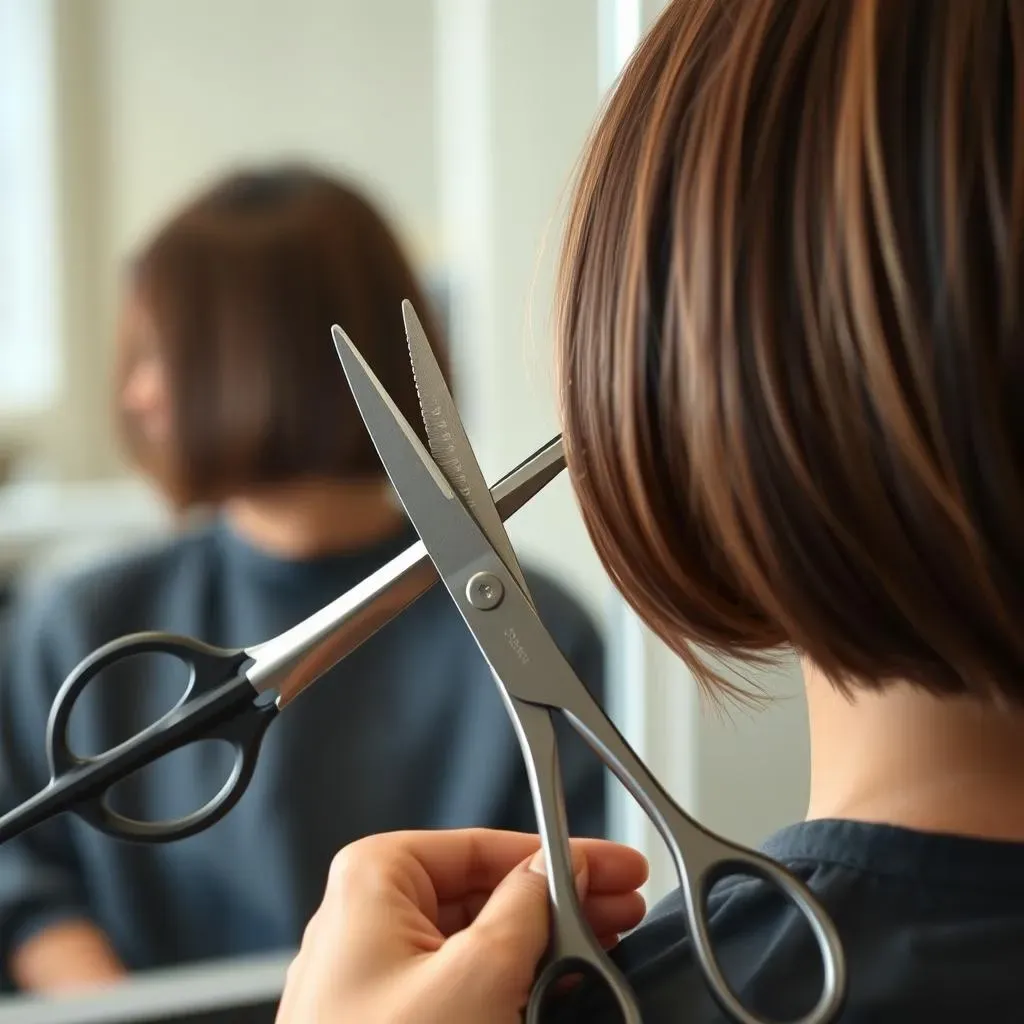
Alright, you've got your tools, you're feeling brave, let's get into the actual cutting part. It might seem scary, but if you take it slow and follow these steps, you'll be fine. First off, start with clean, damp hair. I like to use a spray bottle to keep it wet throughout the process, because dry hair can be harder to control. Now, part your hair down the middle. This is your guide for both sides. If you prefer a side part, you can adjust it later, but starting with a middle part helps keep the cut even. Now, using your comb, divide your hair into three sections: one at the back and one on each side of your head. The back section is the first area we'll be cutting. Clip the two side sections out of your way, so they don't get accidentally snipped.
Next, take that back section and comb it straight down. Decide how long you want your bob to be – jawline, chin length, just below the ears? Once you’ve decided, take your shears and begin cutting straight across. This will create your first guideline for the rest of the cut. It's better to start a little longer than you think you want, because you can always go shorter. Remember, small cuts are your friend here. Don't try to chop off a huge chunk all at once, you'll get a more even result if you are precise and take your time.
Step | Action | Tip |
|---|---|---|
1 | Start with clean, damp hair. | Use a spray bottle to keep hair wet. |
2 | Part hair down the middle. | Ensures even cut on both sides. |
3 | Divide hair into three sections. | Clip the side sections out of the way. |
4 | Cut the back section to your desired length. | Start a little longer, you can always go shorter. |
Now that you have the back section done, it's time to move to the sides. Unclip one of your side sections and comb it straight down. Line it up with the back section you just cut and use that as your guide. Cut the side section to match the length of the back, again, taking small snips and making sure to keep your shears straight. Repeat the same process on the other side. Now, you should have a basic bob shape, but don't worry if it doesn't look perfect yet. It's all about refining it. I remember my first bob, it looked kind of like a bowl cut, but hey, we all start somewhere. And that's why we have the next steps.
Once you've cut all the sections, it's time to check the overall shape. Look at your bob from all angles. Are there any areas that look uneven? Are the sides the same length? Don't be afraid to make small adjustments. It's normal to have a few straggler hairs. If you want a softer look, you can use your hair razor to gently feather the ends. Just be careful not to overdo it, especially around the front of your face. The razor works by removing hair, so you can quickly remove too much if you are not careful.
Finishing Touches: Shaping and Maintaining Your Bob

Finishing Touches: Shaping and Maintaining Your Bob
So, you've got the basic bob shape down. Awesome! But the journey doesn't end there. It's time for those finishing touches that really make your cut shine. If you want a softer, more textured look, grab that hair razor again. Gently feather the ends of your bob, holding the razor at a slight angle and moving downwards. This will remove any harsh lines and give it a more natural, effortless feel. Remember, less is more here. Don’t go crazy with the razor, or you might end up with a choppy mess. Think of it like sanding down a piece of wood. You want a smooth, even finish, not a bunch of random gouges. If you are not comfortable with a razor, you can also use thinning shears, they are more forgiving. Just snip a few times on the end of your hair to remove some volume and give it a more textured look.
Now, let’s talk about layering. If you want to add some volume and movement to your bob, you can cut a few subtle layers. Use your scissors and point them downwards, cutting into the ends of your hair. This will create soft, invisible layers that add lift and bounce. But avoid cutting too high up, or you will end up with short layers that can be harder to style. This technique is called point cutting and is great for removing bulk and creating texture. It's like adding spices to your meal. You want the flavors to blend well and enhance the dish, not overpower it. Once you're happy with the shape and texture, it's time to style your new bob. Use a styling product that works for your hair type, such as a smoothing serum or a texturizing spray. And don’t be afraid to experiment with different styles, from sleek and straight to messy and wavy.
Technique | Purpose | Tool |
|---|---|---|
Feathering | Softens edges, removes harsh lines | Hair Razor |
Point Cutting | Adds texture and movement | Scissors |
Thinning | Removes bulk and volume | Thinning Shears |
Maintaining your bob is key to keeping it looking fresh and stylish. Depending on how fast your hair grows, you'll need to trim it every few weeks to keep the shape. If you're not feeling confident enough to trim it yourself, that's totally okay. You can always go to a professional for maintenance trims. But honestly, with some practice, you can totally keep your bob looking great at home. The important thing is to be patient and take your time. Don't rush the process, and don't be afraid to ask for help if you need it. There are tons of resources online, including videos and tutorials, that can guide you through the process. The key is to keep practicing. Every time you trim your bob, you'll get a little better at it. It's like learning a new skill. It takes time and effort, but it's totally worth it in the end.
And that's it! You've just learned how to cut a bob at home. Remember, it's all about having fun and experimenting. Don't be afraid to try new things and put your own spin on the classic bob. It's your hair, so rock it however you want. If you don't get it perfect the first time, don't worry. The important thing is that you're learning and growing. And if you mess up, hey, hair grows back. So don't be too hard on yourself. Embrace the journey, and enjoy your new, self-made bob. You've got this!
Wrapping Up Your DIY Bob Journey
So, you've made it through the world of DIY bob haircuts! Hopefully, you're now rocking a stylish new look, all thanks to your own two hands. Remember, practice makes perfect, and don't be afraid to experiment a little to find the bob that suits you best. If you're feeling brave, you can always try different lengths or angles. And if things don't go exactly as planned? Well, hair grows back, and it's all part of the fun. The most important thing is that you've learned a new skill, saved some money, and maybe even discovered a hidden talent. Keep practicing, keep experimenting, and most of all, keep rocking that awesome bob!