Table of Contents
Thinking about a stylish bob, but not sure about hitting the salon? I get it. Sometimes, you just want to take matters into your own hands. The good news? Cutting your own bob isn't as scary as it sounds. This guide will walk you through the process of how to cut hair in bob at home, step-by-step, like we're chatting over coffee. We'll start by gathering the right tools, because nobody wants a kitchen-scissor disaster. Then, I'll show you the actual cutting process, breaking it down into easy-to-follow instructions. We'll also look at how to add some texture and layers to give your bob some personality, and finally, some tips on keeping that fresh-cut look going. So, grab your shears, and let’s get started on your new bob!
Gather Your Tools for the Perfect Bob Cut

Gather Your Tools for the Perfect Bob Cut
The Essential Shears
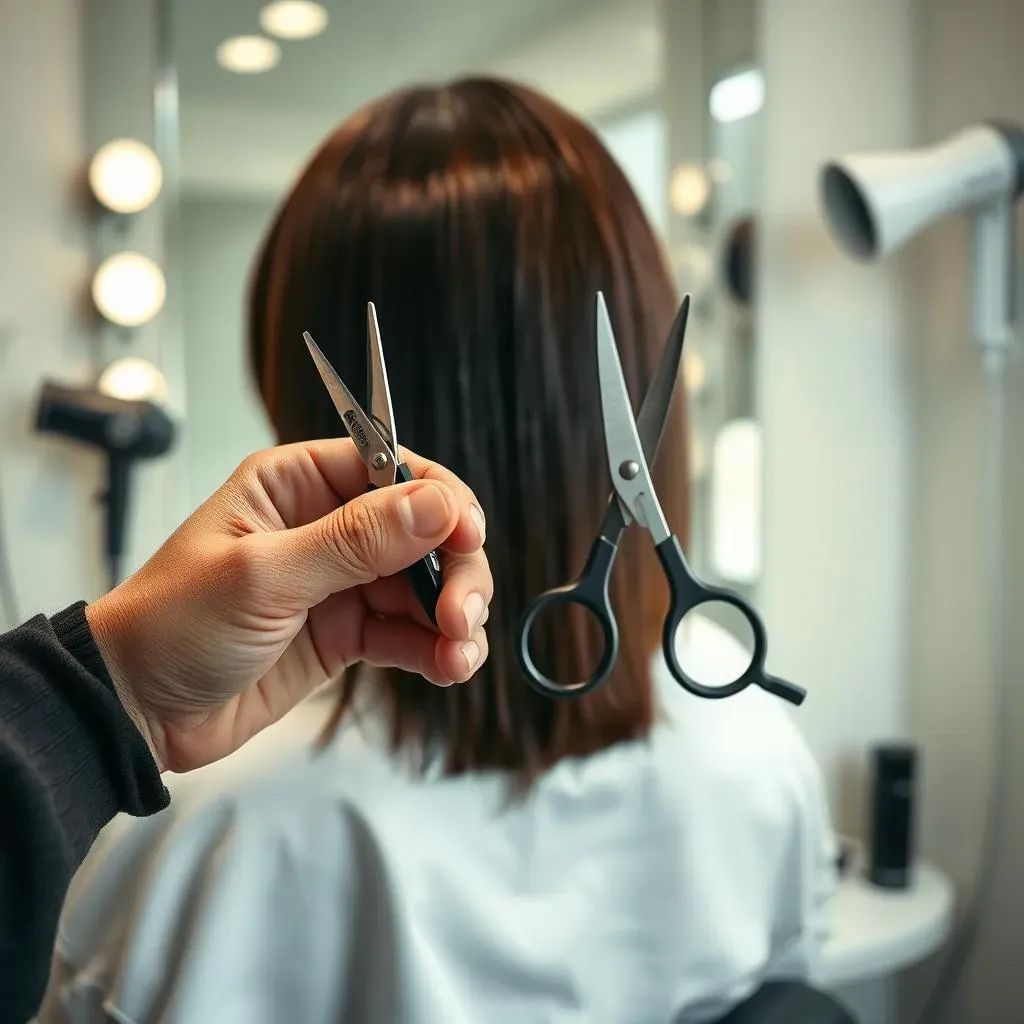
Okay, first things first, let's talk about scissors. You can't just grab any old pair from the kitchen drawer. Trust me, I've tried. You need proper hair-cutting shears. These aren't your craft scissors; they have super sharp blades made for slicing through hair cleanly. Think of them like a surgeon's scalpel for your strands. Dull scissors will give you jagged, uneven ends and that's not the vibe we're going for. Invest in a decent pair—it's worth it if you plan on doing this more than once.
Also, you might want to grab some thinning shears too, they are like the secret weapon for adding texture and removing bulk from your bob. Don't worry, we'll get into the magic of those later.
Clippers and Razors
Next up, let's consider clippers and razors, it might sound like we're going full barber shop here, but hear me out. Electric hair clippers aren't just for buzz cuts, they can be super useful for cleaning up the neckline of your bob, giving you that crisp, sharp line. If you're feeling a bit more daring, a hair razor can help you shape the ends and create a softer, more textured look. It's all about having options, right? But, if you are new with cutting hair, razors can be a bit tricky so maybe start with the shears and clippers until you get comfortable.
Tool | Purpose | Best for |
|---|---|---|
Hair-cutting Shears | Clean, precise cuts | Main cutting, creating the bob shape |
Thinning Shears | Adding texture, removing bulk | Blending, softening the ends |
Electric Hair Clippers | Clean, sharp lines | Neckline clean-up |
Hair Razor | Soft, textured ends | Shaping, creating movement |
Other Must-Haves
Finally, let's not forget the supporting cast. You'll need a good comb, preferably one with both wide and fine teeth for detangling and sectioning. Hair clips are essential for keeping the sections of your hair out of the way while you work on others. And you know, a spray bottle filled with water, because you will want to keep your hair damp, not soaking wet, for the best cut. It’s like painting, you need a wet canvas, and your hair is your canvas today. Last but not least, a mirror, so you can see what you're doing, unless you're aiming for the "blindfolded bob" look, which I would not recommend.
Remember, having the right tools makes all the difference, it's like having the right ingredients before you start baking a cake, you can't expect a good result without them. So, let's get your tool kit ready, and next, we'll start cutting!
How to Cut Your Hair in a Bob: A StepbyStep Guide

How to Cut Your Hair in a Bob: A StepbyStep Guide
Prep and Sectioning
Alright, so you've got your tools, now let's get down to business. First, you'll want to start with clean, damp hair. I always wash my hair before I cut it, it just makes it easier to manage. Don't go soaking wet though, just damp enough so it's easy to comb through. Now, the secret to a good bob is all in the sectioning. Imagine your head is a pizza, and you are slicing it into three parts. You'll want to divide your hair into three main sections: one in the back and two on either side of your head. Use your comb to create clean, even partings and tie each section with hair ties. These hair ties are like your little checkpoints, they'll guide your scissors and help you keep everything even. It might look a little funny at first, but trust the process.
Also, before you start snipping, make sure your mirror is in a good spot, and you have enough light. You don't want to be cutting in the dark, unless you're going for a super avant-garde look, and I don't think that's what we are going for today. Make sure you are comfortable, and ready to do this.
The Big Chop
Okay, here we go, the moment of truth: the big chop! Start with the back section, and this is where the magic happens, or the slight panic, it depends on your personality. Take your hair-cutting shears, and cut your hair under the hair tie. You can move the tie up or down, depending on how short you want your bob to be. It's always good to start a little longer, you can always go shorter later, but you can't glue it back on. For the side sections, you're going to do something similar. You can use a hair razor to shape the ends and give it a more textured look. Move the razor down in a slight angle motion. If you are not comfortable with the razor yet, just follow the hair tie like the back section. Remember, slow and steady wins the race. Don't try to chop it all at once, take your time, and make small cuts. It is better to do several small cuts than one big one.
After you cut the first hair tie, you can use it as a guide for the second one. This will help you keep both sides even. Keep checking your work in the mirror, and don't be afraid to stop and adjust if something looks off. Cutting your own hair is not a race, so take your time, and don't stress too much.
Step | Action | Tip |
|---|---|---|
1 | Wash and damp hair | Don't soak it, just make it easy to manage |
2 | Section your hair | Three sections: back, and two sides |
3 | Cut the back section | Use hair tie as a guide |
4 | Cut side sections | Follow the first section as a guide |
Adding Layers and Texture to Your Bob Haircut
Adding Layers and Texture to Your Bob Haircut
Layering Magic
Alright, so you've got the basic bob shape down, but maybe it's looking a little flat or boxy? That's where layers come in. Layers are like the secret sauce for adding volume and movement to your hair. To add layers, take small sections of your hair and, using your shears, trim the ends with the scissors pointed down and in. It's like you're creating little steps within your hair. The shorter the layers, the more volume you will get. Don't go too crazy at first, start with a few light layers and see how it looks. You can always add more. It's like adding spices to a dish, you want to start small and taste as you go.
Also, remember to keep your hair damp while you are layering. This will help you see what you are doing, and also keep the ends from splitting. It's kind of like sculpting with clay, you need the material to be soft and pliable. Think of each snip as a little adjustment, a way to fine-tune your bob to your liking.
Texturizing Techniques
Now, let's talk about texture, and this is where thinning shears become your best friend. Thinning shears are like magic wands for removing bulk and adding a softer, more natural look to your bob. If your bob is looking too thick or blunt, use thinning shears on the ends of your hair. Start with small sections and make a few snips, and then step back and see how it looks. You don't need to go all the way to the roots, just focus on the ends. It’s like pruning a plant, you want to remove some of the excess to let the rest grow healthy.
Also, you can use a hair razor to add texture too, but be careful with this one, it can be tricky. Move the razor in a downward, angled motion on the ends of your hair, and this will create a soft, feathered look. It is like painting with a brush, you want to create movement and flow. Experiment a little and see what works for you. Remember, the goal is to add texture and movement to your bob, so it doesn't look flat or lifeless. It's all about making your bob uniquely yours.
Technique | Tool | Effect |
|---|---|---|
Layering | Hair-cutting shears | Adds volume and movement |
Thinning | Thinning shears | Removes bulk, softens the ends |
Texturizing | Hair razor | Creates soft, feathered ends |
Maintaining Your Bob Cut at Home
Maintaining Your Bob Cut at Home
Regular Trims are Key
Okay, so you've nailed the cut, and your bob is looking fabulous. But, let's be real, hair grows, and a bob can quickly lose its shape if you don't keep up with it. The key to keeping your bob looking fresh is regular trims. Now, I know what you're thinking: "More cutting? I just finished!" But trust me, a little trim every few weeks can make a huge difference. How often you trim will depend on how fast your hair grows, and how sharp you want your bob to look. For a short bob, you'll probably need to trim it more often than a long bob, also known as a 'lob'. Think of it like watering a plant, you need to tend to it regularly to keep it healthy and thriving. You don't need to do a full cut, just a little snip to keep the edges clean and sharp.
Also, if you're nervous about trimming it yourself, you can always go to a professional. But if you want to keep cutting at home, just follow the same steps we did in the "How to Cut Your Hair in a Bob" section. Remember, it is better to trim a little often than doing a big chop once in a while. It is like getting a tune-up for your car, it keeps things running smoothly.
Styling Tips and Tricks
Now, let's talk styling, because a great cut is only half the battle, you need to know how to style it to really make it shine. The best part about a bob is that it's super versatile, you can wear it sleek and straight, or wavy and textured, it really depends on your mood. For a sleek look, you can use a flat iron and some smoothing serum. For a wavy look, you can use a curling iron or a texturizing spray, just remember to use heat protectant. Also, don't be afraid to experiment with different partings, a deep side part can give you a dramatic look, and a middle part can be very chic. It is like having a wardrobe, you want to have different outfits for different occasions.
Also, don't underestimate the power of the right products. A good texturizing spray can add volume and definition, while a shine serum can make your bob look polished and sleek. It's all about finding what works best for your hair type and your style. Think of it like accessorizing, the right products can make your bob pop. And don't be afraid to ask your hair stylist for product recommendations, they are the experts.
Style | Technique | Tools/Products |
|---|---|---|
Sleek | Straighten hair | Flat iron, smoothing serum |
Wavy | Add curls or texture | Curling iron, texturizing spray |
Defined | Use specific product | Texturizing spray, shine serum |
When to Call in the Pros
Okay, so you've been trimming and styling your bob like a pro, but sometimes, you need to call in the big guns. If you feel like your bob is getting too hard to manage, or you're just not happy with your at-home trims, it might be time to see a professional. They can fix any mistakes you might have made, and also give you some new ideas for styling. Think of it like going to the doctor, sometimes you need a professional opinion. Also, if you're thinking about a big change, like adding bangs or a different type of layer, it is always best to leave it to the pros. They can give you the best advice for your hair type and face shape.
Also, it is a good idea to get a professional haircut every once in a while, even if you're happy with your home trims. It is like getting a car service, it helps to keep things in good shape. They can also give you some new tips and tricks for maintaining your bob at home. It is like learning new skills, you can always improve. So, don't be afraid to call in the pros when you need them, they are there to help.
"The best way to maintain your bob cut is through regular trims and a good understanding of your hair." - Expert stylist, Sarah J.
Wrapping Up Your DIY Bob Cut
So, you've taken the plunge and cut your own bob! How does it feel? Hopefully, pretty darn good. Remember, like any skill, cutting hair gets easier with practice. Don't stress if it's not perfect the first time. The key is to take your time, use sharp tools, and have fun with it. A bob haircut is a great look, and now you have the power to maintain it yourself. Keep those shears handy, and get ready to rock your new style. If it’s not quite right, don’t be afraid to ask a pro for some help, but I bet you nailed it!