Thinking about a fresh new look? The short bob is a timeless style, and you might be surprised how easy it is to achieve at home. Forget expensive salon visits; with the right tools and a little patience, you can learn how to cut hair into a short bob yourself. This article will break down the process into simple steps, guiding you from gathering your supplies to styling your brand-new cut. We'll start by making sure you have everything you need, then we'll walk through the actual haircutting, and finally, we'll discuss how to keep your bob looking sharp. Whether you're a total beginner or just looking to save some money between salon trips, this guide will empower you to take control of your style. So, grab your scissors, and let’s get started creating your perfect short bob!
Gathering Your Tools to Cut a Short Bob
Gathering Your Tools to Cut a Short Bob
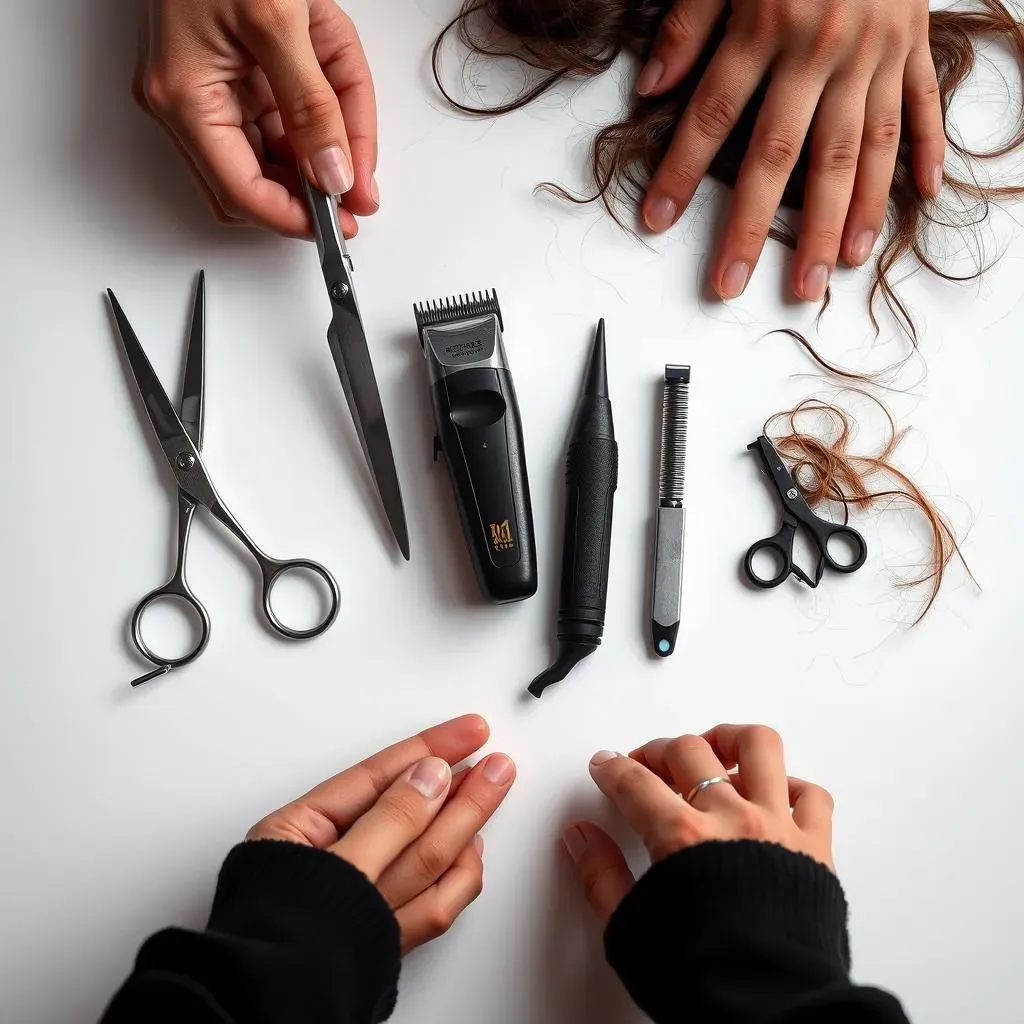
Okay, so you're ready to take the plunge and cut your own bob? Awesome! But before you start snipping away, let's make sure you've got the right gear. It's like trying to bake a cake without an oven – not gonna work out too well. You'll want to grab a pair of sharp cutting shears. These are not your kitchen scissors. Seriously, don't even think about using those. You need proper hair-cutting shears. Next up, if you have thicker hair, electric hair clippers will be your best friend. They can help you remove length quickly and evenly before you get into the detailed shaping with the scissors. And finally, a hair razor. This is key for blending and shaping the ends for that professional look. Don't worry, it's not as scary as it sounds. It's all about control and light touches.
Tool | Purpose |
|---|---|
Cutting Shears | Precision cutting and shaping of the bob. |
Electric Clippers | Quickly remove length, especially for thicker hair. |
Hair Razor | Blending ends and creating texture. |
StepbyStep Guide: Cutting Your Hair Into a Short Bob

StepbyStep Guide: Cutting Your Hair Into a Short Bob
Prep Your Hair
Alright, so you've got your tools, now it’s time to get your hair ready. Start by washing and conditioning your hair like you normally would. You'll want it clean and easy to work with. Once it's clean, gently towel-dry it so it's damp but not dripping wet. Now, the fun part—sectioning. Imagine you're dividing your head into three parts: one at the back of your head and one on each side. Use hair ties or clips to secure these sections. This keeps the hair out of your face and helps you cut evenly. The back section is the one you’re going to cut first, so make sure it’s neatly tied up and ready to go.
Think of it like preparing a canvas before you paint, you need to get everything prepped before you start the real work. I like to use a wide-tooth comb to detangle my damp hair, making sure there are no knots or tangles. This is crucial for getting a smooth, even cut. If your hair is super thick, consider sectioning it into even more parts, just to keep it manageable. Remember, patience is key here; don’t rush this step. A good prep makes the whole process much smoother, and you'll thank yourself later.
The Big Cut
Okay, the moment we've all been waiting for. Let's start with the back section. Take your cutting shears and, with a deep breath, cut straight across. Start a bit longer than you actually want, you can always cut more off, but you can’t put it back, right? The hair tie should be right at the length you want for the back of your bob, so you’re essentially cutting just below the tie. This is where the electric clippers can come in handy if you have a lot of hair to remove. Just be careful to go slowly and evenly. Once the back section is cut, it's time to tackle the side sections. Use your hair razor to shape them, blending them into the back section. Work in small sections, taking your time and checking your progress in the mirror. The goal is for the side sections to gradually get shorter towards the back, creating that classic bob shape.
Remember, you're not aiming for perfection at this stage. It’s more about getting the general shape down. I like to think of it as sculpting. You start with a big block of clay, and then you slowly chip away until you get the form you’re looking for. Don't be afraid to stop and evaluate your work after each cut. You can even use a mirror to check the back. It might be a bit awkward at first, but with a little practice, you’ll get the hang of it. And remember, it’s okay if it’s not perfect; the charm of a DIY cut is in its unique imperfection.
Step | Description |
|---|---|
Prep | Wash, condition, and towel-dry your hair. Section it into three parts: back, left, and right. |
Back Cut | Cut the back section to your desired length, using scissors or clippers. |
Side Shape | Shape the side sections with a hair razor, blending them into the back. |
Styling and Maintaining Your Short Bob Haircut

Styling and Maintaining Your Short Bob Haircut
Adding Volume and Texture
So, you’ve got your bob, and now you’re probably thinking, "How do I make this thing look awesome every day?" Well, the key is all about adding some volume and texture. If you want to add some oomph, try using a texturizing spray or a bit of dry shampoo at the roots. These are my go-tos for an instant lift. You can also use a round brush while blow-drying to create some extra body. Remember to lift your hair at the roots, directing the heat upwards. This gives you that bouncy, salon-worthy look. And, if you're feeling fancy, a curling iron can add some waves or curls, giving your bob a totally different vibe.
I’ve found that less is often more when it comes to styling products. Start with a small amount and add more if needed. You don’t want to weigh your hair down or make it look greasy. Experiment with different techniques to find what works best for your hair type and style. For example, if you have fine hair, you might want to focus on using lightweight products and techniques that won’t make it look flat. And if you have thick hair, you might need to use products that provide a bit more hold. It’s all about finding the right balance for your unique hair.
Keeping Your Bob Fresh
Alright, let’s talk maintenance. A short bob is fantastic, but it does require regular trims to keep that sharp, defined shape. Unlike long hair, where a few stray ends are barely noticeable, a bob will quickly lose its form as it grows out. I suggest trimming your bob every 4 to 6 weeks, depending on how fast your hair grows. You can either visit a professional stylist or, if you're feeling brave, you can do it yourself. Remember, the key to a good trim is to take off only a little bit at a time. This way, you can avoid any major mishaps. And remember, if you’re going to trim it yourself, make sure you have those sharp scissors handy!
Also, don't forget about those thinning shears. They're your secret weapon for adding texture and removing bulk, especially if you have thick hair. Just be careful not to use them too close to your roots, as that can make your hair look too thin on top. I usually just run them through the ends of my hair for a natural, blended look. And lastly, remember to invest in good quality hair products that suit your hair type. This will keep your bob looking healthy, shiny, and fabulous. It’s all about the little things that make a big difference in the long run.
Styling Tip | Description |
|---|---|
Texturizing Spray | Adds volume and lift at the roots. |
Round Brush | Creates body and bounce while blow-drying. |
Curling Iron | Adds waves or curls for a different style. |
Thinning Shears | Removes bulk and adds texture to the ends. |
Wrapping Up Your DIY Short Bob Journey
So, there you have it – a guide to cutting your hair into a short bob at home. Remember, practice makes perfect, and don't be afraid to take it slow, especially the first time. While a DIY haircut can be empowering and cost-effective, it's also okay to visit a professional if you're feeling unsure or want a more complex style. The key is to find what works best for you and your hair. With a little confidence and these tips, you're well on your way to rocking a fantastic short bob. Enjoy your new look!