Table of Contents
Ever stared at a stylish bob cut and thought, "I could totally do that"? Well, you're not alone. The bob is a timeless classic, and yes, you can achieve it at home! This guide isn't about turning your bathroom into a salon disaster zone; it's about giving you the confidence and know-how to rock a DIY bob. We'll walk you through the essential tools you'll need, like those sharp cutting shears and maybe even a hair razor. Then, we'll break down the process of how to cut hair into bob, step-by-step, making it super easy to follow, even if you've never held a pair of scissors to your own hair before. From sectioning your hair like a pro, to shaping those ends for the perfect style, we've got you covered. And don't worry about looking like you got attacked by a lawnmower; we'll also cover some styling and maintenance tips to keep that bob looking fresh. So, ready to ditch the salon and embrace your inner stylist? Let's get cutting!
Gathering Your Tools for a Bob Haircut

Gathering Your Tools for a Bob Haircut
The Essential Shears and Clippers
Okay, so you're ready to take the plunge and learn how to cut hair into bob, that's awesome. First things first, let's talk tools. You can't just grab any old kitchen scissors, unless you're going for that "I fought a badger" look. You'll need a good pair of hair-cutting shears. These are different from regular scissors, they're sharper and designed to cut hair cleanly. Think of them as your lightsaber for hair. Also, if you're planning on a super sharp, blunt bob, electric hair clippers might be your new best friend. They are great for creating those crisp lines, but don’t get too crazy with them, we're not shaving your head (unless that's your thing, then go for it!). And lastly, don’t forget a hair razor, these are great to shape the ends and blend the layers.
Clipping and Sectioning Supplies
Next up, we need to talk about wrangling your hair. You can't just start hacking away, trust me, I've tried. You’ll need some hair clips to keep those sections separate. Think of them as little hair traffic controllers, they will keep everything in order. The more clips, the better, especially if you have a lot of hair. A comb with a fine tooth is also your friend, it’s key for creating clean parts and making sure your hair is smooth before you cut. And lastly, a spray bottle filled with water is a must. It helps keep your hair slightly damp, which is easier to cut. It's like giving your hair a little spa treatment before the big cut.
Tool | Purpose | Why it's important |
|---|---|---|
Cutting Shears | Cutting hair | Clean and precise cuts |
Electric Clippers | Creating sharp lines | Helps achieve a blunt look |
Hair Razor | Shaping and blending the ends | Creates texture and softens the cut |
Hair Clips | Sectioning hair | Keeps hair organized and out of the way |
Fine-Tooth Comb | Creating clean parts | Ensures even sections and smooth hair |
Spray Bottle | Keeping hair damp | Makes hair easier to cut |
Optional but Helpful Extras
Now, for the bonus round, there are few extra things that can make your life easier. A good mirror is essential, you need to see what you're doing! If you can grab a handheld mirror, that's even better, so you can see the back of your head. A cape or old towel, because no one wants tiny hair bits all over their clothes. And maybe, just maybe, a friend or family member to help you out, or at least keep you from making any questionable decisions. Remember, you are learning how to cut hair into bob, it's okay to ask for help. And don't forget a good dose of patience, because learning a new skill takes time. Now, you are all set for the next step.
StepbyStep Guide: How to Cut Hair into a Bob
StepbyStep Guide: How to Cut Hair into a Bob
Sectioning Like a Pro
Alright, let's get down to business. Before you start snipping away, you need to section your hair. This is super important because it's going to make the whole process so much easier and less likely to end in a hair disaster. Think of it like building a house; you need a solid foundation. Start by parting your hair down the middle, like you normally would. Now, using your comb, create a horizontal part from ear to ear, going across the back of your head. This will divide your hair into a top and bottom section. Clip the top section up and out of the way, using those trusty hair clips. Now you are ready for the next step.
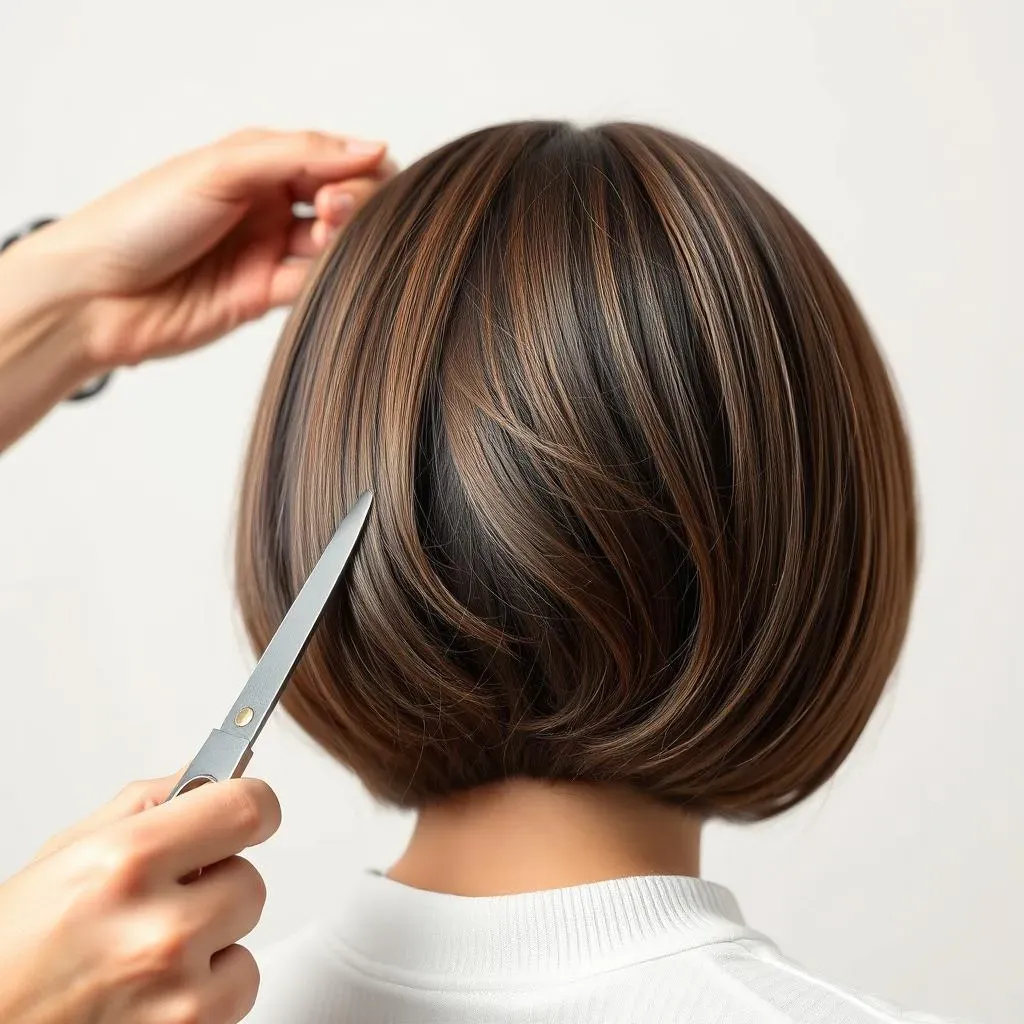
The Big Cut: Shaping the Back
Okay, with the top section clipped away, it's time to tackle the back. Take the bottom section and divide it into three smaller sections, one in the middle and one on each side. Start with the middle section and comb it straight down. Now, this is where the magic happens. Decide how short you want your bob to be. Remember, you can always cut more, but you can't glue it back on. It is always better to start longer than you think you want it. Once you've decided on the length, take your cutting shears and make a clean, horizontal cut straight across. If you are going for a blunt bob, make sure to keep your scissors straight. If you are going for a softer look, cut with the scissors slightly angled.
Step | Action | Tip |
|---|---|---|
1 | Part hair down the middle | Use a fine-tooth comb for a clean part |
2 | Create a horizontal part from ear to ear | Clip the top section up |
3 | Divide the bottom section into three smaller sections | Start with the middle section |
4 | Cut the middle section horizontally | Start longer than you think you want |
Shaping the Sides and Blending
Now that you have the back sorted, it’s time to move to the sides. Unclip one of the side sections and comb it down. Using the back section as a guide, cut this side section to match the length of the back. Do the same for the other side. Now that all the sections are cut to the same length, it’s time to blend everything together. Take small sections of hair and hold them up, then use your hair razor to lightly blend the ends. This will help get rid of any harsh lines and give you a softer look. If you want some layers, comb out a small section of hair and trim the ends with your cutting shears, this will add a bit of volume. Remember, it's all about taking your time and making small, careful cuts. You got this!
Styling and Maintaining Your DIY Bob Haircut

Styling and Maintaining Your DIY Bob Haircut
Daily Styling Tips for Your Bob
Alright, so you've conquered the cut, now it's time to style your new bob. The beauty of a bob is its versatility. For a sleek, polished look, use a flat iron to straighten your hair, making sure to use a heat protectant spray first, no one wants fried ends. If you're feeling a bit more playful, add some waves with a curling iron or a flat iron. Just remember to keep the waves loose and tousled for a modern vibe. Texture is your friend here, so don't be afraid to use some texturizing spray or paste to give your bob some oomph. For a quick and easy everyday style, simply use a bit of mousse or styling cream and scrunch your hair with your fingers. It's all about experimenting and finding what works best for your hair type and personal style.
And don't forget about products. A good quality hairspray is essential for keeping your style in place, especially if you have fine hair. Dry shampoo is another must-have for those days when you don't have time to wash your hair. It will freshen it up and add some volume. And lastly, a shine serum or oil can help smooth flyaways and add a touch of gloss to your bob. Think of these products as your secret weapons in the battle against bad hair days.
Maintaining Your Bob's Sharpness
Now, let's talk maintenance. A bob cut is like a fine wine, it needs to be taken care of to stay sharp. How often you need to trim your bob will depend on how fast your hair grows. A short, blunt bob will need more frequent trims, probably every 4-6 weeks, to keep the lines crisp. A longer bob, or lob, can go a bit longer between trims, maybe every 6-8 weeks. If you notice your ends are starting to look a bit frayed or split, it's definitely time for a trim. You don't have to go back to the salon every time, you can always do a little trim yourself with your cutting shears. Just be sure to take small sections and cut straight across. Remember, patience is key.
Another maintenance tip is to avoid using heat tools too often. Too much heat can damage your hair and make it look dry and dull. Try to let your hair air dry whenever possible and use heat protectant spray when you do use heat styling tools. And last but not least, take care of your hair by using good quality shampoo and conditioner. A healthy, hydrated bob is a happy bob. So, there you have it, some simple tips to keep your bob looking fresh and fabulous.
Maintenance Task | Frequency | Why it's important |
|---|---|---|
Trimming | Every 4-8 weeks | Keeps the lines crisp and avoids split ends |
Using heat protectant | Every time you use heat tools | Prevents heat damage |
Deep conditioning | Once a week | Keeps hair hydrated and healthy |
Avoiding over-washing | As needed | Prevents dryness and maintains natural oils |
Using dry shampoo | Between washes | Refreshes hair and adds volume |
Choosing quality products | Always | Ensures hair health and styling success |
Wrapping Up Your DIY Bob Cut
So, there you have it, your very own stylish bob, cut right in the comfort of your home. It might feel a little daunting at first, but with the right tools, patience, and a little bit of practice, you can totally nail this look. Remember, it's all about taking your time and not being afraid to experiment. Even if you don’t get it perfect on the first try, that's okay. The beauty of a DIY bob is that it’s a journey of discovery, and you'll get better with each snip. Plus, you’ve saved some serious cash and gained a new skill. Now go rock that bob with confidence, and get ready for all the compliments!