Thinking about a fresh, stylish bob but dreading the salon? You're not alone! Many of us have pondered the idea of taking scissors to our own hair. The good news is, achieving a chic short bob at home is totally doable with the right guidance and a bit of courage. This article is your ultimate guide on how to cut hair short bob yourself. We will walk through each step. First, we'll make sure you've got all the necessary tools, from sharp shears to trusty clips. Next, we'll break down the actual cutting process, section by section, making it easy to follow. Finally, we’ll discuss how to maintain that perfect bob and explore different variations that might suit you better. So, grab your gear, find a mirror, and let’s get started on your DIY bob transformation! It's time to take charge of your style and learn a new skill.
Gathering Your Tools for a DIY Short Bob
Gathering Your Tools for a DIY Short Bob
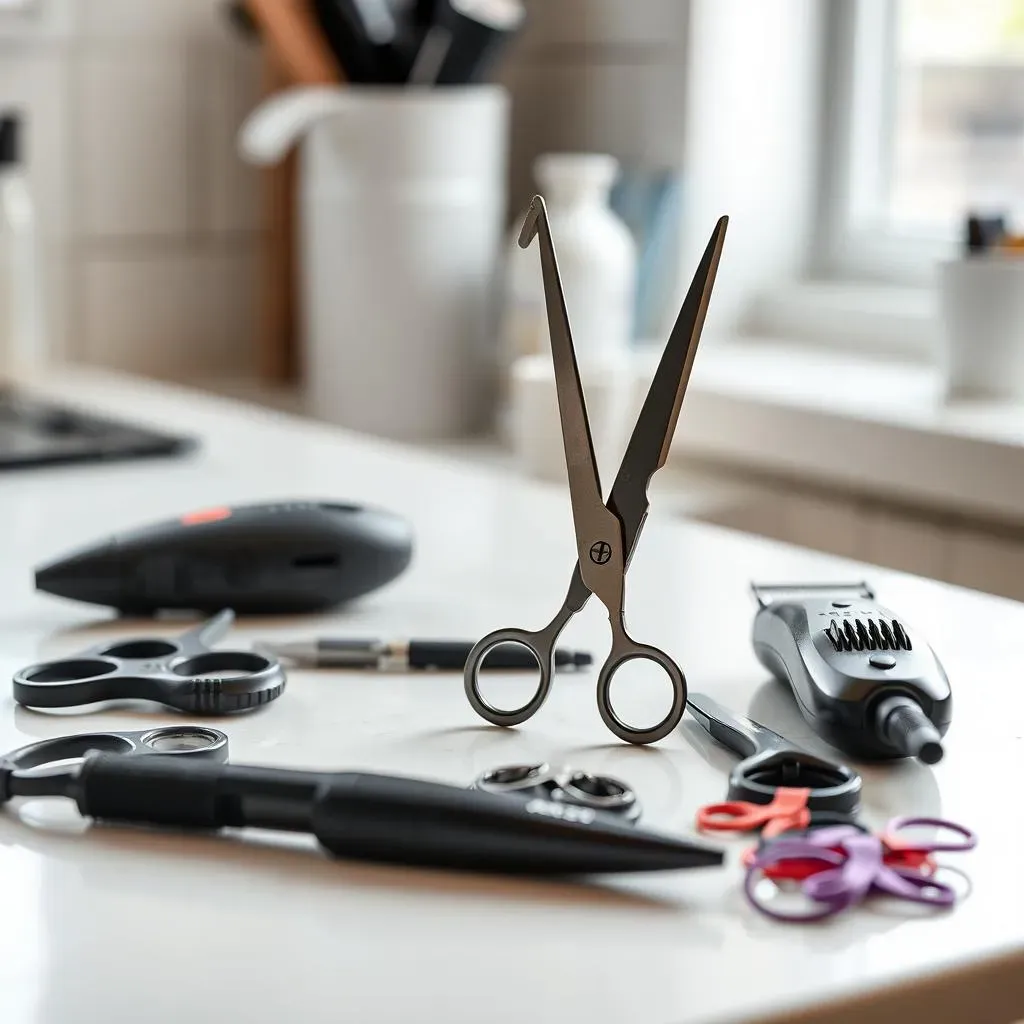
Okay, so you're thinking about cutting your own bob? Awesome! First things first, you can't just grab any old pair of scissors. You need the right tools for the job. Think of it like baking a cake; you wouldn't use a hammer to mix the batter, right? You need those fancy whisks and measuring cups. Same deal here. For a precise and clean cut, you'll want to invest in some good quality hair cutting shears. These are different from your kitchen or craft scissors. They're sharper and designed to cut hair evenly. Then, depending on your hair type and the bob style you're aiming for, you might also need electric hair clippers, especially for tidying up the neckline or adding some texture. A hair razor is another great option for softening those lines and creating a more piece-y look. And don't forget hair ties and clips to section off your hair, it's like a construction project, you need to have your blueprint!
Tool | Purpose | Why it's important |
|---|---|---|
Hair Cutting Shears | Precise hair cutting | Sharp, even cuts prevent split ends |
Electric Hair Clippers | Tidying, texturizing | Good for short styles and cleaning up the neckline |
Hair Razor | Texturing, softening | Creates a softer, layered look |
Hair Ties and Clips | Sectioning | Keeps hair out of the way for easier cutting |
Cutting Your Short Bob Hair at Home

Cutting Your Short Bob Hair at Home
Preparing Your Hair
Alright, let's get down to business. Before you start snipping, make sure your hair is dry. Why dry? Because wet hair stretches, and you might end up with a bob that's way shorter than you planned once it dries. Trust me, I've been there. Now, get your hair ties and clips ready. You're going to divide your hair into three even sections. One section at the back of your head, and one section on either side of your head. Think of it like sectioning off a garden plot before planting. You want everything organized so you don't miss any spots. Secure each section with a hair tie, and make sure they're tight enough so they don't slip while you're cutting. This is the most important part, so take your time and make sure you're happy with your sections before you start cutting.
The Back Section
Okay, let's tackle the back section first. This is where the length of your bob is determined, so take a deep breath and be confident. Using your hair cutting shears, start cutting off the back section of hair, moving the hair tie up or down based on how short you want your bob to be. If you want a longer bob, move the hair tie down further. If you want a shorter bob, move it up higher. Remember, it’s better to cut less at first. You can always go shorter later. It's like seasoning food; you can always add more, but you can't take it away. Once you've cut the back, make sure it's even. Don't panic if it's not perfect, we'll refine it more later. This is just the first step. And if you're nervous, just remember, it's hair, it grows back!
Shaping the Sides
Now, let’s move to the side sections. Using your hair razor, begin to shape and trim each side section until they are the desired length. The razor will give you a softer, more textured look. You want to blend these side sections into the back section, so they flow together smoothly. You're not trying to create sharp angles here; you want it to look natural and effortless. Think of it like sculpting. You're gently shaping the hair to create the perfect bob. If you are going for a more classic bob, you can use shears instead, but make sure you're cutting straight. To add some volume, especially if you have thinner hair, consider cutting layers. This is where you can get creative and really customize your bob to suit your personal style. Just remember to take your time and check your work in the mirror as you go. It’s all about taking it step by step!
Maintaining Your Short Bob and Variations

Maintaining Your Short Bob and Variations
So, you've got your snazzy new bob, awesome! Now, how do you keep it looking sharp? Like any good hairstyle, a bob needs a little TLC to stay in tip-top shape. First things first, regular trims are your best friend. If you want to maintain that perfect bob length, you'll need a trim every 4-6 weeks. Think of it like watering a plant; you need to do it regularly to keep it healthy. If you're feeling brave, you can try trimming it yourself at home, but if not, no shame in heading back to the salon. I sometimes do my own trims, and sometimes I just want to relax and let a pro handle it. It really depends on my mood, and how much time I have. Also, remember that a bob can be styled in many different ways! You can go for a sleek, straight look, a wavy, textured vibe, or even add some curls. It's all about experimenting and finding what you love.
Now, let's talk about those ends. If you used a razor, you might find that they get a little too piece-y after a while. To keep them looking neat, you can blend them by lifting small pieces of hair and running the razor on the ends in a downward, angled motion. This will help to soften the lines and prevent them from looking too choppy. If you prefer a softer, less textured look, you can use thinning shears on the bottom inch of your hair instead of a razor. This will remove some of the bulk without making the ends too thin. It’s a great way to get a more polished finish. Remember, the key is to work with your hair type and your personal style. You can always tweak things until you find what works best for you. And if you are not sure, you can always look up some hair style images online to get some inspiration!
Maintenance Task | Frequency | Why it's important |
|---|---|---|
Trimming | Every 4-6 weeks | Maintains shape and prevents split ends |
Blending Ends | As needed | Keeps ends neat and prevents a choppy look |
Styling | Daily or as desired | Allows for versatility and personal expression |
Finally, let’s discuss variations. The classic bob is just the starting point. There are so many ways to customize it! If you have a round face, you might want to consider an angled bob that is shorter at the back and longer in the front. This helps to elongate the face. If you have a square face, you could try a softer, more rounded bob with layers to soften your features. For those with fine hair, layers can add volume and dimension. If you have thick hair, you might want to keep the layers minimal to avoid a bulky look. And if you have curly hair, you can rock a bob too! A layered bob can help to define your curls and prevent it from looking too heavy. It’s all about experimenting and finding a bob that complements your face shape, hair type, and personal style. If you're not sure, feel free to ask a professional hairstylist for advice. They can help you find the perfect bob for you.
So, there you have it, a complete guide on how to cut your own short bob at home. From gathering your tools to mastering the cut and maintaining your style, you've got all the knowledge you need to rock a fabulous new look. Remember, it's all about having fun and expressing yourself, and if you don't like it, it's just hair, it will grow back! So, go ahead, grab those shears and get ready to transform your look. You've got this!
Wrapping Up Your DIY Bob Cut
So there you have it, a complete guide on how to cut hair short bob at home. It might seem a bit daunting at first, but with the right tools, patience, and a good mirror, you can totally rock a stylish bob you created yourself. Remember, practice makes perfect, and even if your first attempt isn’t flawless, you’ve learned a new skill and saved a trip to the salon. Don't forget to keep up with those trims every 4-6 weeks to maintain the look, or get a pro to start you off right. Now go out there and show off your fabulous, self-made bob!