Table of Contents
Thinking about a fresh, stylish bob but dreading the salon prices? You're not alone! Many of us love the look of a sharp, short bob, but the cost and time commitment of regular salon visits can be a real drag. That's why I'm here to walk you through the steps of how to cut short bob hair yourself, right at home. This isn't about becoming a professional stylist overnight; it's about giving you the confidence and know-how to achieve a cute bob without breaking the bank. We'll start by getting our tools ready, then move into the nitty-gritty of cutting your hair, and finally, we will cover how to keep it looking great between trims. Get ready to grab your scissors, because we are about to embark on a fun, and maybe slightly scary, hair adventure together!
Gathering Your Tools for a DIY Short Bob Haircut
Gathering Your Tools for a DIY Short Bob Haircut
The Essential Toolkit
Okay, so you're ready to take the plunge and cut your own bob? Awesome! First things first, let's talk tools. You wouldn't build a house with just a spoon, and you shouldn't attempt a haircut without the right gear. I know it can be tempting to grab the kitchen scissors, but trust me on this, you'll want to invest in a decent pair of hair cutting shears. These are designed to give you a clean cut, not a jagged mess. Think of it like this: you need a surgeon's scalpel, not a butter knife.
Beyond the shears, you will also need a few more things. A comb is your best friend in this process. It helps you section your hair and keep it tidy. You’ll also need some hair ties or clips to keep the sections of hair out of your way while you're working. Now, if you're feeling fancy, you can get a hair razor. It is great for texturizing and blending the ends. But let's be real, it's not necessary for a basic bob. If you're new to this, stick to the basics and leave the razor for later when you get more comfortable.
Tool | Why You Need It | Where to Get It |
|---|---|---|
Hair Cutting Shears | For clean, precise cuts. Avoids split ends. | Beauty supply stores or online. |
Comb | To section hair and keep it tidy. | Any store that sells hair products. |
Hair Ties/Clips | To hold sections of hair away while cutting. | Any store that sells hair products. |
Hair Razor (Optional) | To texturize and blend ends. | Beauty supply stores or online. |
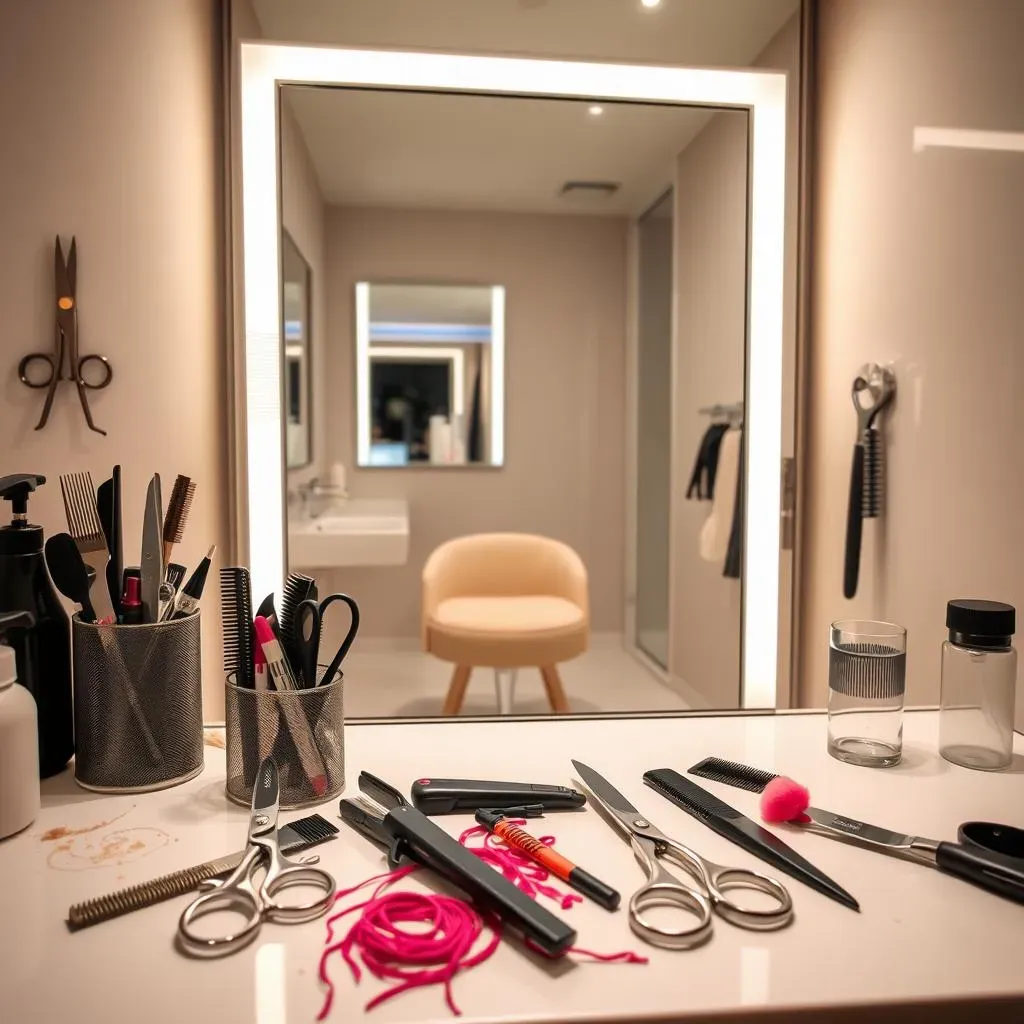
Setting Up Your Workspace
Alright, now that you've got your tools, let’s talk about where you're going to do this. I cannot stress this enough: find a well-lit area. You want to see what you’re doing. A bathroom mirror is a good place because it’s usually well-lit and has a surface that is easy to clean. Lay down some old towels or a sheet on the floor. Trust me, you’ll be glad you did. It will save you a lot of clean-up time later.
Make sure you have everything within arm’s reach. You don’t want to be running around looking for your comb or scissors mid-cut. It’s like trying to cook a fancy meal, but you forgot the olive oil. It is just a recipe for disaster. A little preparation goes a long way. It helps to make the whole experience smoother and less stressful. So, take a moment, set yourself up, and you'll be ready to rock!
Cutting Your Short Bob Hair StepbyStep
Cutting Your Short Bob Hair StepbyStep
The Initial Cut: Setting the Length
Alright, deep breaths, everyone. This is where the magic—or potential mayhem—happens. First, make sure your hair is damp but not soaking wet. It should feel like it just came out of the shower and you've towel-dried it a bit. Now, using your comb, create a center part from your forehead to the back of your neck. Then, divide your hair into three sections: one at the back, and one on each side of your head. Use your hair ties or clips to secure the side sections, keeping them out of the way for now. The back section is what we are focusing on first, this is where you'll make the initial cut that will determine the overall length of your bob. Gather the back section into a low ponytail, right at the nape of your neck. This is crucial; you need to be very precise here. Now, take a deep breath, and with your shears, cut straight across, just below the hair tie. Start with a longer length than you think you want; you can always cut more off later, but you can't glue it back on!
After the initial cut, remove the hair tie. Check the length. Is it what you were hoping for? If it’s too long, gather it back into a ponytail, but this time, move the hair tie up a bit, and make another cut. Remember, it is better to take off a little at a time. You have time to do it right. Don't rush. Now, once you’re happy with the back length, let’s move on to the sides.
Step | Action | Tip |
|---|---|---|
1 | Dampen hair and create a center part. | Don't soak it, just damp. |
2 | Divide hair into three sections. | Secure side sections with clips. |
3 | Gather back section into a low ponytail. | Position it at the nape of your neck. |
4 | Cut straight across, below the hair tie. | Start longer, you can cut more later. |
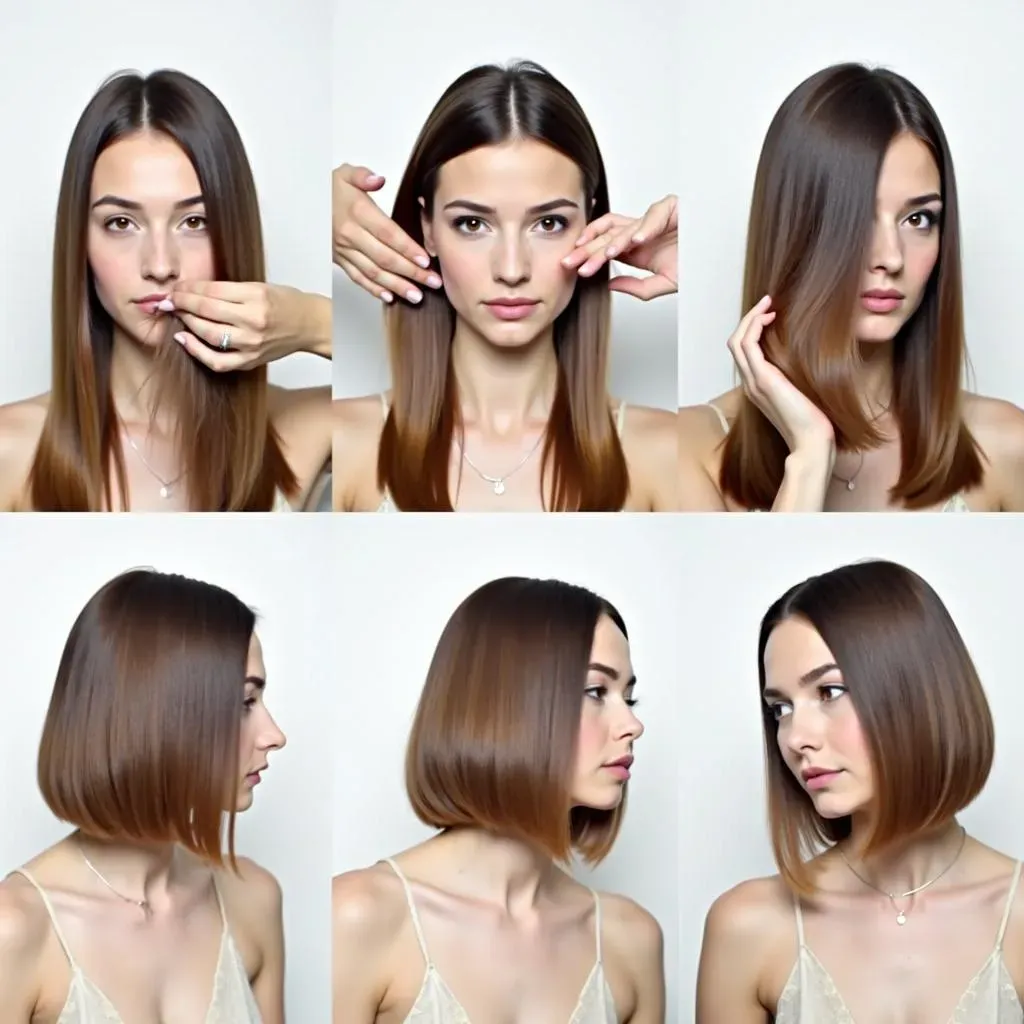
Shaping the Sides and Blending
Now that the back is done, let’s tackle the sides. Release one of the side sections, and comb it out. This is where things can get tricky. You want to make sure the side pieces blend seamlessly with the back section. Here's the trick: take a small section of the side hair, maybe about an inch wide, and comb it straight down. Now, compare it to the back section. You'll want to cut it so that it gradually gets shorter as it moves towards the back. Don't cut straight across like you did with the back; instead, cut at a slight angle. This will give you a more natural, blended look.
Repeat this process for the other side. Remember to compare both sides and make sure they are even. You might want to take a step back and look at the overall shape in the mirror. This will allow you to spot any unevenness. Now, if you opted for the hair razor, this is when you can use it to gently blend the ends. Just run the razor down the ends at a slight angle. This will soften the lines and give your bob a more textured look. But if you're new to this, don't stress it. A clean cut with shears will look great too!
Maintaining Your Short Bob Haircut at Home

Maintaining Your Short Bob Haircut at Home
Keeping Your Bob Fresh
So, you've bravely cut your own bob, and it looks fantastic! The journey doesn't end there. A short bob needs a little love to keep it looking sharp and stylish. Think of it like a plant; you need to water it and trim it to keep it thriving. One of the most important things is regular trims. Short bobs tend to lose their shape faster than longer styles, so you will need to trim those ends about every 4-6 weeks. Don't panic, you don't have to do a full haircut each time, just a little snip at the ends will keep it looking crisp. If you're feeling confident, you can do this yourself. Or, if you're nervous, find a trusted friend or family member who can help you out.
Also, be mindful of how you style your bob. A little bit of product can go a long way. A light styling cream or mousse can add some texture and volume, keeping it from looking flat. Experiment with different products and techniques to find what works best for you and your hair. And remember, less is often more. Don't overdo it with the product, or it will look greasy and weighed down. It's all about finding that sweet spot where your bob looks effortlessly chic.
Action | Frequency | Why |
|---|---|---|
Trim the ends | Every 4-6 weeks | Keeps the shape crisp and prevents split ends. |
Use styling products | As needed | Adds texture and volume, prevents flatness. |
Experiment with styling | Regularly | Find what works best for your hair type. |
Tips for DIY Trims
Okay, so you've decided to take on the trimming yourself? You go, you brave soul! It's totally doable, but here are a few pointers to keep in mind. First, always start with clean, damp hair. This will make it easier to see the shape and cut the ends more precisely. Second, use the same technique you did when you first cut your bob. Section your hair, and trim the ends little by little. Don't try to take off too much at once. Remember, it's like sculpting; you can always remove more, but you can't add it back. Third, don't be afraid to ask for help. If you have a friend who's good with hair, they can be your second pair of eyes (and hands!).
And if all else fails, remember that even a slightly uneven trim has its own charm. It's part of the fun of doing it yourself! But seriously, the more you do it, the better you will get. So, don't be discouraged if your first few trims aren't perfect. It's all a learning experience. And most importantly, have fun with it! It's just hair, and it will always grow back. So, grab those shears, embrace the adventure, and rock that DIY bob!
Wrapping Up Your DIY Short Bob Haircut
So, you've taken the plunge and cut your own short bob! How does it feel? Hopefully, you're rocking a stylish new 'do with pride. Remember, practice makes perfect, and don't be too hard on yourself if it's not flawless the first time. The best part about hair is that it grows back, right? The key is to keep those edges tidy with regular trims and to play around with styling to make your bob truly your own. You've saved some cash, learned a new skill, and hopefully had a bit of fun in the process. Now, go out there and show off that awesome bob!