Ever looked at a stylish bob and thought, "I could do that?" Well, guess what? You absolutely can! Forget expensive salon visits; this guide will show you exactly how to cut your hair bob cut at home. We're breaking it down into simple, manageable steps. First, we'll tackle the prep work, making sure you have everything you need and that your hair is ready for its transformation. Then, we'll walk through the actual haircut, step-by-step, with tips and tricks to avoid any major mishaps. Finally, we'll cover how to keep your new bob looking fresh and fabulous. This isn't about becoming a professional stylist overnight, but about gaining the confidence to manage your own look. So grab your scissors, and let's get started!
Prep Work: Getting Ready for Your Bob Cut
Prep Work: Getting Ready for Your Bob Cut
Alright, so you're thinking about taking the plunge and giving yourself a bob, huh? Awesome! But hold your horses, or rather, your scissors. Before we even think about making that first snip, proper prep is key. It's like getting all your ingredients ready before baking a cake; you wouldn't just throw everything in and hope for the best, would you? So, let's talk about what you'll need. First things first, you need a good pair of hair shears. I’m not talking about those kitchen scissors you use to open food packages. Invest in a pair that's specifically for hair; it'll make a world of difference in getting a clean cut. Then, grab some clips – the kind that hairdressers use to section hair. You'll also need a comb, a mirror that lets you see the back of your head (or a friend), and maybe a cape or an old towel to protect your clothes from hair debris.
Tool | Why You Need It |
|---|---|
Hair Shears | For clean, precise cuts. |
Hair Clips | To section hair and keep it out of the way. |
Comb | To detangle and part your hair. |
Mirror (or Friend) | To see the back of your head. |
Cape or Towel | To protect your clothes. |
The StepbyStep Guide to Cutting a Bob at Home
The StepbyStep Guide to Cutting a Bob at Home
First Cut: The Foundation
Okay, deep breaths, we're actually doing this! Start with clean, dry hair. It's easier to see what you're doing, and wet hair can shrink up when it dries, giving you a cut that's shorter than you planned. Part your hair down the middle, as if you're about to rock pigtails. Now, using your clips, section off the top half of your hair, securing it out of the way. We'll be focusing on the bottom section first. This is the foundation of your bob, so take your time. Using your comb, take a small section of hair, maybe an inch or two wide, and pull it straight down. This is where you’ll make the first cut.
The Actual Cut: Snip by Snip
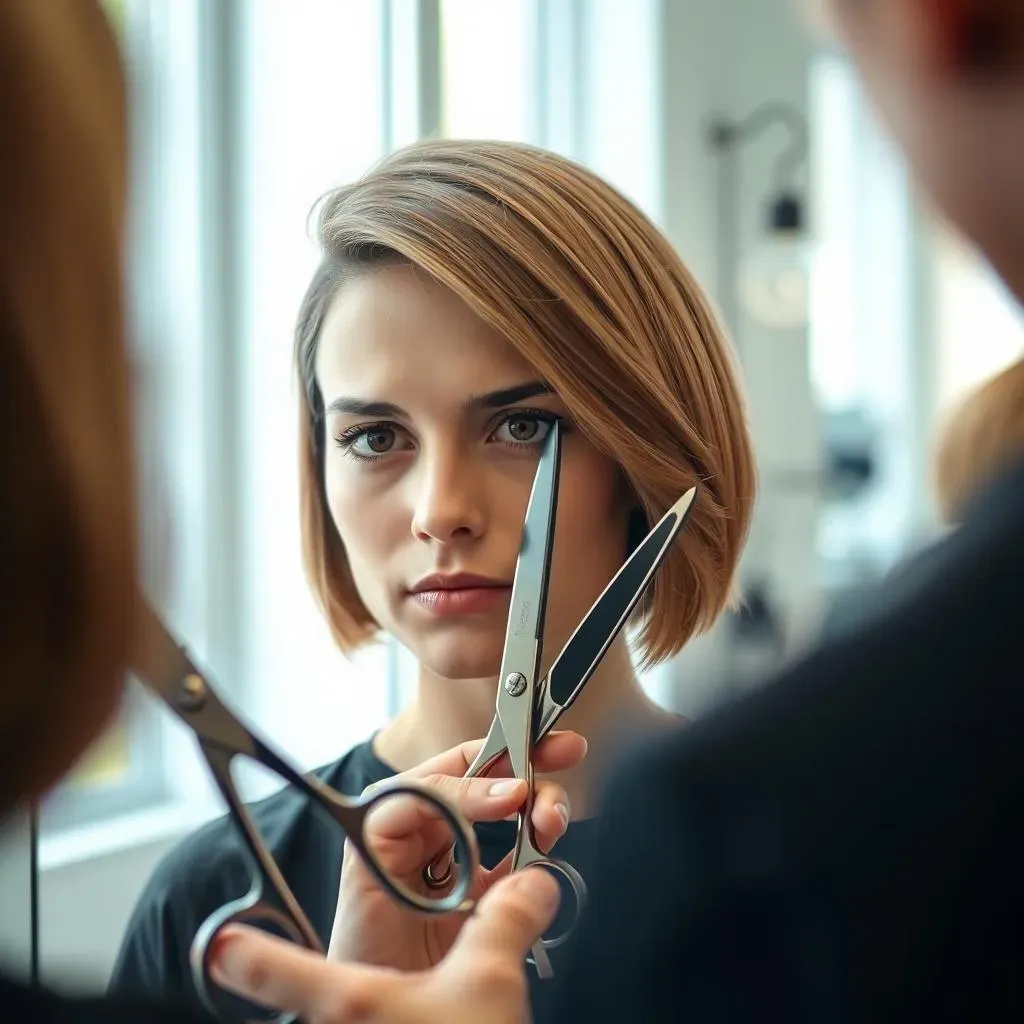
Now, here's the part where you might feel a little nervous, but trust me, you got this. Hold that section of hair taut between your fingers, and decide how short you want your bob. Remember, you can always cut more, but you can't put it back! So, it's better to start a little longer than you think, you can always go shorter. Now, take your shears and, with a smooth, confident motion, cut straight across. Don’t hack away at it. Use a slow, even cut. Continue taking small sections, working your way around the bottom layer, using your first cut as a guide. Make sure to keep checking that both sides are even by comparing them in the mirror. It’s okay if it’s not perfect, it’s just a bob, not rocket science.
"The best way to learn is by doing. Don't be afraid to make mistakes, they're part of the process." - Some wise person probably.
Refining and Checking: The Final Touches
Once you've cut the bottom section, release the top half of your hair. Now, comb it down, and you'll see how it falls with the bottom layer. You might need to trim the top layer to blend it with the bottom. Again, take small sections and cut, using the bottom as your guide. Check the front of your bob, making sure both sides are even. You can also slightly angle the front of your bob to be a bit longer than the back, if you want that classic bob shape. You might notice some stray hairs, just trim them with your shears. When you are happy with the shape, give your bob a good shake and check for any uneven parts. It's always a good idea to take a break and come back to it with fresh eyes. Sometimes you see things you didn't notice before.
Step | Action |
|---|---|
1 | Part hair down the middle, section off top half. |
2 | Cut the bottom layer, using small sections. |
3 | Release top half, blend with bottom. |
4 | Check for evenness, refine as needed. |
Bob Cut Maintenance and Styling Tips

Bob Cut Maintenance and Styling Tips
Okay, so you've got your fresh new bob, and you're feeling like a million bucks, right? But the work doesn't stop there. Just like a fancy car needs regular tune-ups, your bob needs a little love to keep it looking its best. First off, think about how often you'll need to trim it. Bobs can lose their shape pretty quickly, so a trim every 6-8 weeks is a good idea. If you're brave, you can do this yourself, using the same techniques we talked about earlier. But if you're not feeling up to it, a quick trip to a salon will do the trick. Now, let's talk styling. The beauty of a bob is that it's so versatile. You can wear it sleek and straight, tousled and textured, or even with some cute waves. The key is to play around and see what works for you.
When it comes to products, less is often more. A good quality heat protectant spray is a must if you're using heat tools like a straightener or curling iron. A lightweight texturizing spray can give your bob some extra oomph and volume without weighing it down. And for those days when you want a polished look, a bit of hair serum or oil can tame flyaways and add shine. Remember, the goal is to enhance your bob's natural beauty, not to plaster it down with a ton of product. It's all about finding the right balance. Also, think about your hair type. If you have thick hair, you might need a bit more product to control it. If your hair is fine, you need to be careful not to use too much, or it will look flat.
"The secret of great style is to feel good in what you wear." - Someone stylish, probably.
Maintenance Tip | Why It Matters |
|---|---|
Regular Trims | Keeps the shape of your bob. |
Heat Protectant | Prevents damage from heat styling. |
Lightweight Products | Adds texture without weighing hair down. |
Right tools | Use the right tools for the right job. |
Finally, a few extra thoughts. Play around with different parts. A side part can give your bob a totally different vibe. Try different styling techniques. A bit of backcombing at the roots can give you extra volume. And don't be afraid to embrace your natural texture. Some days, a messy bob is the perfect look. It's all about having fun and making your bob your own. Remember, it's just hair, and it'll grow back. So if you mess up, don't worry, you can always try again. And most importantly, have fun with your new bob!
Wrapping Up Your DIY Bob Cut
So, there you have it, your guide to achieving a stylish bob cut right at home. It might feel a little daunting at first, but with patience and a steady hand, you can absolutely rock this look. Remember, it's all about practice, and even if it's not perfect the first time, you'll get better. The best part? You've saved money and gained some serious hair-cutting skills. Now go forth and enjoy your fresh new bob, and remember, confidence is the best accessory you can wear with it!