Table of Contents
Ever looked at your gorgeous curls and thought, "I could totally trim those myself"? You're not alone! Many of us with curly hair have faced the challenge of finding a stylist who truly understands our unique texture. The good news? You absolutely *can* learnhow to cut your own curly hairat home, and it's not as scary as it sounds. This article will be your trusty guide, walking you through each step with clear, easy-to-follow instructions. We’ll start by gathering the right tools, because let’s be honest, kitchen scissors are *not* the answer. Then, we'll get into the nitty-gritty of the actual cut, using a simple "clock method" to ensure everything is even and balanced. Finally, we’ll talk about how to style your fresh cut and keep those curls looking their absolute best. So, grab your shears, and let's get started! You might just surprise yourself with how easy it can be to take control of your curls.
Gathering Your Tools for a DIY Curly Haircut

Gathering Your Tools for a DIY Curly Haircut
The Essential Shears
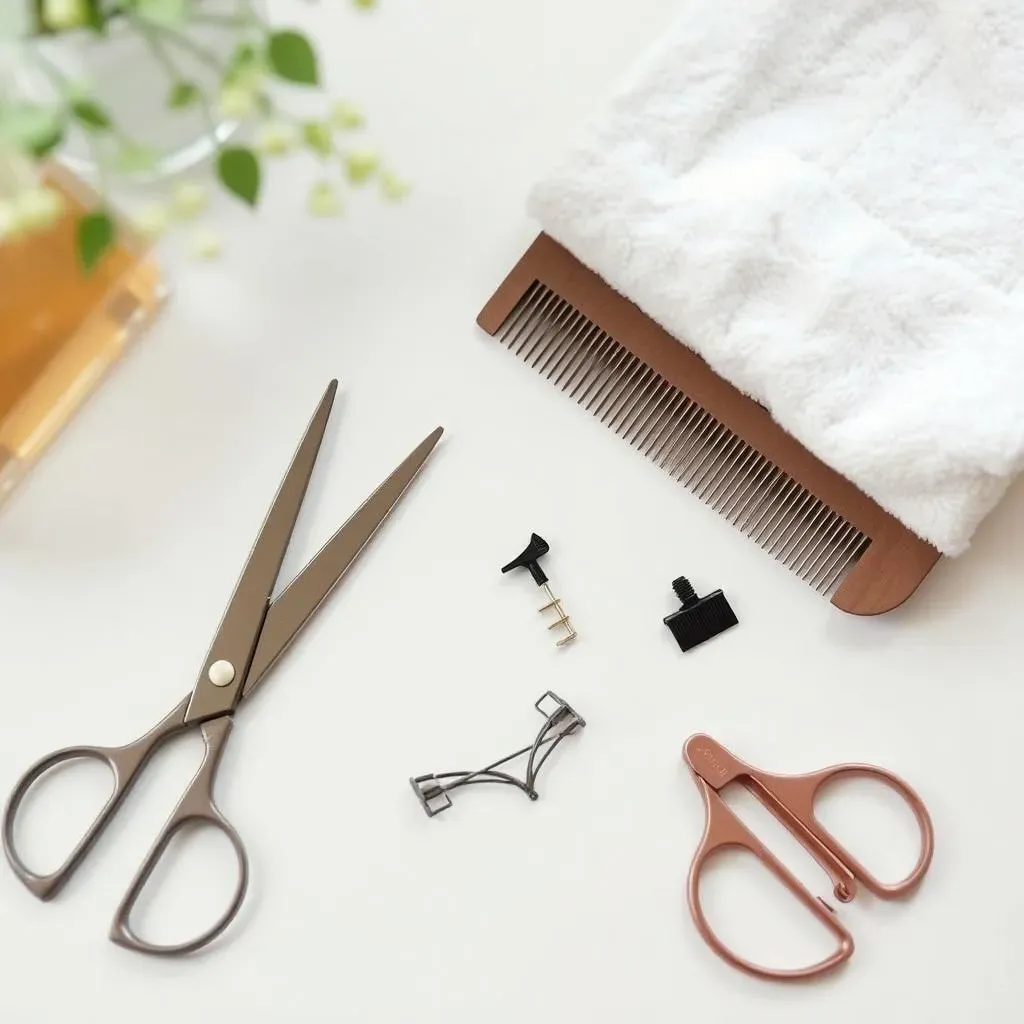
Okay, so you're ready to take the plunge and cut your own curly hair? Awesome! But before you grab just any old pair of scissors, let's talk tools. You wouldn't use a butter knife to carve a sculpture, would you? Same goes for your hair. Investing in a good pair of hair-cutting shears is crucial. These aren't your office scissors; they have super sharp blades designed to cut hair cleanly, preventing split ends and that awful frayed look. Think of them as your secret weapon for a successful DIY cut. They might seem like a splurge, but trust me, they're worth every penny.
Don't go for the cheapest option, either. Those tend to be dull and will just chew at your hair. Look for shears specifically made for hair cutting, with a comfortable grip. A good pair will feel balanced in your hand. You’ll be using them for a while, so make sure they feel right. And hey, if you're feeling fancy, you can even get a pair with a swivel thumb – it makes maneuvering around your head easier. But let's not get ahead of ourselves; a solid, sharp pair will do just fine for now.
More Than Just Scissors
Alright, you've got your shears, but don’t stop there! You'll need a few other things to make the process smoother. First, grab a spray bottle filled with water. This will be your best friend for keeping your curls slightly damp during the cut, which makes them easier to manage and see. A wide-tooth comb is also a must-have; it’s gentler on curls than a fine-tooth comb and helps to detangle without causing frizz. And finally, a couple of clips to section your hair. This is key for keeping things organized and prevents you from accidentally snipping off more than you intended. It's like having a little team of helpers, even if it's just you in front of the mirror.
Don't forget a mirror! You'll need one in front of you, and ideally, another one behind you so you can see the back of your head. If you don't have a second mirror, try using your phone camera. It’s not perfect, but it’s a good backup. And lastly, wear an old shirt or towel. Trust me, you'll thank me when you are not picking up hair for the next two weeks. Let’s be real, hair clippings tend to get everywhere, and you don't want them itching you all day.
Tool | Why You Need It |
|---|---|
Hair Cutting Shears | Sharp, clean cuts prevent split ends |
Spray Bottle | Keeps curls damp and manageable |
Wide-Tooth Comb | Gentle detangling without frizz |
Hair Clips | Sectioning hair for a controlled cut |
Two Mirrors | Seeing all angles of your hair |
Old Shirt or Towel | Protecting your clothes from hair clippings |
StepbyStep Guide: How to Cut Your Own Curly Hair

StepbyStep Guide: How to Cut Your Own Curly Hair
Prep Your Curls for the Cut
Alright, you've got your tools, now let's get down to business. Before you even think about picking up those shears, make sure your hair is dry. Yes, you heard that right! Cutting curly hair when it's wet is a recipe for disaster. When your hair is wet, it stretches, and you won’t get an accurate idea of how short it will actually be once it’s dry. Plus, cutting dry allows you to see how each curl naturally falls, making it easier to trim just what you need. Also, try to cut your hair on the second or third day after washing. This gives your curls time to settle into their natural shape. Think of it like letting dough rest before baking; it just works better.
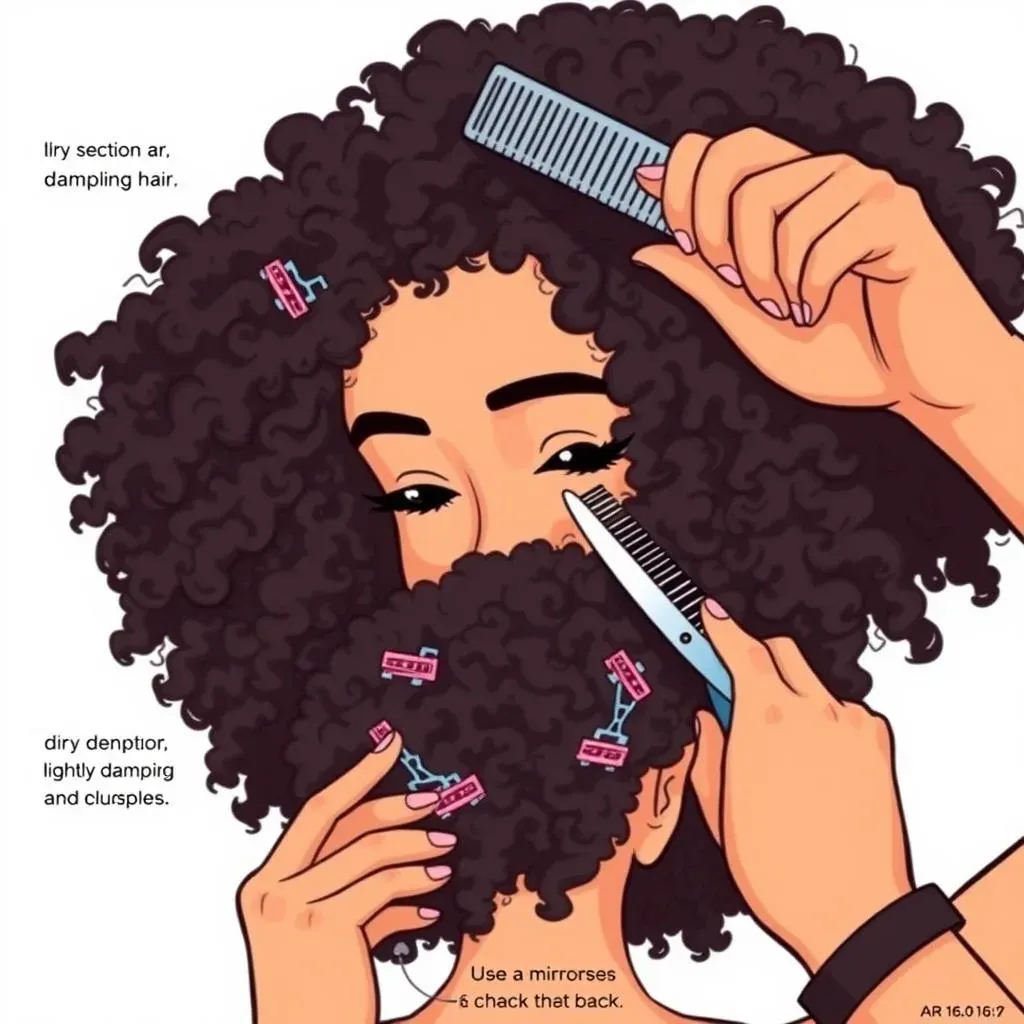
Once your hair is dry, give it a good shake. Let it fall naturally and see where the length sits. Now, grab your spray bottle and lightly dampen your curls. You don’t want them soaking wet, just slightly moist enough to make them a bit more manageable. Then, using your wide-tooth comb, gently detangle any knots. Remember, be gentle. Your curls are like delicate flowers; treat them with care. After that, it's time to section your hair. Use those clips we talked about to divide your hair into manageable sections. I like to start with a middle part and clip the hair on each side of the part. Then, I clip the back section up, leaving just the front to work with first. It’s like creating a map; you want to have a clear plan before you start the journey.
The Trimming Technique
Now, for the moment you've been waiting for – the actual cut! Take a small section of hair, maybe an inch or two wide, and hold it up. Look at the ends. See those scraggly, split ends? Those are the culprits we’re after. Now, using the tip of your shears, trim just a tiny bit at a time. I cannot stress this enough: less is more! You can always cut more later, but you can't glue hair back on. Avoid cutting straight across; instead, try making small snips, almost like you're "dusting" the ends. Imagine you're a sculptor, carefully shaping your masterpiece. Don't open the scissors too wide; small, controlled snips are the key. And please, please, please, don't hold your scissors at an angle. Keep them parallel to your hair. It’s like painting a wall, you want nice, even strokes.
Continue working through each section, always trimming just a little at a time. Remember to keep your hair slightly damp, spritzing it with water if needed. Once you’ve finished with the front section, move on to the back, section by section. Keep using your mirror or phone camera to make sure you can see what you are doing. If you're feeling unsure, it’s always better to stop and take a break. Walk away, grab a snack, and then come back with fresh eyes. Rushing through this process is the quickest way to end up with a haircut you hate. And remember, this is *your* hair! You get to decide how it looks. So, take your time, be patient, and trust the process.
Step | Action | Why |
|---|---|---|
1 | Dry Hair | Accurate length |
2 | Shake and Observe | See natural fall |
3 | Lightly Dampen | Manageability |
4 | Detangle | Prevent snagging |
5 | Section Hair | Controlled trimming |
6 | Small Snips | Avoid overcutting |
Dealing with Layers
If you’re aiming for layers, the process is similar, but with a slight twist. Start with the front sections, and instead of cutting straight across, angle your shears slightly upward. This creates a softer, more blended look. Imagine you're creating a staircase for your curls; each layer slightly shorter than the last. The key is to keep the angle consistent and not to get too carried away. Start with just a small angle, and if you want more layers, you can always cut more later. Think of it like seasoning a dish; a little bit at a time is always best.
For the back, you can use the same angled technique, or you can try a method where you pull each section straight up and cut it in a very slight curve. This helps to create a more rounded shape in the back. If you have a friend that can help with the back section, it’s a great idea. But if you are doing it yourself, just make sure you take your time and use those mirrors. You should be able to see the back of your head and make sure you are cutting the same way as you are doing the sides. And remember, layers are a marathon, not a sprint. So, take your time, be patient, and enjoy the process. You got this!
The Clock Method: Ensuring an Even Curly Haircut

The Clock Method: Ensuring an Even Curly Haircut
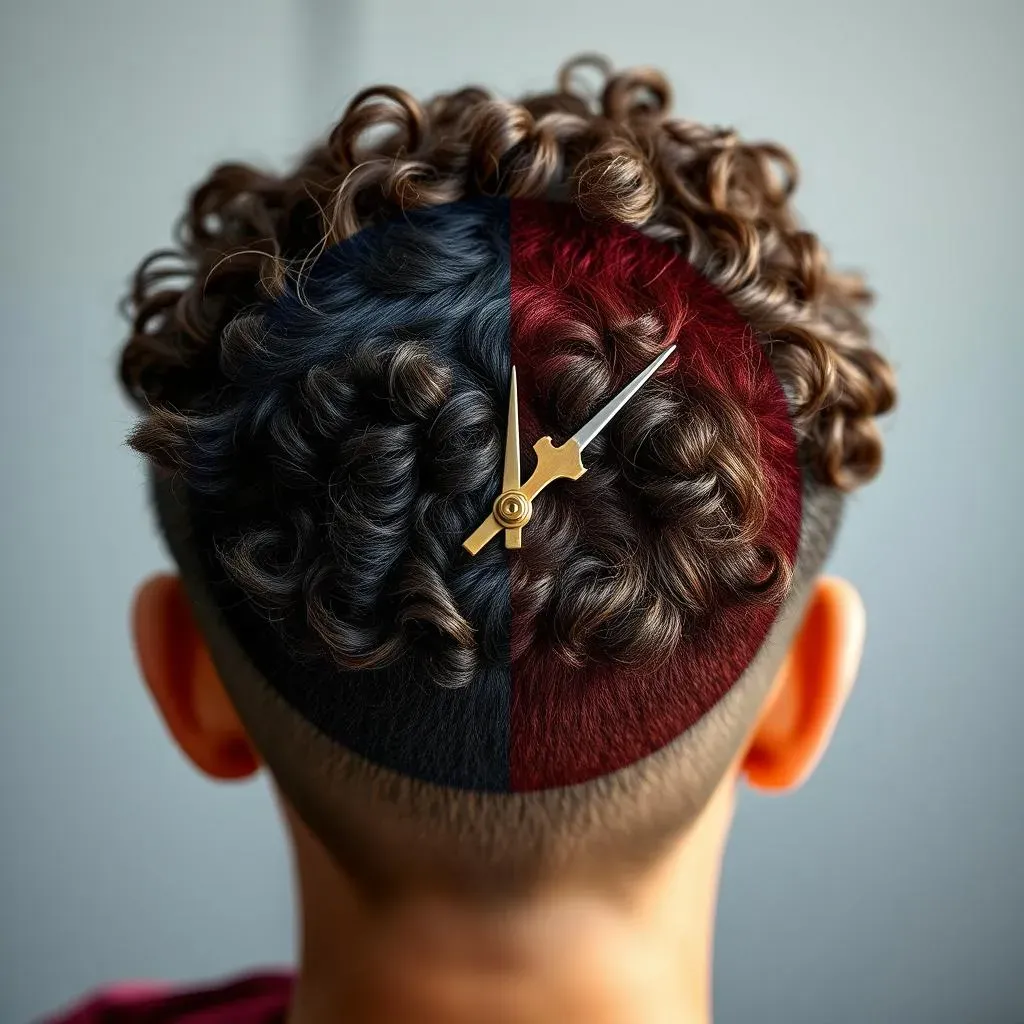
Okay, so you've got the trimming technique down, but how do you make sure your cut is even? That's where the "clock method" comes in. Imagine your head is a clock face, with 12 o’clock at the very top and 6 o’clock at the nape of your neck. As you cut, use this clock as your guide. For example, if you’re working on the left side of your head, you might start at 10 o'clock and work your way down to 4 o'clock, making sure the length is consistent across that section. Then, when you move to the right side, you'll do the same, starting at 2 o'clock and going to 8 o'clock. This method helps you visualize the overall shape and ensures that both sides are symmetrical. It’s like using a map to navigate; it gives you a clear path to follow, so you don't end up lost.
This method works for all lengths and curl types, whether you're rocking a pixie cut or long, flowing waves. The key is to focus on the sections and their relationship to the clock face. If you're cutting layers, you can still use the clock method. Just imagine the clock face on each layer. It’s like building a multi-story building; you want each floor to be balanced. This might sound a bit complicated, but trust me, once you start using the clock method, it will become second nature. It’s like riding a bike; at first it feels awkward, but once you get the hang of it, it's easy. And hey, if you're feeling unsure, don't be afraid to take breaks and reassess. It's your hair, and you're in charge.
Clock Position | Area of Head |
|---|---|
12 o'clock | Top of Head |
3 o'clock & 9 o'clock | Sides of Head |
6 o'clock | Nape of Neck |
PostCut Care: Styling and Maintaining Your Curly Hair

PostCut Care: Styling and Maintaining Your Curly Hair
Nourishing Your Curls Post-Cut
Alright, you've done the deed! You've trimmed your curls, and they're looking fresh. But the job's not over yet. Now comes the crucial part: post-cut care. Think of it like watering a plant after you've repotted it. You need to give your curls some love and attention to help them thrive. First things first, let’s talk about moisture. Curly hair is notorious for being dry, and a fresh trim can sometimes make it feel even drier. So, after your cut, reach for your favorite nourishing products. This could be a leave-in conditioner, a curl cream, or even a hair oil. The goal is to add back the moisture and help define those newly trimmed curls.
Don't be shy with the product, but also don't overdo it. Start with a small amount and add more as needed. You want your curls to feel hydrated and bouncy, not weighed down and greasy. Apply the product evenly throughout your hair, focusing on the ends, where they tend to be the driest. You can use your fingers to work the product in, or try using a wide-tooth comb to distribute it evenly. After applying your products, let your hair air dry, or use a diffuser on low heat if you're in a hurry. Avoid touching your hair too much while it's drying, as this can cause frizz. Remember, your curls have been through a lot today, so be gentle and let them do their thing.
Maintaining Your Curly Cut
So, you've got your amazing new haircut, and you're feeling like a curly-haired rockstar. Now, it’s all about maintenance. Regular trims are key to keeping your curls looking healthy and preventing breakage. How often you trim depends on how quickly your hair grows and how much you want to maintain the shape of your cut. But as a general rule, try to trim your hair every 3-4 months. It's like getting your car serviced; it keeps everything running smoothly. Also, try to avoid heat styling as much as you can. Heat can damage your curls, making them dry and brittle, and no one wants that. Instead, embrace your natural texture and try different styling techniques to enhance your curls.
And finally, be patient with your curls. They have a mind of their own, and they won’t always cooperate. Some days they'll be perfect, and other days they'll be a frizzy mess, and that's okay! The key is to learn what your curls like and dislike, and to experiment with different products and techniques until you find what works best for you. It’s like a friendship; it takes time and effort to build a strong bond. So, embrace the journey, have fun, and remember that your curls are beautiful, no matter what. And hey, if you ever feel like your cut is getting out of hand, you can always grab those shears and give them a little trim. You're a DIY curly hair pro now!
Post-Cut Step | Action | Why |
|---|---|---|
1 | Moisturize | Hydrates and defines curls |
2 | Apply Product | Enhances curl pattern |
3 | Air Dry or Diffuse | Reduces frizz |
4 | Regular Trims | Maintains shape and health |
5 | Avoid Heat | Prevents damage |