Table of Contents
Tired of spending a fortune at the salon? Ever thought about taking matters into your own hands, literally? Learning how to cut your own hair at home might seem scary, but it's totally doable, and it can save you both time and money. I'm not talking about giving yourself a crazy new style on a whim, though. This is more about maintaining what you’ve already got or giving it a quick refresh. We'll go through all the important things you need to know before you even pick up a pair of scissors. We'll talk about the best ways to do a simple trim, and we’ll also look at some different techniques for various hair types and styles. Plus, I'll share some tips and tricks to help you avoid any major hair disasters. So, if you're ready to learn how to cut your own hair at home and get great results, keep reading.
Essential Precautions Before You Cut Your Own Hair at Home

Essential Precautions Before You Cut Your Own Hair at Home
The Right Tools for the Job
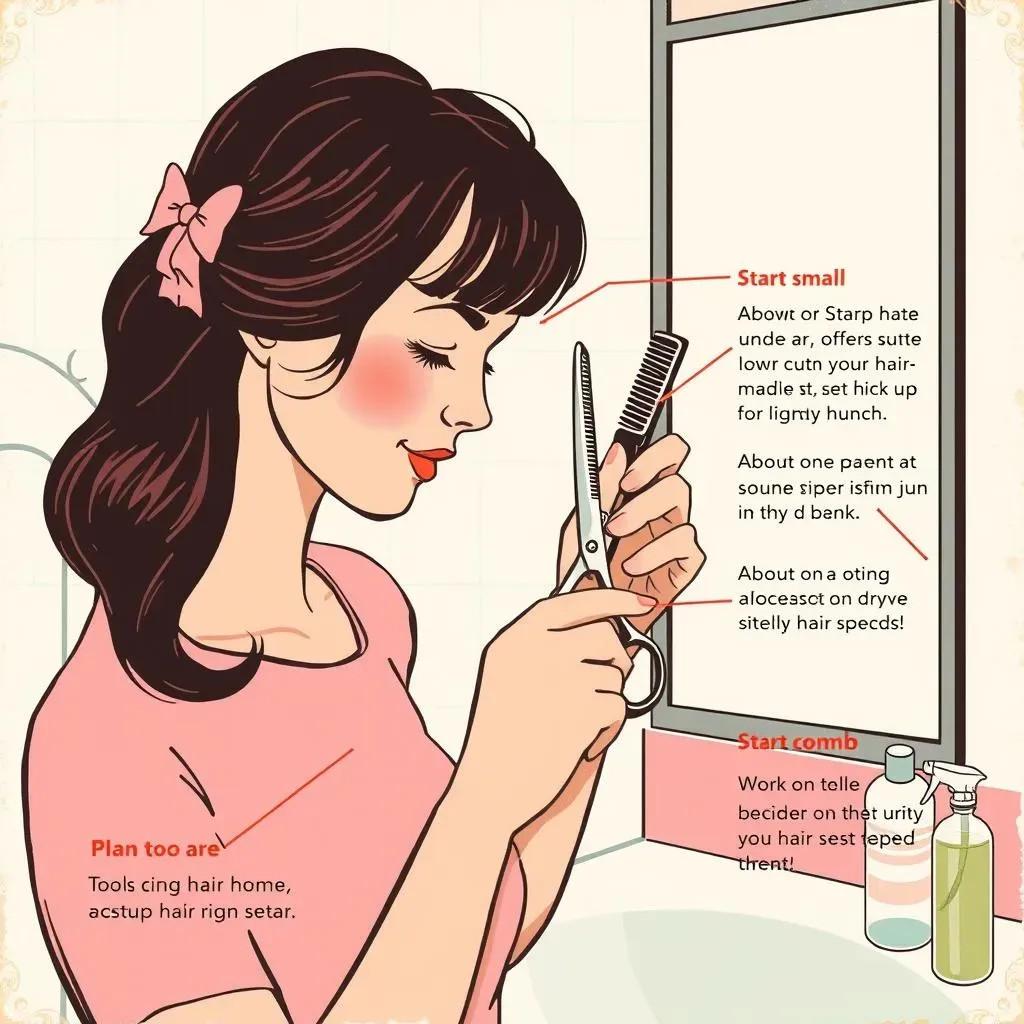
Okay, so you're thinking about cutting your own hair. That's awesome! But before you grab those kitchen scissors, let's talk tools. Using the wrong scissors is like trying to paint a masterpiece with a toothbrush. You wouldn't do that, right? So, invest in some sharp, high-quality hair-cutting shears. They don’t have to be super expensive, but they need to be designed for hair. Dull scissors will just chew up your ends and leave you with a frizzy mess. Also, a good comb, some clips, and a spray bottle with water are your best friends here.
Think of it this way: Your hair is like a delicate flower, and dull scissors are like a clumsy gardener trying to prune it. You want a precise cut, not a ragged tear. Having the right tools will not only make the job easier but also give you much better results. So, put down the craft scissors and get yourself a proper pair!
Planning is Key
Now, let's talk about planning. Don't just jump in headfirst like you're diving into a pool. Think about what you want to achieve. Are you just trying to trim some split ends, or are you going for a whole new look? Big changes, like cutting in new layers or trying bangs for the first time, are best left to the pros. Seriously, you do not want to mess that up. For at-home cuts, stick to maintaining your current style. It’s also important to start small. If you're not sure how much to cut, go for less. You can always trim more, but you can't glue it back on.
It's a bit like baking a cake. You wouldn't just throw all the ingredients together and hope for the best, would you? You need a recipe. You need to know what you want the final product to be. So, before you cut a single strand of hair, take a moment to think about your goal. It’ll save you a lot of headaches later.
The Golden Rules
Alright, so you've got your tools, and you've got a plan. Now, let's talk golden rules. First, always work on dry or slightly damp hair. When your hair is wet, it stretches, and when it dries, it can shrink up and be much shorter than you intended. Not a good surprise! Second, take your time. This isn't a race. Rushing will lead to mistakes, and mistakes with scissors can be tricky. Third, watch some expert videos before you start. There are tons of tutorials online. It’s like getting a free lesson from a pro. And finally, if you’re not feeling confident, don’t do it! There’s no shame in going to a salon. Sometimes, it’s worth paying a professional to avoid a hair disaster.
Simple Techniques for Trimming and Maintaining Your Hair at Home

Simple Techniques for Trimming and Maintaining Your Hair at Home
The Unicorn Ponytail Method
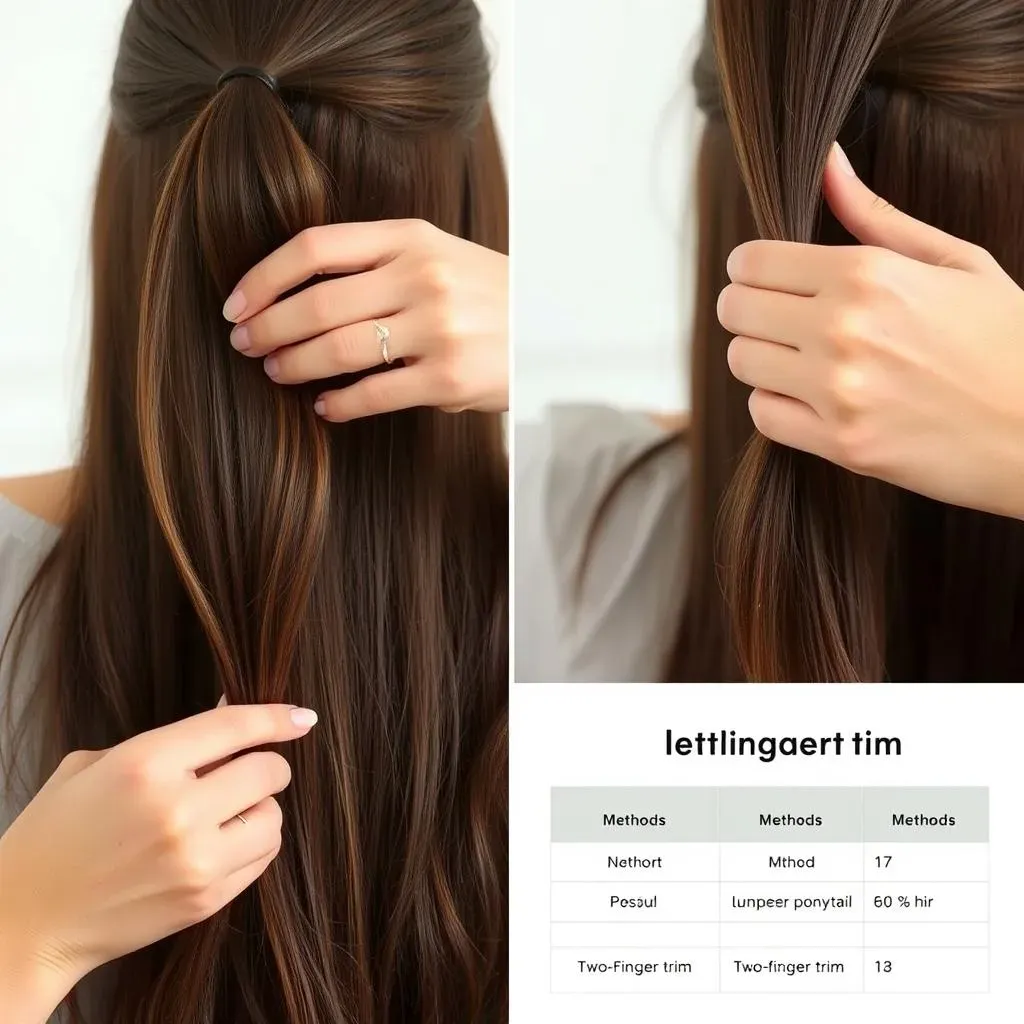
Alright, let's get to the fun part: actually cutting your hair! One of the easiest ways to trim your ends is with the "unicorn ponytail" method. It sounds silly, but it works. Gather your hair into a high ponytail right at the top of your head, like a unicorn horn. Make sure it's smooth and there aren't any bumps. Then, slide the hair tie down to where you want to trim, hold your hair firmly between your fingers below the hair tie and snip straight across. This method is great for a quick, even trim and it’s especially good for long hair. It's not for fancy layers, but for getting rid of those pesky split ends, it’s a lifesaver. It's like giving your hair a little health boost without any fuss. Remember, small snips are better than big chops!
The Two-Finger Trim
Another simple trick for maintaining your hair at home is the two-finger trim. This is perfect if you just want to take off a tiny bit of length or even out some uneven ends. Take a small section of your hair between your index and middle finger, slide your fingers down to where you want to trim, and snip. The key here is to work in small sections. Don't try to grab all your hair at once. And make sure you keep your fingers straight and parallel to the floor when you cut. This helps you avoid any wonky lines. The two-finger trim is like a little touch-up, a quick fix for those days when your hair just needs a little bit of love and care. It's all about precision and taking it slow.
Method | Best For | Difficulty |
|---|---|---|
Unicorn Ponytail | Even trims on long hair | Easy |
Two-Finger Trim | Minor trims, evening out ends | Easy |
Dealing with Bangs (Carefully!)
Now, let's talk about bangs. Bangs are tricky. I mean, really tricky. They can make or break your whole look. If you have bangs and they're getting too long, you can certainly trim them at home. The key is to go very, very slowly. Start by combing your bangs straight down, then take a small section and trim just a tiny bit at a time. It's better to trim too little than too much. Always cut upwards, not straight across. This will give your bangs a more natural look. But honestly, if you're not sure about cutting your bangs, it's always a good idea to leave them to a professional. A bad bang cut can take months to grow out, and no one wants that. Consider bangs like a high-stakes game – proceed with caution or leave it to the expert.
Specific Methods for Cutting Different Hair Types and Styles

Specific Methods for Cutting Different Hair Types and Styles
Cutting Straight Hair
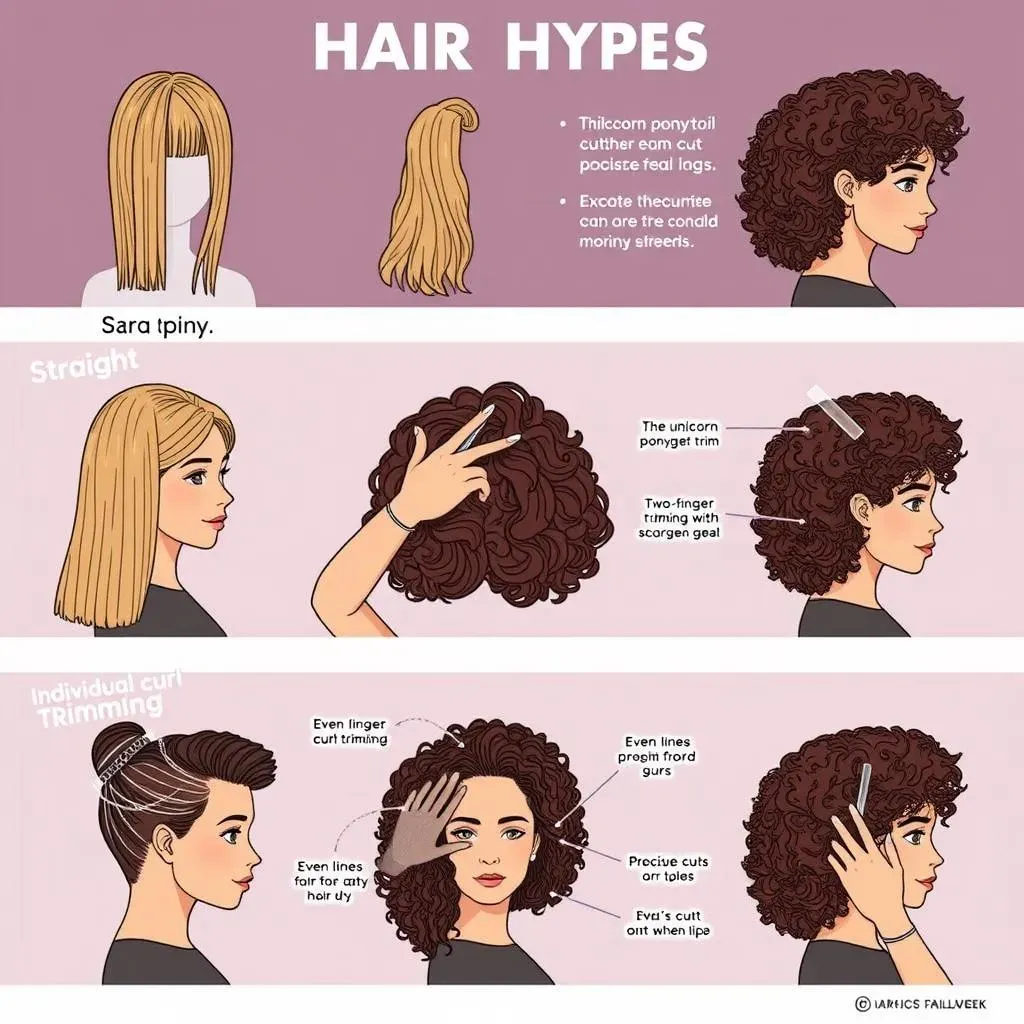
Alright, so you've got straight hair? Lucky you, it's usually pretty straightforward to trim. The key here is to keep your lines clean and even. For a basic trim, the unicorn ponytail method we talked about earlier works great. Just make sure your hair is smooth and there are no bumps in the ponytail. When you cut, make sure you are using sharp scissors and cutting straight across. You can also use the two-finger trim method for smaller touch-ups. Straight hair shows unevenness easily, so take your time and be precise. Small cuts are your friend. It's like drawing a straight line on paper – you need a steady hand and a good ruler.
If you have very thick straight hair, you may want to cut it in sections to make sure you are cutting evenly. Use clips to section off the top layers and start with the bottom layers first, work your way up. Don't try to cut all your hair in one go, or you will end up with an uneven mess. You can also use a comb to guide your cut. Just comb the section of hair straight, hold it between your fingers, and use the comb as a guide for where to cut. This will help you keep a straight line and avoid any unwanted angles.
Cutting Curly Hair
Now, curly hair is a whole different ball game. You cannot just cut curly hair the same way you cut straight hair. Curly hair shrinks when it dries, so you need to be very careful about how much you cut. It's best to cut curly hair when it's dry, so you can see exactly where the curls fall. Don't even think about using the unicorn ponytail method here! Instead, take small sections of your hair and trim individual curls. It's a bit like sculpting – you're shaping each curl to fit with the rest. Start with the longest curls and work your way to the shorter ones. This will give your curls a more natural, layered look. And remember, less is more. You can always cut more, but you can't un-cut it.
If you're just trimming split ends, focus on the very tips of your curls. Don't try to cut straight across, or you'll end up with a weird, blunt look. Instead, snip off the very end of each split end. It's a time-consuming process, but it's worth it to keep your curls healthy and bouncy. Use your fingers to guide you and feel the ends of the curls. This will give you a better sense of where you need to cut. Think of it like trimming a bonsai tree – you are shaping it, and you must do it with care, one branch at a time.
Hair Type | Best Cutting Method | Key Considerations |
|---|---|---|
Straight | Unicorn ponytail, two-finger trim | Even lines, precise cuts |
Curly | Individual curl trimming | Cut when dry, trim ends only |
Wavy | A mix of straight and curly techniques | Start with less, trim more later |
Cutting Wavy Hair
Wavy hair is kind of the middle child between straight and curly, so you can use a mix of techniques. For a trim, you can use the two-finger method like with straight hair, but you might want to cut a little less than you think you need. Wavy hair can sometimes act like curly hair when dry, so it’s better to be cautious. You can also try cutting your hair when it’s slightly damp. This will make it easier to manage and see where the waves fall. Just remember, when it dries, it might look a little shorter than when it’s wet. So, again, start with less and add more if needed.
When you are cutting wavy hair, pay attention to the way the waves fall. You want to cut in a way that enhances your natural wave pattern. Don’t try to cut straight across, or you will end up with a blunt, unnatural look. Instead, try to follow the curves of your waves. It's almost like you're tracing the waves with your scissors. If you have layers, cut them one at a time and take your time. It's a bit like trying to play a song on an instrument – you need to learn the notes and play them carefully. If you rush it, you'll end up with a mess.
Troubleshooting and Tips for Getting the Best Results When You Cut Your Own Hair at Home

Troubleshooting and Tips for Getting the Best Results When You Cut Your Own Hair at Home
Oops, I Cut Too Much!
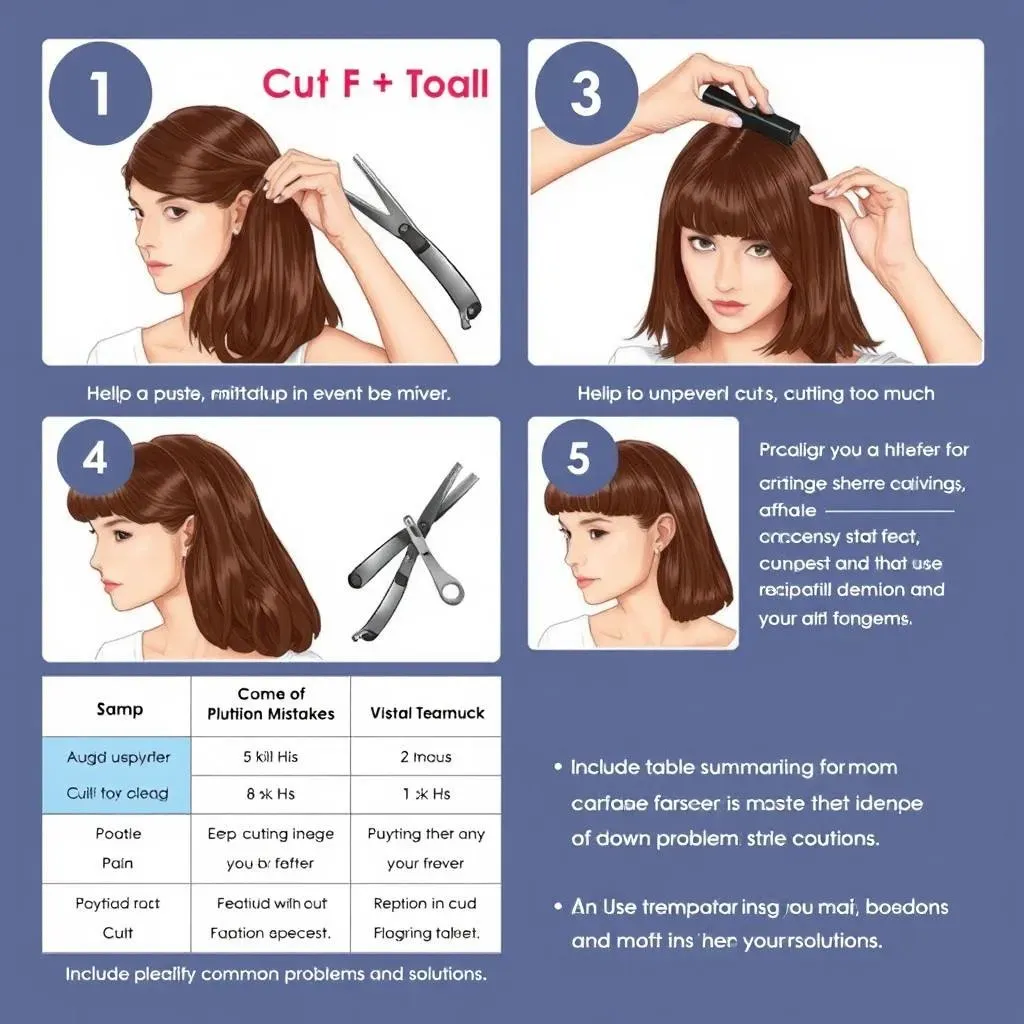
Okay, so you messed up a little. It happens. Maybe you got a bit scissor-happy and took off more than you intended. First, don't panic! It's just hair, and it will grow back. If you've only made a small mistake, try to even it out. Take a small section and trim a bit from the longer side to match the shorter one. If you’ve made a bigger mistake, then it might be time to call in a professional. A stylist can help fix the cut and make it look more even. In the meantime, try styling your hair in a way that hides the mistake. This might mean using hair clips or wearing a hat, but it's better than walking around with a bad cut. Think of it as a learning experience. Now you know what not to do next time. And remember, even the pros have bad hair days sometimes.
If you have cut too much, one of the best things to do is to moisturize your hair, and try to keep it healthy, so it can grow faster. This also a good opportunity to try different styles to see what works. Remember, it is not the end of the world! You can also try some hair growth products to help with the speed of growth. It is also important to learn from your mistakes, so next time you will be better prepare for it.
Uneven Cuts and How to Fix Them
So, you’ve finished your cut, and you realize that one side is longer than the other. Argh! It’s frustrating, but it’s fixable. First, take a deep breath. Then, start by combing your hair straight down and compare both sides. You can use your fingers to measure the length difference. If it’s just a small difference, take a small section from the longer side and trim it to match the shorter side. The key here is to be precise and to take it slow. It’s better to cut less and then trim again than to take too much off at once. If the difference is big, it might be best to get some help from a professional. They have the skills and the tools to fix any uneven cut. But if you’re feeling brave, you can try to even it out yourself. Just remember to take it slow and steady. It’s like trying to level a table – you need to make small adjustments until it’s just right.
Problem | Solution |
|---|---|
Cut too much | Even it out, hide it, or see a pro |
Uneven cut | Trim the longer side, or see a pro |
Split ends still there | Use sharp scissors, trim smaller sections |
Tips for a Successful Haircut
Alright, let's wrap things up with some final tips for getting the best results when you cut your own hair. First, always use sharp scissors. Dull scissors will make your hair look jagged and uneven. Second, work in a well-lit area. You need to be able to see what you're doing. Third, take breaks if you need to. Don't try to rush through the process. And finally, always start with less than you think you need. It's easier to cut more than to put it back on! Cutting your own hair can be a great way to save money and feel more in control of your look. It just takes a little practice and patience. And if you make a mistake, don't worry about it. It's just hair, and it will grow back. Remember, every haircut is a learning experience. You are not alone, and there are many resources out there if you need help. So, go for it, and have fun with it!