Table of Contents
Okay, so you're thinking about a bob, huh? Maybe your ends are looking a little sad, or maybe you're just itching for a change. The salon's calling, but your wallet's screaming "no!" I get it. That's why we're talking about how to cut your own hair bob style. It sounds scary, I know. But with the right tools and a little patience, you can totally rock a DIY bob. This article isn't about becoming a professional stylist overnight. Instead, we're going to cover the basics. I'll show you what tools you need, walk you through the process step-by-step, and share some tricks to make sure your homemade bob looks amazing. This journey will guide you through the process, from gathering your supplies to those final little snips. Think of this as your guide for a quick refresh between salon visits, or maybe even your new go-to routine. Let's get started, shall we?
Tools You'll Need to Cut Your Own Bob Style
Tools You'll Need to Cut Your Own Bob Style
The Must-Haves for a DIY Bob
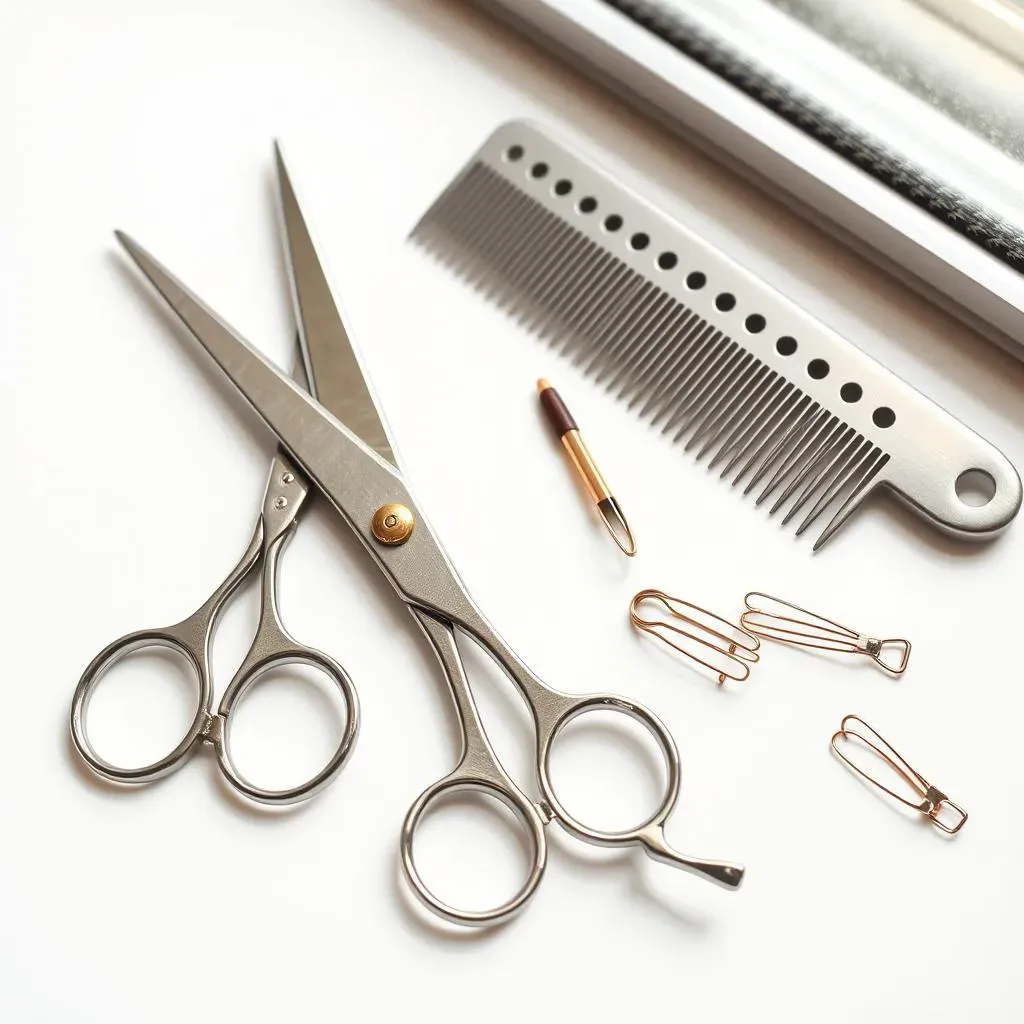
Alright, before you even think about picking up those scissors, let's talk tools. You wouldn't build a house with just a hammer, right? Same goes for cutting your hair. Having the right stuff makes all the difference between a chic bob and, well, something that looks like a toddler got ahold of your hair. First, you absolutely need a good pair of hairdressing scissors. Not the kitchen ones, please! Those are way too dull and will just give you split ends. Think of them as an investment in your hair. You'll also want a comb – not just any comb, but a fine-tooth one for sectioning your hair. And lastly, you need a few hair clips to keep everything out of the way while you work. These tools are your best friends in this adventure.
Now, let's get into the specifics. Those hairdressing scissors? Look for ones that are sharp and comfortable to hold. You'll be doing a lot of snipping, so comfort is key. The comb should have a pointed end, which is amazing for making clean parts. Trust me, a messy part can throw off your whole cut. As for the clips, get the sturdy ones, the kind that won't slide out with every little movement. It's all about making this process as easy and stress-free as possible. Think about it – these tools are the foundation for your entire DIY bob experience.
Tool | Why You Need It | Where to Find It |
|---|---|---|
Hairdressing Scissors | For clean, precise cuts | Beauty supply stores, online retailers |
Fine-Tooth Comb | For sectioning and parting hair | Any drugstore or beauty store |
Hair Clips | To keep hair out of the way | Any drugstore or beauty store |
Nice-to-Haves That Can Help
Okay, so you've got the basics down, but what about those extra little things that can make your life a whole lot easier? While not strictly necessary, a spray bottle filled with water is a lifesaver. Why? Because it lets you keep your hair damp while you cut, making it easier to manage. Dry hair tends to move around a lot more. Then, a large mirror is great for seeing the back of your head. You don’t want to be guessing back there. And finally, a cape or a towel to cover yourself. Trust me, you'll thank me when you're not finding tiny little hairs everywhere for days.
These extras are like the secret sauce to an easier cut. The spray bottle ensures your hair stays manageable, making those cuts much more precise. The big mirror is essential for seeing what's going on in the back, and the cape, well, it's just good for maintaining your sanity. Imagine having to clean up hair from every corner of your bathroom—not fun. These are the things that turn a slightly stressful situation into a manageable one. They're like the sidekicks you didn't know you needed, but now you can't imagine going without.
StepbyStep Guide: How to Cut Your Own Hair Bob Style at Home
StepbyStep Guide: How to Cut Your Own Hair Bob Style at Home
Prep Your Hair and Section It
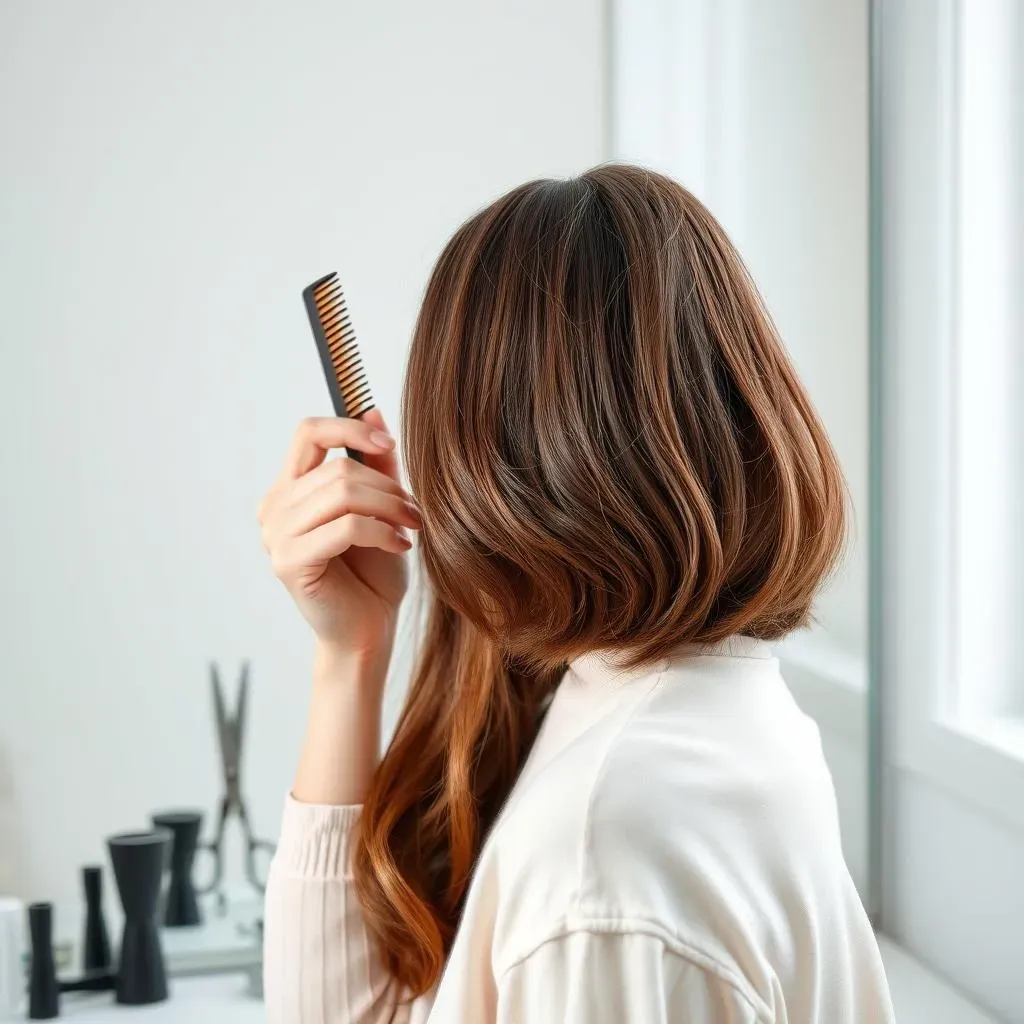
Okay, so you’ve got your tools, now let’s get to the actual cutting part. First things first, you need to make sure your hair is clean and damp. Not soaking wet, but definitely not bone dry. Damp hair is way easier to work with, trust me on this. It’s like trying to cut through a piece of paper versus trying to cut a wet towel – one is much easier. So, grab that spray bottle and give your hair a good misting. Once it’s damp, use your comb to part your hair right down the middle, from your forehead to the nape of your neck. This is your guide for the whole cut, so make sure it’s straight. Then, clip each side up, so you’re working with two even sections.
Now, here's a pro tip: take your time with this prep work. A clean part is your best friend, and well-sectioned hair means you’re less likely to accidentally snip off too much. Think of it like preparing a canvas before painting, the better you prep, the better the final result. This is where your fine-tooth comb and clips come in handy. Make sure the sections are even and neat. If you have really thick hair, you may want to divide each side into another section for easier management. Don’t rush this part, it’s the foundation for a great bob.
Start Cutting the Length
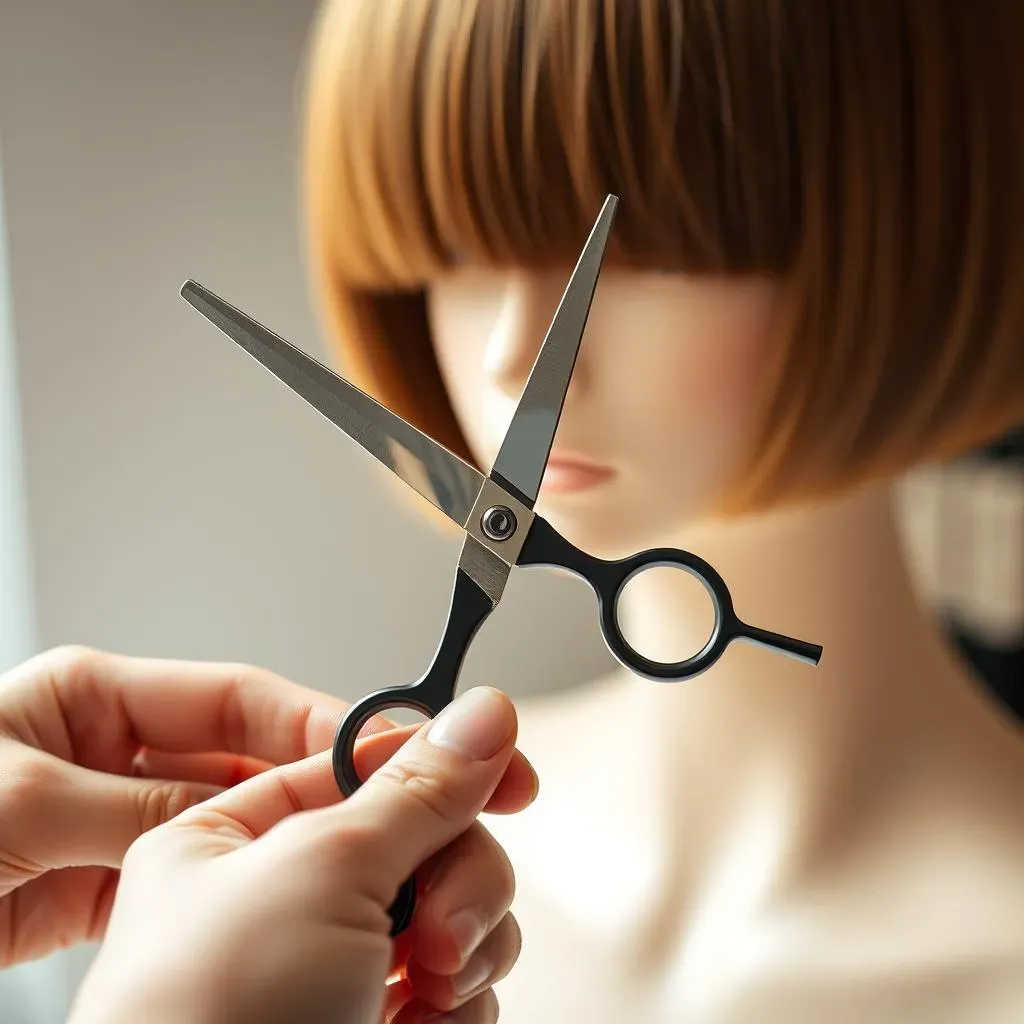
Alright, the moment of truth. Grab your hairdressing scissors, and hold them horizontally. You're going to start by cutting the length. Start with one side, and decide how short you want your bob to be. Remember, you can always cut more, but you can’t glue it back on! So, go slowly. Take a small section of hair, about one or two inches wide, and gently snip off the ends. Don’t try to do it all in one go. Think of it as like trimming a hedge, little by little. Then, repeat this process with the other side. Once you’ve cut the initial length, go back and check to make sure both sides are even. Use your comb to pull the hair down and compare. If one side is longer, just trim it a little until they match up.
This is where that big mirror comes in handy. You can see how your cut is progressing from different angles. And if you feel like it’s too long, you can always take off a bit more. Just keep in mind the golden rule: less is more. It's always better to start conservatively. This step is all about getting the basic shape and length of your bob. It doesn't need to be perfect at this stage, we're just laying the groundwork. It's all about patience and precision. Keep checking your length and making small adjustments until you reach your desired length.
Step | Action | Tips |
|---|---|---|
1 | Prep and Section | Clean, damp hair, straight part, secure clips |
2 | Cut Initial Length | Hold scissors horizontally, cut in small sections, go slow |
Refine and Check Your Bob
Okay, so you’ve got the basic shape, now we need to make it look like a proper bob. Once you’re happy with the length, it’s time to refine. You'll want to go back through your hair, section by section, and make sure that everything is even and smooth. Look for any stray hairs that are longer than the rest and give them a little snip. Use your comb to pull the hair down and check for any unevenness. This is where you're going to make sure your bob looks polished and not choppy. Think of it as like sanding down a piece of wood, you're just making it smooth and refined.
This final step can be a bit tedious, but it's totally worth it. This is where your patience really pays off. Take your time and look at your hair from all angles. If you have a friend who can help you check the back, that's even better. But if you're flying solo, just make sure you have a good mirror setup. Once you're happy with the final look, give your hair a good shake and see how it falls. A few final trims here and there, and voila! You've got a DIY bob. Now, go show off your new haircut!
Tips and Tricks for the Perfect DIY Bob Haircut
Tips and Tricks for the Perfect DIY Bob Haircut
The Golden Rules of DIY Bob Cutting
Okay, so you've made it through the cutting process, but let's chat about some golden rules to make sure your bob looks like a million bucks, not a hot mess. First, and I can't stress this enough: always cut less than you think you need. You can always go shorter, but you can’t add hair back. It's like that old saying, "measure twice, cut once." In this case, measure twice, cut a little, measure again, and then cut again if needed. And you’ll want to cut your hair when it's damp, not soaking wet, not bone dry, but just damp. It’s way easier to manage and you'll get a much cleaner cut. Also, make sure your scissors are sharp! Dull scissors are the enemy of a good haircut, and they'll just give you split ends. Finally, don't rush! This isn't a race; it's a careful art. Take your time, make small cuts, and check your progress often. This is your hair, after all, so treat it with some respect.
Dealing with Tricky Hair and Textures
Now, let's talk about the reality of different hair types. Not everyone's hair is the same, and that's okay. If you have curly hair, you might want to cut it a bit longer than you originally planned because curls tend to spring up when they dry. If you have very thick hair, you might want to section it into even smaller pieces to make sure each section is cut evenly. And if you have thin hair, you might want to use a texturizing shear to give it a bit more volume. It is all about adapting the basic technique to suit your hair. Don’t be afraid to watch videos on how to cut your type of hair. The more you know, the easier it’ll be. Remember, it’s not about perfection, but about making it work for you. Embrace your hair texture and make it your own.
Maintenance and Styling Tips
So, you've got your DIY bob, now what? Well, like any haircut, a bob needs a little TLC to stay looking its best. First, get yourself a good quality shampoo and conditioner. You want to keep your hair healthy and shiny. Also, don't be afraid to use styling products to enhance your bob. Texturizing sprays can help give it volume, while smoothing creams can tame flyaways. And finally, don't forget regular trims. Even if you're cutting your own hair, you'll want to trim it every few weeks to keep the shape sharp. Think of it as a maintenance routine for your fabulous new look. It’s not a one-and-done deal, it’s a journey.
Tip | Description |
|---|---|
Cut Less | Start with less length and cut more as needed. |
Damp Hair | Cut hair when slightly damp for easier management. |
Sharp Scissors | Use sharp hairdressing scissors to avoid split ends. |
Go Slow | Take your time, make small cuts, and check often. |
Regular Trims | Trim every few weeks to keep the shape sharp. |
Wrapping Up Your DIY Bob Journey
So, there you have it, your very own DIY bob! It might not be perfect, and that’s okay. The beauty of cutting your own hair is that it's a learning process. You've saved some cash, gained a new skill, and hopefully had a bit of fun in the process. Remember, practice makes progress. Don't be afraid to keep experimenting and tweaking until you find the perfect bob for you. If it feels a little wonky, that’s alright; hair grows back. And hey, you can always call in a professional for a quick fix if needed. The main thing is to feel confident in your style and enjoy the results. Now go out there and rock that bob you made yourself!