Table of Contents
Okay, let's be real, the thought of cutting your kid's hair at home might fill you with a special kind of dread. Visions of uneven bangs and accidental mullets dance in your head, right? I get it. But what if I told you that you can actually learn how to cut your own hair for kids, and maybe, just maybe, not completely mess it up? That's what I'm here to talk about. This isn't about becoming a professional stylist overnight. It's about saving money, avoiding salon tantrums, and gaining a little bit of DIY confidence. We'll start by figuring out what to consider before you even pick up the scissors, because a plan is half the battle won. Then, we’ll gather the right tools, you don't want to use kitchen shears, trust me. Finally, I’ll walk you through a step-by-step guide on how to actually pull off the haircut without any major disasters. Think of it as a fun experiment, where the worst-case scenario is that hair grows back, so let's do this!
Before You Snip: Planning Your Kid's Haircut

Before You Snip: Planning Your Kid's Haircut
The Pre-Cut Pep Talk
Alright, before you grab those scissors like a wild west gunslinger, let's take a breath. Cutting kids' hair isn't just about hacking away. It's about having a plan. First things first, take a good look at your kid's hair, what is the shape? Does it have cowlicks that seem to defy gravity? These little swirls can be tricky, so it's good to know where they are before you start. Think about the style you want to achieve. Are you going for a simple, straight trim? Or are you feeling brave enough to try some layers? These are crucial questions, so don't skip this step!
I know, I know, it's easy to get sucked into a YouTube rabbit hole of fancy haircuts, but let's keep it real. Unless you're secretly a hair-styling prodigy, start simple. A straight trim is your best friend. It's easy to manage and hard to mess up too badly. If you're thinking of bangs, be warned! Bangs are the gateway to a potential mullet situation. So, consider your child's face shape, and remember that bangs are not for everyone. A quick online search of "bangs for kids" can be a lifesaver. Don't just wing it, please!
Consideration | Why It Matters |
|---|---|
Hair Shape | Helps determine the haircut's overall look |
Cowlicks | Affect how hair lays and can cause uneven cuts |
Style | Straight trim, layers, bangs, etc. |
Face Shape | Helps decide if bangs will suit your kid |
Research and Face Shape
Before you start snipping, do some research online. YouTube is your friend here, search for "how to cut kids hair" and watch a few tutorials. Don't just pick the first one you see. Find a method that looks easy and manageable for you. Also, think about your kid's face shape. A round face might look better with longer, side-swept bangs, while an oval face can rock just about anything. Cutting bangs? That's a whole other level of challenge. So, tread carefully, my friend. It's best to start with a small amount and see how it looks before going full-on fringe.
Tools of the Trade: Gathering Your Haircutting Arsenal

Tools of the Trade: Gathering Your Haircutting Arsenal
The Essential Toolkit
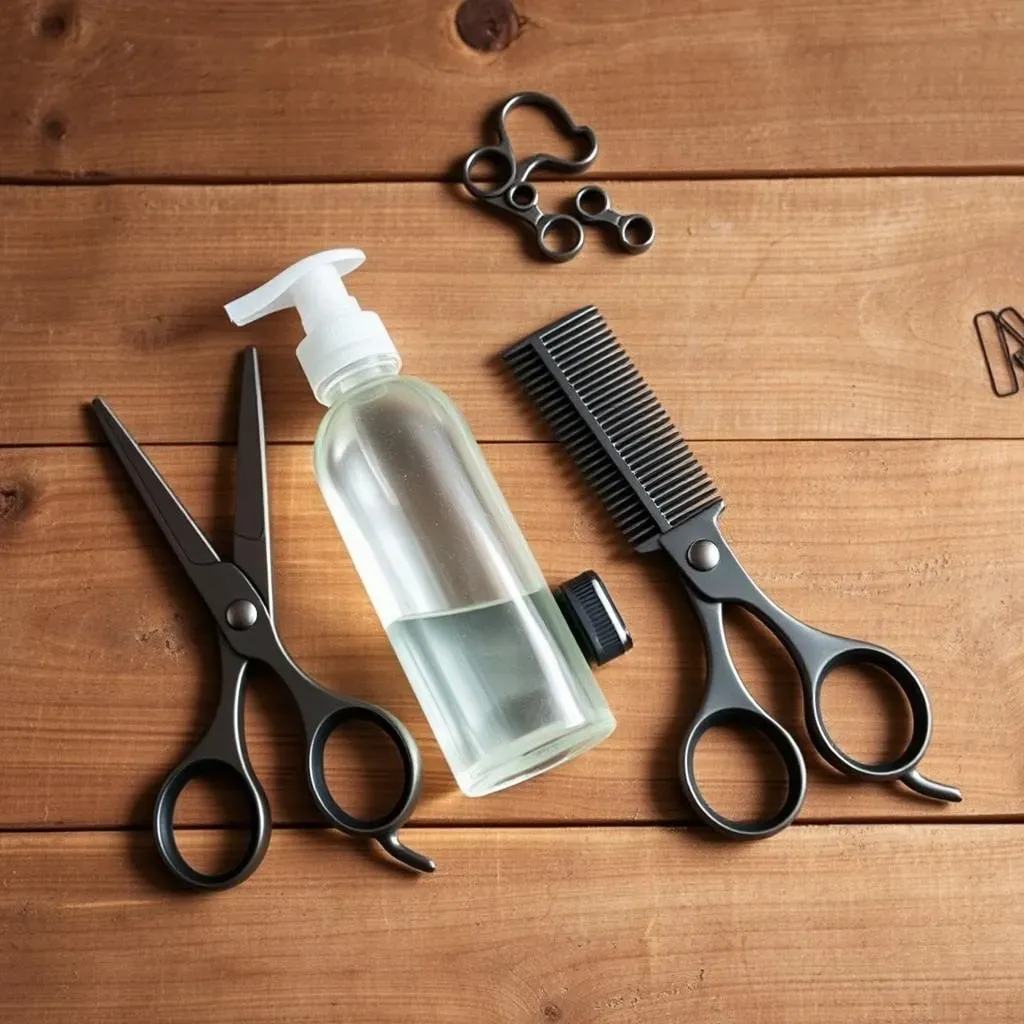
Okay, you've got your plan, now it's time to gather your gear. Don't even think about using those dull kitchen scissors you use to open food packages. That's a recipe for disaster. You need proper hair-cutting scissors, the kind with sharp blades designed to cut hair cleanly. It makes a huge difference, trust me. You’ll also want a small comb, not the wide-toothed one you use for detangling. A fine-toothed comb is perfect for sectioning and guiding the hair. And don't forget a spray bottle! Wet hair is much easier to work with than dry, frizzy hair. Think of it like preparing your canvas before painting; you need the hair to be in the right condition.
A little bit of conditioner in the spray bottle can help to make the hair even easier to manage. It's like a secret weapon for a smooth cut. It's not essential, but it does make a difference, especially with thicker hair. Finally, you might want to grab some clips. These are optional but super helpful for keeping sections of hair out of the way while you're working. They're like little assistants, holding hair in place so you can focus on the section you're cutting. Think of it as your very own hair cutting kit, ready to tackle any style.
Tool | Purpose |
|---|---|
Hair Cutting Scissors | Sharp blades for clean cuts |
Small Comb | For sectioning and guiding hair |
Spray Bottle | For wetting and managing hair |
Conditioner (optional) | To help manage and smooth hair |
Clips (optional) | To keep sections of hair out of the way |
The "Nice to Haves"
While the above are the must-haves, there are a few extra items that can make your life easier. A haircutting cape or even just an old towel can save you from having to vacuum up a mountain of hair afterwards. It's like creating a personal barber shop right in your home. Also, think about having some entertainment ready for your kid. An audiobook, a tablet with a movie or anything to keep them still. This is especially important if they're not too thrilled about getting a haircut. A distracted kid is a still kid (most of the time!).
Another "nice to have" is a good mirror, one where you can see all angles of your kid's head. This is crucial for making sure the cut is even and balanced. And finally, patience. Lots and lots of patience. This isn't a race. Take your time, and if you feel overwhelmed, take a break. Remember, the goal is a decent haircut, not a masterpiece. It's okay if it's not perfect. The hair will grow back.
StepbyStep: How to Cut Your Own Hair for Kids

StepbyStep: How to Cut Your Own Hair for Kids
The First Snip
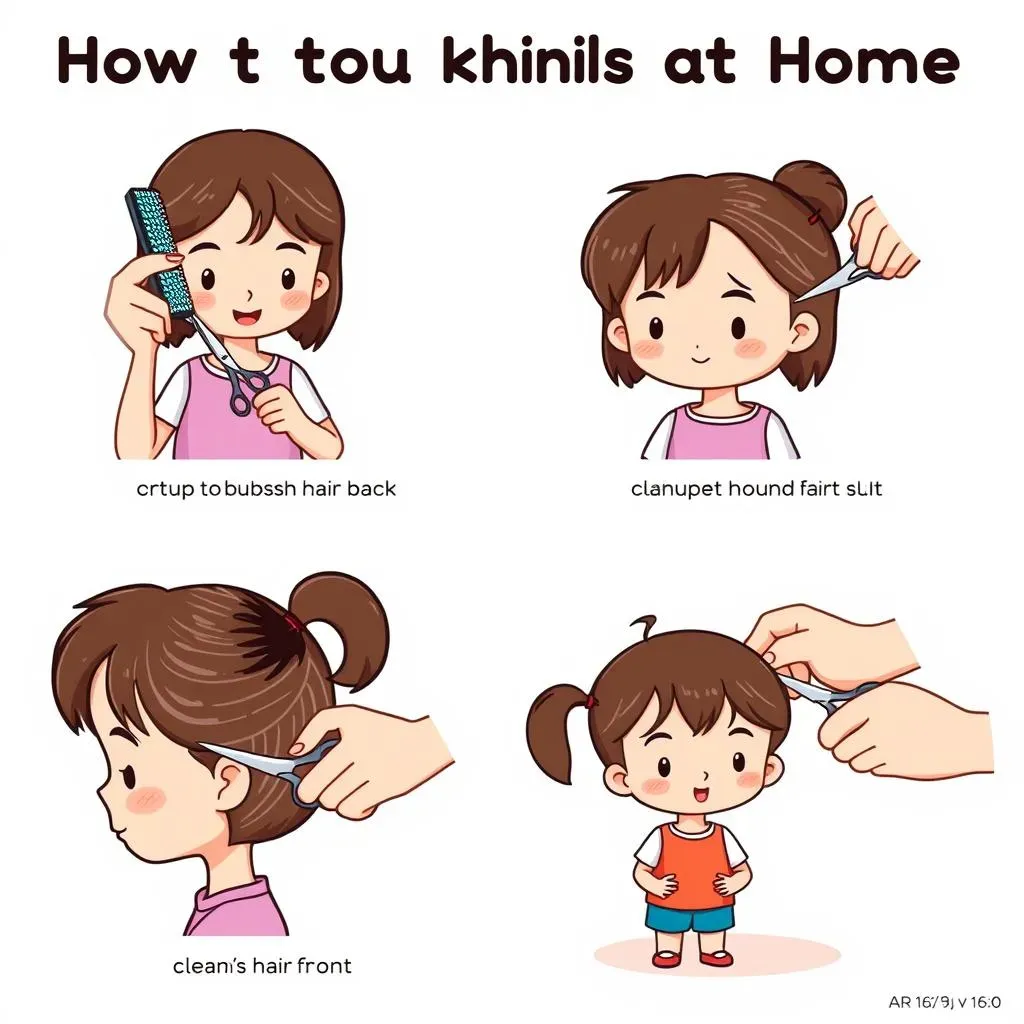
Alright, deep breaths everyone, it's time to actually cut some hair. Start by brushing all of your kid’s hair straight back. You want to start with a clean canvas, so make sure there are no tangles. Then, get your spray bottle and lightly dampen the hair. Not soaking wet, just damp enough to make it easier to manage. Now, have your kid tilt their head forward slightly. This helps the hair fall naturally and gives you a better view of the back of their head. Find the middle of the back of their head, and that’s where you make your first cut. Don't go too wild, just a small snip to get started. This first cut will be your guide for the rest of the haircut.
Remember, the key here is to go slow and steady. You're not trying to break any speed records. Take a small section of hair between your fingers, and use your first cut as a guide. Cut straight across, making sure your scissors are perpendicular to the hair for a blunt-cut look. You're essentially creating a baseline, so accuracy here is important. Don't worry if it's not perfectly straight, you can always fix it later. And if you mess up, it's just hair, it will grow back!
Working Your Way Around
Now that you’ve got your guide, it's time to work your way around the head. Start cutting on one side of the head, following the length of your first cut. Take small sections of hair, use your fingers as a guide, and snip away. It’s like following a road map, but with hair. Remember to keep your scissors perpendicular to the hair for that blunt cut. Once you’ve done one side, move to the other side, making sure you're matching the length. It's all about symmetry here, or as close as you can get to it. If you need to, have your child tilt their head to the other shoulder to help lift the hair above the shoulder. This will make it easier to cut around the side.
When you get to the front, things can get a bit tricky. This is where you have to decide if you’re adding layers or just cleaning up the front. If you're adding layers, there are a couple of ways you can do this, like the twist fringe technique. You can also cut at an angle to create a more layered look. But if you're not feeling too confident, just stick to cleaning up the front, following the same length as the rest of the hair. Remember to keep checking that you’re cutting evenly. You can always make adjustments as you go. And remember, it's always better to cut less and then cut more, rather than going too short right away.
Step | Action |
|---|---|
1 | Brush hair back and dampen it |
2 | Make the first cut in the middle of the back |
3 | Cut around one side, using the first cut as a guide |
4 | Cut the other side, matching the length |
5 | Decide on front layers or clean up |
Bangs and Final Touches
Okay, let's talk about bangs. Bangs are like the final boss of home haircuts. If you're going for bangs, be very careful, because it's easy to cut too deep, and then you have a mullet situation on your hands. Start with a small section and cut them longer than you think they should be. You can always go shorter, but you can't add hair back. Seriously, I cannot stress this enough. Cut a little bit, check, cut a little bit more, check again. It's a slow dance of snips and assessments. Remember, the goal isn't to make them perfect, just decent.
Once you’re done cutting, do a final check. Look at the hair from all angles. Are there any uneven spots? Any stray hairs that need to be trimmed? Now is the time to fix those little details. Remember, you can always make adjustments as you go. And if you mess up, it's just hair, it will grow back! It's all about learning and improving each time you try. You might not nail it the first time, but that’s okay. The key is to start small, know when to stop, and have fun with it. And if all else fails, there’s always hats!