Table of Contents
Tired of shelling out cash for haircuts? Maybe the barber's always booked, or perhaps you're just feeling a bit adventurous. Well, I get it! I've been there, staring at my reflection, thinking, "There has to be a better way." And guess what? There is! This guide is all about teaching you, yes you, exactlyhow to cut your own hair for men. We're going to tackle this together, step-by-step. First, we'll prep your hair like a pro, then I’ll walk you through using clippers on the sides and back (don't worry, it’s not as scary as it sounds). After that, we'll grab some scissors and style the top. Finally, we'll chat about those finishing touches that can make all the difference, plus a few troubleshooting tips in case things get a little... wonky. So, grab your clippers, your scissors, and maybe a towel, and let's get started. By the end, you'll be a self-haircutting master, ready to rock a fresh look without the salon price tag. Trust me, if I can do it, you definitely can!
Getting Ready to Cut Your Own Hair

Getting Ready to Cut Your Own Hair
Gather Your Arsenal
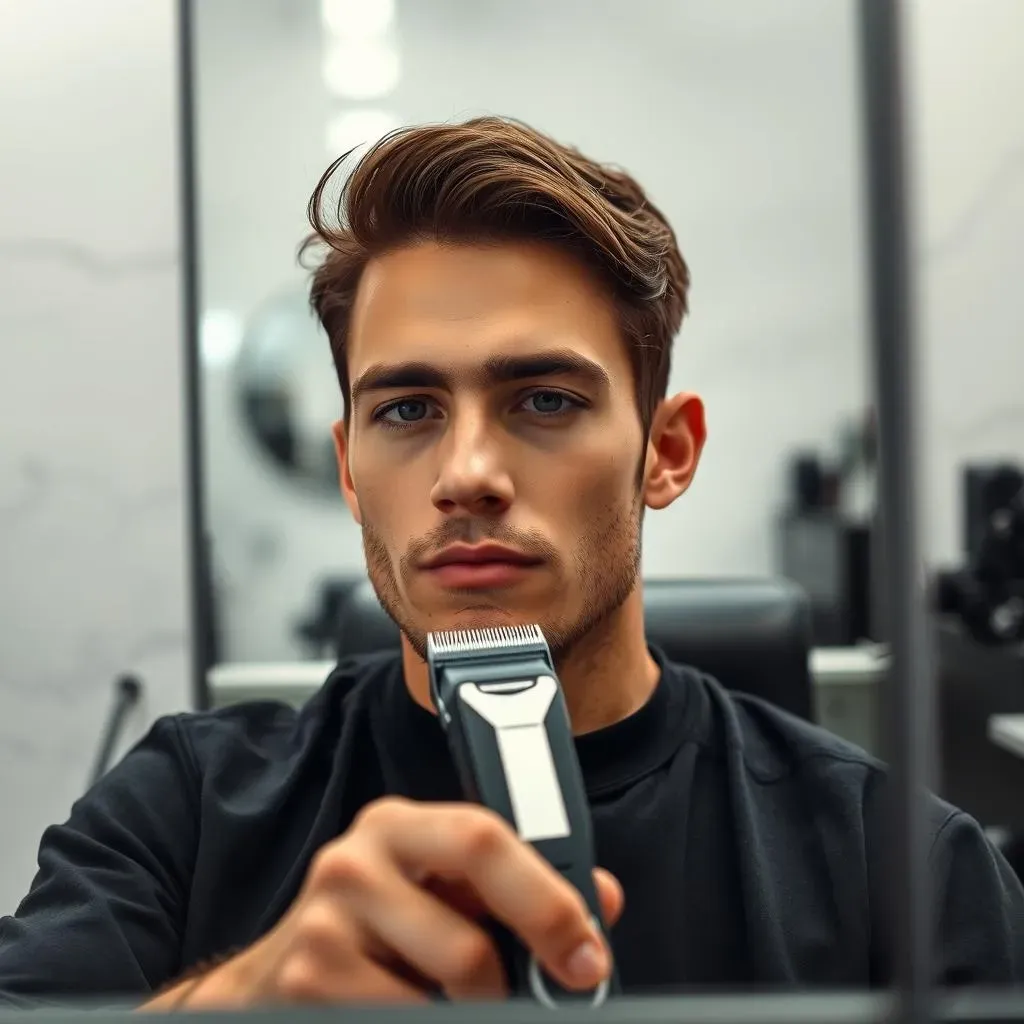
Alright, so you're ready to take the plunge and cut your own hair. Awesome! But before you go all Edward Scissorhands on yourself, you gotta get organized. Think of it like prepping for a mission. You wouldn't go into battle without your gear, right? Same deal here. First, you'll need a good set of clippers. Don't go for the cheapest ones you can find; they'll just make the job harder. Look for some with adjustable guards, it's like having a cheat code for perfect length. And, of course, you'll need scissors. Not the kitchen ones, please! Get some proper styling scissors. They're sharper and make a cleaner cut.
Next up, grab a comb, preferably one with both wide and fine teeth. It's crucial for sectioning and guiding your hair. A hand-held mirror is your best friend for this operation; you can't see what's happening back there without it. And lastly, but super important, a towel or a cape to catch the falling hair. Unless you want to be finding hair in your socks for the next month, trust me on this. It's all about setting yourself up for success, so be prepared.
Prepping Your Hair
Now that you've got your tools lined up, let’s talk about getting your hair ready. First things first: wash your hair! I know, it seems obvious, but it's super important. Clean hair is much easier to cut, and you'll get a more even result. It’s like painting a wall, you wouldn't paint on a dirty wall, would you? You want a nice clean canvas to work with. After washing, towel-dry your hair until it's damp but not dripping. If your hair is too wet, the clippers will struggle to glide through it smoothly, and the scissors won't cut as cleanly.
Also, take a good look at your hair in the mirror. Notice how it grows, where it's thick and thin. This will help you when you start cutting. Knowing your hair is like knowing the terrain before you start a hike. The more you know it, the easier it is to navigate. This step is key for a good, clean cut, so take your time and make sure you’re ready to go.
Tool | Purpose |
|---|---|
Clippers | Cut the bulk of your hair, especially the sides and back |
Styling Scissors | Trim and shape the top of your hair |
Comb | Section and guide your hair while cutting |
Hand-held Mirror | See the back and sides of your head |
Towel or Cape | Catch falling hair and keep your clothes clean |
Cutting the Sides and Back: A Clipper Guide for Men

Cutting the Sides and Back: A Clipper Guide for Men
Choosing Your Clipper Guard
Okay, so you've got your clippers, and they're probably staring back at you like a robot with too many attachments. Don't worry, it’s not as complicated as it looks. The key here is the clipper guard. This little plastic piece determines how short your hair will be. Think of it like choosing the right size of paintbrush for your art project. A smaller number means a shorter cut, and a larger number means a longer cut. If you're a beginner, it's best to start with a longer guard, like a number 4 or 5. You can always go shorter later, but you can’t glue hair back on! It’s much easier to take more off than to put it back on. If you have no idea what you want, a good starting point is a number 3 on the sides and back.
Now, before you start buzzing away like a lawnmower, it’s crucial to understand how to use the clippers. Always cut against the grain (the direction your hair grows) for a cleaner cut. Start at the bottom of your hairline and work your way up in smooth, consistent motions. Don’t press too hard, let the clippers do the work. Imagine you're gently sweeping away the hair, not trying to dig a trench in your scalp. Also, overlap each pass slightly to avoid leaving any stray hairs. It’s all about being methodical and patient, not rushing it. You'll get the hang of it after a few passes, I promise.
The Back and Sides Strategy
Now, for the real deal: cutting the back and sides. This is where the hand-held mirror becomes your best friend. Use your other mirror to see the back of your head, or position yourself in front of a mirror so you can see all angles. Start with the sides, working your way from the bottom up. Remember, smooth and consistent motions are key. Once you’ve done the sides, move on to the back. This part can be a bit tricky, so take your time. I usually go a little slower in the back and make sure I have a good view of what I’m doing. If it helps, you can use your hand to feel for any missed spots. It's like sculpting, you need to feel the shape as you go. You might feel a bit like you’re doing a weird dance, but hey, nobody’s watching, right?
Once you've finished with the clippers, take a step back and check your work. Are there any uneven spots? If so, go back over them with the clippers. It’s all about making sure the length is consistent. Remember, you can always go shorter, so don’t be afraid to make adjustments. And if you are going for a fade, use a smaller guard setting at the bottom and gradually move to a longer guard as you go up. It’s like creating a gradient, making it smoother and less harsh. Don’t be afraid to experiment, but always remember to be patient. This is a skill that gets better with practice.
Clipper Guard Number | Hair Length (Approximate) | Best Use |
|---|---|---|
1 | 1/8 inch | Very short buzz cut, close to the skin |
2 | 1/4 inch | Short buzz cut, common for fades |
3 | 3/8 inch | Slightly longer buzz cut, popular for sides and back |
4 | 1/2 inch | Longer buzz cut, good for beginners |
5 | 5/8 inch | Longer buzz cut, good for beginners |
Styling the Top: Scissors Techniques for Men

Styling the Top: Scissors Techniques for Men
Sectioning Your Hair
Alright, so the sides and back are looking sharp, but now it’s time to tackle the top. This is where the scissors come in, and it’s a whole different ball game than using clippers. The key here is to work in sections. Think of it like dividing a pizza before you eat it. You wouldn't just grab a huge chunk, would you? Instead, use your comb to create a clear section of hair, usually starting at the front and working your way back. You can use clips to keep the other hair out of the way. The more precise you are with your sections, the more even your haircut will be. It might seem like a pain, but it makes a huge difference in the end result.
Once you’ve sectioned off a part of your hair, comb it straight up. This gives you a clear view of how much you need to cut. Use your fingers to hold the hair between them, and decide how much length you want to remove. Remember, it’s always better to cut less than you think you need. You can always go back and trim more later. It is similar to painting, you always start with small strokes. So, take your time, be precise, and don't rush. This step is all about setting the foundation for a great-looking top.
The Point Cut Method
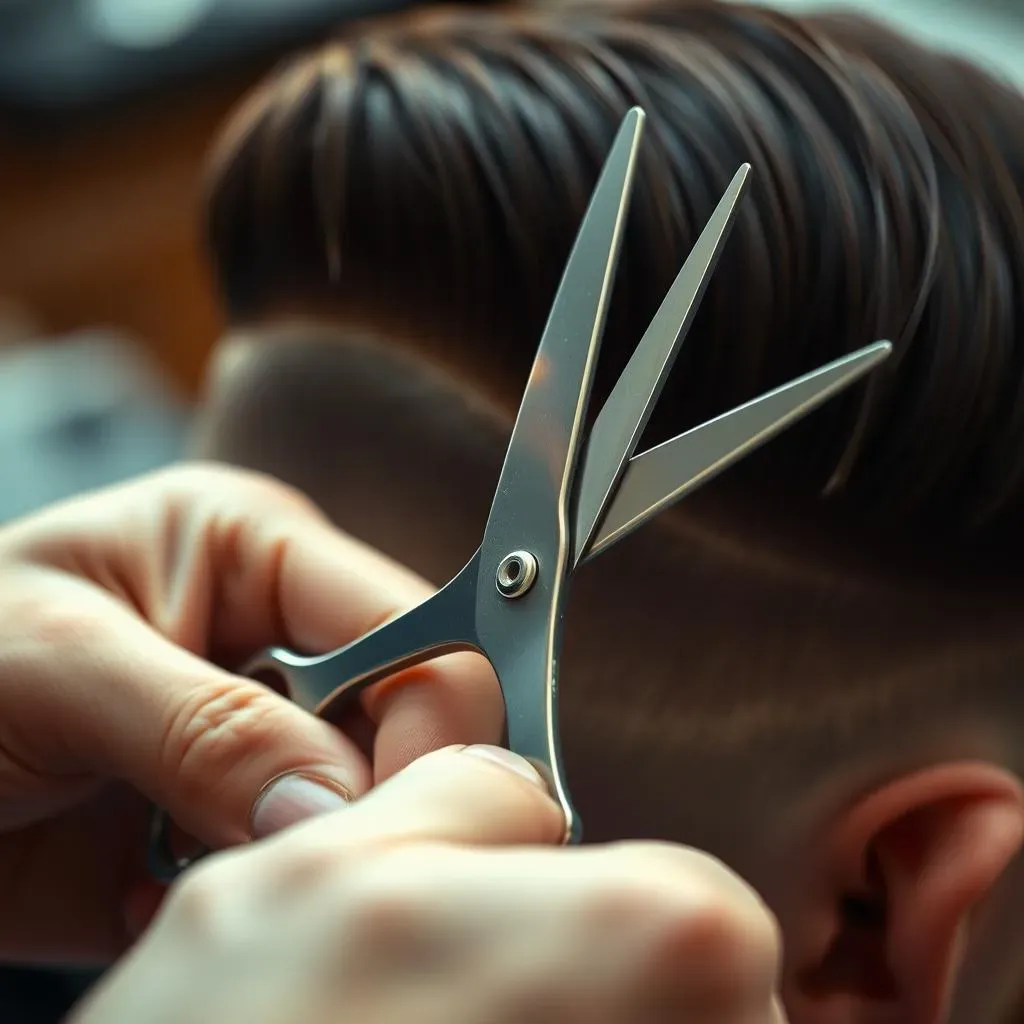
Now that you've got your section ready, let's talk about how to actually cut it. The point cut method is super popular for guys. It’s where you hold your scissors pointing upwards, and make small, angled snips into the hair. This technique creates a more textured, natural look, and it's less likely to leave you with a harsh, blunt line. It’s like creating a jagged edge on a piece of paper, instead of cutting a straight line. The point cut method gives your hair a bit of movement and prevents it from looking too boxy.
When you’re using the point cut method, don’t make big, dramatic cuts. Instead, work in small, precise snips. It's like using a scalpel instead of a butcher knife. You want to be in control, and make small changes until you get the shape you want. Also, try to cut at different angles, this will add to the texture. It’s a bit like sculpting, you’re adding and taking away little bits until you achieve the perfect shape. Remember, the goal here is to create a more natural, textured look, rather than a uniform, blunt cut. Now, keep going, section by section, until you’ve trimmed all the hair on top.
Scissors Technique | Description | Best For |
|---|---|---|
Point Cut | Making small, angled snips with the scissors pointing up | Creating texture and avoiding blunt lines |
Slide Cut | Sliding the scissors along the hair shaft | Thinning out thick hair and adding movement |
Layering | Cutting different lengths to create volume and shape | Creating dimension and style |
Blending and Texturizing
Once you’ve cut the top to the desired length, it's time to blend it with the sides and back. This is where you make sure everything flows together nicely. Comb your hair and look for any areas that look too bulky or uneven. Use the point cut method again to soften those areas and create a seamless transition. It’s like smoothing out the edges of a painting to make it look more cohesive. Remember, you're trying to achieve a natural-looking blend, not a sharp, abrupt change in length.
If you have thick hair, you might want to consider using a texturizing technique. This can involve using thinning shears or the point cut method to remove some bulk and add movement to your hair. It’s like removing the excess weight from a sculpture to make it look more refined. However, be careful not to overdo it. It's always better to remove less hair at first and then go back and remove more if needed. The goal is to add texture and volume without making your hair look too thin. This step is all about making sure your haircut looks polished and well-balanced.
Finishing Touches and Troubleshooting Your SelfHaircut

Finishing Touches and Troubleshooting Your SelfHaircut
Cleaning Up the Edges
Alright, you’ve made it through the bulk of the haircut, but now it's time for the details. Think of it like adding the final brushstrokes to a painting. The edges, especially around your ears and neckline, are crucial for a clean, polished look. If you have a trimmer, this is where it really shines. Use it to carefully tidy up any stray hairs and create a crisp, defined line. If you don’t have a trimmer, you can use your clippers without a guard, but be very cautious. It’s like using a fine-tipped pen versus a marker. You want precision, not a big mess. Go slowly, use a mirror to see what you’re doing, and don’t be afraid to make small adjustments as you go. A clean edge can make all the difference in how your haircut looks overall, so don’t skip this step!
When you’re cleaning up your neckline, try to create a natural curve, rather than a straight line. It’s more flattering and less harsh. Think of it like shaping a garden edge, instead of cutting it straight. Also, make sure both sides are even. If you're having trouble seeing, ask someone for help, or use two mirrors to get a good view. It’s like checking the symmetry of a building, everything needs to be aligned. And remember, this is about adding the final touches, so take your time and focus on the details. It’s these small things that will elevate your self-haircut from okay to awesome.
Dealing with Mistakes
Okay, let’s be real, sometimes things don’t go as planned. You might have cut a bit too short, or made a section uneven, it happens. Don’t panic, it’s not the end of the world. Think of it as a learning experience, even the best barbers make mistakes. The first thing to do is take a deep breath and assess the damage. If it’s just a small uneven spot, you can usually fix it with a little more trimming. But if you’ve accidentally created a bald patch, well, that’s a bit more tricky. It's like dropping your phone in water, you have to assess the damage before you try to fix it.
If you’ve made a big mistake, you have a few options. The first is to try to blend it as best as you can, using your scissors and clippers to smooth out the transition. Another option is to go shorter all around, this way the mistake will be less noticeable. And if all else fails, it’s okay to admit defeat and go to a professional. They’ve seen it all before, and they can usually fix even the most disastrous haircuts. It’s like taking your car to a mechanic, sometimes it’s best to leave it to the experts. The key thing is not to get discouraged. Every time you cut your own hair, you’ll get a little better, so keep practicing and don’t give up.
Problem | Solution |
|---|---|
Uneven Sides | Use clippers to even out the length, working slowly and carefully. |
Choppy Top | Use the point cut method to blend and soften the lines. |
Mistakes around the ears | Clean up with trimmer, use scissors if you are careful, or go to a barber |
Uneven neckline | Use a trimmer for a clean line, or go to a barber |
Styling and Final Check
Finally, now that you’ve finished cutting, it’s time to style your hair. This will give you a better idea of how it looks and whether you need to make any more adjustments. Grab your favorite styling product, whether it's wax, gel, or clay, and style your hair as you normally would. Then, take a good look in the mirror. Are there any spots that look uneven or need more trimming? If so, go back and make those final adjustments. It’s like putting on your favorite outfit after a new haircut, you want to make sure everything looks perfect. Pay attention to the details and don’t be afraid to make small changes until you are happy with the result.
And that's it, you’ve successfully cut your own hair! Give yourself a pat on the back; it's not easy to do, and you should be proud of your accomplishment. Remember, it takes practice to get good at this, so don't be discouraged if it's not perfect the first time. The more you do it, the better you will become. It’s like learning any new skill, patience and persistence are key. And who knows, maybe you'll even start enjoying it. And if you are not satisfied, remember that you can always go to a barber shop! Now go out there and show off your new haircut!