Table of Contents
Got a big event coming up? A wedding, a party, or maybe just a really important selfie session? You want to look your absolute best, and that often starts with a great haircut. But what if you're short on time or cash for a salon visit? That's where learninghow to cut your own hair for special eventscomes in! It might sound scary, but with the right tools and a bit of know-how, you can totally rock a DIY trim. This article is your guide to getting that fresh-from-the-salon look without stepping foot in one. We'll walk you through the essentials: what tools you need, how to prep your hair, and the best techniques for different styles. Think of it as your crash course in at-home hairstyling. We will also cover when it's better to throw in the towel and call a professional, because let's be real, not every cut is DIY-friendly. So, grab your scissors, and let’s get snipping!
Tools and Prep for Cutting Your Own Hair for Special Events

Tools and Prep for Cutting Your Own Hair for Special Events
Gathering Your Arsenal
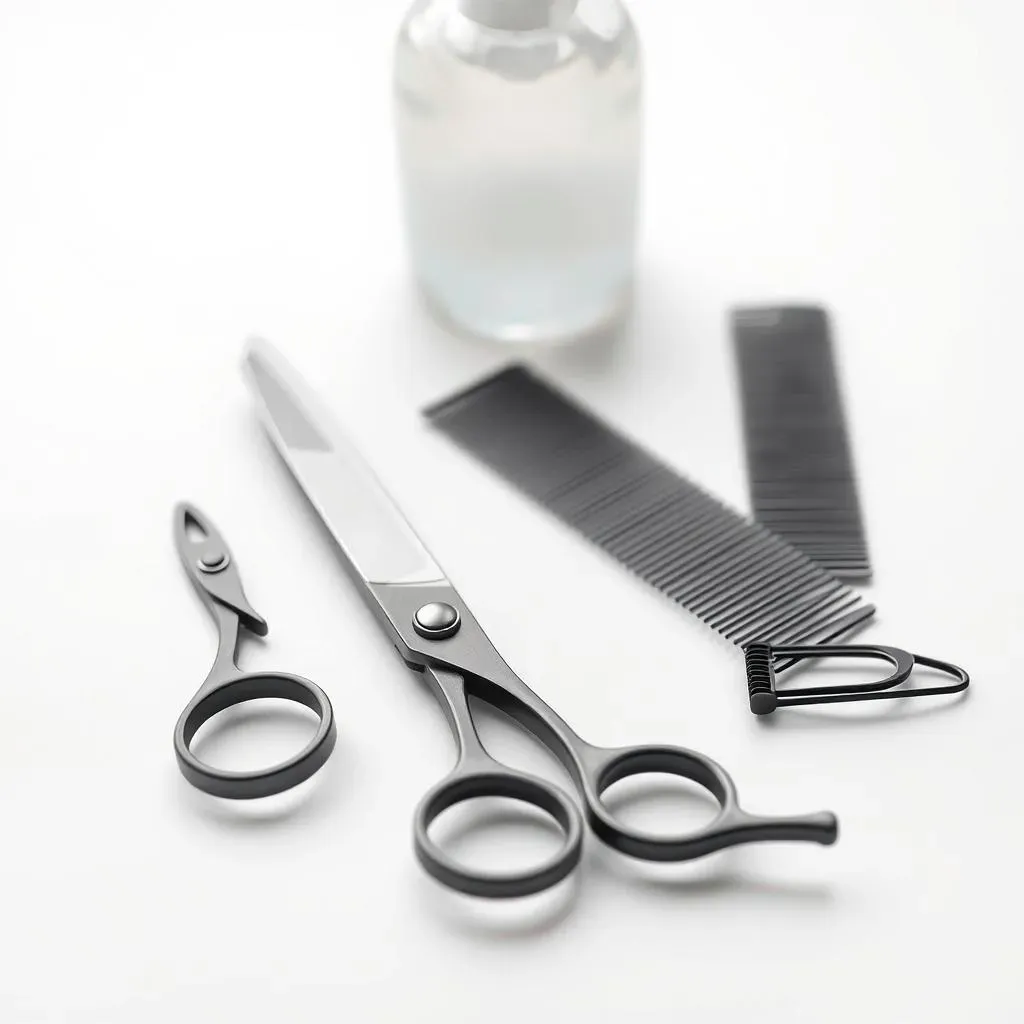
Okay, so you're ready to take the plunge and cut your own hair. First things first, let's talk tools. You wouldn't try to build a house with a plastic spoon, right? Same goes for hair. Forget those dull kitchen scissors – we need the real deal. Invest in a good pair of sharp, professional hair shears. They make a world of difference, trust me. Think of them as the lightsaber to your Jedi hairstylist. You'll also want a comb, preferably a fine-tooth one for sectioning. And don't forget clips! These little guys are your best friends for keeping hair out of the way. A spray bottle with water is also essential to keep your hair slightly damp during the cut, this makes it easier to manage, like a calm sea before you sail.
Prep Work is Key
Before you even think about picking up those shears, you need to get your hair ready. Start with clean, detangled hair. A good wash and condition will get rid of any product buildup and make it easier to work with. Now, here's a little secret: Don't cut your hair when it's soaking wet. It's way too easy to cut off more than you intended because wet hair is longer than dry. Instead, let it dry a little bit, so it's damp, not dripping. If you have curly hair, you might want to cut it dry, as curls can bounce up quite a bit when dried. Think of your hair prep as setting the stage for a great performance. It's all about laying the groundwork, so you can shine!
Tool | Why You Need It |
|---|---|
Sharp Hair Shears | For clean, precise cuts and healthy hair |
Fine-Tooth Comb | For sectioning and smoothing hair |
Hair Clips | To keep sections of hair out of the way |
Spray Bottle | To keep hair slightly damp during cutting |
Lighting and Location
Finally, let’s talk about where you're going to do this. Bad lighting is the enemy of a good haircut. You need to be able to see what you're doing, so find a spot with bright, natural light if possible. A bathroom mirror is usually a good choice, but make sure you can see the back of your head too. Maybe use another mirror or a well-lit space. You want to be comfortable, and have enough space to move around. And for the love of all that is holy, put down some old towels or newspaper to catch the trimmings. You do not want to be finding stray hairs for the next month. Think of your setup like a surgeon prepping for an operation. It’s all about precision, clear visibility and keeping things tidy.
StepbyStep Guide: How to Cut Your Own Hair for Special Events

StepbyStep Guide: How to Cut Your Own Hair for Special Events
Start with a Trim
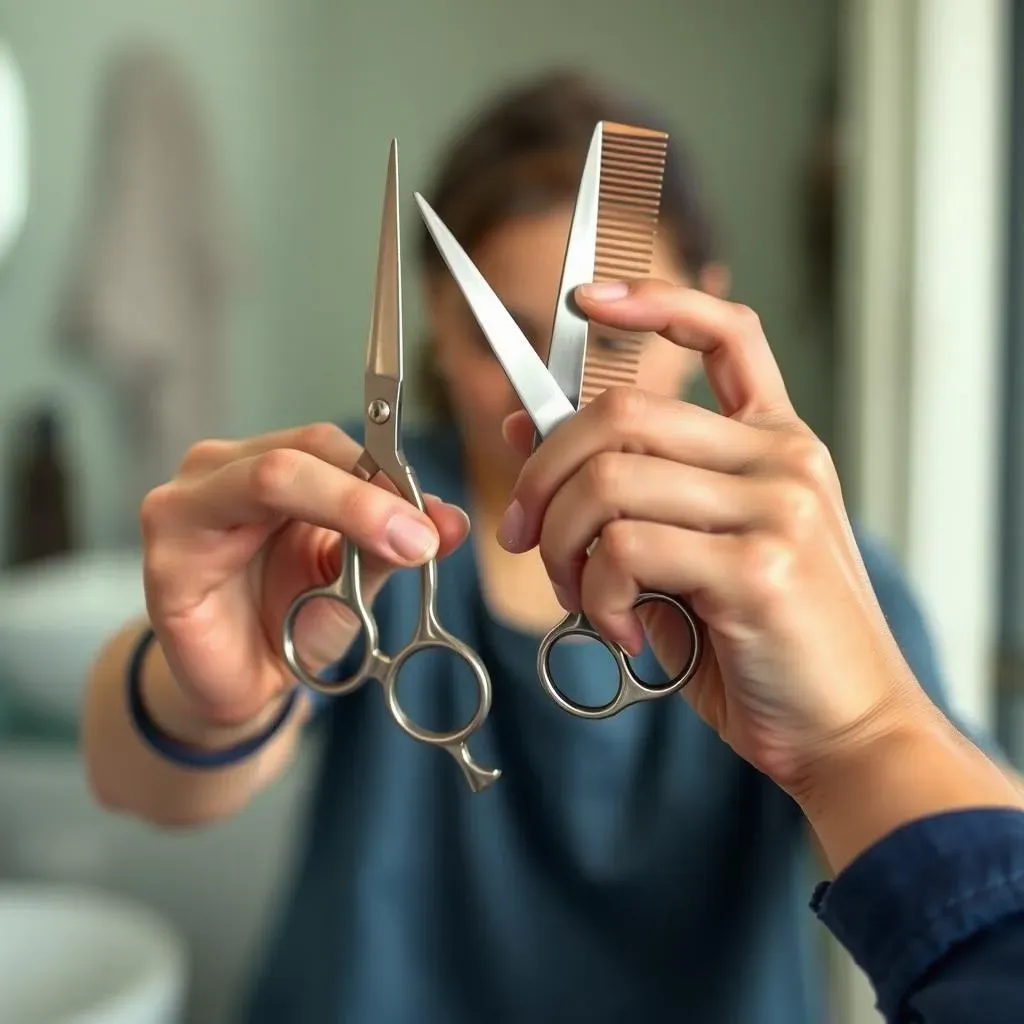
Alright, you’ve got your tools and your hair is prepped. Now, it’s time for the main event. But hold your horses, don't go all Edward Scissorhands just yet. The key here is to start small. We're talking baby steps. Begin by trimming just the ends of your hair. Think of it like dusting off a bookshelf, you’re just getting rid of the excess. If you have straight hair, you can use your comb to section off your hair horizontally and then trim straight across. For curly hair, you'll want to work with your natural curl pattern, snipping individual curls that look longer than the others. Remember, you can always cut more, but you can't un-cut it. This is where patience becomes your best friend. Go slow, and keep checking your reflection to make sure it looks even. It’s like sculpting, a bit at a time.
Now, here's a tip I wish I'd known sooner: always cut with your scissors pointing slightly upward. This helps to create a softer, more natural look, and avoids harsh, blunt lines. It's like giving your hair a gentle hug instead of a sharp pinch. And don't try to take off too much at once. It's better to go back and trim a little more than to end up with a haircut you regret. Think of this process as a dance with your hair. You lead, but your hair has its own rhythm, so be gentle and follow its flow.
Step | Action | Why it Matters |
|---|---|---|
1 | Start with a Trim | Prevents cutting too much at once |
2 | Cut with Scissors Pointing Upward | Creates a softer, natural look |
3 | Go Slow | Avoid mistakes and ensure evenness |
Layering and Shaping (with Caution)
Okay, so you've mastered the basic trim. Now, if you're feeling adventurous, you might be thinking about adding some layers. Now, this is where things can get a bit tricky, so proceed with caution. Layering is like adding levels to a building. It can give your hair more volume and movement, but if done wrong, you could end up with a lopsided mess. If you have long hair, a simple way to add layers is to gather your hair into a high ponytail, pull it forward, and then trim the ends. This creates soft layers that frame your face. For shorter hair, you might want to use a technique called point-cutting, which involves snipping into the ends of your hair at an angle. This creates texture and avoids blunt lines. It’s like adding spices to a dish, you want to add just enough to enhance the flavor, not overpower it.
However, if you're aiming for a more complex cut, like a blunt bob or a pixie cut, I'd strongly suggest you leave that to the professionals. These cuts require a lot of precision and technique, and it's easy to make a mistake that's hard to fix. Think of it like trying to rebuild a car engine without any experience. It’s best to leave it to the experts. However, if you're just looking to add some simple layers or a few face-framing pieces, you can do it, just be careful, take your time, and watch some tutorials to make sure you're doing it right. It’s like learning a new dance move; practice makes perfect.
When to Call a Pro: Avoiding Haircut Disasters Before Your Special Event

When to Call a Pro: Avoiding Haircut Disasters Before Your Special Event
Big Changes, Big Risks
Okay, so you’ve been doing some home trims, and you're feeling pretty confident. But here's the thing: some haircuts are best left to the pros. If you're thinking about a major style overhaul, like going from long hair to a pixie cut or getting a blunt bob, it's time to step away from the scissors. These kinds of cuts need a lot of precision and experience, and honestly, it's just too easy to mess them up at home. Imagine trying to build a complicated piece of furniture without the instructions – yeah, it's probably not going to end well. A professional stylist has the training and the eye to make sure the cut is even, balanced, and flattering to your face shape. It’s like having a master chef prepare a gourmet meal versus trying to whip it up yourself without a recipe. Sometimes, you just need the expert touch.
Also, if you're thinking about adding bangs for your special event, I'd also say, proceed with caution. Bangs are tricky, they can make or break a look, and they are not as simple as they seem. One wrong snip and you might end up with a fringe that's too short, too thick, or just plain wonky. If you already have bangs, you can probably manage a trim, but if you're new to the fringe game, it’s better to leave it to a professional. Think of bangs as the frame to a picture, they need to be just right to enhance the overall look, not distract from it.
Color and Chemical Treatments
Now, let’s talk about color. If you're planning on dyeing your hair for your special event, please, please do not try to do it yourself, especially if you're going for a big change. Box dye might seem tempting, but it can be unpredictable, and it can damage your hair. Remember that time you tried to bake a cake from scratch and ended up with a flat, burnt mess? Yeah, hair dye can be like that. A professional colorist can assess your hair, choose the right color, and apply it properly to avoid disasters like patchy color, brassy tones, or fried ends. They also know how to do chemical treatments like perms or relaxers, which are definitely not DIY projects. It's like trying to fly a plane without training, it’s simply not a good idea.
Situation | Recommendation |
|---|---|
Major haircut changes | Consult a professional stylist |
Adding new bangs | Consult a professional stylist |
Hair coloring or chemical treatments | Consult a professional colorist |
Timing is Everything
Finally, let's talk about timing. If you’re planning on getting a haircut or color for a special event, please don’t wait until the last minute. You need to give yourself some time to fix any mistakes or to get used to a new style. I think one or two weeks before your event is good time. This gives you enough time to adjust to your new look, and if for some reason, you don't like it, you can get it fixed. It's like practicing a speech before giving it in front of an audience, you need to do it in advance to make sure you feel confident and prepared. So, if you're unsure about cutting your own hair, or if you're planning a major change, please book an appointment with a professional. It's better to be safe than sorry, especially when you want to look your absolute best for a special event. It’s like having a safety net, it’s there in case you need it.