Ever looked at your reflection and thought, "I could totally fix this myself"? You're not alone! Many women consider cutting their own hair at home, whether it's to save some cash, avoid a salon visit, or just for the fun of it. But before you grab those kitchen scissors, let's be real: it's not quite as simple as it looks. This article will be your go-to guide on how to cut your own hair for women. We'll start by covering the essential tools you'll need and how to get your hair prepped. Then, we’ll take you through a step-by-step method for a basic trim. Finally, we'll explore specific methods for different styles, like layers or bangs. We're not saying you'll become a pro overnight, but with our tips, you'll be well on your way to a great DIY haircut. So, are you ready to take the plunge? Let's get started!
Essential Tools and Prep for Cutting Your Own Hair at Home

Essential Tools and Prep for Cutting Your Own Hair at Home
Gather Your Arsenal
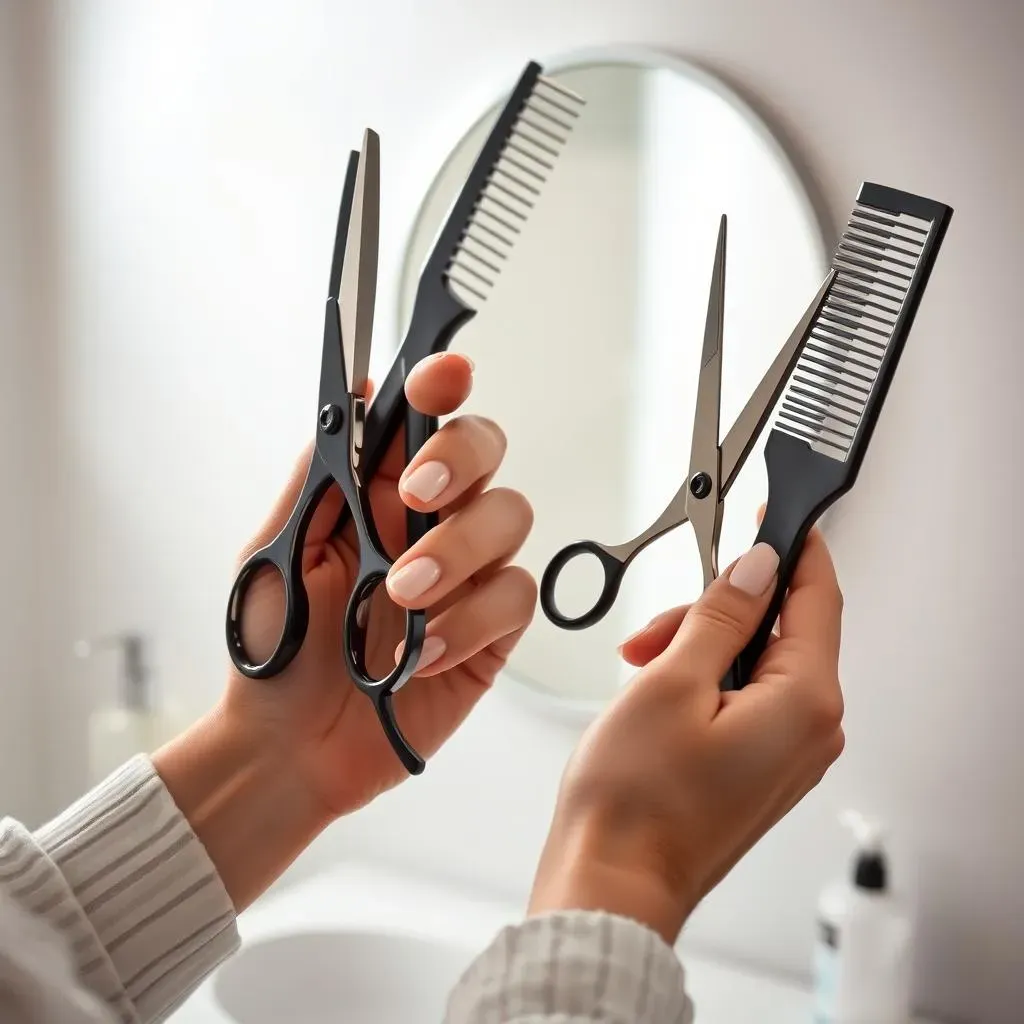
Alright, so you’re thinking about cutting your own hair? Awesome! First things first, you can't just grab any old scissors. Imagine trying to sculpt a masterpiece with a butter knife – that's what using dull scissors on your hair is like. You absolutely need sharp, professional-grade hair shears. These are different from your craft or kitchen scissors; they’re designed for a clean, precise cut, reducing the chances of split ends. Think of them as the Excalibur of your hairstyling adventure. Next, a good comb is crucial. Choose one with fine teeth for detangling and a wider set for sectioning. And don't forget clips! These little guys will keep your hair out of the way while you're working on different sections.
You'll also want a spray bottle filled with water to keep your hair slightly damp, not soaking wet. It’s much easier to manage when it's not dripping. Lastly, have a mirror that lets you see all angles, and a good space to work in. I usually recommend a bathroom or somewhere easy to clean up. Trust me, you'll want to sweep up those little hair bits and not find them everywhere for weeks! Oh, and a cape or old towel around your shoulders isn’t a bad idea either, unless you're going for a hairy sweater look.
Prepping Your Hair for the Big Chop
Okay, you’ve got your tools, now it’s time to get your hair ready. Start with clean, detangled hair. Seriously, nobody wants to cut through knots. It's like trying to paint a masterpiece on a wrinkled canvas, it just won’t work. Wash your hair with your usual shampoo and conditioner, then gently comb through it. Once it's smooth and tangle-free, decide if you want to cut it wet or dry. Most pros agree that for beginners, cutting on slightly damp hair is the way to go, especially if you’re just trimming. If you have curly or textured hair, you may find cutting it dry gives you more control because you can see how it'll fall naturally.
Before you even think about snipping, make sure you've got a plan. What exactly are you trying to achieve? Just a trim? Layers? Bangs? Having a clear idea will help you avoid random, panicked snips. I like to take a moment to visualize the end goal. It's like having a map before a hike; it keeps you from wandering off into the weeds. And remember, it’s always better to cut less than you think you need. You can always go shorter, but you can’t magically grow it back!
Tool | Purpose | Why it's Important |
|---|---|---|
Professional Hair Shears | Cutting hair | Clean cuts, prevents split ends |
Fine-tooth and Wide-tooth Comb | Detangling and Sectioning | Helps manage hair, creates even sections |
Hair Clips | Holding sections of hair | Keeps hair out of the way |
Spray Bottle | Dampening hair | Makes hair easier to cut |
StepbyStep Guide: How to Cut Your Own Hair at Home

StepbyStep Guide: How to Cut Your Own Hair at Home
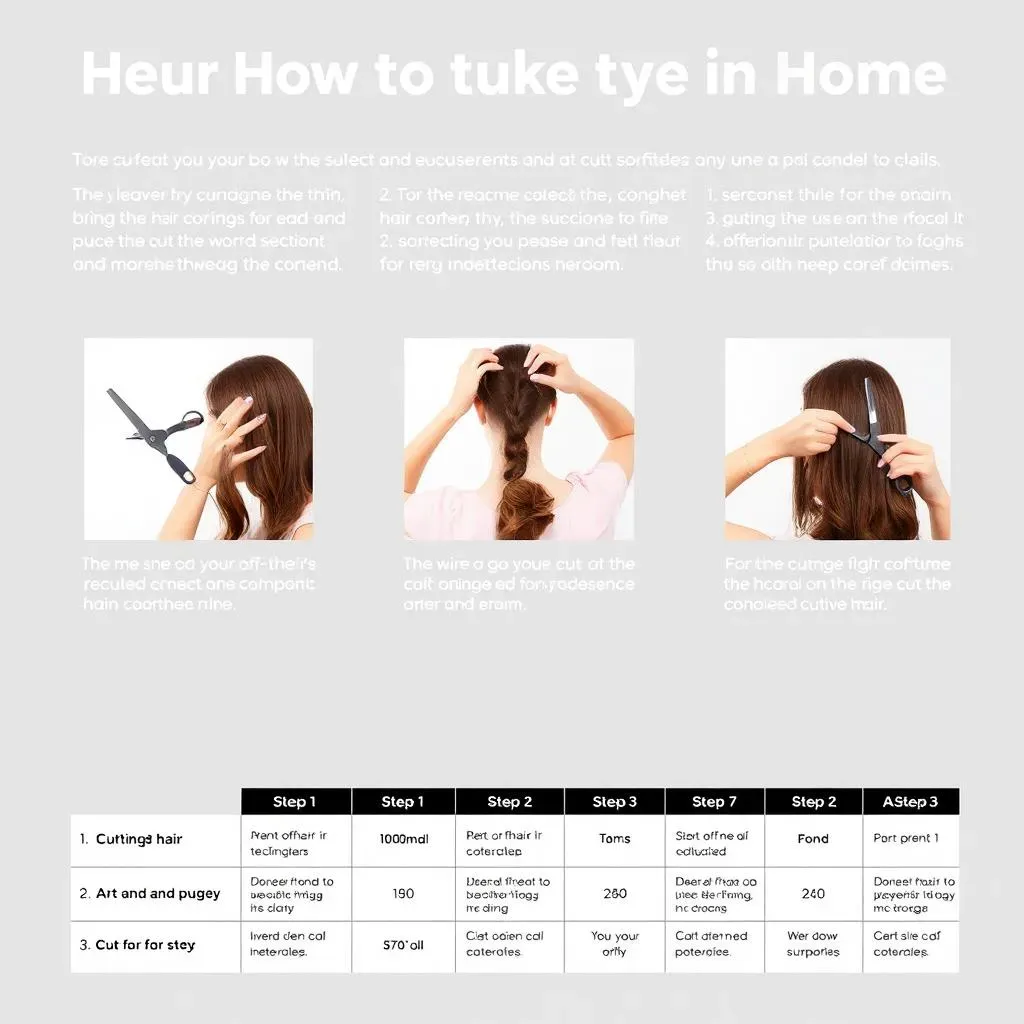
Okay, so you're ready to actually cut your hair? Deep breaths! First, section your hair. This is key. Imagine your head is a pie, and you’re dividing it into slices. Use your comb to create a center part, from your forehead to the nape of your neck. Then, divide each side into two sections, one above your ear and one below. Clip each section out of the way, leaving the bottom section at the back of your neck to start. Now, take a small section of hair, about an inch wide, and comb it straight down. Use your fingers to hold the hair at the length you want to cut. Remember, go longer than you think you need to. Hold your shears horizontally and snip across. Do not, I repeat, do not hack at it. Small, controlled cuts are the name of the game.
Continue this process, taking small sections of hair from the bottom, comparing with the previous section you cut as a guide, and snipping away. Move your way up the back of your head, section by section. Once you’ve done the back, unclip the side sections and do the same, always comparing your lengths to the back section. If you’re just trimming, you'll be making very small cuts. If you're going for layers, that's a whole different ball game and we'll get to that in the next section. It's like following a recipe; you need to measure carefully and go step by step. Don’t rush, take your time, and keep checking your lengths in the mirror.
Step | Action | Why? |
|---|---|---|
1 | Section Hair | Keeps hair organized and manageable. |
2 | Comb a Small Section | Provides a clean line to cut. |
3 | Hold at Desired Length | Ensures you cut the right amount. |
4 | Snip Horizontally | Creates a straight, even cut. |
5 | Compare and Continue | Maintains consistency in length. |
Specific Techniques: How to Cut Your Own Hair for Different Styles

Specific Techniques: How to Cut Your Own Hair for Different Styles
Layering It Up: The Ponytail Method
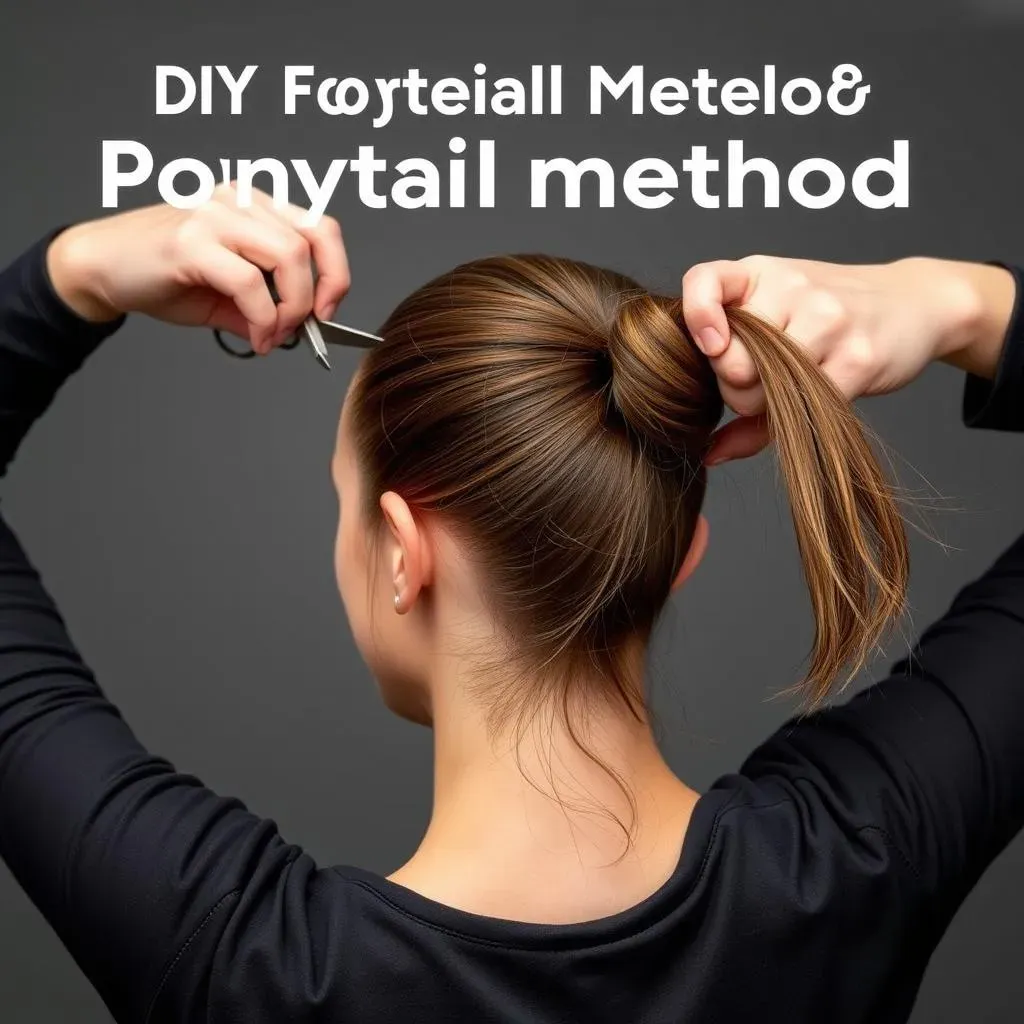
Alright, so you're feeling a bit more adventurous and want to tackle layers? It's not as scary as it looks, promise! The ponytail method is a pretty popular way to get some layers without too much fuss. Start by pulling all your hair into a high ponytail right on top of your head. Make sure it's smooth and there are no bumps. The higher the ponytail, the more dramatic the layers will be. Now, comb the ponytail straight up, and, using your fingers as a guide, decide how much length you want to cut off. Remember, it's better to cut less than more, especially when you're trying this the first time. Snip straight across, and then let your hair down. You should have some nice, face-framing layers! You can always go back and refine them if you want more.
This method works because it creates a natural, blended effect. The hair at the very top of your head becomes the shortest, and the rest falls into longer layers. It's like a waterfall of hair, cascading down. Now, if you want to add more layers, you can repeat this with a lower ponytail, but honestly, start with one and see how you like it. It’s all about experimenting and finding what works for you. This technique is like a shortcut to salon-style layers, and it's really quite satisfying when you nail it. Just make sure your scissors are sharp. Dull scissors will just make a mess. I can't stress that enough!
Layering Technique | Description | Result |
|---|---|---|
High Ponytail Cut | Hair in a high ponytail, cut straight across | Creates face-framing layers, more dramatic |
Low Ponytail Cut | Hair in a low ponytail, cut straight across | Subtle layers, less dramatic |
Bangs and Beyond: Trimming and Shaping
Bangs can be a bit of a beast, I get it. They're right there in your face, and one wrong snip can throw off your whole look. If you're a beginner, I’d actually suggest you avoid cutting a full set of bangs for the first time. But, if you already have bangs and they're just getting a bit long, you can totally trim them yourself. The key is to cut them dry, so you can see exactly how they'll fall. Start by combing them straight down and then hold the section you want to cut between your fingers. Use your scissors to snip upward, not straight across. This creates a softer, more natural look, rather than a blunt line that looks like a Lego haircut. You can also use the point of your scissors to very slightly remove any bulk. Think of it like sculpting, not hacking. Start small, and check your progress often.
Now, if you are feeling like you want to take on more, like trimming a pixie cut, you need clippers, and that's another level of commitment. You'll need different guards to get the right length, and it's really important to go slow and steady. It's all about taking small sections and making sure you're blending everything evenly. I highly recommend watching some YouTube tutorials before you attempt a full-on pixie trim. It's like learning a new language, you need to immerse yourself in it! And remember, it's always better to start with a longer guard, and work your way shorter. You can't add hair back, right?
- Always cut bangs dry to see how they fall naturally.
- Snip upwards to create a softer edge.
- Use clippers with guards for pixie cuts.
- Start with longer guards and work shorter.