Table of Contents
Ever looked at a stylish bob and thought, "I could totally do that myself?" Well, you might be right! Cutting your own hair can seem scary, especially when you're aiming for a precision style like a bob. But with the right tools and a bit of know-how, it's absolutely achievable. This guide is going to break down the process of how to cut your own hair in a bob, making it less intimidating and more like a fun project. We'll start by gathering everything you'll need – think sharp scissors, not the ones for paper! Then, we'll go through the actual cutting, step-by-step, so you can follow along and see how it's done. Finally, we'll talk about keeping your new bob looking fabulous. No more waiting for salon appointments or spending a fortune; let's get started on your DIY bob journey!
Gathering Your Tools for the Perfect Bob

Gathering Your Tools for the Perfect Bob
The Essential Toolkit
Alright, so you're ready to take the plunge and cut your own bob? Awesome! But before you grab any old scissors, let's talk tools. Think of it like building a house; you wouldn't use a butter knife to cut wood, right? Same goes for your hair. You're going to need a few specific things to get the job done right. First up, we need some proper hair-cutting shears. These are different from regular scissors—they're sharper and designed to cut hair cleanly, avoiding those dreaded split ends. You can find these online, at beauty supply stores, or even some pharmacies. Don't skimp on quality here; it makes a HUGE difference.
Next, you'll want a comb. Not just any comb, though. A fine-tooth comb is your best friend for sectioning and making sure everything's even. Think of it as your hair's personal ruler. You'll also need some hair clips to keep the sections you're not working on out of the way. Those little duckbill clips are great for this. And finally, a mirror – or two! You'll need to see what you're doing, so make sure you've got a good setup. I like using a hand mirror in addition to my wall mirror to check the back of my head. It's like having a second set of eyes.
Tool | Why You Need It | Where to Find It |
|---|---|---|
Hair Cutting Shears | Clean, precise cuts; prevents split ends. | Beauty supply stores, online, some pharmacies. |
Fine-Tooth Comb | Accurate sectioning and even cuts. | Any store with hair products. |
Hair Clips | Keeps hair out of the way. | Any store with hair products. |
Mirrors | See what you're doing. | Home or any store. |
Optional but Helpful Extras
so we've covered the must-haves, but there are a few extras that can make your life easier. If you're feeling fancy, grab a spray bottle filled with water. It's great for keeping your hair damp while you're cutting—damp hair is easier to manage. It's like having a little rain cloud just for your hair. Also, some people like using an electric hair clipper for the back of the neck to get a really clean line, but that's totally optional. You can use scissors just fine, too. Oh, and don't forget a towel! You'll want to drape it around your shoulders to catch any falling hair. Trust me; you don't want those little hairs itching you all day. It's like building a tiny, personal fort of hair protection.
And lastly, have a plan! Do some research online and look at pictures of bobs you like, and maybe watch a few videos. Don't just jump in blind. Having a clear idea of what you want will help. It's like having a map before you go on an adventure; you might still get a little lost, but at least you have a general idea of where you're headed. If you find a video you like, watch it a few times. Sometimes you pick up extra tips that you may have missed the first time around. Remember, this is your hair, your creation. Have fun with it!
StepbyStep Guide: How to Cut Your Own Hair in a Bob
StepbyStep Guide: How to Cut Your Own Hair in a Bob
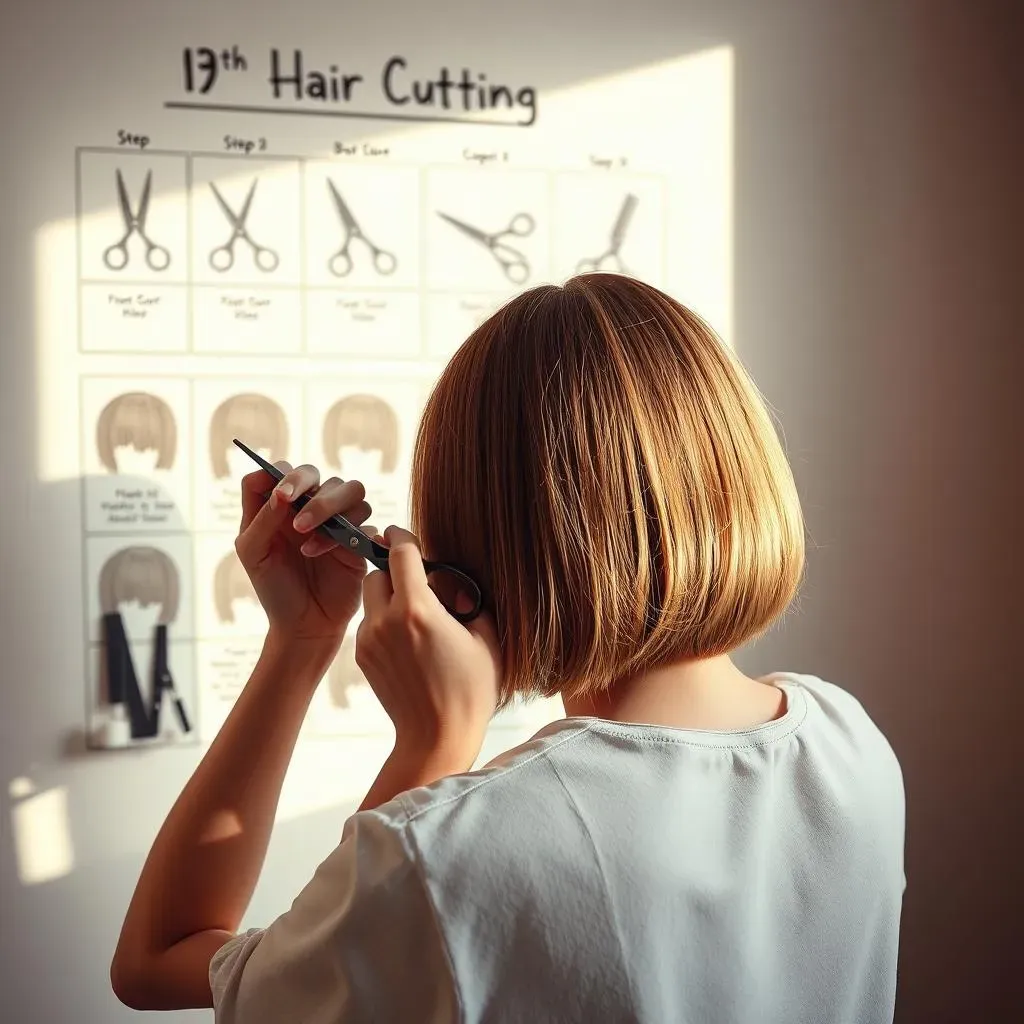
so you've got your tools, you've watched a few videos, and you're feeling brave. Now, it's time for the actual cutting. First things first, make sure your hair is damp. Not soaking wet, just damp enough to be manageable. Think of it like trying to braid a rope – it's much easier when it's not bone dry. Now, take that fine-tooth comb and divide your hair into three sections: one down the back of your head and one on each side. The back section should go from the crown of your head down to the nape of your neck. Clip the side sections out of the way, so they don't get mixed up. We're going to start with that back section. This is where the magic happens (or the mild panic, depending on how you look at it.)
Now, take your back section and comb it out smoothly. Decide how long you want your bob to be. Remember, you can always cut more, but you can’t put it back. Start by cutting a small amount off at the bottom of your back section. This will be your guide. It's like drawing a line in the sand; it's your starting point. Once you've got that first cut, use it as a guide and work your way across the back section. It’s super important to take your time and make sure you're cutting straight across. Don’t rush; this isn't a race. If you have to, you can always cut little by little to get it even. Think of it like sculpting – you start with a rough shape and then refine it. Once the back section is cut, unclip one of the side sections, comb it out, and match it to the length of the back section. Repeat on the other side. Now you should have a basic bob shape.
Step | Action |
|---|---|
1 | Dampen hair and divide into three sections (back, left, right). |
2 | Start cutting the back section, using a small snip as a guide. |
3 | Match the side sections to the length of the back section. |
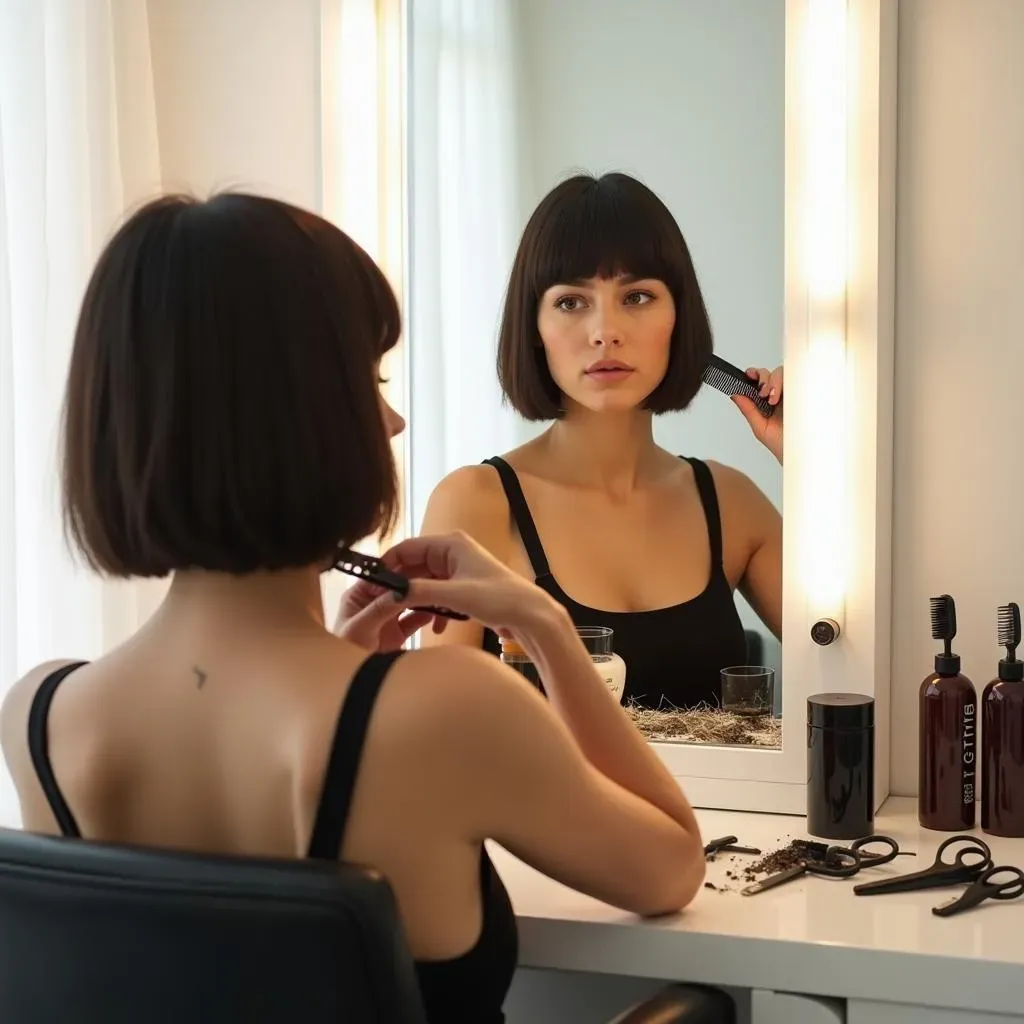
Once you've got all the sections at the same length, it’s time to check for any uneven spots. Stand in front of the mirror and look at your bob from all angles. If you see any spots that are longer, take small snips to even them out. You can use your hair razor to soften the edges if you like. It’s like sanding down a rough edge on a piece of wood. This part is all about tweaking and refining, so take your time and don’t be afraid to make small adjustments. Remember, it’s better to cut less and then go back for more, so try to cut little by little. Once you’re happy with the shape, it’s time to style it as usual. You can blow dry it, use a flat iron, or let it air dry. This will help you see the final result, and you can make any additional adjustments if needed. It’s like putting the final coat of paint on a masterpiece; it pulls everything together.
A few things to remember: don’t try to take too much off at once. Start with less and work your way up. Also, always cut with the scissors pointed down. This will help give you a cleaner cut. And finally, don’t panic if it’s not perfect. Hair grows back, and you're learning. It’s like riding a bike; you might fall a few times, but you'll get the hang of it. This is your journey, so enjoy it. If you get stuck, there are a lot of videos online that can help you, so don't be afraid to look at those again. And most importantly, have fun with it. Remember, this is your hair, your style, and your creation! You got this!
Maintaining Your Bob: Tips and Tricks
Maintaining Your Bob: Tips and Tricks
Regular Trims: Keeping it Sharp
so you've nailed the bob cut – congrats! But like a well-oiled machine, it needs regular maintenance to keep it looking its best. The biggest thing with a bob is that it can lose its shape pretty quickly. Those sharp lines that make it so chic? They start to blur as your hair grows out. So, how often should you trim it? Well, that depends on how fast your hair grows, but generally, you'll want to trim it every 4-6 weeks. Think of it like watering a plant; it needs regular care to thrive. If you let it go too long, it'll get all unruly, and you’ll lose the shape you worked so hard to get.
Now, you might be thinking, "Do I have to cut it myself again?" And the answer is, it depends! If you feel confident in your skills, go for it. But if you're nervous, it's totally okay to go to a professional for a trim. Maybe you can even have a professional cut the bob for you the first time, and then you can do the maintenance yourself. The point is, don't let it grow out too much before you do something about it! A little trim goes a long way in keeping that bob looking fresh and fabulous. It's like getting your car serviced; you do it to keep it running smoothly. A bob is the same, it needs those little touch-ups!
Maintenance | Frequency | Why |
|---|---|---|
Trims | Every 4-6 weeks | Maintains shape and prevents it from looking messy. |
Professional Trim | Optional, but recommended if you don't want to cut it yourself. | Ensures precise cut and shape. |
Styling and Product Tips
Besides regular trims, how you style your bob can also make a big difference. One of the great things about a bob is that it's super versatile. You can wear it sleek and straight, wavy and textured, or even add some curls. It’s like having a basic dress that you can style in many different ways. The key is to find what works best for your hair type and your personal style. If you’re going for a straight look, a flat iron can be your best friend. Just make sure you use a heat protectant spray, so you don’t damage your hair. If you want some waves, try using a curling iron or a texturizing spray. And if you’re embracing your natural texture, try adding some mousse or gel to keep it in place. It’s all about experimenting and finding what you like best. Think of it like playing with different spices in a recipe; you're trying to find the perfect blend.
And speaking of products, using the right ones can make a huge difference. A good shampoo and conditioner are always a must, but you might also want to invest in a volumizing spray, a shine serum, or a texturizing paste. The right products can not only help you style your bob, but they can also keep it looking healthy and vibrant. It's like using the right tools for a job; it makes the result so much better. And remember, a little goes a long way. Don’t overdo it with the product, or your hair will look weighed down. It's all about finding the right balance. With a little practice and the right tools, your bob will always be on point, no matter what style you choose!
Wrapping Up Your DIY Bob
So, you've taken the plunge and learned how to cut your own hair in a bob! It might feel a little daunting at first, but with practice, you'll get the hang of it. Remember, it's all about taking your time, using the right tools, and being patient with yourself. Don't worry if it's not perfect the first time; even professional stylists have to practice. The best part is that you've now got the freedom to keep your bob looking sharp whenever you want, without having to rely on salon appointments. Enjoy your new style, and wear it with confidence! If you're feeling brave, maybe you can even try out some different variations of the bob in the future.