Table of Contents
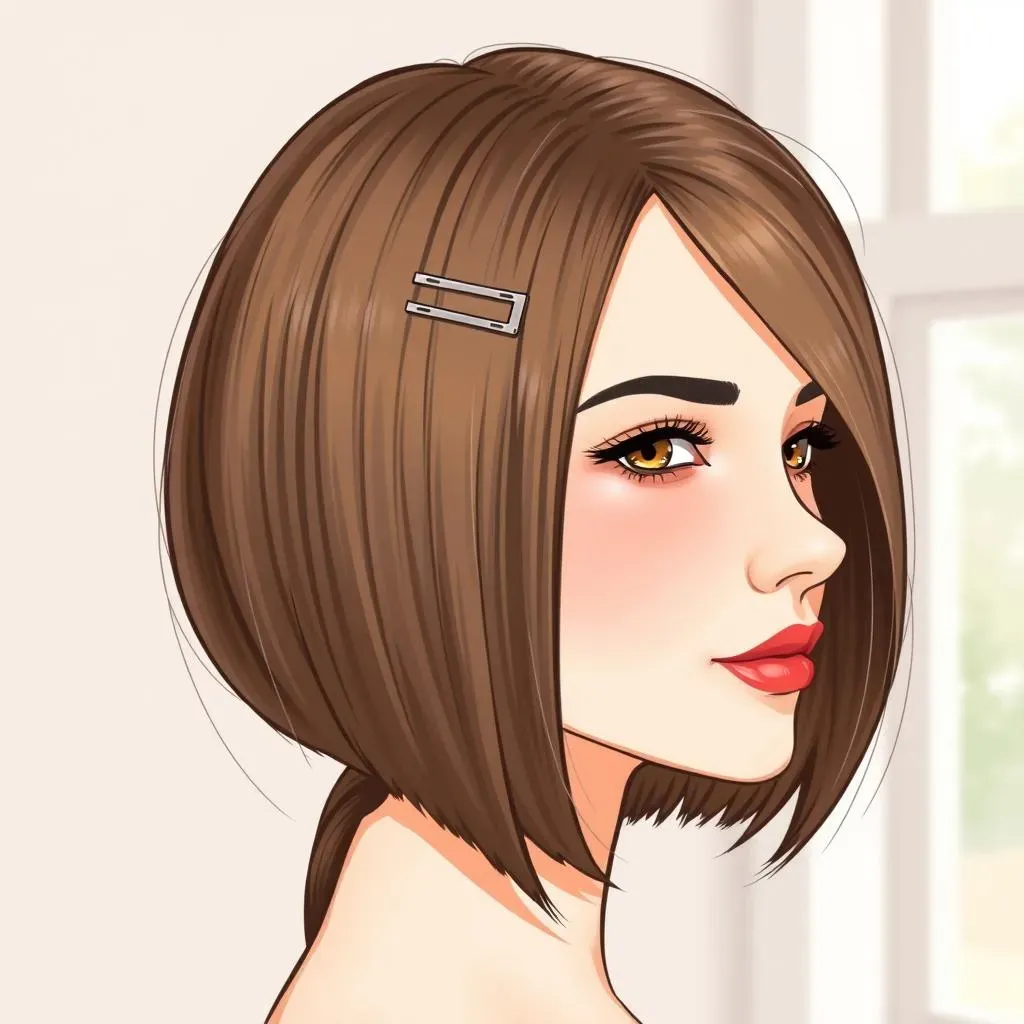
Ever stared at your reflection, dreaming of a sleek, straight bob, but dreading the salon visit? I get it. The cost, the time, the awkward small talk – sometimes, you just want to grab the scissors and do it yourself. Well, you can! This guide breaks down exactly how to cut your own hair in a straight bob, no fancy cosmetology degree needed. We're diving into the essential steps, starting with how to section your hair like a pro, moving on to the actual cutting (don't worry, it's not as scary as it sounds), and finishing with blending techniques for that polished, salon-worthy finish. I'll even throw in some tips on keeping your new bob looking sharp. Think of this as your personal, at-home hair cutting tutorial. By the end, you'll have the knowledge and confidence to rock a fresh, self-made bob. So, let's ditch the salon chair and get snipping!
Parting and Sectioning for Your Straight Bob
Parting and Sectioning for Your Straight Bob
so you're ready to tackle that bob, huh? First things first, let’s talk about parting and sectioning. This is like the blueprint for your haircut, and honestly, it’s where most people mess up. Start with a clean, dry head of hair. Brush it all out, get rid of any knots, and find your natural part. Don't try to force it to be somewhere it doesn't want to be, your hair knows best. Now, we're going to divide and conquer. Think of your head as a pizza, and we're slicing it into three sections: right, left, and back. The back section is key, so pull all that hair into a low ponytail at the nape of your neck. Make sure this ponytail is centered and as close to your neck as possible, you want this part to be tight.
Got your ponytail? Great! Now, take a look at those side sections. These will eventually blend into the back, creating that smooth, A-line shape we're after. It's like building a staircase, each step needs to be in line with the next. Use clips to keep these side sections out of the way for now. You don't want any rogue strands getting mixed up with the back and messing up the plan. Trust me, sectioning well is half the battle won. It's like preparing your ingredients before cooking, you don't want to be scrambling for a misplaced onion when the sauce is burning.
Section | Description | Purpose |
|---|---|---|
Back | Ponytail at the nape of the neck | Primary length guide |
Right Side | Hair on the right side of the head | Will blend into the back |
Left Side | Hair on the left side of the head | Will blend into the back |
Cutting Your Straight Bob
Cutting Your Straight Bob
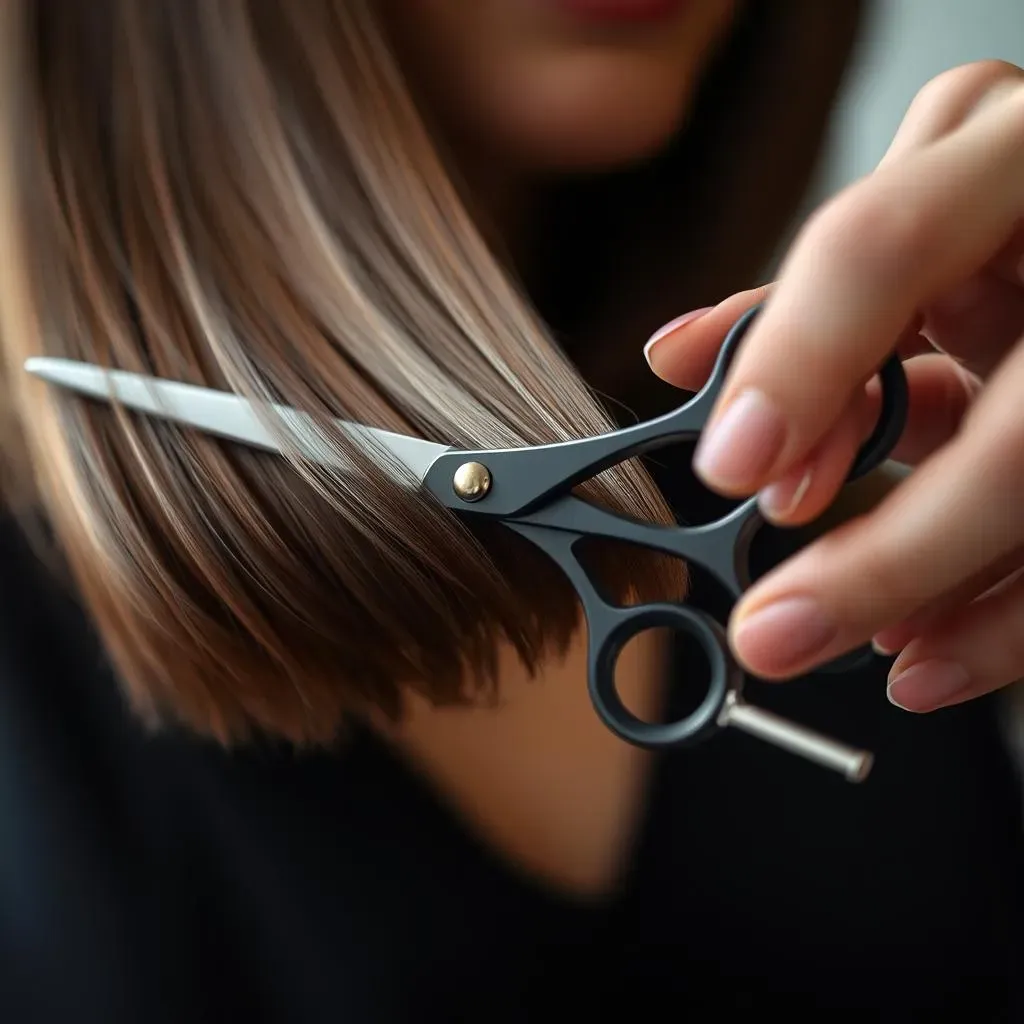
Alright, the moment of truth. It's time to actually cut that hair. Remember that ponytail at the back? That's your guide. Take your hairdressing scissors, and yes, they need to be sharp, no using kitchen scissors here, and cut straight across the ponytail, right underneath the hair tie. This is going to be the base length of your bob. If you're nervous, start a little longer than you think you want it. You can always go shorter, but you can't glue hair back on. Once the deed is done, let that ponytail loose and see what you've got. Don't freak out if it's not perfect, we're not aiming for perfection, we're aiming for awesome. Now, let’s bring those side sections into play, It's like solving a puzzle, each piece needs to fit.
Now, let down one of those side sections, and comb it out. You're going to cut this section to form a diagonal line that blends smoothly into the back. Think of it like this, you're trying to create a gentle slope, not a sudden drop-off. Start by matching the length of the back section and then gently angle the scissors as you move towards the front. Try to follow your jawline as the guide for the angle. Repeat this for the other side. You might want to take a break and check in the mirror to see how it's shaping up. It's like building a house, you need to check the foundation every so often. Don't rush it. This is where patience pays off, like waiting for a good cup of coffee to brew.
Here's a quick tip: cut in small increments. It's easier to cut more off than to magically grow hair back. It is like baking, you can always add more spices, but you can't take them out once they're in. Also, keep your head still and your scissors straight. You don't want to be doing any weird head tilting while you are cutting. Once both sides are done, you should start to see that A-line bob we're aiming for. It’s like watching a painting come to life, one stroke at a time. Now, before you go patting yourself on the back, there is still some blending to do.
- Start with the back ponytail, cut straight across.
- Match the sides to the back, cutting diagonally.
- Cut in small increments, be patient.
Blending Your Straight Bob
Blending Your Straight Bob
Tapering and Layering
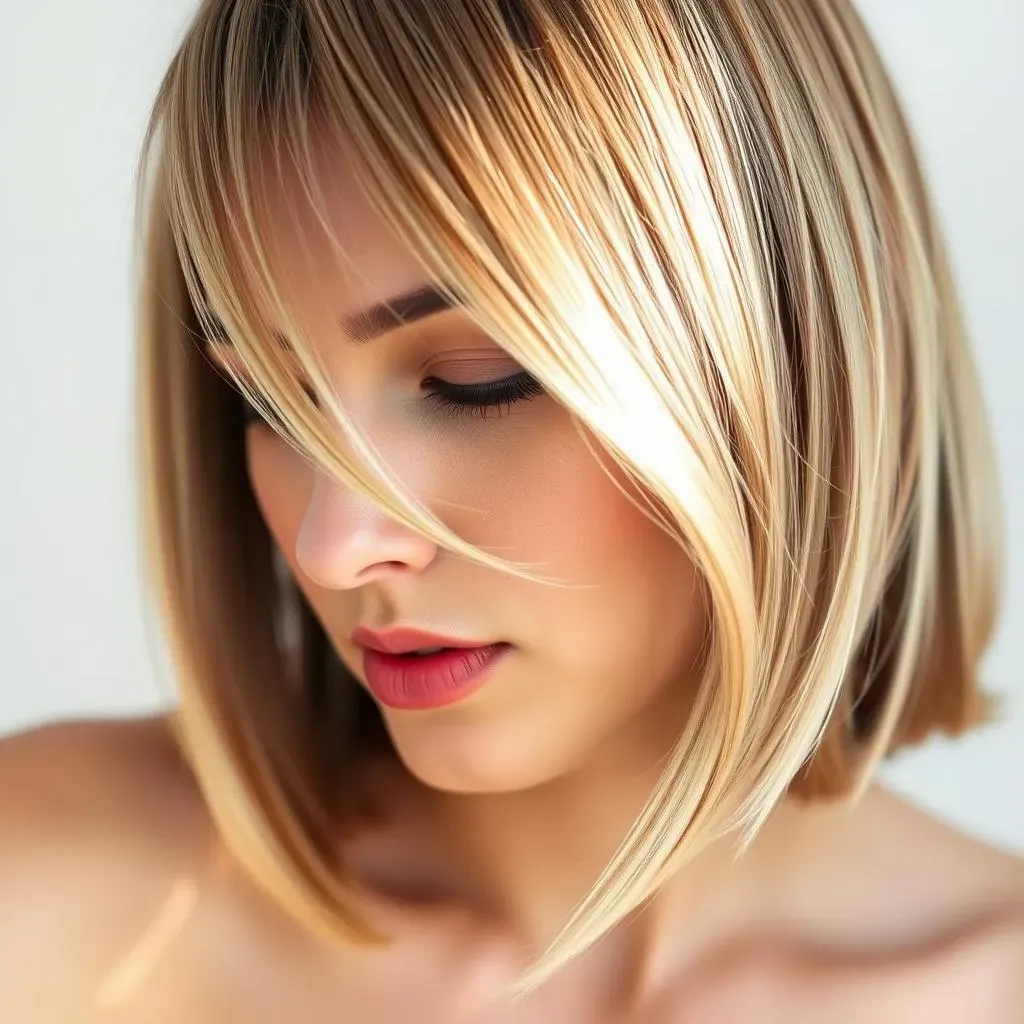
so you've got the basic bob shape, but it might look a little... blocky. Don't worry, that's where blending comes in. Think of it like smoothing out the edges of a drawing. We're going to taper the ends and maybe even add some subtle layers, depending on your hair type and how much texture you want. If you have thick hair, layering can help to remove some bulk and prevent your bob from looking like a helmet. If your hair is fine, a few subtle layers can add some movement and prevent it from looking flat. It's all about finding that sweet spot. Now, you might be thinking, "Layers? I barely survived the straight cut!" But trust me, it's easier than you think. You can do it!
To taper the ends, take your scissors and lightly point cut into the bottom edge of your hair. This means you're not cutting straight across, but rather making small, angled snips. This softens the line and prevents that harsh, blunt look. It's like giving your hair a gentle massage instead of a hard slap. If you want to add layers, take small sections of hair and cut them slightly shorter than the layer below, working your way up your head. It's like creating a beautiful waterfall, with each layer gracefully cascading into the next. Don't go crazy though, we’re not after a shag, just a bit of texture. Remember, less is more, you can always add more, but it is difficult to take away, like adding salt to your food.
The Razor Comb Secret
Here's a secret weapon that can take your DIY bob from "meh" to "wow": a razor comb. It's like a magic wand for blending layers and creating a super smooth, even look. If you've never used one before, don't be intimidated. It's basically a comb with a razor blade embedded in it, and it's fantastic for taking out bulk and softening lines. You can use it to gently remove weight from the ends of your hair, blending layers seamlessly. It’s like using a fine-grit sandpaper to smooth out rough edges. Just be careful not to overdo it. Use light strokes, and remember, it's better to go slow and steady than to try to remove too much at once, you are not trying to make a bald spot.
When using the razor comb, hold it at a slight angle to your hair and move it down the strands, focusing on the ends. This will help to create a soft, feathered look, instead of a harsh, choppy one. It's like painting with delicate brushstrokes, creating a subtle, beautiful effect. Also, remember to always use it on damp hair to prevent damage, like watering a plant so it does not dry out. And, if you’re not comfortable with a razor comb, you can just stick to point cutting with your scissors. This will give you a softer look as well, it's just not as effective as using the razor comb. The goal here is to make your hair look like you just stepped out of a salon, not like you had a fight with a pair of dull scissors, so you have to take your time and do it right.
Tool | Purpose | Best for |
|---|---|---|
Point Cutting Scissors | Softening ends, adding texture | All hair types |
Razor Comb | Blending layers, removing bulk | Thick or textured hair |
Final Check and Adjustments
Alright, you’re almost there! Now, it’s time for the final check. Grab your mirror and really look at your new bob from all angles. Do you see any uneven spots? Any areas that need a little more blending? Don’t be afraid to make small adjustments here and there. It’s like proofreading your essay before handing it in, you might find a typo or two that you missed the first time. Now, sometimes it helps to get a second opinion, or at least look at it from a different perspective. So, if you have a friend or family member around, ask them to take a look and see if they notice anything that you may have missed. But remember, you are the final judge of your haircut. If you like it, then that’s all that matters. It’s like picking your favorite color, it doesn't matter what anyone else thinks, as long as you love it.
And that’s it! You’ve officially cut your own hair into a straight bob. Take a moment to admire your work, you deserve it! You didn’t just save some money, you learned a new skill. And now, it is time to celebrate, go out and show your amazing new bob to the world. Just remember, bobs need a bit of maintenance. Regular trims every few weeks will keep your bob looking sharp and stylish. It's like watering a plant, you need to do it regularly to keep it healthy and thriving. If you decide to change the style, you can experiment with other types of bobs, like an asymmetrical bob or an inverted bob. The sky is the limit, have some fun with it!
Maintaining Your Straight Bob

Maintaining Your Straight Bob
Regular Trims: The Key to a Sharp Bob
so you’ve nailed the DIY bob, congrats! But let’s be real, that sharp, clean line doesn’t just magically stay that way. Think of your bob like a well-manicured lawn; it needs regular trims to keep it looking its best. How often? Well, that depends on how fast your hair grows, but generally, every 4 to 6 weeks is a good rule of thumb. It’s like going to the dentist, you know you have to do it, even if you don't want to. If you let it go too long, that bob will start to lose its shape, and you’ll end up with something that looks more like a shaggy mess than a chic cut. I know, life gets busy, but trust me, those regular trims are what will keep your bob looking fresh and stylish.
Now, I know what you're thinking: "More cutting? I just survived the first round!" But don’t worry, these trims are just about maintaining the shape, not a complete overhaul. You don’t need to take off a lot of length, just enough to keep those edges sharp and defined. It's like dusting your furniture, it just keeps it clean. You can either do this yourself, following the same cutting techniques we discussed earlier, or you can pop into a salon for a quick tidy-up. It’s like changing the oil in your car, it just keeps it running smoothly. The choice is yours, but don’t skip those trims, your bob will thank you.
Trim Frequency | Purpose | Result |
|---|---|---|
Every 4-6 weeks | Maintain shape, remove split ends | Sharp, stylish bob |
Longer than 6 weeks | Bob loses shape, looks messy | Shaggy, unkempt look |
Styling Tips for a Perfect Finish
So, you’ve got the cut, you’ve got the trims down, now let’s talk about styling. A straight bob is super versatile, and you can style it in a bunch of different ways. If you want that sleek, polished look, use a flat iron to smooth out any frizz and add some shine. It's like ironing your clothes, it just makes you look more put together. Make sure to use a heat protectant spray first, you don't want to fry your hair, think of it as sunscreen for your hair. If you want a bit more volume, try using a root-lifting spray and blow-drying your hair upside down. It’s like pumping air into a balloon, it makes it bigger and more fun.
And don’t forget about products! A good shine serum or hair oil can make your bob look extra glossy and healthy. It’s like putting on a top coat of nail polish, it just makes everything look better. If you have fine hair, use a lightweight mousse or styling cream to add some volume without weighing it down. It’s like adding some air to your tires, it makes them run more efficiently. If you have thick hair, use a smoothing balm to keep it sleek and frizz-free. It’s like putting a lid on a pot, it keeps the steam in. And don't be afraid to experiment! Try different parts, tuck one side behind your ear, or add a cute hair accessory. It’s like playing with different outfits, you never know what will look good until you try it.
"The best accessory a woman can wear is confidence." - Unknown
Dealing with Different Hair Types
Now, let’s talk about the elephant in the room: different hair types. I know, not all hair is created equal. If you have curly hair, a straight bob might not be the easiest style to maintain, you might have to use a flat iron or blow dry every day, which can be a lot of work. You might want to consider an Afro-style bob instead, which embraces your natural texture and shape, it is like working with the natural flow of the river instead of against it. If your hair is super fine, you might need to use volumizing products to keep your bob from looking flat. It is like adding a little sugar to your lemonade to make it sweeter. If your hair is super thick, you might need to use thinning shears to remove some bulk and make it easier to style. It's like pruning a tree, to keep it healthy and strong.
And finally, no matter what your hair type is, remember that the key to a great bob is confidence. Rock your style with pride, and don’t worry about what anyone else thinks. It’s your hair, you get to decide how you want to wear it. And if you mess it up, don’t worry, it will grow back. It is like learning to ride a bike, you might fall a few times, but eventually you will get the hang of it. So, go out there and rock that bob, you deserve it!
Your Chic Bob, Your Way
So, you've made it! You've learned how to cut your own hair in a straight bob, and hopefully, you're now rocking a fresh new look. Remember, it’s all about practice and patience. Don't be afraid to make minor tweaks as you go, and don't sweat it if it's not perfect the first time; even the pros started somewhere! The key is to take your time, follow the steps, and most importantly, have fun with it. A bob is a versatile style that can be adjusted to your liking, so feel free to experiment with different lengths and textures. Now, go out there and show off your amazing, self-created hairstyle. And who knows, you might just inspire others to pick up the scissors too!