Table of Contents
Thinking about grabbing those scissors and giving yourself a trim? You're not alone! Cutting your own hair at home can feel like a daring adventure, but it's also a super practical way to save some cash and time. This article is your ultimate guide, showing you exactly how to cut your own hair step by step. We'll start by gathering the right tools and prepping your hair. Then, we'll explore different cutting methods perfect for various hair types, whether you have straight, curly, or something in between. You'll learn how to trim those pesky split ends and maintain your current style. Finally, we'll discuss when it's a good idea to DIY and when it's best to call in a professional. So, are you ready to take control of your hair and learn how to cut your own hair step by step? Let's get started!
Tools and Prep: StepbyStep Guide for Cutting Your Own Hair

Tools and Prep: StepbyStep Guide for Cutting Your Own Hair
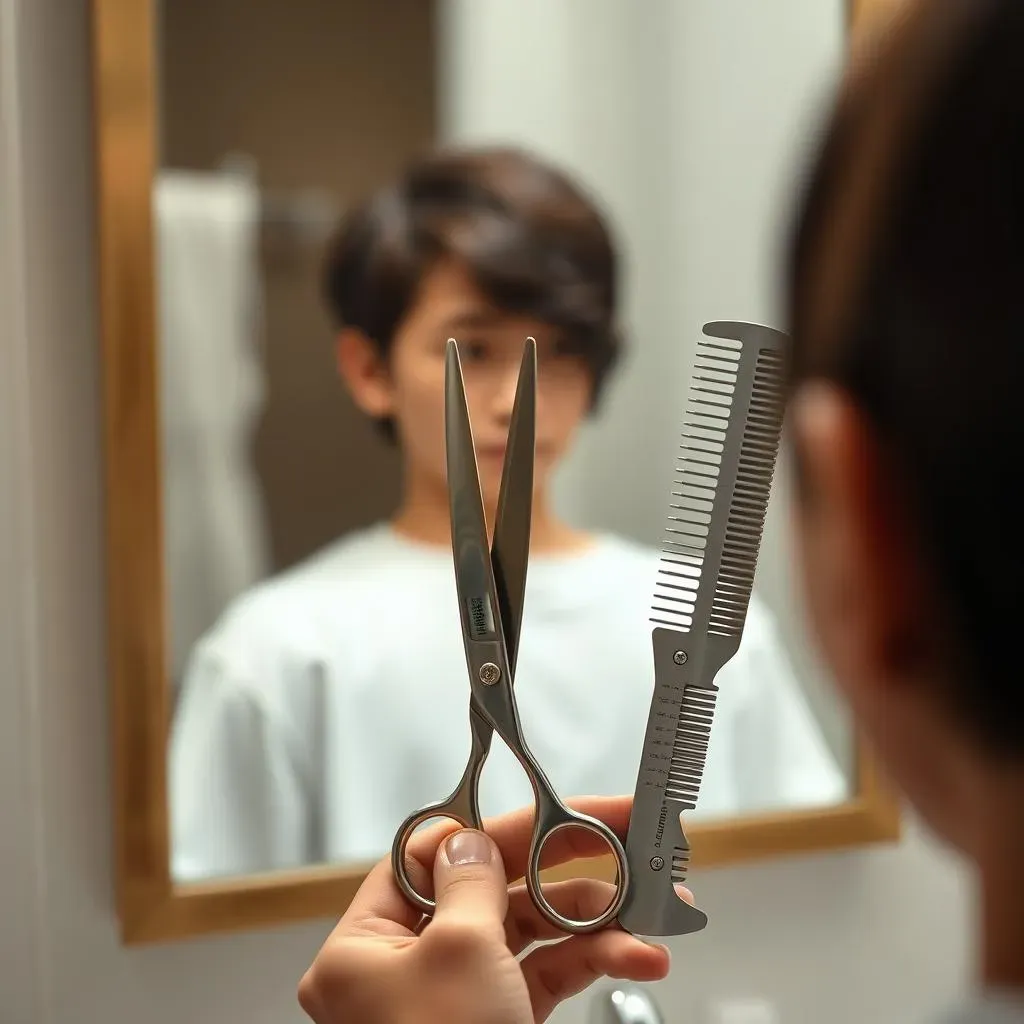
Okay, so you're ready to ditch the salon and grab those scissors, huh? First things first, you can't just use any old kitchen shears – trust me, I've been there, and it's not pretty. You absolutely need a good pair of hair-cutting shears. They're sharper, designed for hair, and will make a huge difference in getting a clean cut. Think of it like using a scalpel versus a butter knife; one's precise, the other's...well, not so much. You’ll also want a fine-tooth comb to help section your hair and a few clips to keep everything out of your way. And, super important, make sure your hair is either dry or just slightly damp. Wet hair stretches, and you might end up cutting off more than you planned. So, gather your gear, get your hair in the right state, and let's make some magic (or at least, avoid a hair disaster)!
How to Cut Your Own Hair Step by Step: Different Hair Types

How to Cut Your Own Hair Step by Step: Different Hair Types
Straight Hair: The Precise Path
Alright, straight hair folks, you've got a bit of a challenge, but don't worry, it's totally doable. Straight hair shows every little snip, so precision is key. The easiest way to tackle a trim is to bring your hair forward, like you're making a low ponytail in front of your face. Then, gently snip straight across or at a slight angle, depending on if you want a blunt cut or a softer edge. Remember, less is more! Start with a tiny bit and work your way up. It's much easier to take off more than to put it back. Think of it like carving a sculpture – small adjustments make the biggest difference.
Curly or Textured Hair: Embrace the Natural Flow
Now, for my curly and textured-haired friends, things are a bit more forgiving. The natural bounce and volume of your hair make small mistakes less noticeable. You can maintain your shape by focusing on the outer layers and snipping away any split ends or uneven bits. A great technique for you is to twist small sections of hair and then trim the ends that stick out. This will keep your curls looking fresh and healthy without changing the overall shape. It's like giving your hair a little spa day! Remember that curly hair can shrink up when it dries, so be extra careful not to cut too much. Think of it as sculpting with clouds – you want to keep that natural, beautiful form.
Hair Type | Cutting Approach | Key Tip |
|---|---|---|
Straight | Forward cut, slight angle | Start small, less is more |
Curly/Textured | Twist and trim ends | Don't cut too much, shrinkage occurs |
Layering Long Hair: The Pony Tail Trick
Want to add some layers to your long hair? The ponytail trick is your best friend! Gather your hair into a high ponytail at the very top of your head, right in the center. The higher the ponytail, the more dramatic the layers will be. Then, carefully snip the ends straight across. This gives you instant layers that frame your face beautifully. Just remember to take it slow and be careful to cut the same amount on each side. It’s like making a paper snowflake – fold it right, cut it once, and you get a beautiful design.
Trimming and Maintaining: StepbyStep Hair Cutting Techniques

Trimming and Maintaining: StepbyStep Hair Cutting Techniques
Targeting Split Ends: The Sniper Approach
Okay, let's talk split ends. They're like the tiny gremlins of the hair world, and they can make even the most gorgeous hair look a little tired. The good news is, you don't need a full haircut to get rid of them. Think of this as a sniper mission: you're not changing the shape, just taking out the bad guys. Twist small sections of your hair and carefully snip off only the ends that stick out. This method is great because it maintains your length while keeping your hair healthy and split-end free. It's like giving your hair a mini-detox; you're just removing the unwanted bits.
Maintaining Your Shape: The Light Touch Method
Now, if you’re just looking to maintain your current style and keep things tidy, the key here is a light touch. Don't go in thinking you're going to create a whole new look. Instead, focus on the overall shape and trim away any bits that are out of place. For instance, if you have bangs, use your fingers as a guide to trim them straight across. If you have layers, just trim the ends to keep them looking fresh. The idea is to keep your shape looking intentional, not like it's been attacked by a rogue pair of scissors. This is more of a maintenance mission than a full-blown battle, so keep it calm and collected.
The Importance of Evenness: The Mirror Check
One of the trickiest parts of cutting your own hair is making sure everything is even. No one wants a lopsided look! This is where the mirror becomes your best friend. After each snip, step back and check the overall balance. Make sure both sides are the same length. Use your fingers as a guide to ensure that the lengths are even. If you're cutting layers, make sure they fall evenly around your face. It's like checking your work in a math class – you want to make sure all the numbers add up. So, take your time, check your reflection, and don't be afraid to make small adjustments until you’re happy with the overall shape and look.
When to DIY and When to See a Pro: StepbyStep Haircut Advice

When to DIY and When to See a Pro: StepbyStep Haircut Advice
The DIY Zone: When to Grab the Scissors Yourself
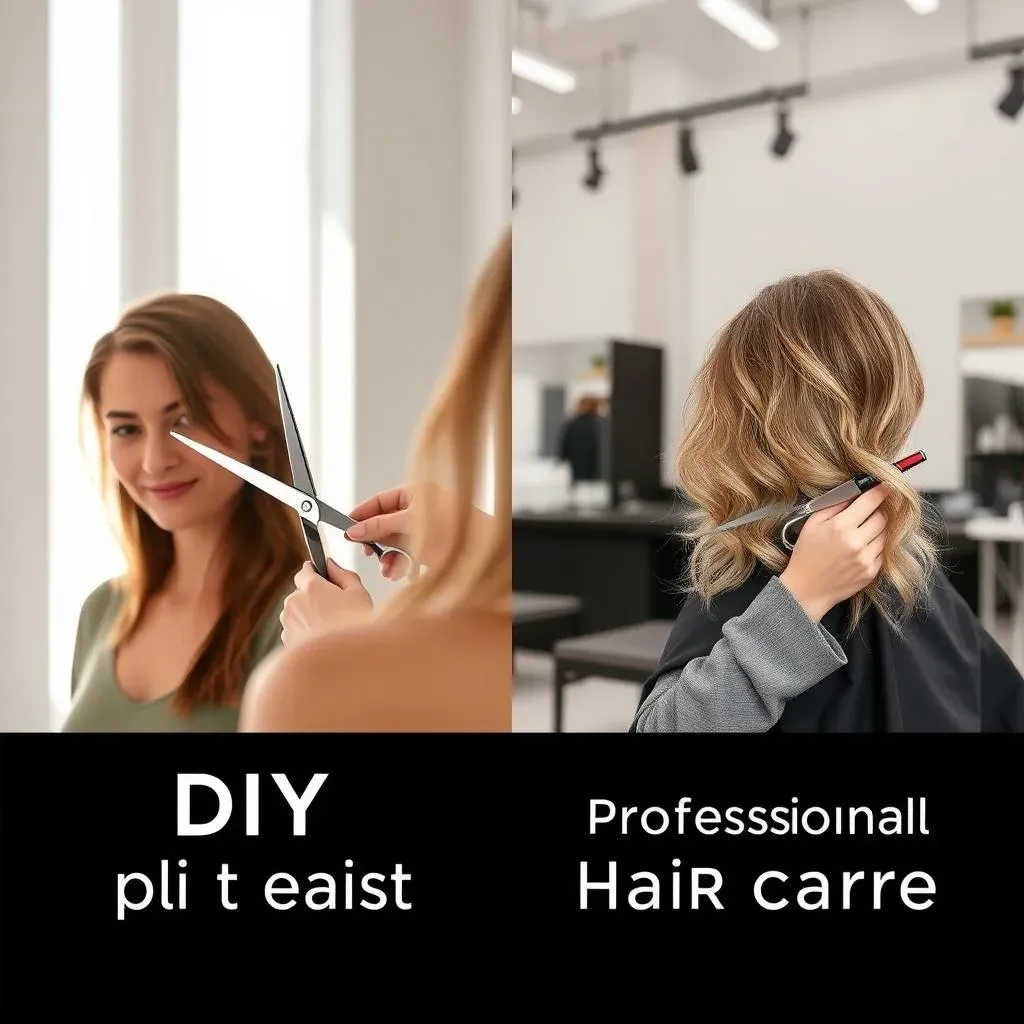
Alright, let's be real, some hair tasks are totally manageable at home. Trimming split ends? Absolutely! Maintaining your current style with a light touch? Go for it! If you’re just looking to freshen up your look or take off a tiny bit of length, you can totally handle it. Think of it like touching up paint in your house – you don't need a professional for every little scuff. Simple trims, like evening out bangs or cleaning up the edges of your layers, are perfect for a DIY approach. It's all about knowing your limits and being honest about your skills. If you feel confident and comfortable with the techniques, then grab those shears and go for it. But, and this is a big but, if you’re feeling even a little unsure, it might be time to call in the pros.
The Pro Zone: When to Call in the Experts
Now, let’s talk about the times when you should absolutely put down the scissors and book an appointment. Big transformations, like a blunt bob, a pixie cut, or any drastic change in shape or style, are best left to the professionals. These cuts require technical skills and experience that you just can't get from watching a few YouTube tutorials. Also, if you're dealing with a complex hairstyle or a cut that involves a lot of layering, it’s time to seek professional help. Think of it like building a house – you might be able to handle some minor repairs, but you wouldn't attempt to build a whole new foundation yourself, right? The same goes for hair. It's not about being afraid to try new things, but about being smart and respectful of your hair and your skills. It's also important to remember that professional stylists have an eye for detail and can tailor a cut to best suit your face shape and hair type, so sometimes, it's worth the investment.
DIY Haircut | Professional Haircut |
|---|---|
Simple trims | Big transformations |
Split end removal | Complex styles |
Maintaining current style | Technical cuts |