Table of Contents
Tired of spending a fortune at the salon? I get it. I've been there, staring at my shaggy reflection, wishing for a quick fix that didn't involve emptying my wallet. That's when I discovered the magic of cutting my own hair with a comb. Yes, you heard right—a simple comb! It's not as scary as it sounds, and I'm here to show you how. This isn't about becoming a professional stylist overnight; it's about giving yourself a trim, tidying up those ends, and feeling more put-together, all from the comfort of your own bathroom. We'll start by getting prepped, then move onto the nitty-gritty of using a razor comb, and finally, tackle the tricky top section. So, grab your comb, maybe a mirror or two, and let's get started on this journey of self-sufficient hair care. Trust me, you'll be surprised at how easy it is to learn how to cut your own hair with a comb.
Getting Ready to Cut Your Own Hair with a Comb

Getting Ready to Cut Your Own Hair with a Comb
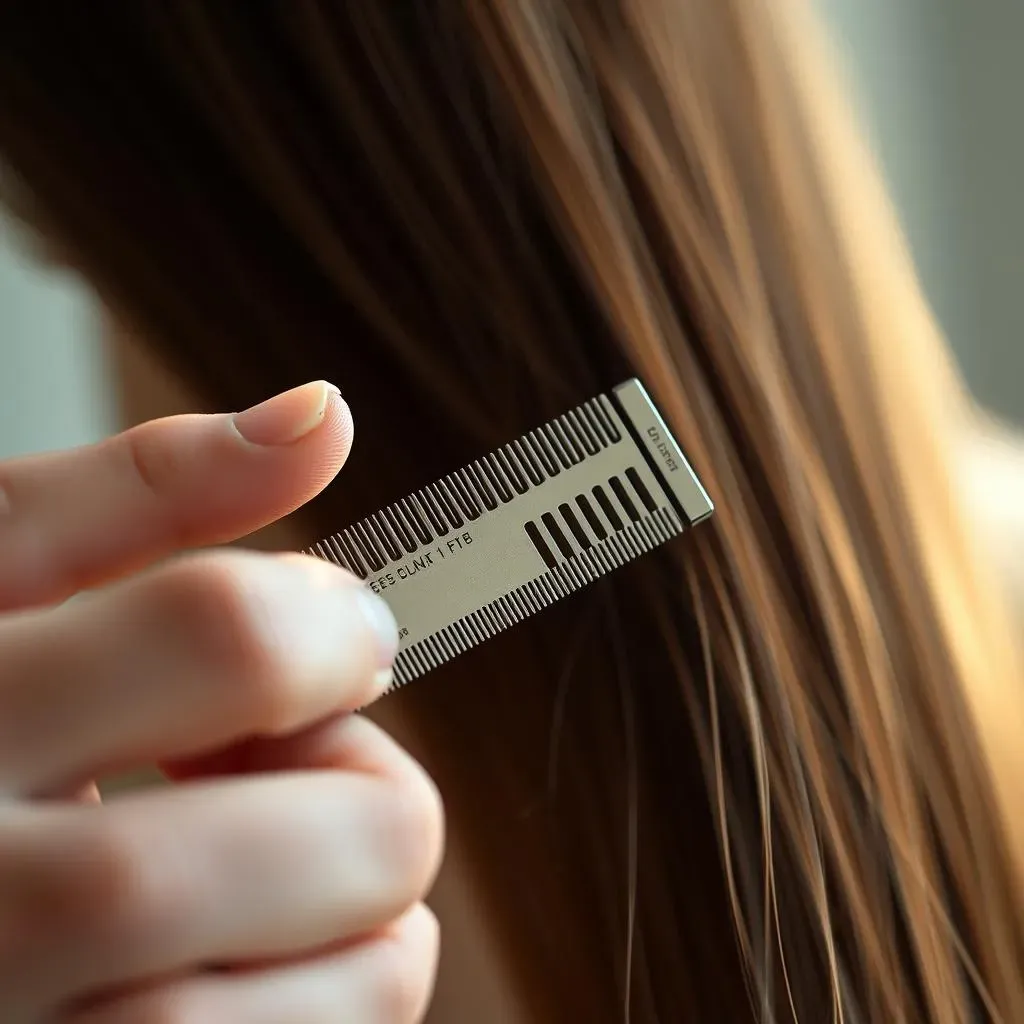
Okay, so you're thinking about grabbing that comb and going to town on your hair, right? Awesome! But hold up a sec, we've gotta get a few things sorted before we start snipping away. First, you'll need a razor comb. Don't go for the cheap plastic ones; they tend to be flimsy and can lead to uneven cuts. Find one with a good grip and replaceable blades. Trust me, a sharp blade is your best friend here. Next, you'll want to make sure your hair is clean and free of any tangles. Brush it out thoroughly. This is important because knots can cause the comb to snag, resulting in a jagged, uneven cut. Think of it like preparing a canvas before painting; you want a smooth surface to work with. Finally, grab some clips or ponytail holders. These will help you section your hair, which is key to not accidentally chopping off too much hair all at once. We're going for a controlled, precise trim, not a wild, untamed mess.
Tool | Why you need it |
|---|---|
Razor Comb | For precise, controlled cuts. |
Sharp Blades | For clean, even trims. |
Brush | To remove tangles and smooth hair. |
Clips/Ponytail Holders | For sectioning hair and keeping it out of the way. |
Cutting the Bottom and Middle Sections with a Razor Comb

Cutting the Bottom and Middle Sections with a Razor Comb
Starting the Cut
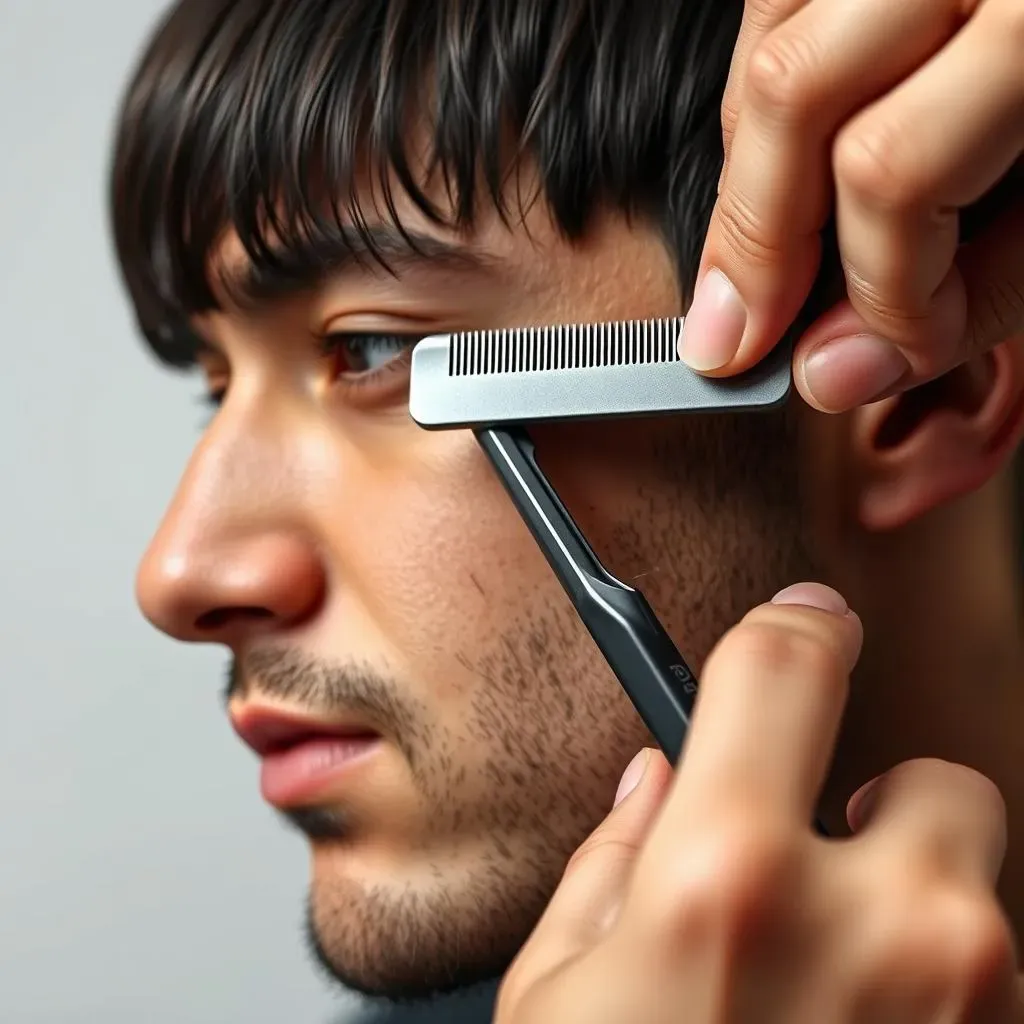
Alright, now for the fun part – actually cutting your hair! Let's tackle those bottom and middle sections first. Start by taking down the bottom section you clipped up earlier. Now, grab your razor comb and hold it at about a 45-degree angle to your hair. Don't go straight in; you want to create a soft, layered effect. Begin a couple of inches away from your roots. If you go too close, you risk creating a bald spot, and nobody wants that. Imagine you're gently sweeping away the excess length, not hacking at it like you're in a jungle. Use short, choppy motions with the razor comb. Think of it like you're dusting off a shelf, not scrubbing a floor.
After each small section, comb out the loose hair. This is crucial! You need to see how much you've cut, so you don't accidentally take off more than you intended. It's like checking your work as you go. No one wants a lopsided haircut. Remember, the key here is patience and light pressure. Don't press hard with the razor comb; let the blade do the work. It's a marathon, not a sprint. If you find your blade is tugging, that's a sign it's getting dull, and you should swap it for a fresh one. Dull blades are more likely to cause damage and unevenness, and they're just generally unpleasant to use. We're aiming for a clean, smooth cut, not a raggedy one.
Technique Tips
Now, let's talk about how to actually move the comb. For the bottom section, keep the same 45-degree angle, and work your way up from the bottom to the middle sections. Imagine you're creating a gentle slope, not a sharp cliff. As you move to the middle section, continue with the short, choppy motions, but you might want to adjust the angle slightly, depending on your hair's texture and how much length you want to remove. Again, don't forget to comb out loose hair after each small snip. It's like a mini-audit of your progress. You will start to see the shape forming, and if you feel like it's getting a bit too short, stop! Remember you can always cut more, but you cannot un-cut hair.
If you're feeling a little unsure, start with very small sections. It's better to take off less and go back for another pass than to accidentally cut off too much at once. Think of it like adding seasoning to your food; you can always add more, but you can't take it away. Also, be super careful around your temples and baby hairs. These areas are tricky, and it's easy to get unevenness there. Work slowly and deliberately. You’re not a race car driver, you are a hair stylist now. You got this!
Do | Don't |
|---|---|
Use a sharp razor blade. | Use a dull blade. |
Comb out loose hair frequently. | Cut large sections at once. |
Work with short, choppy motions. | Apply heavy pressure with the comb. |
Start a couple inches away from roots. | Start too close to the roots. |
Be cautious around temples and baby hairs. | Rush the process. |
Cutting the Top Section of Your Hair with a Comb

Cutting the Top Section of Your Hair with a Comb
Tackling the Top
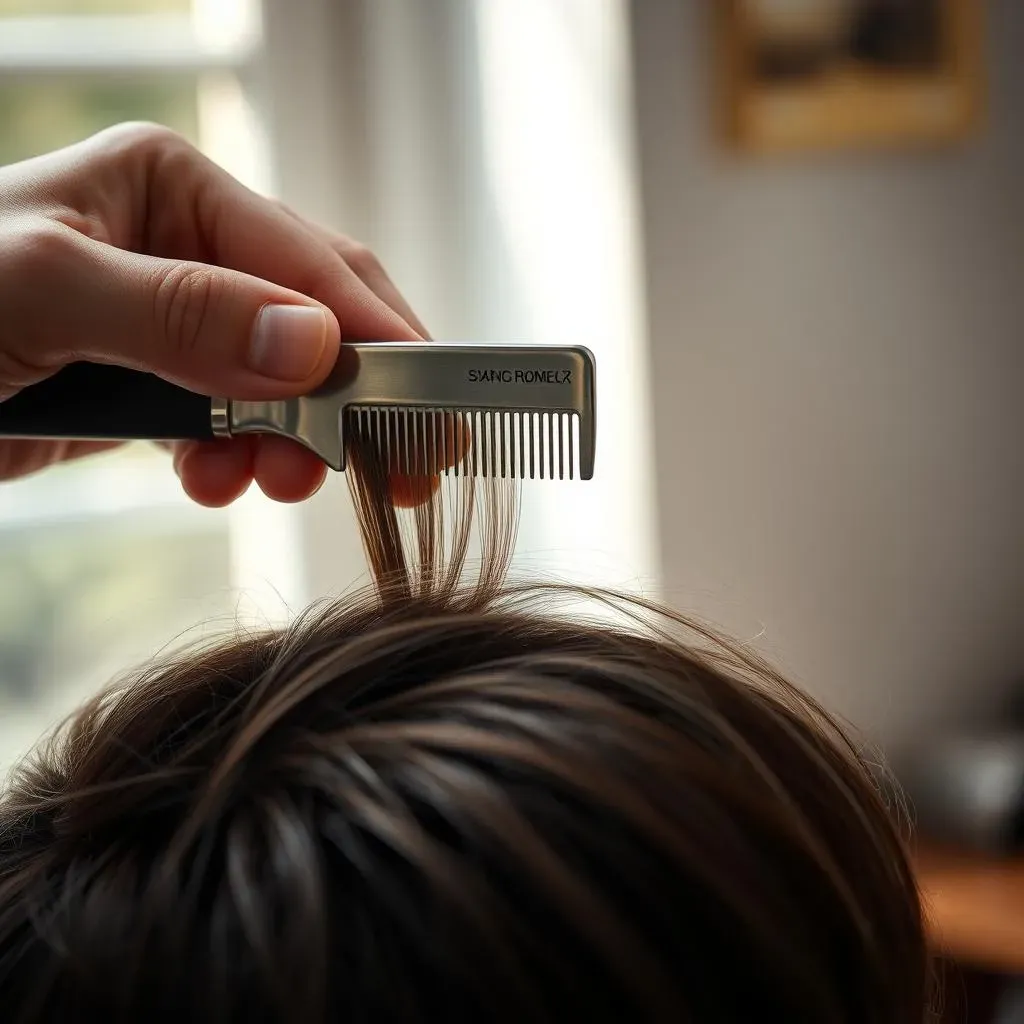
Okay, so you’ve conquered the bottom and middle sections, you’re practically a pro now! But let’s not get cocky, the top section is where things can get a little tricky. It’s the part everyone sees, so we need to be extra careful. First, take down the top section that you clipped up earlier. It’s essential to hold the hair taut. This means pulling it straight out from your head. You don’t want any slack; otherwise, you’ll end up with an uneven cut. It’s like stretching a piece of fabric before you cut it. Now, with your razor comb, use very light pressure. I can't stress this enough. The top section is the most delicate, and you don't want to overdo it. It's like trying to lift a feather – you need a gentle touch. Start with small snips, working your way from the middle of the section towards the ends. Imagine you're sculpting, not butchering.
Remember to comb through after every few snips. This is key! You need to see how the hair is falling and if you're taking off enough length. It's like checking the progress of a painting; you step back to see the overall picture. If you’re going for a layered look, you'll want to use slightly different angles as you move across the top. If you’re unsure, start with very small adjustments. It's easier to add more texture later than to fix a bad cut. Don't be afraid to take your time; this isn't a race. You are your own stylist now, so take pride in your work. Just remember, light pressure, small snips, and constant checking are your best friends.
Key Action | Why it's Important |
|---|---|
Hold Hair Taut | Prevents uneven cuts |
Use Light Pressure | Avoids over-cutting |
Small Snips | Allows for better control |
Comb Frequently | Helps see progress |
Final Touches and Checks
Once you've trimmed the top section, it's time for the final checks. Brush through your hair one last time, this will help remove any loose hair and also help you to see if you missed any spots. It’s like giving your room a final once-over before guests arrive. If you see any uneven areas, go back with your razor comb using those light, choppy motions we talked about earlier. Remember, this isn't about achieving perfection, it's about creating a look you're happy with. Don’t get hung up on every tiny hair; it’s a haircut, not a science experiment.
Now, take a good look in the mirror, and admire your work. You’ve just cut your own hair using a comb! That’s pretty awesome. If you're feeling brave, you can also use the razor comb to add some texture to the ends, but be careful not to go overboard. Sometimes less is more. The key here is to be patient with yourself and enjoy the process. If you mess up a little, don’t beat yourself up about it. Hair grows back, and you can always try again. The more you practice, the better you’ll get. And who knows, maybe you’ll even start giving haircuts to your friends and family. But for now, just pat yourself on the back for a job well done!
“The best way to predict the future is to create it.” - Peter Drucker