Table of Contents
Thinking about getting a fresh, textured look? You don't always need a salon to achieve it. I'm going to show you how to cut your own hair with a razor, right in your bathroom. It might sound scary, but trust me, with the right guidance, it's totally doable. This article will walk you through the essentials, from gathering the correct tools to mastering the basic techniques. We'll cover everything you need to know to get started, including a step-by-step guide to help you achieve your desired style. We'll also discuss how to maintain your razor cut and what common mistakes to avoid. Forget those expensive salon visits; it's time to take control of your hair and learn how to cut your own hair with a razor like a pro. So, grab your razor, and let's get started!
Getting Started: Tools and Techniques for Razor Hair Cutting

Getting Started: Tools and Techniques for Razor Hair Cutting
Gathering Your Arsenal
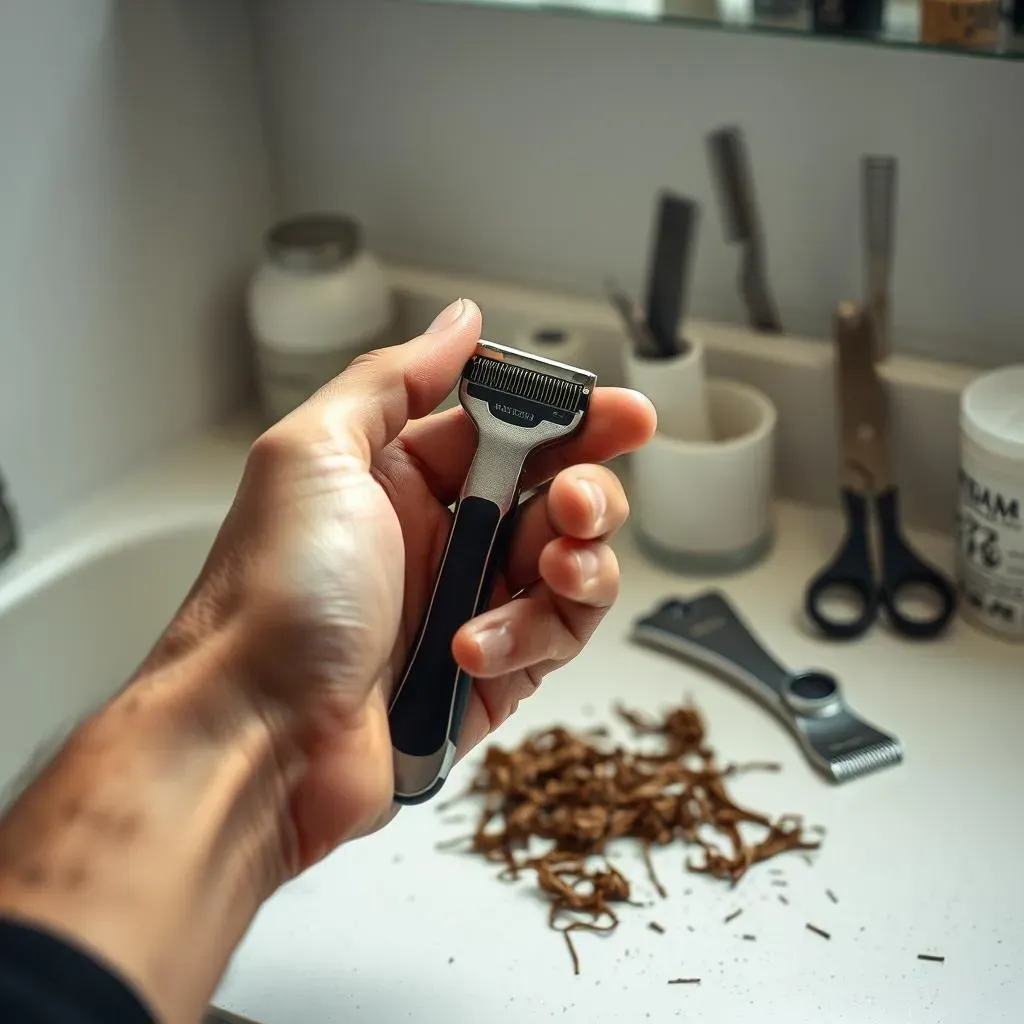
Okay, so you're ready to try cutting your own hair with a razor? Awesome! First, let's talk about what you'll need. It’s not just about grabbing any old razor. You'll want a good quality hair-cutting razor, not the kind you use on your face. These have a specific blade and handle designed for hair. Make sure you have a few replacement blades handy; a sharp blade is crucial for a clean cut. You'll also need clips to section your hair, a fine-tooth comb, and a spray bottle filled with water to keep your hair damp. And don't forget a towel to drape around your shoulders – you don't want tiny hairs all over your clothes.
Think of it like preparing for a battle, but instead of swords, we're using razors and instead of a battlefield, it's your bathroom. Having everything prepped and ready to go will make the whole process way smoother. It's like a cooking show: all the ingredients are measured, and the tools are laid out before you start. This ensures you're not scrambling for something mid-cut. Trust me, it's worth the extra prep time, and it's not that hard.
Understanding the Razor Technique
Now, let's get into the actual technique. Forget about hacking away like you're in a horror movie. Razor cutting is all about gentle, light strokes. The key is to hold the razor at a slight angle, almost parallel to your hair, and slide it down the hair shaft rather than chopping straight across. Think of it like skimming a stone across water. The movement should be smooth and controlled, not jerky. You're aiming to remove small amounts of hair with each stroke, kind of like you're sanding down a piece of wood, not taking a huge chunk out of it.
This method creates soft, textured ends, which is the whole point of using a razor. It's not about getting a blunt, even cut; it’s about adding movement and dimension to your hair. When you move the razor, do not press hard. Instead, let the blade do most of the work, and go slowly. It’s better to take your time and do it right than to rush and end up with a wonky hairstyle. It’s a learning curve, so don't expect perfection right away.
Tool | Purpose |
|---|---|
Hair-cutting razor | To create textured ends and remove hair |
Replacement blades | To ensure a sharp, clean cut |
Hair clips | To section off hair for easier cutting |
Fine-tooth comb | To detangle and guide hair |
Spray bottle with water | To keep hair damp during cutting |
Towel | To protect clothes from hair clippings |
StepbyStep Guide: How to Cut Your Own Hair with a Razor

StepbyStep Guide: How to Cut Your Own Hair with a Razor
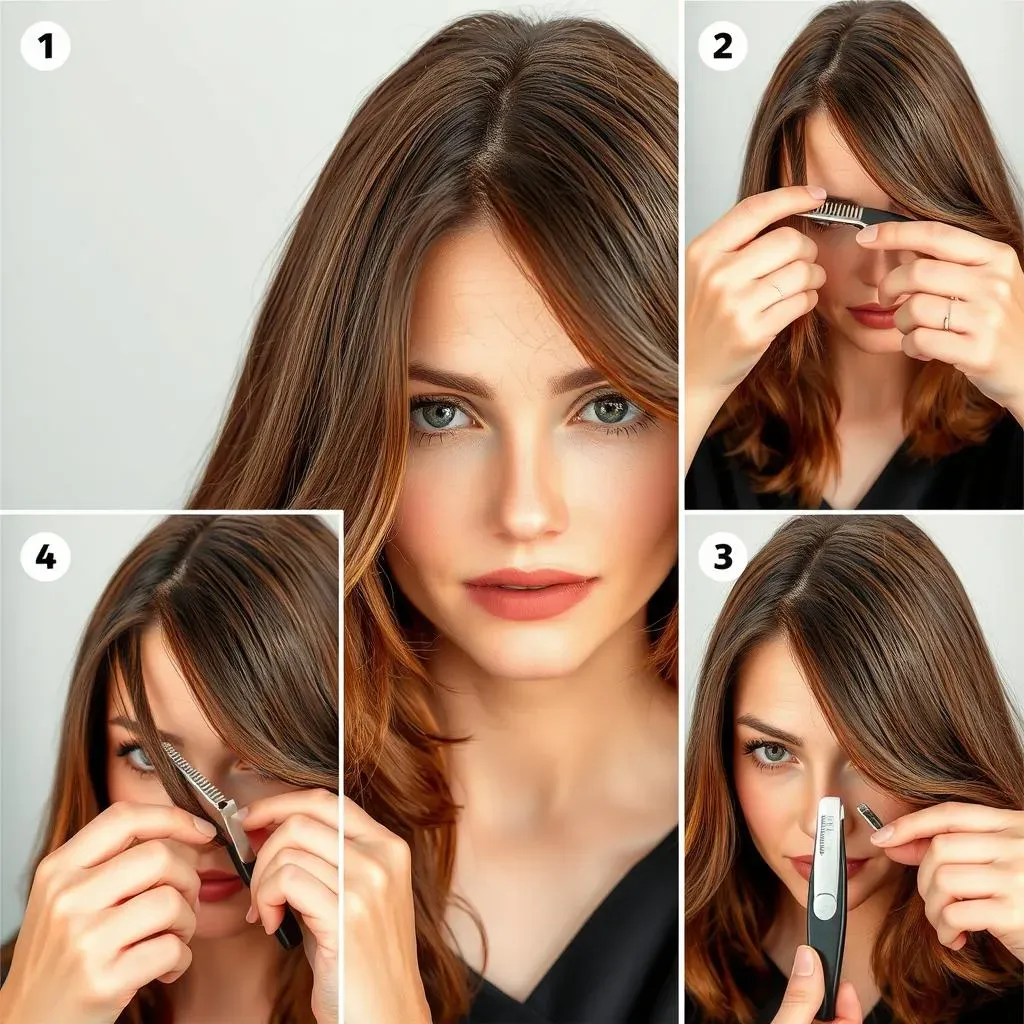
Alright, so you've got your tools and you're feeling brave? Let's get into the actual process. First things first, start with clean, damp hair. It's way easier to cut when it's not dry and poofy. Section your hair into manageable parts using those clips. Think of it like dividing a pizza, and you will cut one slice at a time. Start with the bottom layer at the back of your head. Take a small section of hair, comb it through, and hold it taut. Now, this is where the magic happens. Hold your razor at that slight angle we talked about and gently glide it down the hair. Don’t hack away, remember? Use light, feathery strokes, and don't try to cut too much hair at once. It’s like shaving, but for your hair. You are taking little by little instead of one big cut.
Keep working your way around your head, section by section. Make sure you’re comparing the lengths as you go, to ensure everything is even. It’s easy to get carried away and then find out one side is shorter than the other. If you are not confident about your skills, just do a little bit at the time. You can always cut more, but you can’t put it back. Don’t rush it. It’s like building with lego, you don’t want to make a mistake and have to do it all over again. If you want to do some layering, just pull the hair up and then do the same method. Remember, practice makes perfect, so don’t beat yourself up if it’s not flawless on your first try. It’s all part of the adventure.
Tips and Tricks: Maintaining Your Razor Cut and Avoiding Common Mistakes

Tips and Tricks: Maintaining Your Razor Cut and Avoiding Common Mistakes
Keeping Your Razor Cut Looking Fresh
Okay, so you’ve got your awesome razor cut, now how do you keep it looking sharp? First off, regular trims are your friend. Think of it like mowing the lawn; you need to keep it tidy. Depending on how fast your hair grows, you might need to touch it up every few weeks. Also, be gentle when you’re washing and drying your hair. Don't go all crazy with the towel; instead, pat it dry. Rough drying can make those textured ends look frizzy and sad. And speaking of frizz, a little bit of hair oil or serum can work wonders. Think of it like putting lotion on your skin; it keeps everything smooth and moisturized. It will make your hair look healthy and shiny.
Another pro tip is to use a wide-tooth comb instead of a brush. Brushes can sometimes pull and snag at those delicate razor-cut ends. It's like trying to untangle a fishing line with a rake, not a good idea. And lastly, try to avoid over-styling your hair, especially with heat. Heat can dry out your hair and make it look dull, which is not the look you are going for. I know, it's like a lot of work, but trust me, it will make your razor cut look amazing for longer.
Common Pitfalls and How to Dodge Them
Alright, let's talk about the mistakes you might make, because let's be real, we all make them sometimes. One big no-no is using a dull blade. It's like trying to cut steak with a butter knife; it's just not going to work well. A dull blade will tug at your hair, cause split ends, and make the whole experience a mess. Also, avoid cutting your hair when it’s dry. It’s harder to control and you might end up with choppy, uneven results. It's like trying to paint a wall when it's covered in dust, it's not going to be a smooth process. Another mistake is cutting too much hair at once. It's like trying to eat a whole pizza in one bite, it's just not a smart move. Remember, slow and steady wins the race. It's better to take your time and cut less than to cut too much and have to start all over again.
And lastly, don't get overconfident. It's easy to think you're a pro after a couple of successful cuts, but don’t get cocky. Razor cutting, like any skill, takes practice. If you are not sure about something, stop and watch some more videos or ask a friend for help. It's better to be safe than sorry. Always double-check your work before you put the razor down. It's kind of like proofreading your homework, you might catch something you missed the first time around.
Mistake | Solution |
|---|---|
Using a dull blade | Always use a fresh, sharp blade |
Cutting dry hair | Always dampen your hair before cutting |
Cutting too much hair at once | Take small sections and cut gradually |
Overconfidence | Be cautious, double-check, and don’t rush |
Extra Tips for Razor Cutting Success
Okay, so here are a few extra tips that will take your razor cutting game to the next level. First, if you are trying to do a layered cut, remember to lift the hair at the right angle. It's like building a tower with blocks; you need the right foundation to make it stand tall. If you're not sure about the angle, start with a small section and then see if you like it. It’s like testing the water before you jump in. Also, remember to always keep the razor moving. Don’t just hold it in one place. It’s like painting a wall, you need to move the brush to get an even coat. And lastly, don’t be afraid to experiment. Hair grows back, so it’s not the end of the world if you make a mistake. It's like trying a new recipe, you might not get it right the first time, but you'll learn from it.
And remember, practice makes perfect. The more you do it, the better you will get. Don't be discouraged if your first attempt is not perfect, it's all part of the learning process. It's like learning to ride a bike, you might fall a few times, but eventually, you will get the hang of it. So, grab your razor, and keep practicing. I promise you will get better with time. And who knows, you might even become a razor-cutting master.