Tired of spending your hard-earned cash at the barber shop? Ever thought about taking matters into your own hands, literally? I'm talking about learning how to cut your own hair with clippers. It might seem intimidating, but trust me, it's a skill that's easier to master than you think. This isn't just about saving a few bucks; it’s about gaining control of your style and schedule. We'll start by finding the right tools for the job, I'll walk you through picking the best clippers. Then we will cover how to achieve a great looking fade cut at home. I'll break down the process step-by-step, from prepping your hair to cleaning up those tricky areas. And finally, we will discuss how to keep your clippers in tip-top shape for the next cut. By the end of this guide, you'll be rocking a fresh cut, done by you, for you. So, let's grab those clippers and get started.
Tools: Choosing the Right Clipper to cut your own hair

Tools: Choosing the Right Clipper to cut your own hair
Why the Right Clippers Matter
Okay, so you're ready to take the plunge and cut your own hair? Awesome! But before you grab any old clippers, let's talk about why choosing the right tool is so important. Think of it like this: you wouldn't use a butter knife to chop vegetables, would you? Same goes for hair clippers. A good set of clippers will make the whole process smoother, faster, and way less likely to result in a haircut that looks like it was attacked by a lawnmower. We want precision, power, and something that won't quit halfway through. It's an investment, but it's one that will pay off in the long run.
My Pick: The Wahl Elite Pro
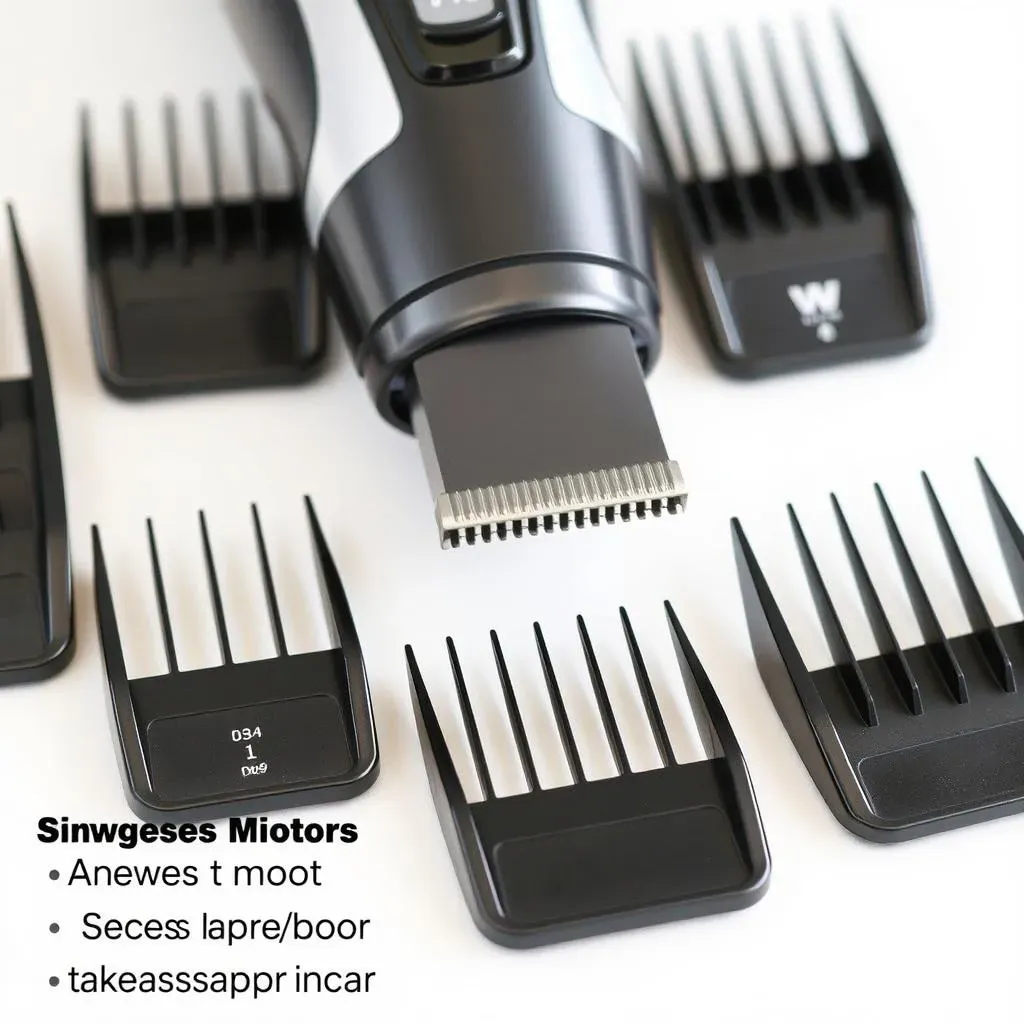
If you're asking me for a recommendation, I'm gonna say go for the Wahl Elite Pro. I'm not sponsored or anything, I just think it's a solid piece of kit for the price. It's powerful enough to handle thick hair without bogging down, and the self-sharpening blades mean you don't have to worry about them getting dull after a couple of uses. Plus, it usually comes with a bunch of attachment guards, which are basically your best friends when you're learning how to cut your own hair. They'll help you avoid accidentally giving yourself a buzz cut. Trust me, I’ve been there.
Feature | Why It Matters |
|---|---|
Powerful Motor | Cuts through thick hair easily, prevents snagging. |
Self-Sharpening Blades | Maintains consistent cutting performance over time. |
Attachment Guards | Allows for different hair lengths, essential for beginners. |
What to Look For
When you’re shopping for clippers, there are a few things to keep in mind. First, look for a motor that's strong enough for your hair type. If you've got thick hair, you'll want something that can handle the workload. Second, pay attention to the blades. Self-sharpening blades are a big plus, but if not, make sure they are made of good quality material, like stainless steel. Finally, don't forget about the attachment guards. The more options you have, the more control you'll have over the length of your hair. And hey, a good pair of shears can help with those stray hairs, and clean up the edges, so keep an eye out for a kit that includes them. I think that Wahl Elite Pro kit includes those.
The Right Cut: How to do a Fade Cut with clippers

The Right Cut: How to do a Fade Cut with clippers
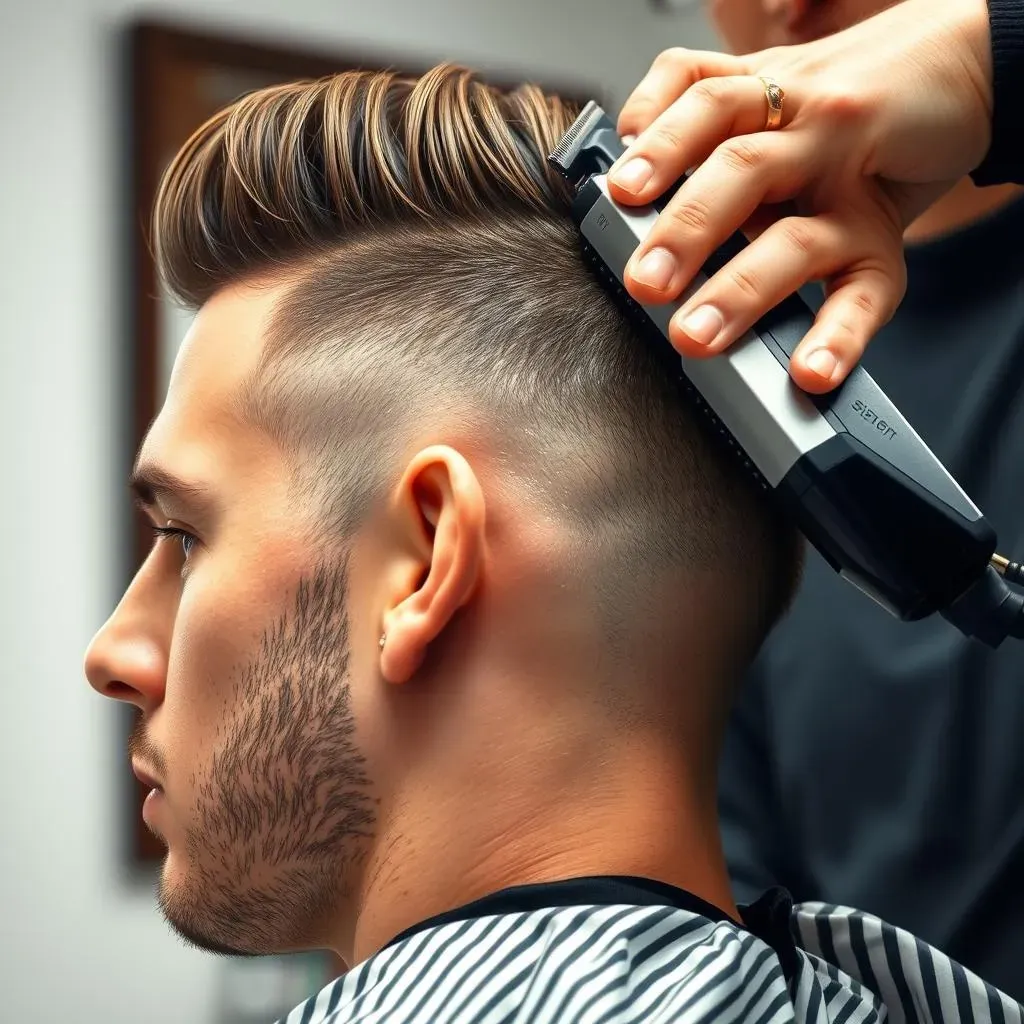
Alright, so you've got your clippers, now what? If you're like most guys, you're probably looking for a cut that’s clean, versatile, and not too complicated. That’s where the fade comes in. It's a classic for a reason. A fade is basically a gradual transition in hair length, from short at the bottom to longer up top. It's like a gradient, but for your hair. It looks sharp and professional, and it's surprisingly easy to do at home once you get the hang of it. Plus, it's super customizable - you can go for a low fade for a subtle look or a high fade if you're feeling bold. I personally prefer a mid-fade myself, it is a nice balance.
How to Cut Your Own Hair with Clippers: StepbyStep

How to Cut Your Own Hair with Clippers: StepbyStep
Prep Your Hair
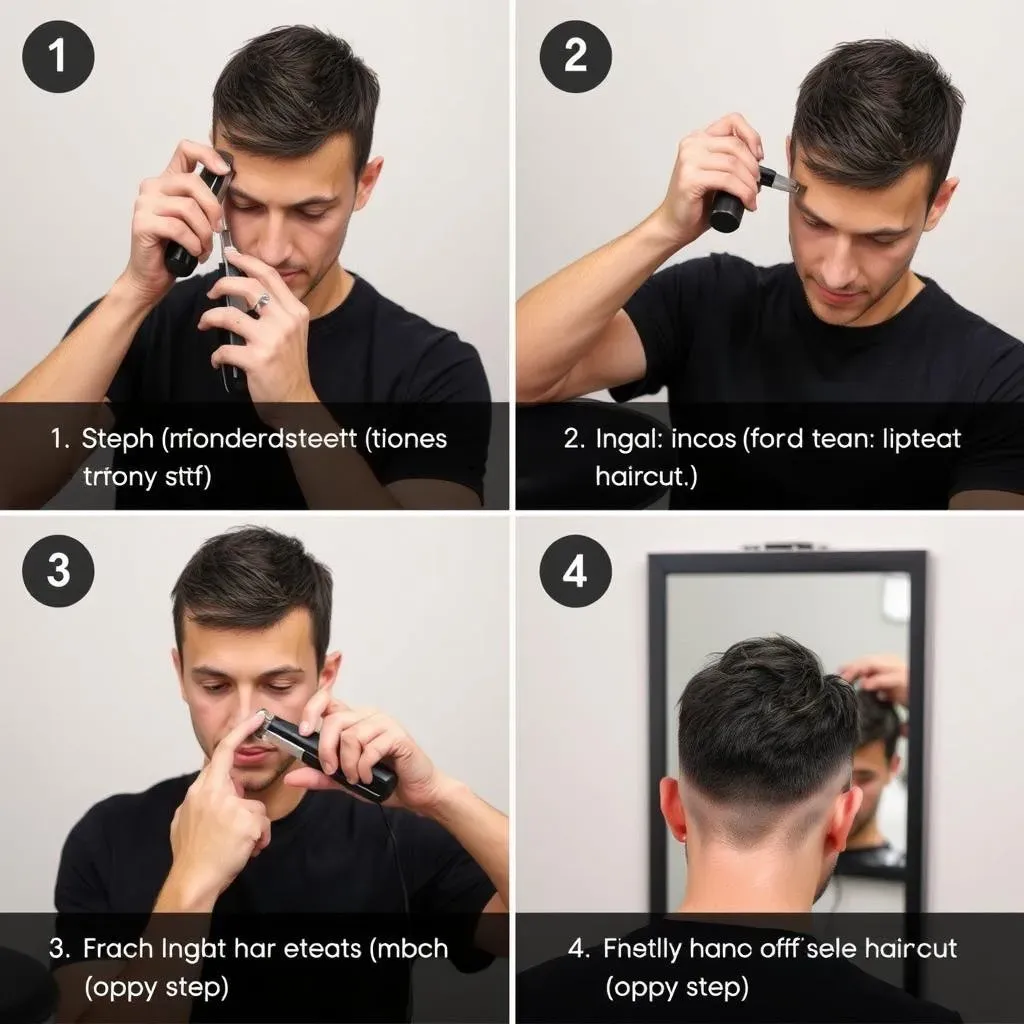
Before you even think about turning on those clippers, you need to get your hair ready. This isn't just about making it look pretty; it's about making sure you get an even cut. First things first, grab a comb and run it through your hair to get rid of any tangles. You want your hair to be smooth and easy to work with. Next, pick the right attachment guard for the clippers. For a fade, I usually start with a #2 guard on the sides and back. This gives you a nice, short base to work with. It's like setting the stage for a great haircut.
Also, before you start cutting, make sure your hair is dry. Wet hair can clump together, making it harder to get an even cut. Plus, it can make your clippers work harder than they need to. It is a small detail that can make a big difference in the end result. Now that you’re prepped, you're ready to start the real fun.
Rock the Clippers Around the Sides and Back
Okay, now for the main event. Starting with the sides, hold the clippers so the blade is flat against your head. Then, use a smooth, rocking motion as you move the clippers upwards, working against the grain of your hair. Don't just plow straight up; the rocking motion helps to blend the hair as you go. It’s like you’re painting a wall, you want to move the roller in a smooth, even motion, not just stab at it. Make sure you're moving in an upward direction. Start at the bottom, near your hairline, and work your way up to the area above your ears. For the back, use a mirror to see what you’re doing, and try to keep the same motion and length as the sides. The goal is to create a consistent length all around the lower part of your head.
Remember, patience is key here. Don't rush it. Take your time, and you'll get the hang of it. If you find some spots are uneven, just go over them again. It's better to take a few passes than to try and cut it all in one go. I know it might feel a little weird at first, but the more you do it, the more natural it will feel. So, keep at it, and you'll be a pro in no time.
Step | Action |
|---|---|
1 | Comb hair to remove tangles |
2 | Attach #2 guard to clippers |
3 | Start at hairline, use rocking motion upwards |
4 | Repeat on sides and back, moving slowly |
Care for Your Clippers

Care for Your Clippers
Alright, so you've just given yourself a killer haircut – congrats! But the job’s not quite done. Just like a good car needs regular maintenance, your clippers need some love to keep them running smoothly. If you want your clippers to last and keep giving you great cuts, you can't just toss them in a drawer and forget about them. We need to talk aboutCare for Your Clippers, it's about keeping them clean, oiled, and ready for action.
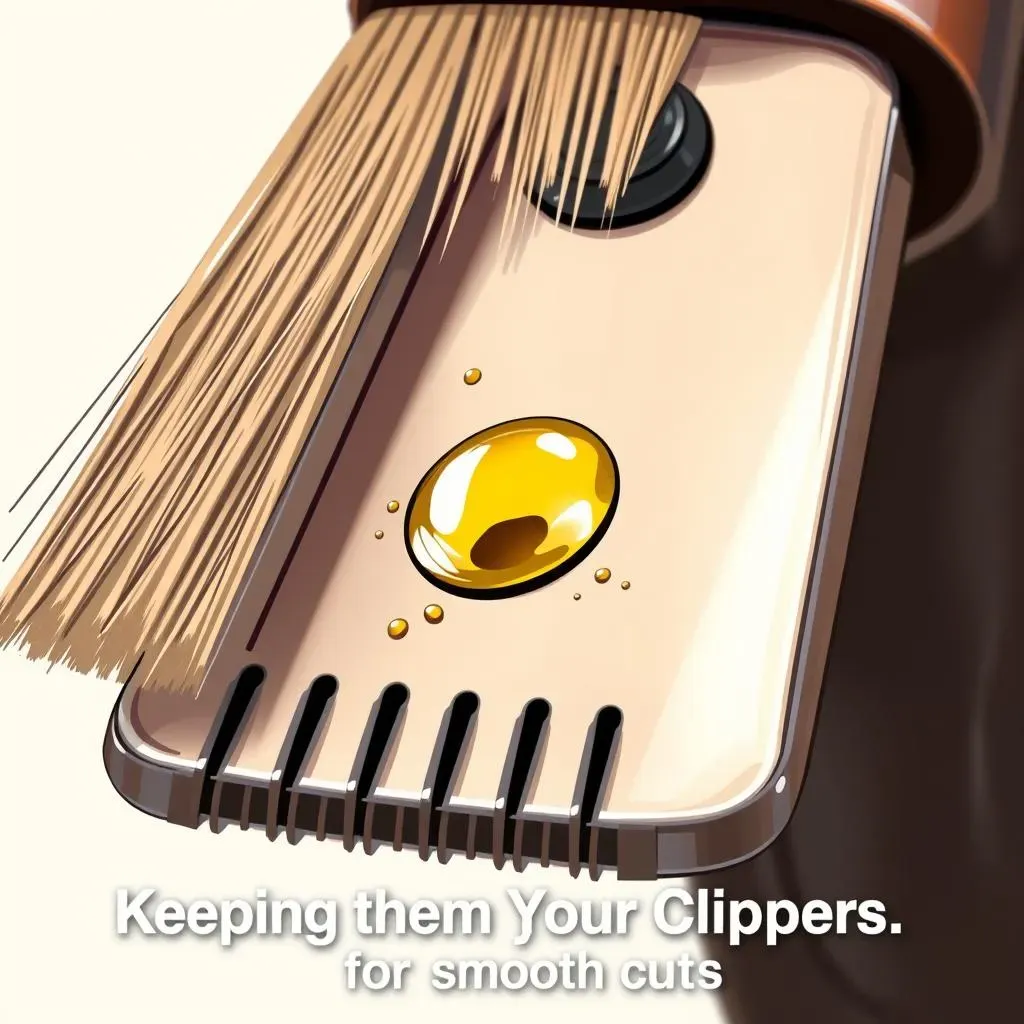
The main thing is to keep the blades clean. After each use, grab the little brush that came with your clippers, and get rid of all the hair. Those tiny bits of hair can get stuck in the blades and mess things up over time. Also, a few drops of clipper oil on the blades after cleaning will do wonders. It stops them from rusting and keeps the blades moving smoothly without snagging. If you don't oil them, the blades will eventually start to pull your hair instead of cutting it, and that’s not something you want. Think of it like oiling your bike chain, it makes everything work much better. You do not want to hear those awful hair pulling sound. A small investment of time and effort will keep your clippers in top shape for years to come.
Care Step | Why It's Important |
|---|---|
Brush off Hair | Prevents buildup and keeps blades clean |
Oil the Blades | Prevents rust and ensures smooth cutting |
Store Properly | Protects clippers from damage |