Table of Contents
Ever stared at your reflection, wishing for a fresh look, but dreading the salon trip? I get it. The struggle is real! That's why I'm here to spill the secrets on how to cut your own hair with layers and bangs, right in your bathroom. Forget those pricey appointments; it's time to take matters into your own hands! This isn't about becoming a professional stylist overnight, it's about learning some simple techniques that can make a big difference. We'll start with a super easy method for layering long hair using a ponytail (yes, really!), then tackle different ways to achieve those perfect bangs – from wispy to bold. Finally, I’ll walk you through how to check your work and make tiny adjustments for a polished result. So, grab your scissors, a comb, and maybe a mirror or two. Let’s get cutting!
Cutting Your Own Layers: The Ponytail Trick

Cutting Your Own Layers: The Ponytail Trick
The Magic of the Ponytail
Okay, so you want layers, but the thought of wielding scissors like a pro makes you sweat? Relax! The ponytail method is like the training wheels of DIY haircuts. It's surprisingly simple, and honestly, kind of genius. You start by brushing your dry hair really well to get rid of any knots. Then, you flip your head over and gather all your hair into a high ponytail right on top of your forehead, almost at your hairline. The tighter the ponytail, the cleaner the cut will be. This is the secret to getting those layers – it's all about where you place that ponytail.
Positioning for Perfect Layers
Now, here’s the crucial part. The closer you place the ponytail to your forehead, the more dramatic your layers will be. If you want subtle layers, move it back a bit, maybe an inch or two. Think of it like this: the base of your ponytail is going to be the shortest layer, and everything else will cascade down from there. Once you've got your ponytail right where you want it, slide the elastic down a little bit, about an inch or two, depending on how much you want to cut off. This creates a little tail of hair that you'll trim. Make sure it is all smooth and there are not knots.
Layer Type | Ponytail Position | Layer Effect |
|---|---|---|
Dramatic Layers | Very close to hairline | Shorter top layers, more volume |
Subtle Layers | 1-2 inches back from hairline | Gentle layers, less volume |
The Big Snip and Final Touches
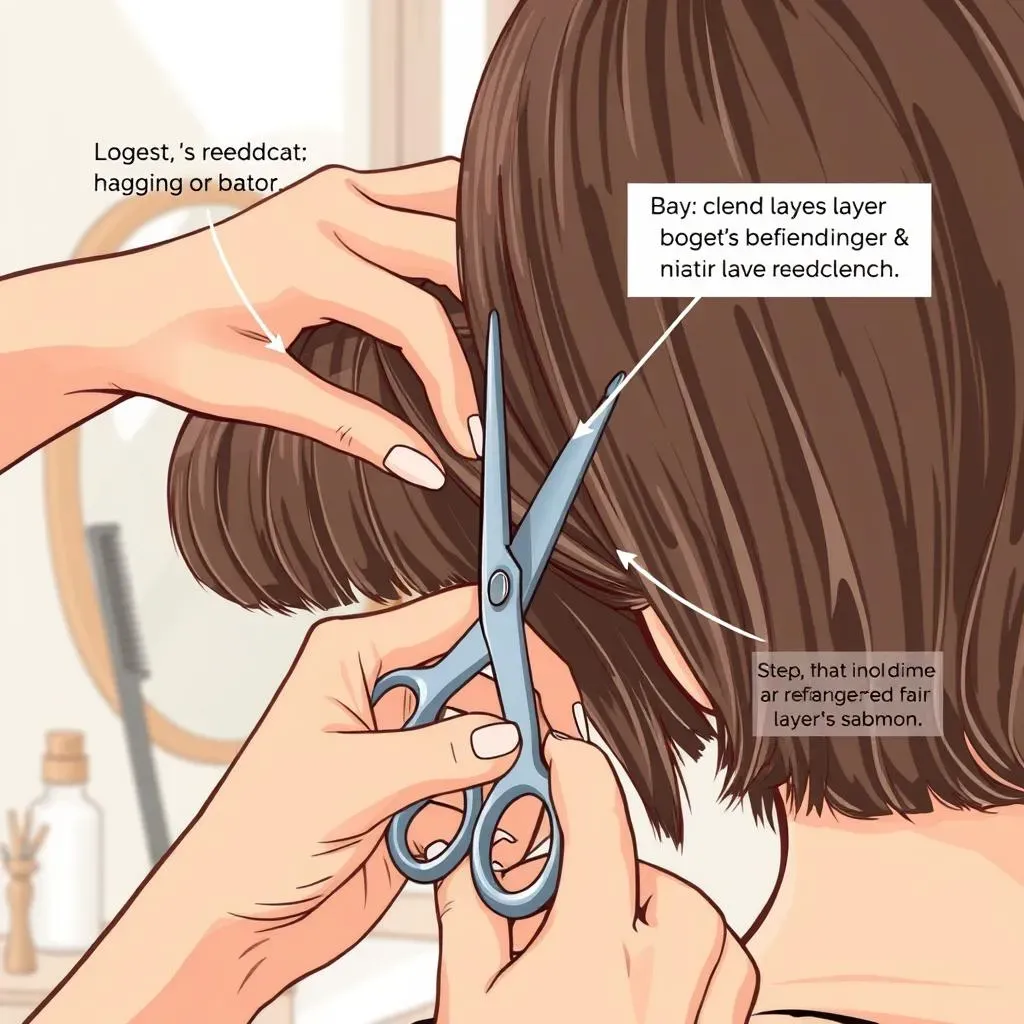
Alright, deep breath – it's time for the cut! Using sharp hair scissors (kitchen scissors are a big no-no!), carefully snip straight across the bottom of the ponytail. Don’t go crazy! Start with less, you can always cut more. Once you’ve made the cut, take down the ponytail and shake out your hair. You'll see the layers magically appear. Now, for the final touch, comb through your hair and see if any bits look uneven. If you do, just carefully trim them, holding your scissors vertically to soften the edges. And that’s it, you’ve got layers! It might not be perfect the first time, but practice makes perfect, and it's way more fun doing it yourself.
How to Cut Your Own Bangs: Styles and Techniques

How to Cut Your Own Bangs: Styles and Techniques
Finding Your Bang Style
Okay, so layers are cool, but let's be honest—bangs can totally transform your look. Whether you're aiming for a chic, blunt fringe, soft curtain bangs, or something in between, the key is to start slow and always cut less than you think you need. Before you even pick up your scissors, consider your face shape and hair texture. If you have a round face, longer, side-swept bangs can help elongate your features. For a square face, soft, wispy bangs can soften the angles. And for the lucky ones with an oval face, well, you can pretty much rock any style! The most important thing is you like your style, and you are comfortable with it!
Now, let's talk about the hair itself. Curly hair will spring up a bit more when it's dry, so cut longer than you think it needs to be. Straight hair will hang more, so you can cut it a bit shorter. And remember, it's always better to start with dry hair when cutting bangs. This way, you can see exactly how they'll fall and avoid any nasty surprises. There are a lot of different styles to choose from, but you should pick one you are comfortable with, and you think it will fit your face shape.
The Cutting Process: Step-by-Step
Alright, ready to snip? First, create a triangle section at the front of your hair, where your bangs will be. Use a comb to separate this section neatly. The width of this triangle will determine how wide your bangs will be, so keep that in mind. Now, comb that section straight down, and hold it between your fingers. Start by making tiny snips upwards into the hair, instead of a straight across cut. This creates a softer, textured edge. It's like you're nibbling at the hair, not chopping it off. If you want a blunt bang, then you do a straight cut.
For curtain bangs, you'll want to divide your bangs in half and angle the scissors down and out. Think of it like a gentle slope, not a sharp drop. Remember, patience is key here. Take your time, check your work in the mirror, and don't be afraid to make tiny adjustments. It's a process, not a race. You're doing great! Also, a little tip: don't try to cut all your bangs in one go. Start by cutting the middle section first, then work your way out to the sides. This helps you maintain symmetry and avoid any wonky-looking mishaps.
Bang Style | Cutting Technique | Best Suited For |
|---|---|---|
Blunt Bangs | Straight, horizontal cut | Straight or slightly wavy hair |
Curtain Bangs | Angled, sloping cut | Most hair types and face shapes |
Wispy Bangs | Vertical snips, textured edge | Fine hair, soft look |
FineTuning Your DIY Layered Haircut and Bangs

FineTuning Your DIY Layered Haircut and Bangs
Alright, you've cut your layers and bangs, and you’re feeling pretty good about it. But before you start celebrating with a hair-flipping dance, let’s talk about those finishing touches. This is where we go from "good" to "great." It's like adding the perfect seasoning to a dish or putting the final coat of paint on a masterpiece. It's the little things that make all the difference. Now, the key here is not to get carried away. We're talking minor adjustments, not a total re-do. So, grab your comb and scissors, and let's get to work! Remember the goal is to make your hair look more put together, and even.
First, let's assess the situation. Take a good look at your layers in the mirror. Are there any bits that stick out? Any unevenness? If you spot some, don't panic! Just take tiny snips at the ends to even them out. Hold your scissors vertically and make small cuts. This will give you a softer, more natural look. For your bangs, check the length and shape. Are they too long? Too thick? If so, trim them little by little, using the same technique you did before. Remember, it’s easier to cut more than it is to add back hair, so go slow! It's all about being patient and precise.
Problem | Solution | Tools |
|---|---|---|
Uneven Layers | Small vertical snips | Sharp hair scissors, comb |
Too Thick Bangs | Thinning shears or small vertical cuts | Thinning shears (optional), sharp hair scissors |
Blunt Bangs | Texturizing cuts with scissors | Sharp hair scissors |
Length Issues | Careful trims, little by little | Sharp hair scissors, mirror |
Now, let's talk about blending. If your layers seem a bit choppy, try using your fingers to blend them together. Just run your fingers through your hair, and gently pull out any bits that seem too short or too long. This is a great way to create a more seamless transition between the layers. For your bangs, you can use a comb to blend them into the rest of your hair, or even style them a bit to see how they fall. A tiny bit of hair wax or paste can help keep them in place. Remember, the goal here is to make everything look like it belongs together, like a harmonious symphony of hair. And if you’re feeling extra fancy, you can always use a round brush and a blow dryer to add some volume and bounce. It's like the cherry on top of a delicious sundae!
Alright, you’ve now reached the end of this DIY hair adventure. You've learned how to cut layers, how to cut bangs, and how to fine-tune everything for a fabulous finish. It might not be perfect, but hey, you did it yourself! And that's pretty awesome. Just remember, the most important thing is to have fun and to embrace the process. If you're feeling brave, you can try different styles and techniques, and see what works best for you. You might even surprise yourself with how creative you can be. So, go ahead, rock that new 'do, and remember, confidence is the best accessory you can wear!