Okay, so you're thinking about grabbing those scissors and taking matters into your own hands, right? Maybe the barber shop's closed, or maybe you're just feeling a little adventurous. Learning how to cut your own hair with scissors might seem like a crazy idea, but trust me, it's totally doable. I've been there, staring at my reflection, wondering if I could actually pull this off. And guess what? You can! This guide will walk you through the whole process, from prepping your hair, to using clippers and scissors on the sides and back, then tackling the top, and finally, making those all-important finishing touches. We'll cover using clippers to fade the lower part and scissors to make sure the top looks sharp. We’ll even talk about cleaning up around your ears and neckline. Don’t worry if you mess up, it happens. The most important thing is to start slow, be patient, and remember: practice makes perfect. So, let's get started and turn that mop into a masterpiece, or at least something you can live with!
Getting Ready to Cut Your Own Hair with Scissors

Getting Ready to Cut Your Own Hair with Scissors
Gather Your Tools and Prep Your Hair
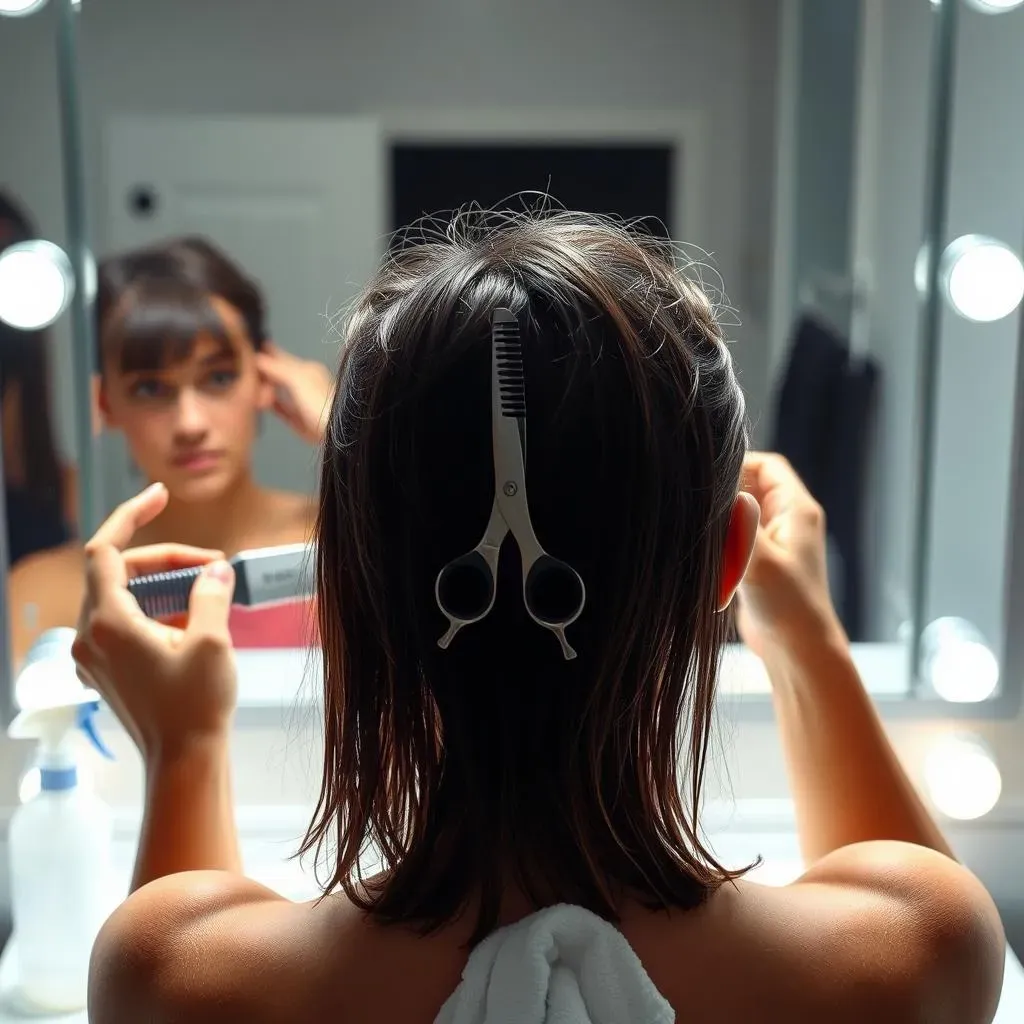
Alright, before you even think about picking up those scissors, let's get organized. You wouldn't start baking a cake without all the ingredients, right? Same deal here. First, you'll need a good pair of hair-cutting scissors. Don't even try using kitchen scissors – trust me, it won't end well. You can find decent ones online or at a beauty supply store; they don't have to cost a fortune. Next, grab a comb, a spray bottle with water, and a mirror (or two if you want to see the back of your head). Oh, and a towel to drape around your shoulders, unless you like wearing your haircut. Finally, wash your hair with shampoo and towel dry it. This makes it easier to cut, but don't let it get too dry; damp hair is your friend here.
Now, about that mirror situation. If you've got a bathroom mirror, great, but you'll also need a hand mirror to see the back of your head. It's like trying to solve a puzzle blindfolded if you skip this step. I mean, you could ask a friend, but you're trying to do this yourself, right? Set up your workstation in a well-lit area. You don't want to be cutting in the dark, unless you're going for a "surprise" style. Make sure you have enough space to move around and that all your tools are within easy reach. You can even put down some old newspapers or a towel on the floor to collect the falling hair. Trust me, your vacuum will thank you.
Setting the Stage for Success
Before you start snipping, take a good look at your hair. What's the plan? Are you going for a trim, a total transformation, or just trying to fix that weird bit that's sticking out? Knowing your goal will help you keep from going too short or cutting off way more than you intended. Also, it's a good idea to put on an old t-shirt that you don't mind getting hair on. You’ll be surprised how much hair gets everywhere. If you are unsure, start with small cuts, you can always cut more but you can’t put it back.
Now that you're all set up and ready to go, it's time to get into the right mindset. This isn't a race, it's more like a delicate dance between you and your hair. Take a deep breath, relax, and don't be afraid to make mistakes. You’re learning something new, and that takes time and patience. If you start feeling frustrated, take a break. A few minutes of breathing room can make a huge difference. Remember, you're not trying to become a professional barber overnight. You're just trying to get a decent haircut in the comfort of your own home, and that’s totally awesome.
Tool | Purpose | Why it's Important |
|---|---|---|
Hair-cutting scissors | To cut hair cleanly | Regular scissors will damage the hair |
Comb | To guide and section hair | Helps ensure even cuts |
Spray bottle | To keep hair damp | Damp hair is easier to cut |
Mirror(s) | To see the front and back | Essential for a proper self-cut |
Towel | To cover shoulders | Keeps hair off your clothes |
Clippers and Scissors: Cutting the Back and Sides

Clippers and Scissors: Cutting the Back and Sides
The Clipper Lowdown
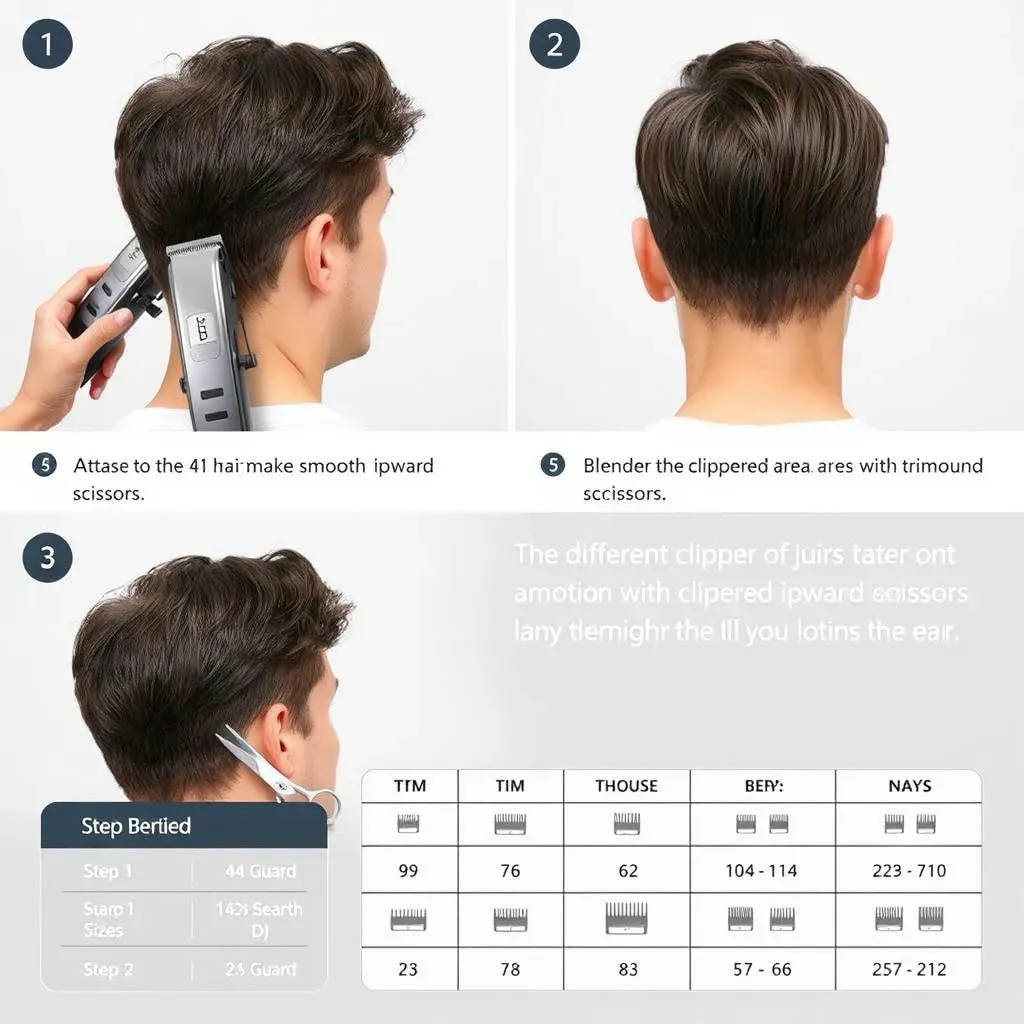
Alright, let's talk clippers. These are your best friends for the back and sides. If you've never used them before, don't panic. It's not as scary as it looks. The first thing you need to do is pick the right guard. These little plastic attachments determine how short your hair will be. Start with a higher number. You can always go shorter later, but you can't make hair magically reappear. I suggest beginning with a number 4 or 5. Attach the guard to your clippers, and you're ready to begin. Remember to always start with clean, damp hair for best results. And, for the love of all that is holy, don't just turn the clippers on and go wild. You'll end up with a lawnmower effect. Use smooth, upward strokes, going against the grain of your hair. Don’t go too fast. Slow and steady wins this race.
Think of it like mowing a lawn. You want to overlap each stroke slightly to make sure you don't miss any spots. If you’re trying to fade the lower half of your hair, use a shorter guard setting and work from the bottom up, creating a gradient. This will give your haircut a more professional look. Be careful around your ears, and use the clippers without the guard to clean up the edges. This step is crucial for a crisp and clean look. Use your hand mirror to check the back, making sure everything is even. If you see any spots that are longer, go over them again with the clippers. You can use the clippers to shape the sideburns as well, and keep them at the same length.
Scissors for Detail Work
Now, while the clippers handle the bulk of the work on the sides and back, your scissors will come in handy for detail work. After you've used the clippers, you might notice some stray hairs or areas that need a bit of extra attention. That's where your scissors step in. Use them to trim around the ears and to blend the lines between the areas cut by the clippers and the longer hair at the top. Hold the scissors with the blades pointing away from you. Be careful, and don’t rush it. Small snips are better than big mistakes.
When you're using your scissors, hold your hair between your fingers and snip away at the tips. This is called "point cutting" and it will help you to avoid creating a hard line. It’s all about subtle refinement. If you are trying to fade the lower half of your hair, you can use the scissors to blend the transition between the clippered area and the longer top. This takes a bit of practice, but you will get there. Remember, you can always cut more, but you can't put hair back. Be patient, and take your time. Use your mirror to check your progress and make sure everything looks even. You can also use a handheld mirror to examine your neckline and make sure it’s even.
Clipper Guard Number | Hair Length (approx.) | Use Case |
|---|---|---|
#1 | 1/8 inch | Very short fade, close to the skin |
#2 | 1/4 inch | Short fade, slightly longer than #1 |
#3 | 3/8 inch | Short cut, good for blending |
#4 | 1/2 inch | Medium length, common for sides and back |
#5 | 5/8 inch | Slightly longer than #4, for a bit more length |
Scissors Only: Cutting the Top of Your Hair

Scissors Only: Cutting the Top of Your Hair
Scissors: The Key to Top-Notch Hair
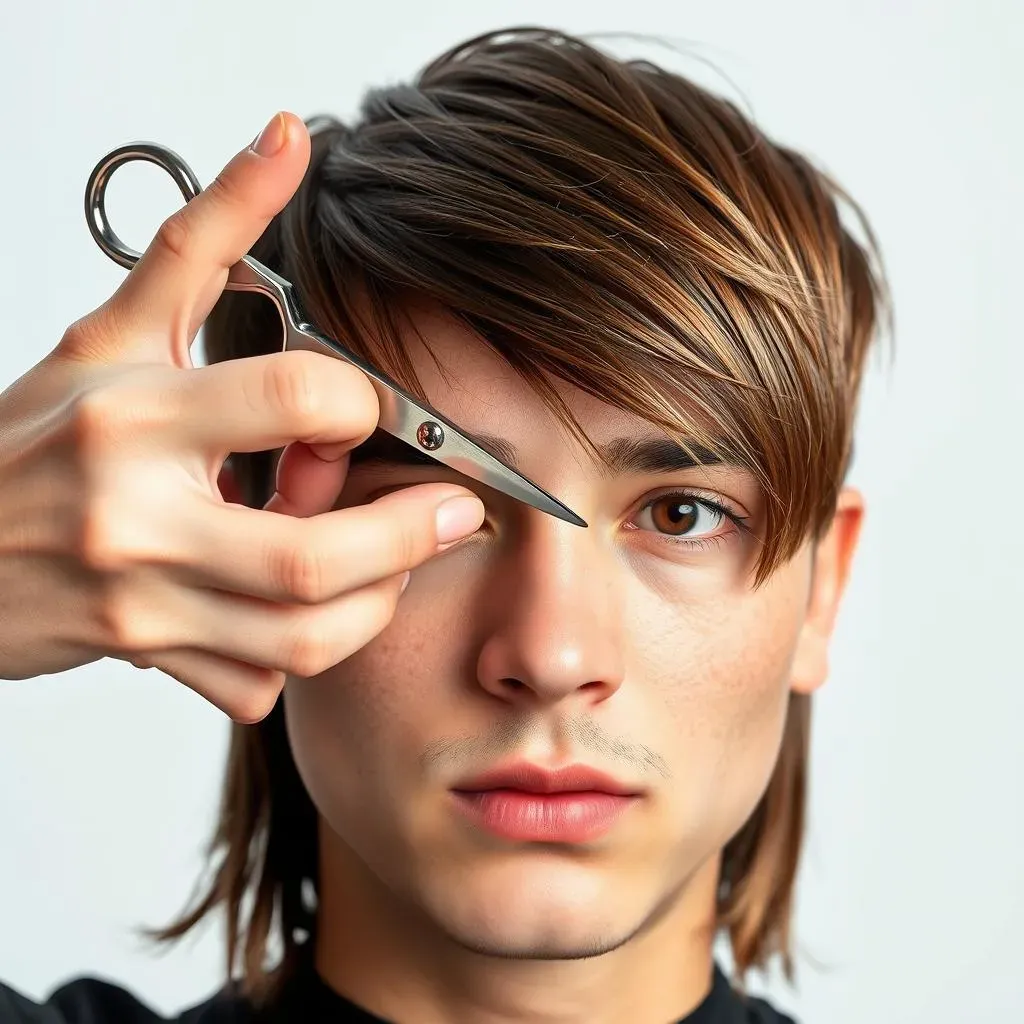
Okay, so you've conquered the back and sides with the clippers, which is pretty awesome. Now comes the part where you really get to sculpt your hair, which is the top. This is where the scissors become your best friend. Unlike the clippers, which are all about uniformity, scissors give you more control and allow you to add texture and style. Now, don't go all Edward Scissorhands on me. We’re going for a controlled, deliberate cut. Start by combing the top of your hair, making sure it's free of any tangles. Then, take a small section of hair between your fingers, holding it up so that you can see the length. Now, this is where you need to be careful, cut the tips of your hair, using small snips. This is the point cutting technique and it's super important so you don't create a hard line. The key is to cut in small increments, you can always cut more but you can't put hair back, remember that.
Work your way around the top of your head, section by section, making sure to keep the length consistent with the rest of the top. Use your comb to lift each section of hair and hold it at the same angle. This will help you to maintain a consistent length and avoid any unevenness. If you are unsure, start with small cuts, you can always cut more. Remember to take your time and don't rush, you’re not trying to set a record here. The goal is to achieve a natural, even look. If you're going for a textured look, you can make some of the sections slightly shorter than others. This will give your hair more movement and volume. Just make sure you do this evenly and not in a random spot.
Cutting Technique | Description | Best Use |
|---|---|---|
Point Cutting | Snipping into the ends of the hair | Softening lines, adding texture |
Layering | Cutting hair at different lengths | Creating volume and movement |
Thinning | Removing bulk from thick hair | Reducing weight, easier styling |
Finishing Touches: Making Your Haircut Perfect

Finishing Touches: Making Your Haircut Perfect
Cleaning Up the Edges
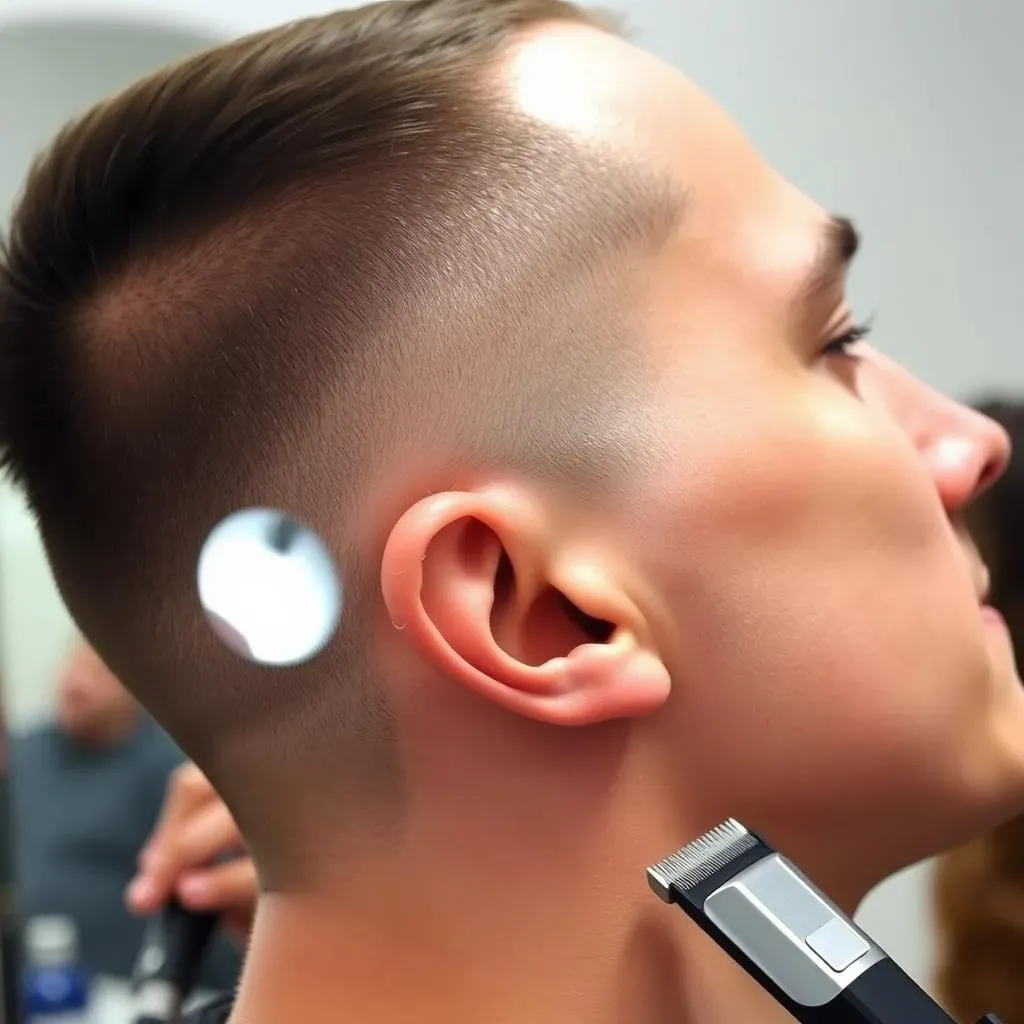
Alright, so you've got the back, sides, and top looking pretty good. But hold on, we're not done yet. The devil is in the details, as they say, and those details are all about the edges. This is where you take a good look at your hairline, around your ears, and the back of your neck. Are there any stray hairs sticking out? Any uneven lines? If so, it's time to grab your clippers or trimmer, without a guard, and get to work. Be super careful here. You don't want to accidentally shave off a chunk of your hair. Use short, gentle strokes to clean up the edges, creating a crisp, defined line. Remember to take your time, and use your mirror to check your progress. This part is like the final polish on a car, it makes all the difference.
For the neckline, you can use a handheld mirror to get a good view. You want to create a clean, even line that doesn't look too harsh or unnatural. Some people prefer a straight line, while others like a slightly rounded one. It’s all about your personal preference. If you're not sure, start with a straight line and then adjust it as needed. If you have any doubts, you can always ask a friend to help you with the back of your neck, especially if you have trouble seeing it. Just make sure they don't get too carried away and start giving you a whole new haircut!
Styling and Final Checks
Now that your edges are looking sharp, it's time for the grand finale: styling. Grab your favorite hair product, whether it’s gel, wax, or pomade, and style your hair as you normally would. This will give you a better idea of how your new haircut looks and if any areas need further attention. Once you have styled your hair, take a step back and look at your hair from all angles. Use a mirror to check the back and sides, making sure everything is even and well-blended. If you see any areas that need more work, don't be afraid to make adjustments. You can use your scissors to trim any stray hairs or your clippers to touch up any uneven areas.
Remember, cutting your own hair is a skill that takes time and practice. Don’t be discouraged if your first few attempts aren’t perfect. The important thing is that you’re learning and improving with each haircut. If you make a mistake, don't worry about it. Hair grows back, and you can always go to a professional if you need to fix it. But hey, you did it, you cut your own hair with scissors, and that’s pretty awesome. You now have the power to maintain your style without having to rely on anyone else. Plus, you saved some money, and that's always a good thing. Now go out there and rock that new ‘do.
Step | Action | Purpose |
|---|---|---|
1 | Clean up edges with clippers/trimmer | Define hairline, remove stray hairs |
2 | Style hair with product | See how haircut looks when styled |
3 | Check for evenness in mirror | Adjust if needed, perfect the cut |