Table of Contents
Ever stared at your reflection, wishing your hair had a bit less *poof* and a bit more *oomph*? I get it. Those bulky ends and that heavy feeling can be a real drag. The good news is you don't need a pricey salon visit to fix it. You can totally learn how to cut your own hair with thinning scissors. It's like having a secret weapon for amazing hair days, right in your bathroom drawer. Think of thinning scissors not as scary shears that chop, but as your new best friend for adding texture, removing weight, and creating movement. This article will be your guide, showing you how to choose the right scissors, master the techniques, and avoid any haircut horror stories. We'll walk through everything step-by-step, from prepping your hair to those final snips. We'll cover how to texturize bulky ends, how to thin out your hair, and even tackle some common questions that might be buzzing around your head. So, grab your scissors, a mirror, and let's get started on your journey to fantastic hair, all done by you!
Choosing the Right Thinning Scissors for Your Hair

Choosing the Right Thinning Scissors for Your Hair
The Teeth Tell a Tale
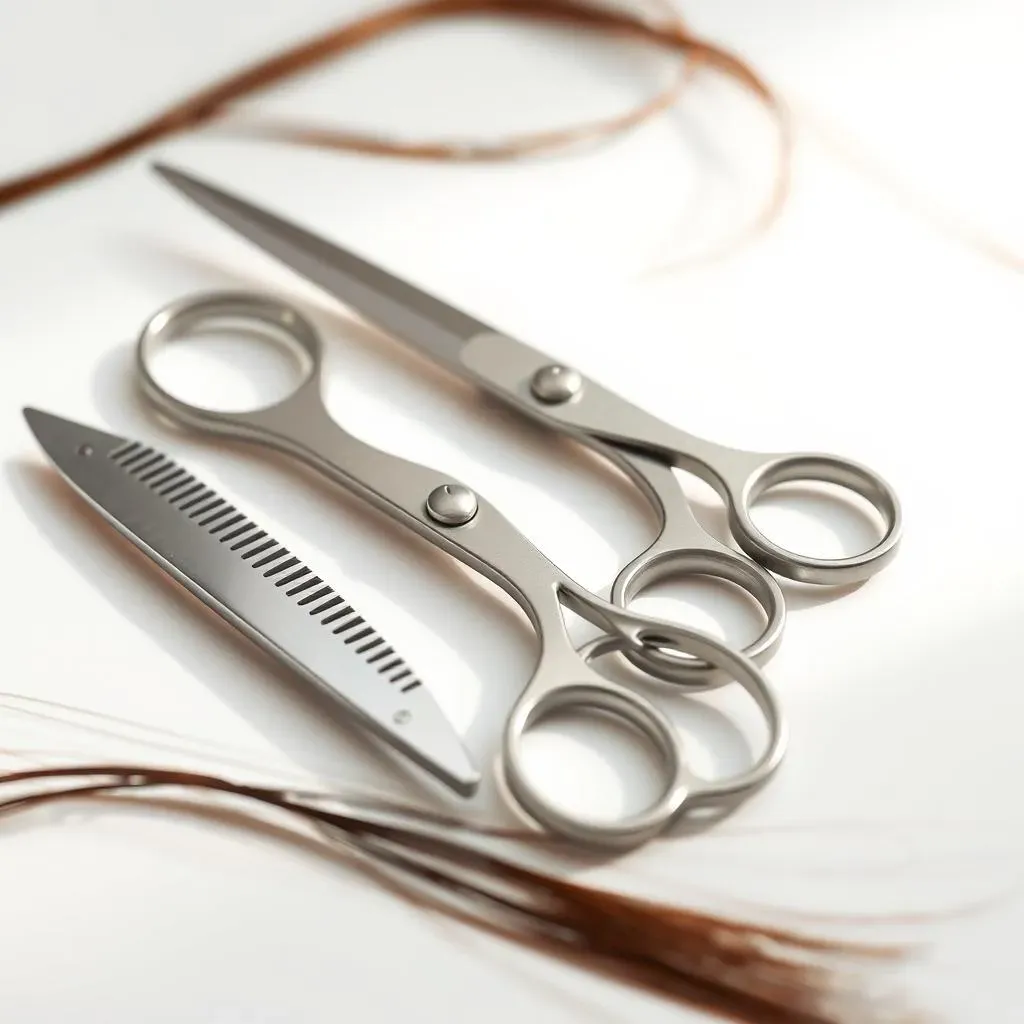
Okay, so you're ready to grab some thinning shears, but hold up! Not all scissors are created equal. The first thing you need to look at? The teeth. Those little notches on one of the blades are what make thinning shears, well, thinning shears. They don't cut every single hair, which is how they remove bulk without giving you a choppy cut. There are different types – some have more teeth, some have fewer, and some are even curved. The number of teeth affects how much hair gets removed with each snip. Fewer teeth mean more hair is cut, resulting in more noticeable thinning, while more teeth are gentler, taking away less hair at a time. For a beginner, I recommend starting with shears that have more teeth, so you can go slow and avoid overdoing it.
Think of it like this: if you're trying to take a little bit of weight off your hair, you use scissors with more teeth. If you want to take a lot of weight off, you use the ones with less teeth. Simple, right?
Size and Shape Matters
Next up, let’s talk size and shape. Thinning shears come in various lengths, just like regular cutting shears. For most of us doing at-home haircuts, a smaller, 5.5- to 6-inch pair is usually the most manageable. They're easier to control, especially when you're working around your head and can't see everything perfectly. The shape of the handle also makes a difference. Some are straight, while others have a slight curve. Find what feels most comfortable in your hand. You'll be holding these for a while, so you want something that doesn’t feel awkward or make your hand cramp up. It's like finding the perfect pair of shoes; you want them to fit just right.
And, you know, if you're left-handed, make sure you buy left-handed shears. It makes a HUGE difference. Trust me on that one. I've seen a friend try to use right-handed shears with her left hand, and it was not pretty.
Feature | More Teeth | Fewer Teeth |
|---|---|---|
Amount of Hair Removed | Less Hair | More Hair |
Best For | Subtle Thinning, Beginners | Significant Thinning, Experienced Users |
Risk of Over-Thinning | Lower | Higher |
Material and Quality
Finally, let's talk about what they're made of and how well they're made. You might be tempted to grab the cheapest pair you can find, but I'm telling you, it's worth investing in a decent set of thinning shears. Look for stainless steel, which is durable and resists rust. The quality of the steel will also affect how sharp the blades stay and how smoothly they cut. Cheap shears can pull and tug at your hair, which is not only unpleasant but can also damage it. It's like trying to cut a steak with a butter knife – it just doesn't work well.
A good pair of thinning shears will last you a long time, so think of it as an investment in your hair. Plus, when you have a quality tool, you’re more likely to have a successful experience, and that's what we’re aiming for, right? Look for reviews and ask around for recommendations. It makes a difference.
StepbyStep Guide: How to Cut Your Own Hair with Thinning Scissors

StepbyStep Guide: How to Cut Your Own Hair with Thinning Scissors
Alright, so you've got your awesome thinning shears, you’re feeling brave, and you're ready to take the plunge. Before you start snipping away like Edward Scissorhands, let’s break down how to actually use these things. First things first: start with clean, dry hair. Wet hair can be deceiving; it stretches and clumps together, making it harder to see what you're doing. Plus, you’ll want to see how your hair naturally falls. It is like trying to paint a picture on a bouncy castle. Next, find a well-lit space and grab a mirror. I mean, you gotta see what you're doing, right? I like to use two mirrors, one in front and one behind, so I can see all angles. Now, divide your hair into sections. It's like organizing your closet – it keeps things neat and prevents you from getting overwhelmed. Use clips to keep the sections out of your way that you're not working on. We're going to work in small, manageable sections to avoid any major mishaps. This isn't a race, it’s a marathon of hair perfection.
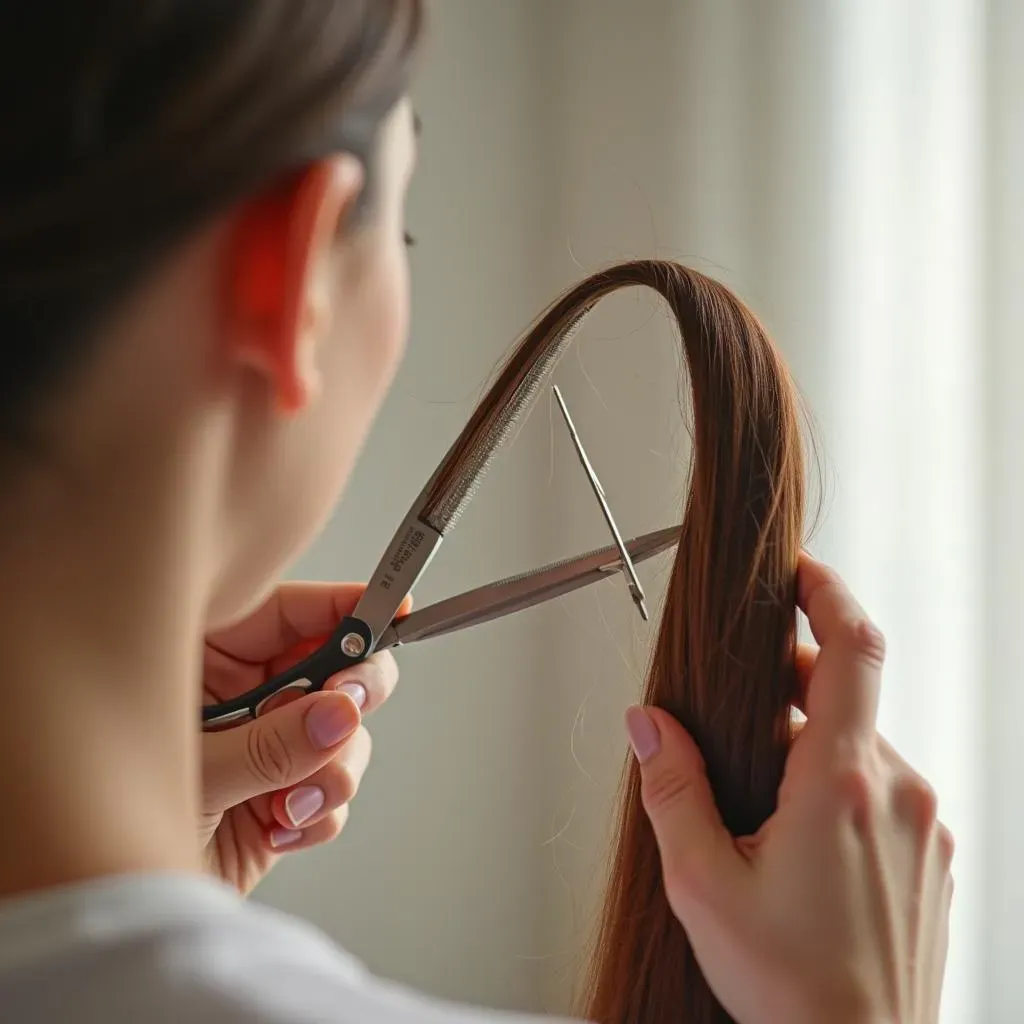
Now, take one of your sections, hold it up, and get ready to thin. Remember, we’re not chopping off length here, we're removing bulk. Hold the thinning shears diagonally, pointing the tips towards the ends of your hair. Don't start right at the root, or you'll get those weird, short hairs that stick up. Instead, start about one inch from the ends. Now, take small snips, like little bites. Don't go crazy and chop big chunks, or you'll end up with a very uneven look. Remember: Less is more. It's like adding spices to a dish; you can always add more, but you can't take it away. After each snip, check your progress. Is it getting thinner? Are you happy with the result? If not, go for another small snip. Keep it consistent across each section. You don’t want one part of your hair looking super thin and another part looking super thick. Consistency is key, my friend.
Step | Action | Why? |
|---|---|---|
1 | Start with clean, dry hair | Wet hair is deceiving and harder to cut evenly. |
2 | Section your hair | Keeps your work area organized and prevents mistakes. |
3 | Hold shears diagonally | Prevents blunt cuts and blends better. |
4 | Snip small sections | Allows for more control and avoids over-thinning. |
5 | Check your progress | Ensures you achieve the desired thinning. |
Once you've finished a section, let it down and take a look at the overall shape. Does it blend well with the rest of your hair? If not, you might need to go in with a few more snips. Remember, you are the artist here, and your hair is your masterpiece. But don’t get too carried away in your masterpiece, you don’t want to overdo it on one section. It is like trying to paint the mona lisa in 5 minutes. Continue working section by section, until you've thinned all the areas you want. Keep an eye on the overall balance and shape of your hair. You're aiming for a natural, blended look, not a hacked-up disaster. And if you're not sure, it's better to under-thin than over-thin. You can always go back and add a few more snips. But trust me, you can’t un-snip hair.
Finally, when you're happy with the thinning, give your hair a good shake and check the overall look. Make sure there aren't any random bits that are sticking out or looking uneven. If you spot a few strays, you can go in with a few more careful snips. And that's it! You've just thinned your own hair with thinning scissors. You are a hair wizard! It might take a few tries to get the hang of it, but with a little practice, you’ll be a pro in no time. The key is patience and not to rush. Remember to take your time, and don't be afraid to ask for help if you need it. And if you mess up a little? Well, hair grows back, right? It's like playing a video game; you learn from your mistakes. Now go rock your amazing new hair!
Texturizing and Thinning: Techniques for Different Hair Types

Texturizing and Thinning: Techniques for Different Hair Types
Okay, so you've got the basic thinning down, but what about different hair types? Not everyone's hair is the same, and that means the way you use thinning shears will be different too. If you've got thick, coarse hair, you might need to be a bit more aggressive with your thinning, removing more bulk to get the look you want. Think of it like sculpting; you're taking away the excess to reveal the shape underneath. On the other hand, if your hair is fine and thin, you need to be super careful not to overdo it. You're trying to add movement and texture, not create a wispy mess. It's like adding a delicate touch to a painting; you want to enhance, not overwhelm. The key is to understand your hair and what it needs.
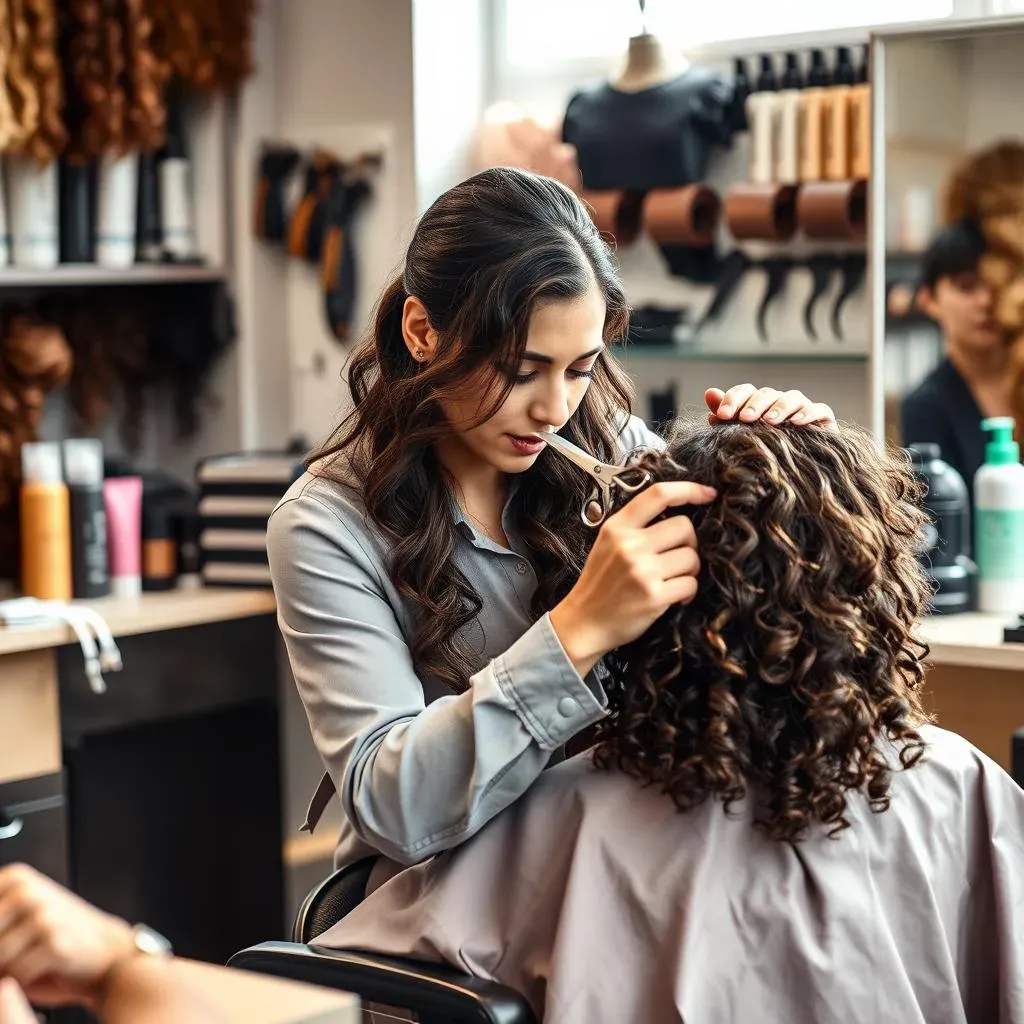
For curly hair, it's all about creating shape and reducing bulk without making it frizzy. Use the thinning shears more towards the middle and ends of your hair, avoiding the roots. This will help your curls sit better and have more definition. It’s like guiding a river; you’re helping it flow in the right direction. If you've got straight hair, thinning can add some movement and prevent it from looking flat. Focus on the mid-lengths and ends, and remember to work in small sections. It's like adding subtle shadows to a drawing; it creates depth and dimension. And, if you've got layers, you can use thinning shears to blend them together seamlessly. It is like putting together a puzzle; you want all the pieces to fit just right.
Hair Type | Thinning Technique | Goal |
|---|---|---|
Thick, Coarse Hair | More aggressive thinning, remove more bulk | Reduce weight, enhance shape |
Fine, Thin Hair | Gentle thinning, small sections | Add movement, avoid wispy look |
Curly Hair | Thin mid-lengths and ends, avoid roots | Enhance curls, reduce frizz |
Straight Hair | Thin mid-lengths and ends, small sections | Add movement, prevent flatness |
Now, let's talk about texturizing. This is where you use the thinning shears to create a more lived-in, natural look. Instead of just thinning straight across, you can use the shears to create some choppy ends, which is great for straight hair. It is like adding texture to a wall, making it more interesting. Or, you can use the shears to blend layers together, creating a seamless transition. It’s like mixing paint colors, blending them together so there are no hard lines. The trick is to use the shears at different angles and to vary the length of your cuts. This will create a more organic look. And remember to take your time and check your progress along the way.
Remember, practice makes perfect. Don't be afraid to experiment and see what works best for your hair. Maybe try different techniques on a wig or a friend’s hair before you attempt it on your own. It is like practicing a new dance move; you want to get the steps down before you perform in front of an audience. And, if you're ever unsure, it's always a good idea to consult with a professional hairstylist. They can give you personalized advice and help you achieve the look you're going for. They can also fix any mistakes, if your hair is not looking quite right. But, with a little knowledge and a lot of patience, you can totally rock a DIY thinning and texturizing session at home.
Troubleshooting and Tips for a Successful DIY Haircut

Troubleshooting and Tips for a Successful DIY Haircut
Common Mistakes and How to Avoid Them
Okay, so you're armed with knowledge, but let’s be real, things can still go a little sideways. One of the biggest mistakes I see people make is getting scissor-happy and over-thinning their hair. It's like going overboard with the salt; you can't take it back. Remember, less is more. Start with a few snips and then check your progress, instead of hacking away at your hair like you're mowing the lawn. Another common blunder is not sectioning your hair properly. It is like trying to read a book with all the pages mixed up. It's a recipe for disaster. You'll end up with some parts of your hair looking super thin and other parts still looking bulky. Take the time to divide your hair into manageable sections. It makes a world of difference, trust me. And, please, don't start thinning right at the roots. You'll create those awful short hairs that stick straight up. Instead, start about an inch or two from the ends.
And, you know, using dull scissors is like trying to cut a tomato with a spoon – it just doesn't work. You'll end up pulling and tugging at your hair, which can cause damage and split ends. Always use sharp, quality thinning shears. And, for the love of all that is holy, don't try to thin your hair when it's wet. Wet hair is like a chameleon, it changes its shape, it clumps together, and it's hard to see what you're doing. Wait until your hair is completely dry. It's like trying to paint a picture on a wet canvas; the colors will bleed and the image will be distorted. And, if you're feeling nervous, practice on a wig or a friend's hair before you go to town on your own. It's like practicing a dance routine before you perform in front of an audience. It is always better to be safe than sorry.
Mistake | Solution |
|---|---|
Over-thinning | Start with small snips, check progress often |
Poor sectioning | Divide hair into manageable sections |
Thinning at roots | Start 1-2 inches from the ends |
Using dull shears | Use sharp, quality thinning shears |
Thinning wet hair | Thin only on dry hair |
Pro Tips for a Flawless Finish
Alright, you’ve learned what not to do, now let's talk about how to really nail this. First off, take your time. This isn't a race. It’s like baking a cake; you can’t rush the process, or it will end up burnt and inedible. Work in small sections, and don't try to thin your entire head of hair in one go. Remember: Patience is a virtue, especially when it comes to DIY haircuts. And, you know, it’s always a good idea to use a mirror, or even two. One in front and one in back. So you can see all the angles, like you’re a detective solving a mystery. It's like trying to navigate a maze blindfolded – it's just not going to work. And, when you’re thinning, hold the shears at a slight diagonal, pointing them towards the ends of your hair. This will create a more natural-looking blend, and prevent those blunt, choppy cuts. It is like using a soft brush when you paint, as opposed to using a thick one.
And, if you are feeling unsure, it’s always better to under-thin than over-thin. You can always go back and add a few more snips, but you can’t un-snip hair. It is like adding spices to a dish; you can always add more, but you can’t take it away. And, after you’ve finished thinning, give your hair a good shake and check the overall shape. Make sure there aren’t any random bits sticking out or looking uneven. If you spot a few strays, you can go in with a few more careful snips. And, you know, if things don't go as planned, don't panic. Hair grows back. It is like learning how to ride a bike; you might fall a few times, but you will get the hang of it. And, if all else fails, you can always book an appointment with a professional hairstylist. They are like the superheroes of hair, they can fix almost anything. But, with a little practice and a lot of patience, I know you can totally rock a DIY hair thinning session at home.
"The best way to learn is by doing, but it's also wise to learn from other people's mistakes and successes."