Table of Contents
Tired of expensive salon visits just for a trim? I get it. Learning how to cut your own long hair can feel like a big step, but it’s totally doable. This isn't about becoming a professional stylist overnight, but about taking control of your look and saving some cash. I've tried all sorts of methods and I'm here to share what I've learned. We'll start by prepping your hair and gathering the right tools, because let's be honest, dull scissors are a recipe for disaster. Then, we'll explore the super popular ponytail method, which is surprisingly easy. And if that's not your style, don't worry, I've got a few other tricks up my sleeve. From twists to upside-down techniques, we'll cover it all. This guide is all about making "how to cut your own long hair" less daunting and more fun. So, grab your scissors and let’s get started!
Getting Ready to Cut Your Own Long Hair

Getting Ready to Cut Your Own Long Hair
The Prep Work
Okay, so you're thinking about cutting your own long hair, awesome! But before you grab those scissors and go wild, let's talk prep. This isn't like trimming paper; hair has a mind of its own. First, you need to decide what style you're going for. Are you thinking a simple trim? Or maybe some layers? Don't just wing it, take a look at some pictures for inspiration. Think about your face shape too, what looks great on someone else, might not be the best for you. And for the love of all that's holy, please get some decent hair scissors. Kitchen scissors are a hard no, unless you’re aiming for a jagged, uneven disaster.
Next, let’s talk about the state of your hair. Do you want to cut it wet or dry? Cutting wet hair is easier to manage, but keep in mind it shrinks a bit when it dries, so you might end up with shorter hair than you expected. Dry cutting is more forgiving in that sense, but it can be a bit trickier to get a clean, even cut. Personally, I like to start with damp hair, it’s the best of both worlds if you ask me. No matter which way you choose to go, make sure your hair is clean and detangled, it makes the whole process a lot smoother. You can use a comb or rat-tail comb to guide your scissors and achieve a straight cut.
Tools of the Trade
Alright, let's get down to the nitty-gritty: the tools you’ll need. You can't just go at your hair with any old thing. First, like I said, get yourself a good pair of hair cutting scissors. They don't have to be super fancy, but they need to be sharp and designed for hair, not paper or fabric. Next, you’ll want a comb or a rat-tail comb. This isn't just for show, it’s crucial for parting your hair and guiding your scissors for a straight cut. And of course, you’ll need a mirror. Ideally, two mirrors, so you can see the back of your head. This is important unless you're going for a "surprise" haircut.
Finally, you might want a spray bottle with water to keep your hair damp if you're going that route. Oh, and some clips or hair ties to keep sections of your hair out of the way. Trust me, you don't want to accidentally snip off a chunk you didn't intend to. It sounds like a lot, but these are the basics. If you're serious about learning how to cut your own long hair, you need to be prepared. It will make a big difference in the final result, I promise.
Tool | Why You Need It | My Recommendation |
|---|---|---|
Hair Cutting Scissors | For clean, precise cuts | Get a decent pair, not kitchen scissors! |
Comb/Rat-Tail Comb | For parting and guiding your cuts | A must for straight lines |
Mirror(s) | To see what you're doing | Two mirrors are best for the back |
Spray Bottle | To keep hair damp | Optional, but helpful |
Hair Clips/Ties | To keep sections separated | Essential for avoiding mistakes |
How to Cut Your Own Long Hair Using the Ponytail Method

How to Cut Your Own Long Hair Using the Ponytail Method
The Low Ponytail
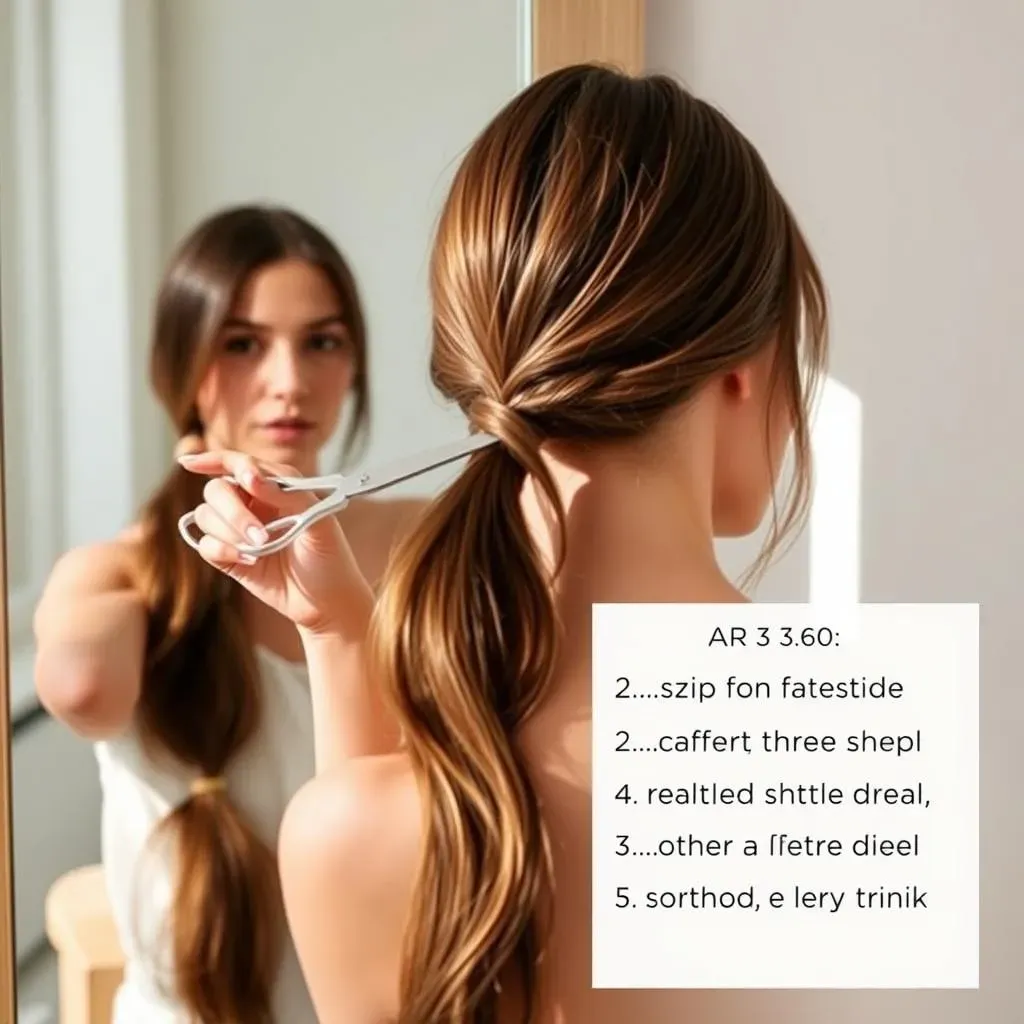
Alright, let's get to the good stuff: the ponytail method. This is a game-changer for learning how to cut your own long hair, especially if you’re after some simple layers. Start by brushing your hair to make sure there are no knots. Then, part your hair down the middle, just like you normally would. Now, gather all your hair into a low ponytail at the nape of your neck, like you're about to go for a run. Make sure it's nice and smooth, and that there aren't any bumps or loose strands. Use a hair tie to secure it tightly. This ponytail is going to be your guide, so make it count.
Next, slide the hair tie down your ponytail to where you want to make the cut. This is where you decide how much length you're going to take off. If you want just a trim, slide the hair tie down only a little bit. If you want to take off more length, slide it down further. Remember, you can always cut more, but you can't put it back. So, start with less if you're unsure. Once the hair tie is in place, double check to make sure it’s straight all the way around. Now you're ready to make the cut.
Making the Cut
Okay, here we go, the moment of truth. Grab those sharp hair scissors we talked about earlier. Take a deep breath, and make a straight cut right below the hair tie. Don't rush this part. Try to use the comb to make sure you cutting in a straight line. If you have a hard time cutting in a straight line, you can mark the hair with a marker, but be careful, make sure you use a washable marker. Once you've made the first cut, check to make sure it looks even. If you're not happy with the cut, you can make small adjustments, but again, remember you can not put back the hair that you cut. After you made the cut, remove the hair tie.
Now, take a look at your new layers. You should have some nice, soft layers. If you think the layer is too long, you can repeat the same process again. But remember, it's better to cut less than too much. If you're happy with how it looks, then great. If you want to make some small adjustments, go for it, but be careful. And that's it, you've cut your own long hair using the ponytail method!
Step | Action | Key Point |
|---|---|---|
1 | Brush and part hair | Remove knots, part down the middle |
2 | Create low ponytail | Secure tightly at the nape of the neck |
3 | Slide hair tie down | Decide how much length to cut |
4 | Make the cut | Cut straight below the hair tie |
5 | Check and adjust | Make small adjustments if needed |
Finishing Touches
So, you've made the cut, and hopefully, you're feeling pretty good about it. But before you go running off to show everyone, let's talk about those finishing touches. Take a good look at your hair in the mirror. Are there any uneven bits? If so, now's the time to fix them. You can take small sections of hair and trim them carefully. It can be a bit tricky to get everything perfectly even, so don't worry if it's not perfect. Remember, practice makes perfect. The more you cut your own hair, the better you'll get.
Once you're happy with the overall shape, you can style your hair as you normally would. Blow-dry it, curl it, whatever your heart desires. This will give you a better idea of what your new cut actually looks like. And there you have it, you've successfully cut your own long hair using the ponytail method. It's not as scary as it seems, is it? With a little practice and the right tools, you can keep your long hair looking great without spending a fortune at the salon.
Exploring Other Ways to Cut Your Own Long Hair

Exploring Other Ways to Cut Your Own Long Hair
The Twist Method
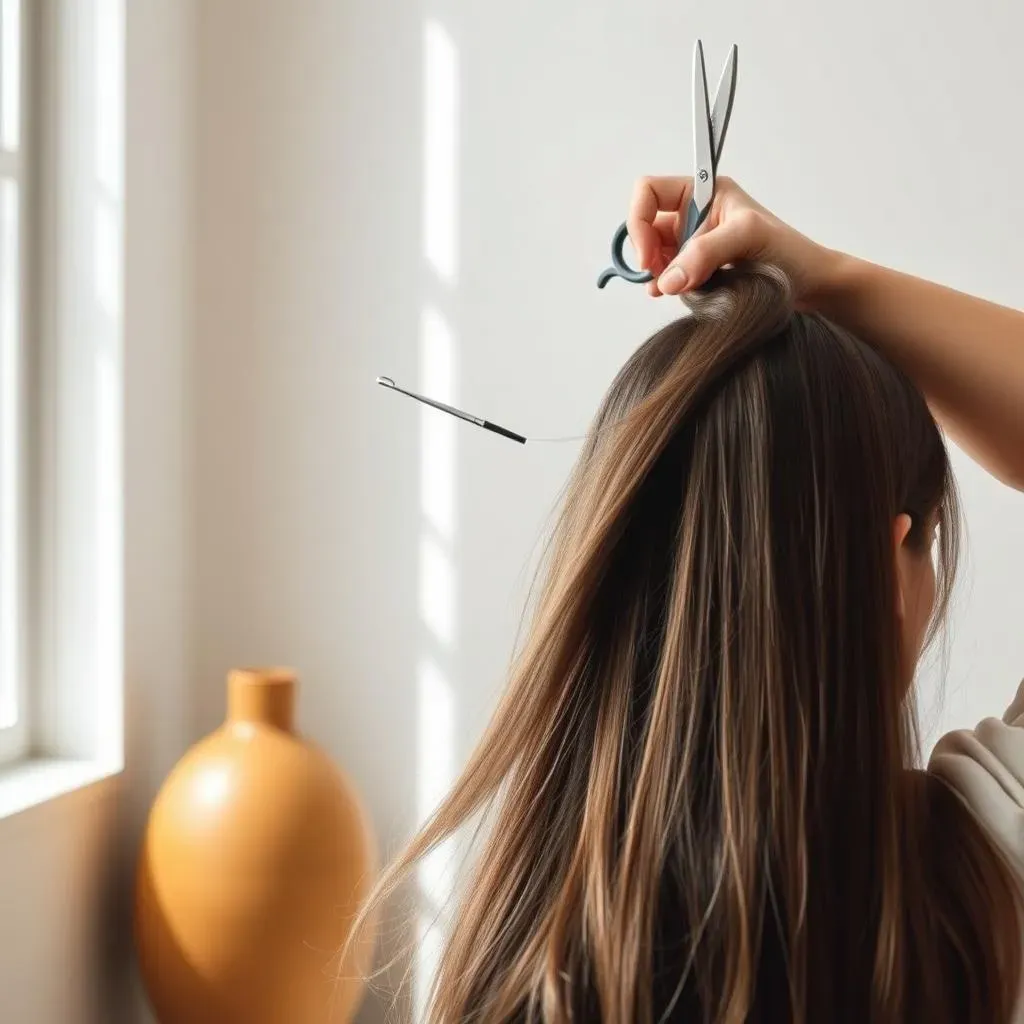
Okay, so the ponytail method is cool, but what if you want to mix things up? Let's talk about the twist method. This one is great for adding some texture and subtle layers to your hair. Instead of gathering your hair into a ponytail, you're going to twist it tightly. Start with your hair parted down the middle, then take one side and start twisting it from the roots all the way down to the ends, like you're making a rope. Do the same thing on the other side. Now you have two twisted sections of hair. Make sure they are twisted tightly, this will help you get a clean cut.
Next, bring those two twists together and hold them with one hand. Now, take your scissors and make a straight cut across the ends of both twists. The length you cut off is up to you, depending on how much of a trim you want. When you untwist your hair, you'll have some nice, soft layers. I like this method because it's a little more forgiving than the ponytail method. If you don't get it perfect the first time, it's not a big deal. You can always make small adjustments. This is a great option if you're looking for a less structured look. But don't forget, be careful with the scissors, no matter what method you choose.
Cutting While Upside Down
Alright, let's get a little adventurous. Have you ever considered cutting your hair while upside down? It might sound crazy, but trust me, it works. This method is great for adding volume and texture, especially if you have long, straight hair. To start, flip your head over so that all your hair is hanging down in front of your face. Now, take your comb and comb out any tangles. Make sure all your hair is smooth and even. Then, take your scissors and make a straight cut across the ends of your hair, starting from one side and going to the other.
This is where things get tricky. You need to be really careful to make sure you're cutting in a straight line. You can use your comb as a guide, or have someone help you. The key here is to not cut off too much at once. Once you've made the cut, flip your head back up and check it out. You should have some nice, subtle layers. This method is not for everyone, but it’s definitely worth trying if you want to get some volume in your hair. Just be careful, and try not to get dizzy. If you get dizzy, take a break and try again later. Remember, it's all about experimenting and finding what works best for you. The most important thing is that you're happy with the results.
Method | How it's done | Best for |
|---|---|---|
Twist Method | Twist hair tightly, cut ends | Adding texture and subtle layers |
Upside Down Cut | Flip head, cut straight across | Adding volume and texture |