So, you've got a bob, huh? It's a fantastic cut, super versatile, but sometimes, you stare at it thinking, "Now what?" Don't worry, I've been there. Figuring out how to style a bob hair cut can feel like a whole thing, but it really doesn't have to. Whether you're aiming for a sleek, straight look, bouncy curls, or those awesome beachy waves, a bob can rock it all. We’re going to walk through how to style your bob, from the basics of using a round brush to mastering the curling iron and even how to make the most of your natural curls. Think of this as your bob styling playbook, ready to help you transform your hair from "meh" to "wow." We’ll cover different methods, from using a round brush for volume, to sleek, straight styles and playful waves, even how to style naturally curly hair. Get ready to discover your favorite way to style your bob, and maybe even a few you didn’t know you’d love. Let's get started, shall we?
Round Brush Magic: Styling Your Bob
Round Brush Magic: Styling Your Bob
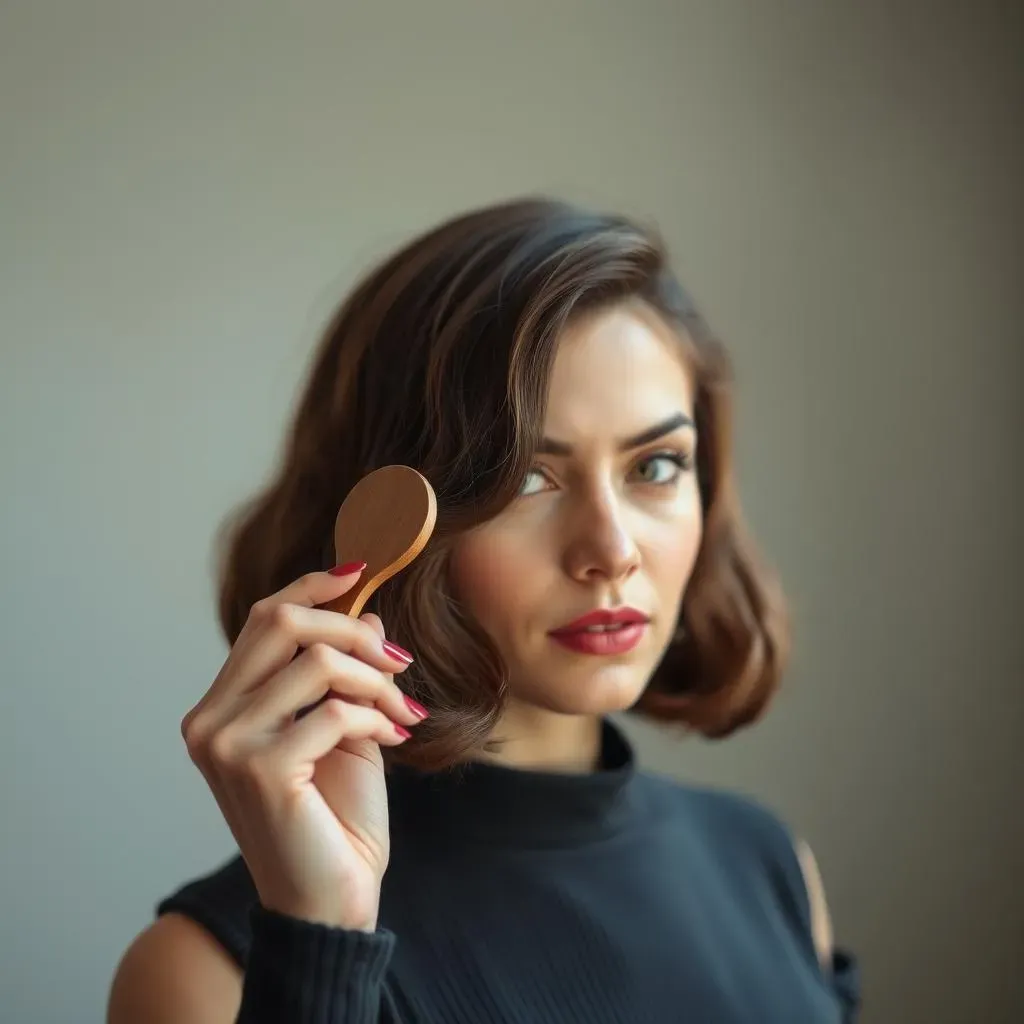
The Right Tools for the Job
so you want to get that salon-worthy bounce and curl at the ends of your bob? It all starts with the right round brush. You're not going to get the same results with any old brush. Think of it like choosing the right tool for a job, a small brush for a little task and big one for big task. A medium-sized round brush with boar bristles is your best bet for creating that smooth, curved-under look. The boar bristles help to grip the hair and distribute the heat evenly, reducing frizz and adding shine. And don't even think about using a metal brush – unless you are going for a crispy fried hair look.
I remember using a metal brush once, it was a disaster, the hair was too hot and the look was not what I wanted. It is like using a hammer to cut a paper, it does not work.
Step-by-Step Blow Drying
Now, let's get to the actual styling. After washing your hair, and adding heat protector (you are doing that, right? Please do that!), roughly dry it with a blow dryer until it's damp. Then, take a section of hair about 2-3 inches wide and place the round brush underneath, near the roots. As you blow dry, pull the brush down through your hair, turning it inward at the ends to create that curve. You should be moving the dryer and the brush at the same time, not stopping. It’s like dancing, both of you should be in sync. Repeat this process all over your head, making sure to dry each section completely for a smooth finish.
Don't rush it, patience is key here, if not you going to have a bad hair day, I know, I've been there.
Here’s a pro tip: for extra volume, lift the roots up with the brush as you dry.
Tool | Bristle Type | Best For |
|---|---|---|
Medium Round Brush | Boar Bristles | Smooth, curved ends |
Small Round Brush | Boar Bristles | Short Bobs |
Large Round Brush | Boar Bristles | Longer Bobs |
Finishing Touches
Once your hair is completely dry, you can add a little hairspray to set the style. A light hold hairspray is best, so you don’t end up with stiff, helmet hair. A little serum or shine spray can also add some extra luster. And there you have it – a perfectly styled bob with a beautiful, bouncy curve. It's like giving your hair a little hug with a brush! Remember practice makes perfect. My first few attempts were a bit sad, but I got better each time. So, don't get discouraged if it is not perfect at the first time.
"The best way to learn is by doing. Don't be afraid to experiment and make mistakes." - Random internet person
Straightening Your Bob: A Sleek Look
Straightening Your Bob: A Sleek Look
Prep Work is Key
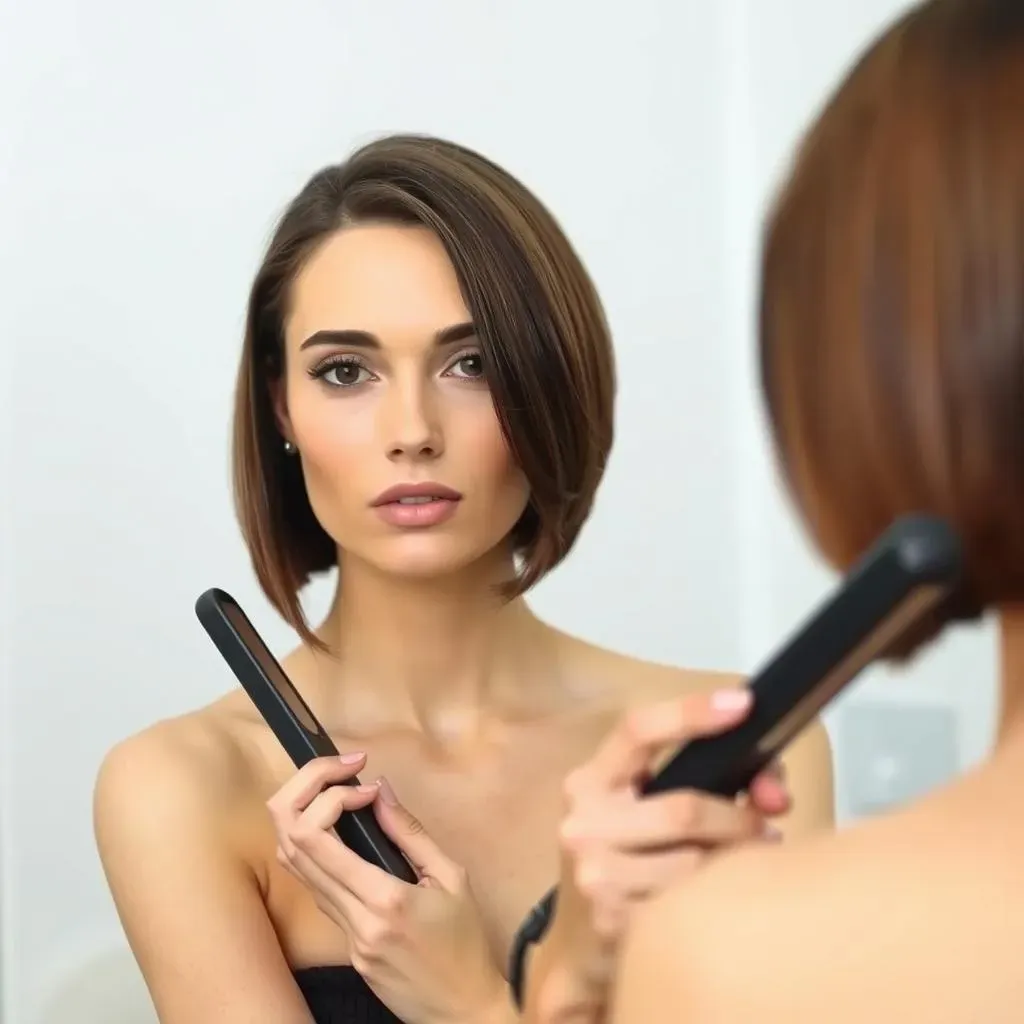
Alright, so you’re ditching the bounce for a super sleek bob, good choice! First things first, you've gotta prep your hair. That means using a heat protectant spray. Seriously, don’t skip this step, unless you want your hair to feel like straw. It’s like putting on sunscreen before a day at the beach, you know, protection is important. Apply it evenly from roots to ends. Then, make sure your hair is completely dry. Trying to straighten damp hair is a recipe for frizz and frustration. I learned that the hard way, trust me.
Think of it like preparing a canvas before painting, a clean, dry base makes all the difference. Also, detangle your hair, because fighting with knots while using a straightener is not fun at all. You want a smooth surface, so the iron glides easily through your hair.
The Straightening Technique
Now for the main event: straightening. Section your hair into manageable layers. Start with the bottom layer and work your way up. Take a one-inch section of hair and clamp the flat iron near the roots. Gently glide the iron down the hair shaft, moving at a steady pace. Don't stop or pause, or you'll end up with a weird crease. It's like ironing a shirt – you want a smooth, even motion. You might need to go over each section a couple of times to get it perfectly straight. Be sure to get the ends, they are very important.
And remember, temperature matters! Don't crank your straightener up to the highest setting, especially if you have fine hair. Start with a lower heat and gradually increase it if needed. It's all about finding the right balance to get your hair straight without frying it. And always keep the iron moving to avoid heat damage.
Step | Action | Why |
|---|---|---|
1 | Apply heat protectant | Protects hair from damage |
2 | Dry hair completely | Prevents frizz and ensures smooth results |
3 | Section hair | Makes straightening easier and more efficient |
4 | Glide straightener evenly | Avoids creases and ensures smooth, straight hair |
Curling Iron Fun: Adding Waves to Your Bob
Curling Iron Fun: Adding Waves to Your Bob
Choosing Your Curling Tool
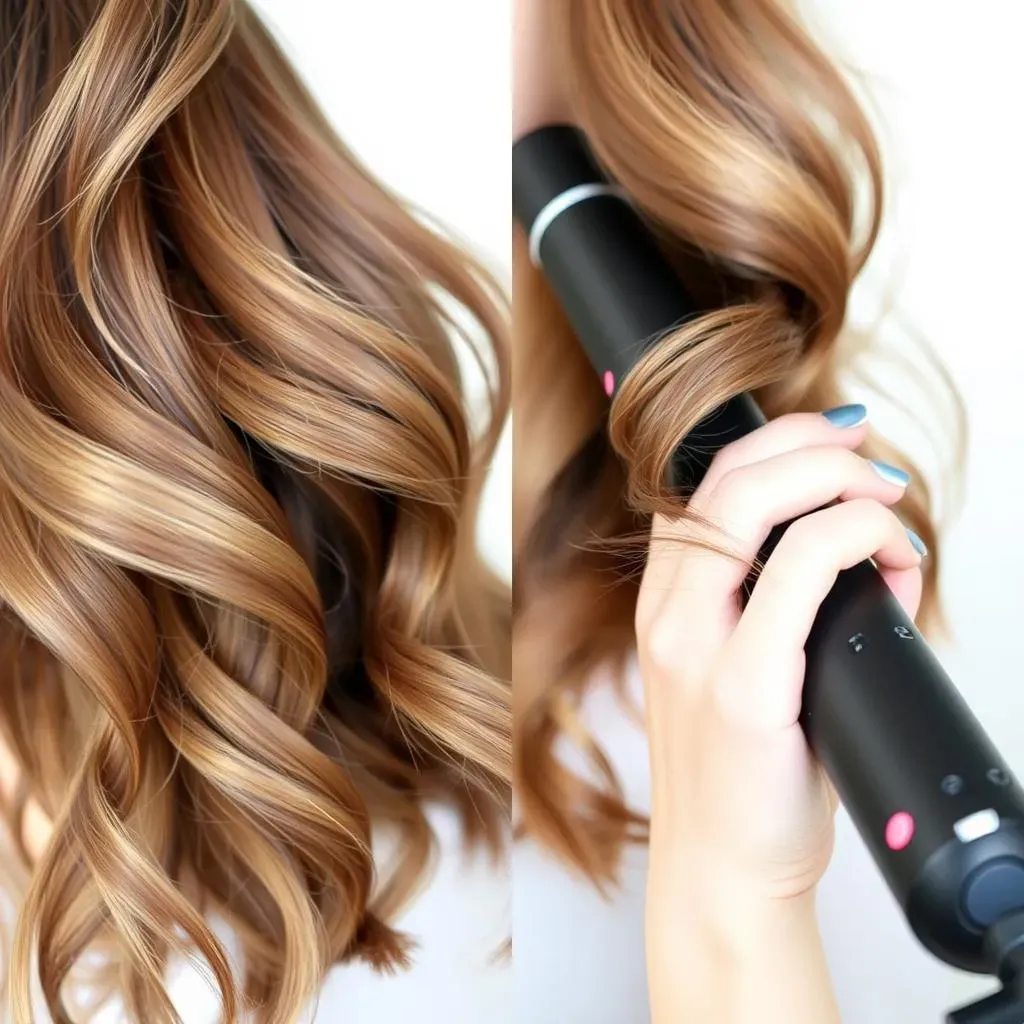
Alright, let's talk curls! You've got a bob, and you're ready to add some waves. The first thing you need is the right curling tool. Now, I know there are a million options out there, but for a bob, I find that a curling iron or a wand with a 1-inch barrel works best. A smaller barrel will give you tighter, more defined curls, while a larger one will create loose, beachy waves. So, it depends on what you're going for. Curling wands are great for creating those effortless, natural-looking waves, since they don't have a clamp. But if you’re new to this, an iron with a clamp might be a little easier to handle. It's like picking a paintbrush – the right one makes all the difference.
I remember when I first started, I used a huge barrel and ended up looking like a poodle. It was not my best look. So, start with the right size, and don't be afraid to experiment and see what works best for your hair. Also, make sure your iron has adjustable heat settings. It is just like your oven, you would not put a cake at 400 degree, right? Same with the hair.
The Curling Technique
so you have your curling iron or wand, and your hair is prepped with heat protectant (yes, we’re still doing that!). Now, section off your hair and start with the bottom layers. Take a small section, about one-inch wide, and wrap it around the barrel, leaving the ends out for a more modern look. If you're using a curling iron with a clamp, make sure the clamp is facing forward. Hold the hair for a few seconds, then release. If you’re using a wand, just wrap the hair around the barrel and hold it for a few seconds. It’s like wrapping ribbon around a gift – you want it to be smooth and even.
Alternate the direction of the curls as you go, this will give you a more natural, tousled look. Some sections should curl away from your face, and some towards it. And don't worry if your curls aren’t perfect, a little bit of imperfection is what makes them look effortless. It’s like a dance, not a march. The curls shouldn't be all the same, that's how you get the best waves!
Tool | Barrel Size | Best For |
|---|---|---|
Curling Iron | 1-inch | Defined curls |
Curling Wand | 1-inch | Loose, beachy waves |
Finishing Up Your Curls
Once you have curled all your hair, let it cool down completely before touching it. This will help the curls set. Once cooled, gently run your fingers through your hair to loosen the curls and create a more natural wave. You can also flip your head upside down and shake your hair for extra volume. Finish with a light hold hairspray to keep everything in place. Don't overdo it, you want your hair to look soft and touchable, not crunchy. A little texturizing spray can also add some definition and hold.
And that’s it! You’ve transformed your bob into a wavy masterpiece! Remember, practice makes perfect, so don't be discouraged if it takes you a few tries to get it right. It is like making a cake, sometimes it will burn, sometimes it will be perfect. The key is to have fun and experiment.
"Life is too short for boring hair." - Unknown Hair Stylist
Embracing Natural Curls: Bob Styling Tips
Embracing Natural Curls: Bob Styling Tips
The Curly Bob Prep
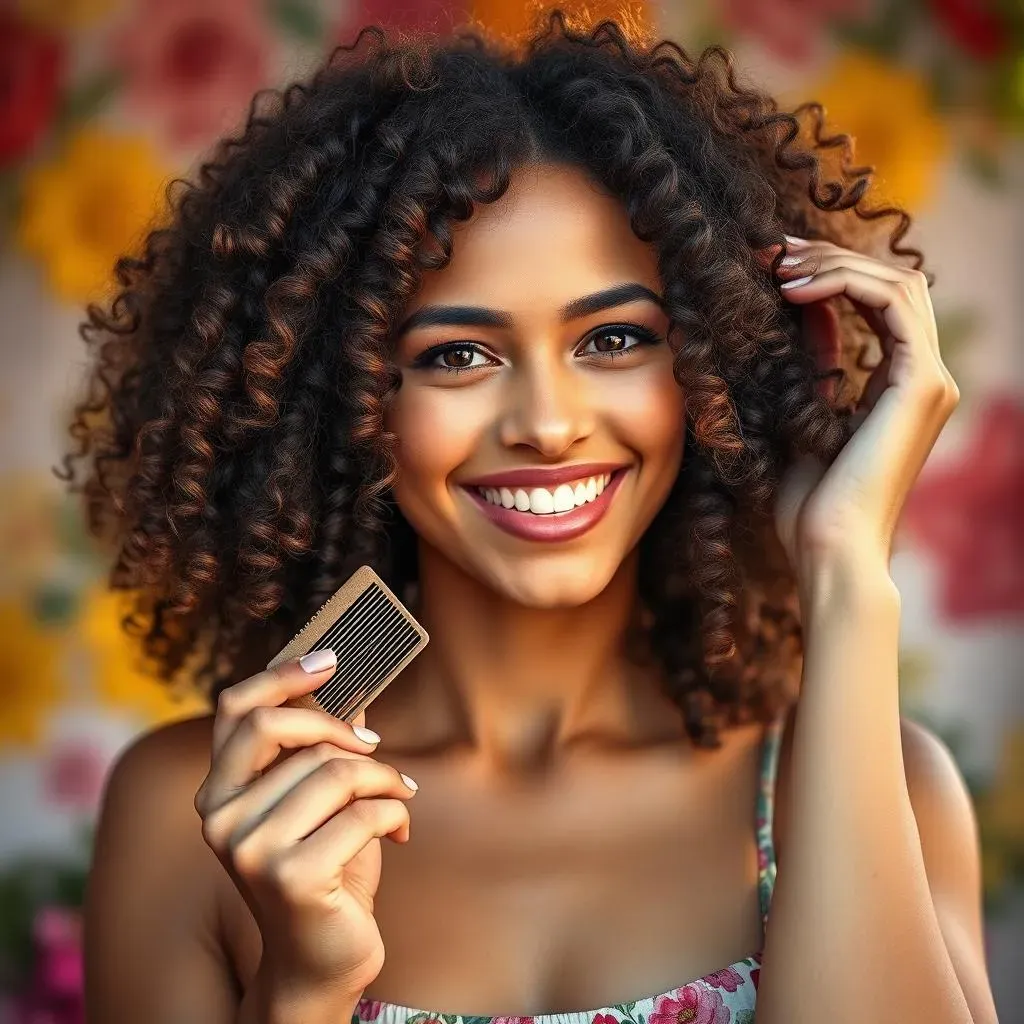
so you've got a naturally curly bob, and you want to make those curls pop, right? First things first: moisture is your best friend. Curly hair tends to be drier than straight hair, so a good moisturizing shampoo and conditioner is a must. Think of it like watering a plant – you need to give it the hydration it craves. Avoid products with sulfates, they can strip your hair of its natural oils and lead to frizz. And when you're washing, don't scrub your hair like you're trying to get rid of a stain. Instead, gently massage your scalp and let the water do the work. Detangle your hair while it's still wet with a wide-tooth comb, not a brush, that's important. It's like untangling a delicate necklace – you need to be gentle.
I remember when I first got my curly bob, I used all the wrong products and ended up with a frizzy mess. It was like a bird's nest on my head. So, trust me, the right products make all the difference.
Styling Your Curls
Now, for the fun part: styling! While your hair is still damp, apply a leave-in conditioner or curl cream. This is going to help define your curls and reduce frizz. Use a generous amount, but don't go overboard, or your hair will feel heavy. Then, scrunch your hair upwards with your hands. It’s like squeezing a sponge to get the water out. You can also use a diffuser attachment on your hairdryer to dry your hair gently without disrupting the curl pattern. If you don't have a diffuser, you can let your hair air dry. Be patient with this process, don't touch your hair too much while drying, or you'll create frizz. It is like baking a cake, you wouldn't open the oven too early, right? Same with your hair.
And here's a little secret: try plopping your hair. What is plopping, you might ask? It's a technique where you wrap your wet hair in a microfiber towel or t-shirt to help encourage the curls to form while drying. It is like giving your curls a little hug.
Step | Action | Why |
|---|---|---|
1 | Use moisturizing products | Hydrates and nourishes curly hair |
2 | Apply leave-in conditioner or curl cream | Defines curls and reduces frizz |
3 | Scrunch hair upwards | Encourages curl formation |
4 | Use a diffuser or air dry | Dries hair gently without disrupting curls |
Maintaining Your Curls
Once your hair is dry, try not to touch it too much. The more you touch it, the frizzier it will get. If you need to refresh your curls the next day, spritz your hair with a little water and a curl refresher spray, and scrunch it again. You can also use a little bit of oil or serum to add shine and control frizz. And don't forget to protect your curls at night. Sleeping on a silk or satin pillowcase can help reduce friction and prevent frizz. It’s like giving your curls a soft bed to sleep on. Also, try putting your hair up in a loose pineapple, which is a high, loose ponytail on the top of your head. This will help maintain your curls overnight.
"Embrace your natural curls, they are beautiful and unique." - Some Hair Guru
Beachy Bob Vibes: Creating Effortless Waves
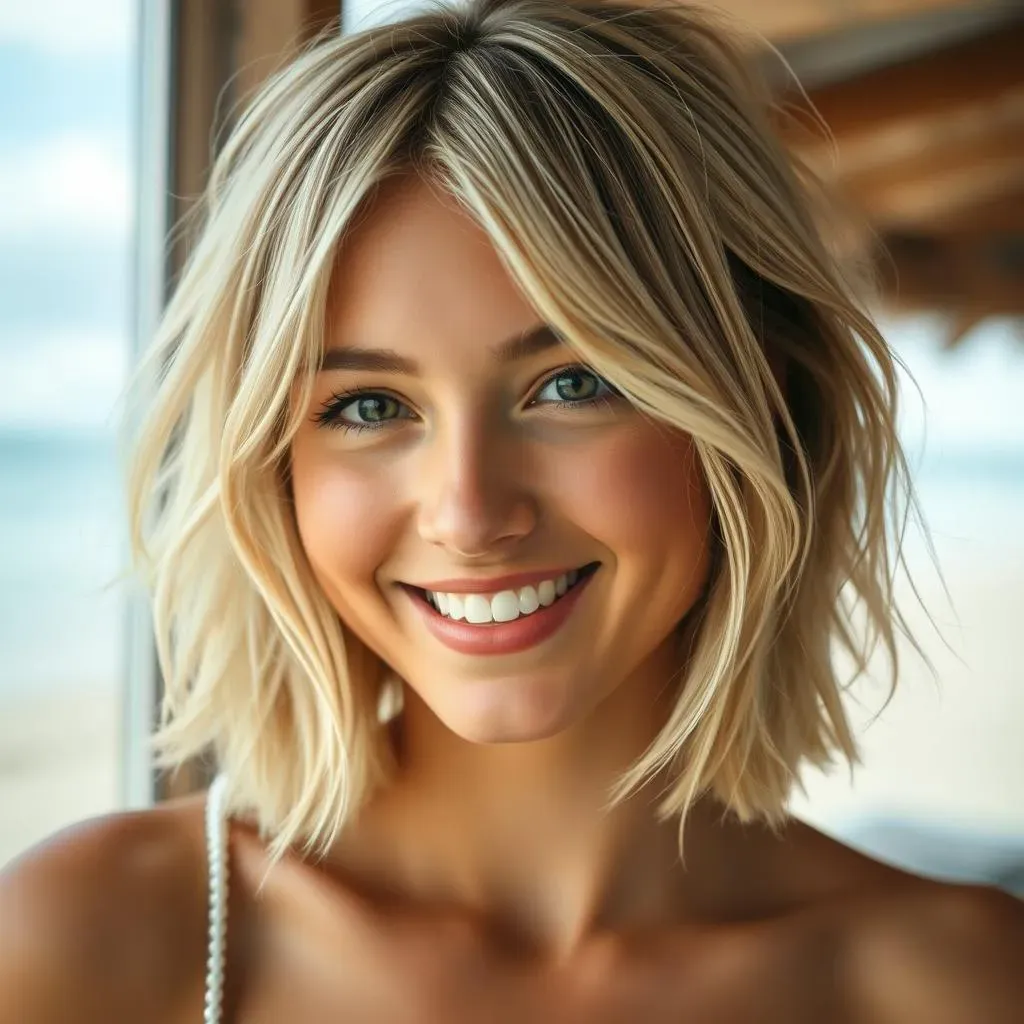
Beachy Bob Vibes: Creating Effortless Waves
Texturizing is Key
so you're dreaming of those effortlessly cool, beachy waves, right? The kind that looks like you just spent a day by the ocean, even if you've been stuck in the office. The secret? It’s all about texture. You're going to need a good texturizing spray. This isn't your grandma's hairspray; it adds grip and grit to your hair, which helps create that tousled, undone look. Think of it like giving your hair a little bit of sand, but in a good way. Spray it all over your hair, focusing on the roots and mid-lengths. Don't be shy with it, you want to create some volume and separation.
I remember trying to get beachy waves with just a curling iron, and it looked way too perfect and fake. It was like I was trying to be someone else. The texturizing spray really makes all the difference, it gives you that authentic, lived-in vibe. Also, try using a sea salt spray, that helps create more texture, but be careful with them, they can be very drying.
Wand it Like You Mean It
Now, grab your curling wand, or iron if you prefer. We are not going for perfect curls here, so don't worry about being too precise. Take random sections of hair, about 1-2 inches wide, and wrap them loosely around the barrel, leaving the ends out. Alternate the direction of the curls as you go, some should curl away from your face, and some towards it. It’s like creating a messy masterpiece – you want it to look intentional but not too perfect. Hold the hair for a few seconds, then release. If you’re using a curling iron with a clamp, just leave the clamp open and wrap the hair around the barrel.
Don't make the curls too uniform, that's the key. You want them to be a bit messy and undone. Once you've curled all your hair, gently run your fingers through it to loosen the waves and create that effortless look. You can also flip your head upside down and shake your hair for extra volume. It is like ruffling the feathers of a bird, you want them to look good, but not too perfect.
Product | Purpose | How to use |
|---|---|---|
Texturizing Spray | Adds grip and volume | Spray all over hair, focusing on roots |
Sea Salt Spray | Creates texture and waves | Spray on damp or dry hair |
Curling Wand | Creates loose, beachy waves | Wrap random sections of hair around the barrel |
Finishing Touches
To finish off your beachy waves, use a light hold hairspray to keep everything in place, but don't overdo it, you want your hair to move. A little bit of dry shampoo at the roots can also add some extra volume and absorb any excess oil. And that’s it! You’ve nailed the effortless beachy bob look. It’s like you just stepped off the beach, even if you’re just heading to the grocery store.
Remember, it’s all about embracing the imperfection. Don't be afraid to experiment and have fun with it. It is like painting, you want to create something beautiful, but it doesn't have to be perfect.
"Life is better at the beach" - Every person with beachy waves
Wrapping Up Your Bob Styling Adventure
Alright, so we've journeyed through the world of bob hairstyles, from mastering the round brush to creating those perfect beachy waves. The key takeaway? Your bob is a blank canvas, ready for you to experiment and find what makes you feel fantastic. Whether you’re a fan of sleek and straight, or love to embrace your natural curls, there's a bob style out there for you. Don't be afraid to try new things, mix up your products, and most importantly, have fun with it. Remember, the best hairstyle is one that makes you feel confident and ready to take on the day. So go ahead, grab your tools, and rock that bob!