Table of Contents
Ready to unleash your inner butterfly? This layered butterfly haircut guide will take you on a step-by-step journey to achieving that effortlessly chic, voluminous look. We'll explore exactly what makes this haircut so popular, covering everything from understanding its unique layered structure to mastering the cutting techniques. Think of this as your personal stylist, guiding you through each stage. We'll demystify the process, breaking down the steps into easily digestible chunks, perfect for both beginners and experienced hair enthusiasts. Whether you're planning a DIY transformation or heading to the salon, this guide will equip you with the knowledge to confidently communicate your vision and achieve the perfect layered butterfly haircut. Get ready to flutter into a new era of fabulous hair!
Understanding the Layered Butterfly Haircut

Understanding the Layered Butterfly Haircut
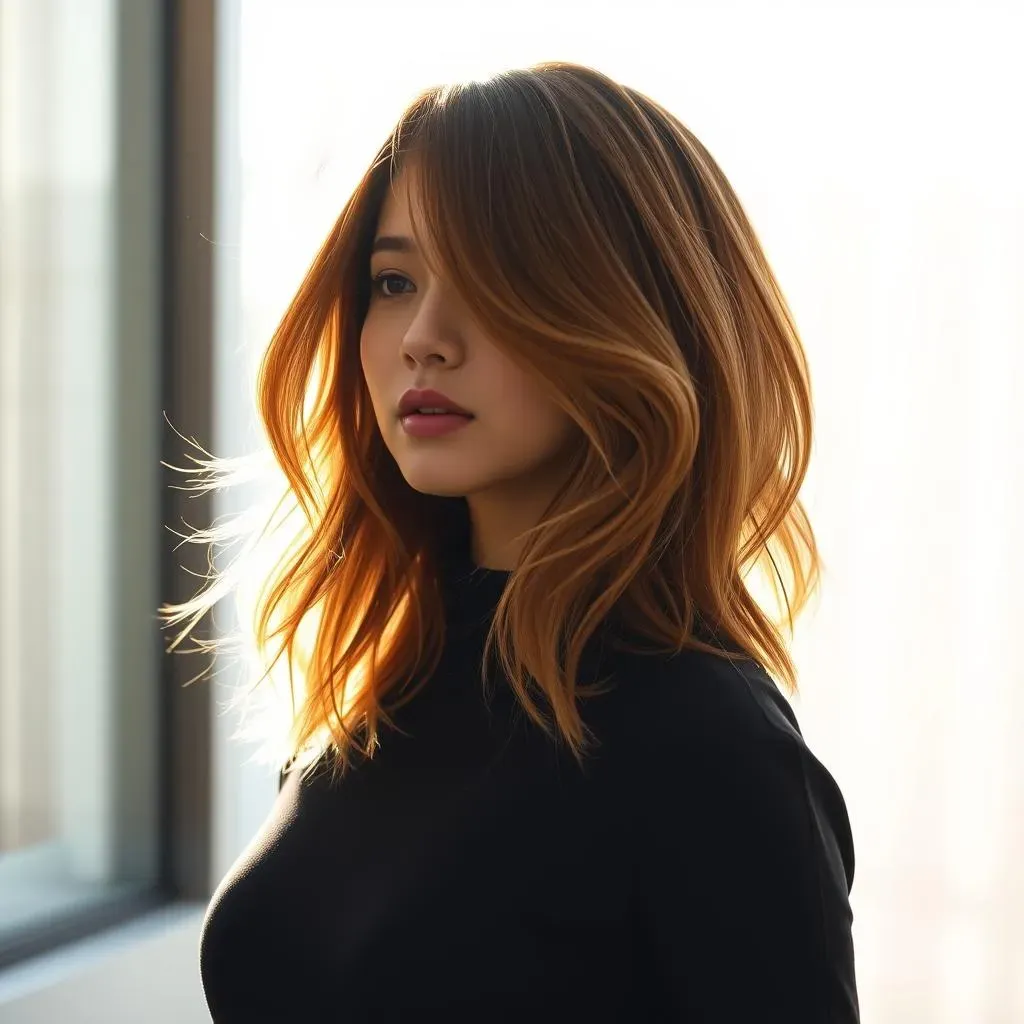
So, you're diving into the world of the layered butterfly haircut? Fantastic! It's a style that's all about creating movement and volume, giving your hair that bouncy, effortless look. Think of it like this: imagine a butterfly's wings – delicate, layered, and full of life. That's the essence of this haircut. The key is the layering – it's not just about chopping off random lengths. Instead, it involves strategically placed layers that frame your face and add dimension to your overall style. These layers are typically shorter around the face, gradually getting longer towards the back, creating a soft, feathered effect. This technique works wonders for adding volume, especially if you have thinner hair. For a more detailed understanding of the butterfly cut versus other styles, check out our comparison of a butterfly haircut vs. a layered haircut.
Feature | Layered Butterfly Haircut |
|---|---|
Layering | Strategic, face-framing layers |
Volume | Adds significant volume and bounce |
Texture | Creates a soft, feathery texture |
One of the things that makes the layered butterfly haircut so versatile is its adaptability to different hair types and lengths. Whether you have long, luscious locks or prefer a shorter, more manageable style, this cut can be tailored to suit your needs. It's particularly flattering on those with round or square faces, as the strategic layering helps to soften harsh angles and create a more balanced look. If you're curious about how it might look on your face shape, we've got guides specifically for square faces and round faces. But the beauty of this cut lies in its ability to be personalized. Want bangs? No problem! Prefer a more subtle layered look? Absolutely! The possibilities are endless!
- Face-framing layers
- Increased volume and bounce
- Soft, feathery texture
- Adaptable to various hair types and lengths
Before you even think about picking up those shears (unless you're a pro!), it's crucial to understand the overall shape and structure you're aiming for. It’s not just about random layers; it's about creating a cohesive and balanced style that complements your features. Think of it as sculpting your hair, rather than just cutting it. Understanding the basic principles of layering, such as the angle of the cut and the placement of the shortest layers, will greatly influence the final outcome. A good starting point is to familiarize yourself with a beginner's tutorial if you're considering a DIY approach.
Mastering the Layered Butterfly Haircut Technique

Mastering the Layered Butterfly Haircut Technique
Sectioning and Layering Techniques
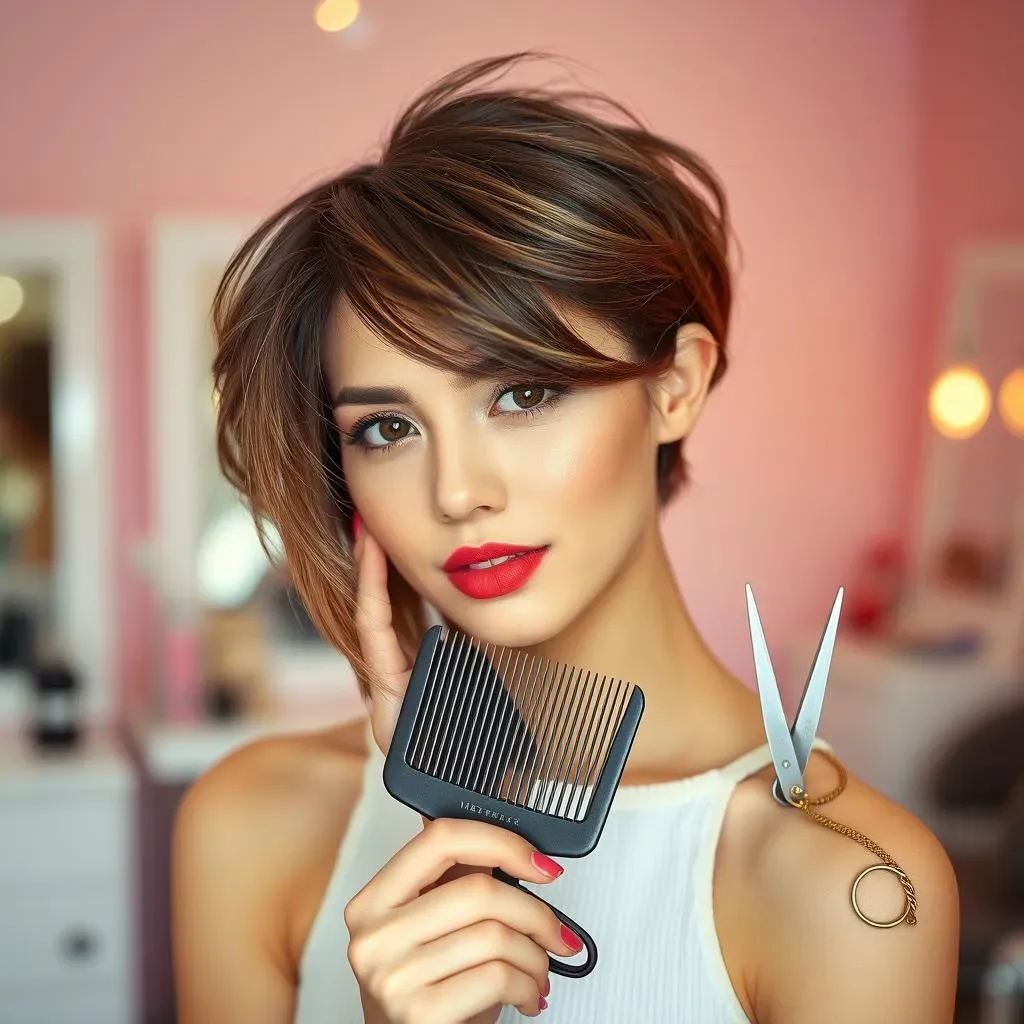
Alright, let's get down to the nitty-gritty. The magic of the layered butterfly haircut lies in precise sectioning and layering. Think of your hair as a canvas, and you're the artist carefully applying layers of color and texture. Start by sectioning your hair into manageable parts. This ensures even layering and prevents any accidental mishaps. We're talking about creating neat, horizontal sections, working your way from the bottom layers to the top. Use clips to keep everything organized; trust me, this is a lifesaver! Once you've sectioned your hair, the layering begins. Remember, the shortest layers typically start around the chin area, gradually lengthening as you move towards the back. The angle of your cuts is crucial here; a slightly upward angle will create that soft, feathered effect we're aiming for. For more visual guidance, check out our beginner's tutorial for a step-by-step walkthrough.
It's all about creating a seamless blend between layers, avoiding any harsh lines or choppy ends. This is where sharp scissors are your best friend! Blunt cuts can lead to a bulky, uneven look, so precision is key. Remember those carefully placed clips? They're there to help you maintain control and consistency throughout the process. Think of it like building a beautiful layered cake—each layer needs to be carefully placed to create a stunning final product. Don't rush the process; take your time and focus on creating those soft, delicate layers. And if you're feeling overwhelmed, remember, there's no shame in seeking professional help. A skilled stylist can help you achieve the perfect layered butterfly haircut tailored to your specific hair type and face shape. For some inspiration, check out our gallery of butterfly haircut ideas for weddings.
Step | Description |
|---|---|
1 | Section hair into manageable parts |
2 | Start layering from the bottom |
3 | Use upward angles for a feathered effect |
4 | Blend layers seamlessly |
Maintaining the Layered Butterfly Haircut
So you've successfully mastered the art of the layered butterfly haircut. Congratulations! But the journey doesn't end there. Maintaining this style requires a little TLC. Regular trims are essential to prevent split ends and maintain the shape of your layers. Aim for a trim every 4-6 weeks, depending on your hair growth rate. This will help keep your hair looking fresh and prevent the layers from becoming too long or uneven. This is especially important given the delicate nature of the layers. If you're considering a DIY approach, invest in a good pair of hair-cutting shears, and consider checking out our tips on maintaining your butterfly haircut.
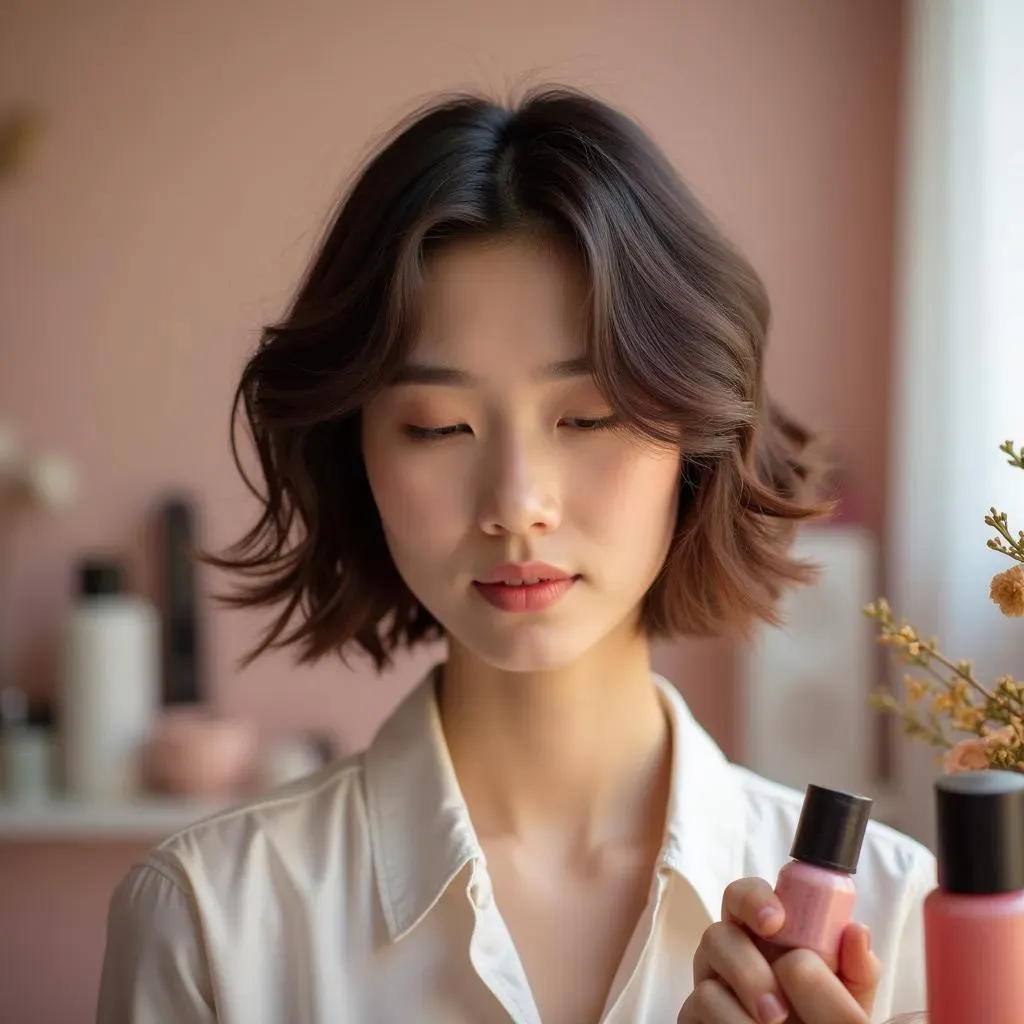
Beyond trims, proper hair care is crucial. Use a moisturizing shampoo and conditioner to keep your hair healthy and hydrated. This is especially important for preventing dryness and breakage, which can be more noticeable in layered hair. Consider adding a hair mask to your routine once a week for extra hydration. The right products can make all the difference in maintaining the soft, bouncy texture of your layered butterfly haircut. And don't forget styling products! A volumizing mousse or texturizing spray can help to enhance the volume and texture of your layers, creating that signature bouncy look. Experiment with different products to find what works best for your hair type. For some color inspiration, take a peek at our trendy butterfly haircut colors guide.
- Regular trims (every 4-6 weeks)
- Moisturizing shampoo and conditioner
- Weekly hair mask
- Volumizing or texturizing styling products
Styling and Maintaining Your Layered Butterfly Haircut

Styling and Maintaining Your Layered Butterfly Haircut
Styling Your Layered Butterfly Haircut
Now for the fun part: styling! The layered butterfly haircut is incredibly versatile. One day you can rock a sleek, straight look; the next, embrace bouncy waves. A simple blow-dry can add volume and shape, enhancing those beautiful layers. For extra volume at the roots, try using a volumizing mousse before blow-drying. If you prefer a more polished look, a flat iron can help to straighten your hair, creating a sleek and sophisticated style. For a more detailed guide on styling, check out our butterfly haircut styling tips article.
Want to add some texture? A texturizing spray or sea salt spray can create those effortless, tousled waves that are perfect for a casual, beachy vibe. If you're feeling adventurous, try braiding sections of your hair to create interesting patterns and textures. This works especially well with longer layers. For those who prefer a more polished look, consider using a curling iron to create soft, romantic waves. This adds an extra touch of elegance and sophistication to the already stunning layered butterfly haircut. Looking for wedding inspiration? We have a whole collection of ideas in our butterfly haircut ideas for weddings section.
- Blow-dry for volume
- Flat iron for sleekness
- Texturizing spray for waves
- Braids for intricate styles
- Curling iron for romantic waves
Maintaining Your Layered Butterfly Haircut
Keeping your layered butterfly haircut looking its best requires a little ongoing effort. Regular trims are essential – aim for every 4-6 weeks to prevent split ends and maintain the shape of your layers. This helps keep that soft, feathery texture. A good stylist will know how to maintain the integrity of the layers, ensuring that your haircut continues to look fresh and stylish. For tips on maintaining this style at home, check out our guide on butterfly haircut maintenance tips.
Beyond trims, using the right hair products is key. A moisturizing shampoo and conditioner are essential to keep your hair healthy and hydrated. This helps prevent dryness and breakage, which can be more apparent in layered styles. Consider incorporating a weekly hair mask for extra hydration and nourishment. For color-treated hair, use color-safe products to help maintain the vibrancy of your color. To see what colors are trending, browse our gallery of trendy butterfly haircut colors.
Maintenance Tip | Description |
|---|---|
Regular Trims | Every 4-6 weeks to maintain shape |
Moisturizing Products | Shampoo, conditioner, and weekly masks |
Heat Protection | Use heat protectant spray before styling |